

C128D [PAL]
Ser. No. 214623
Assy 250477
Starting point
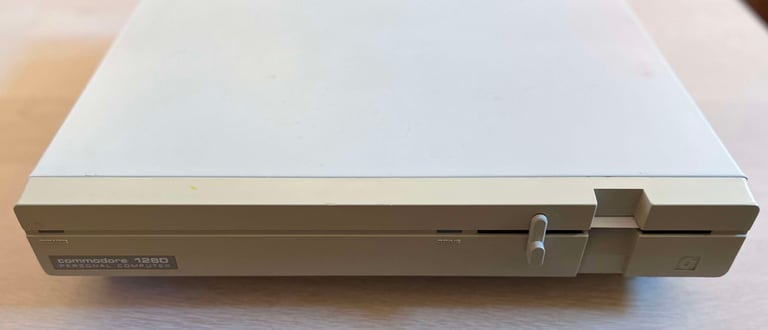
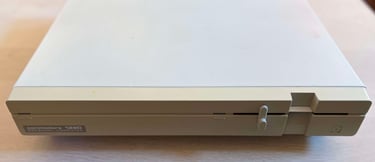
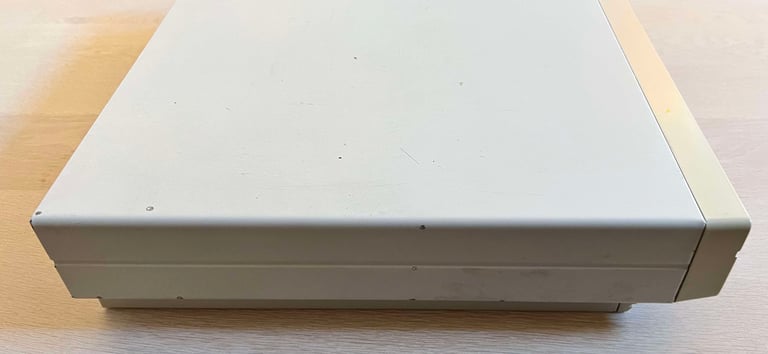
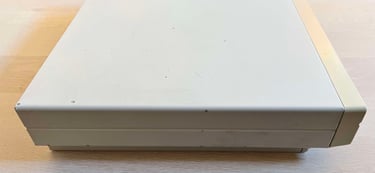
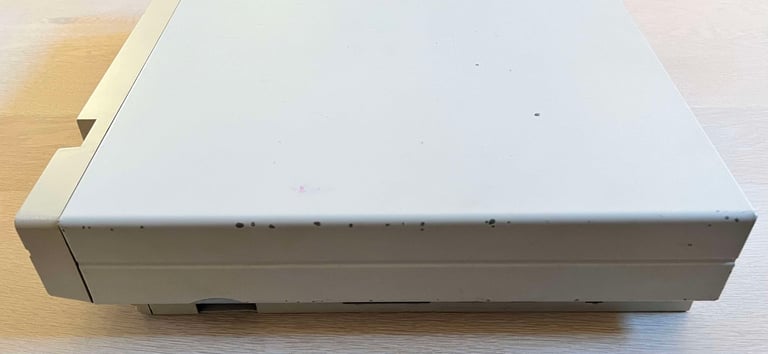
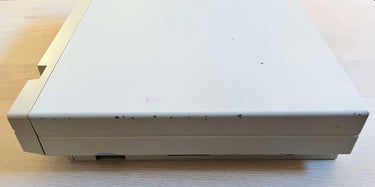
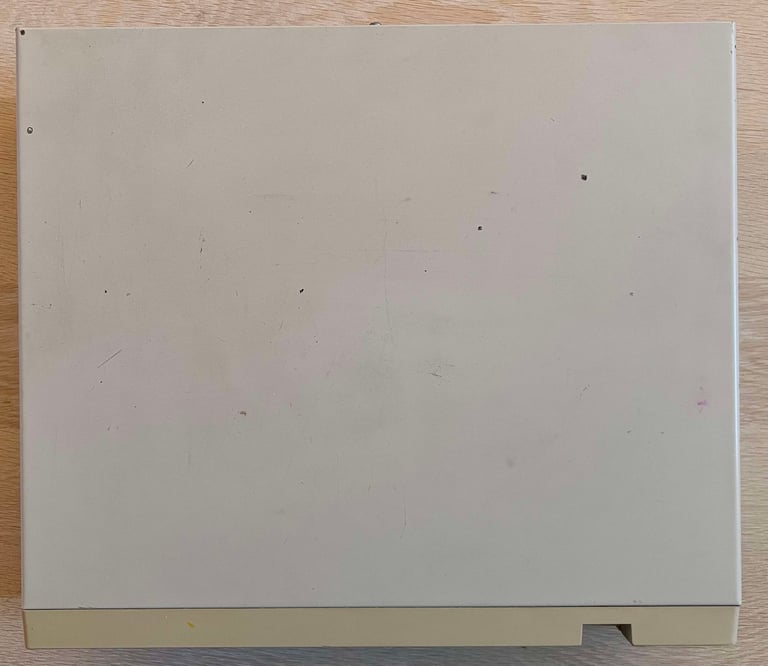
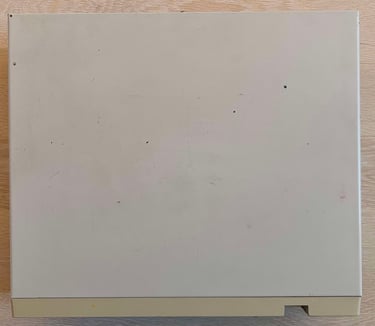
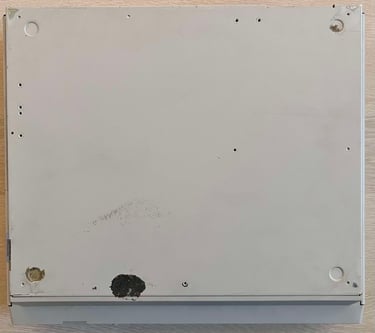
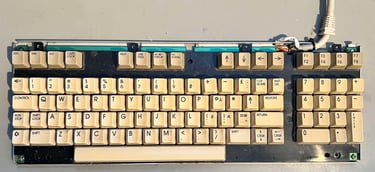
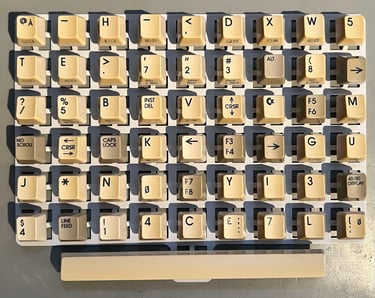
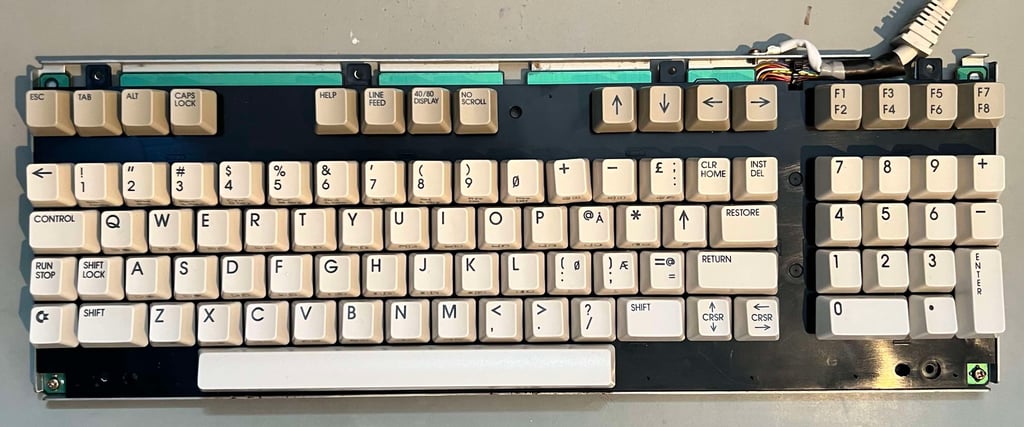
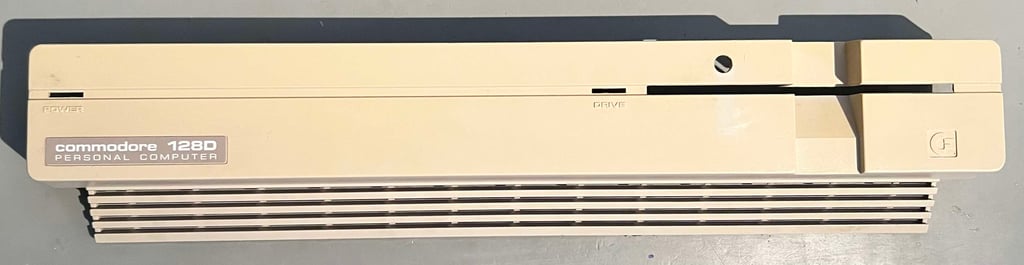
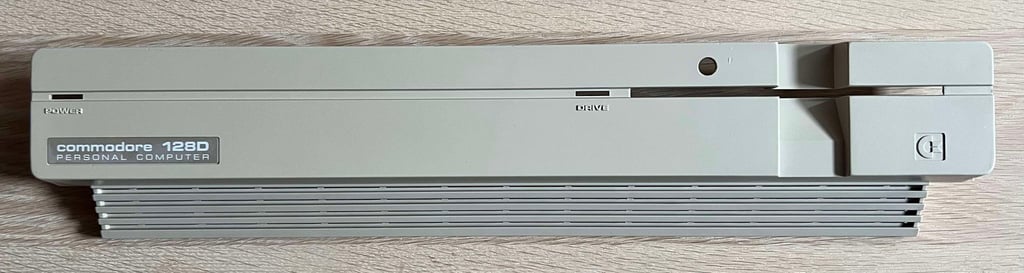
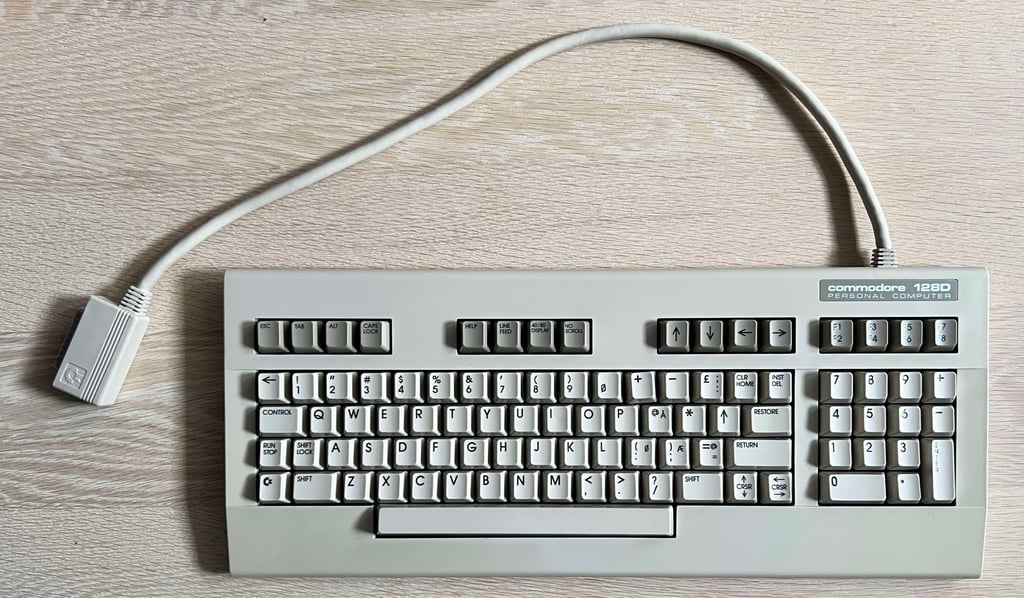
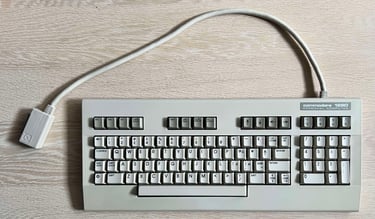
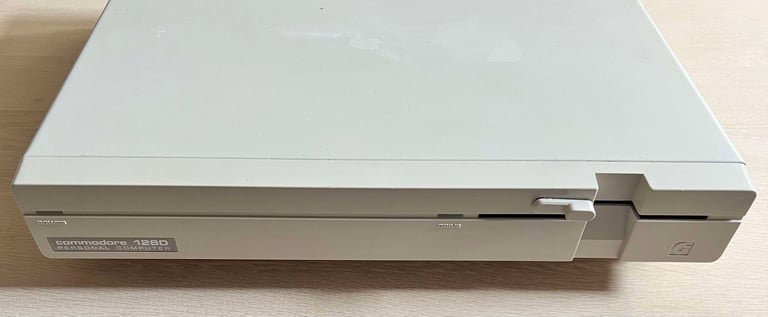
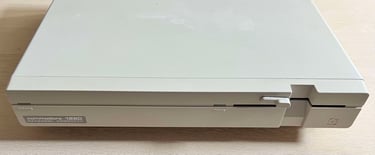
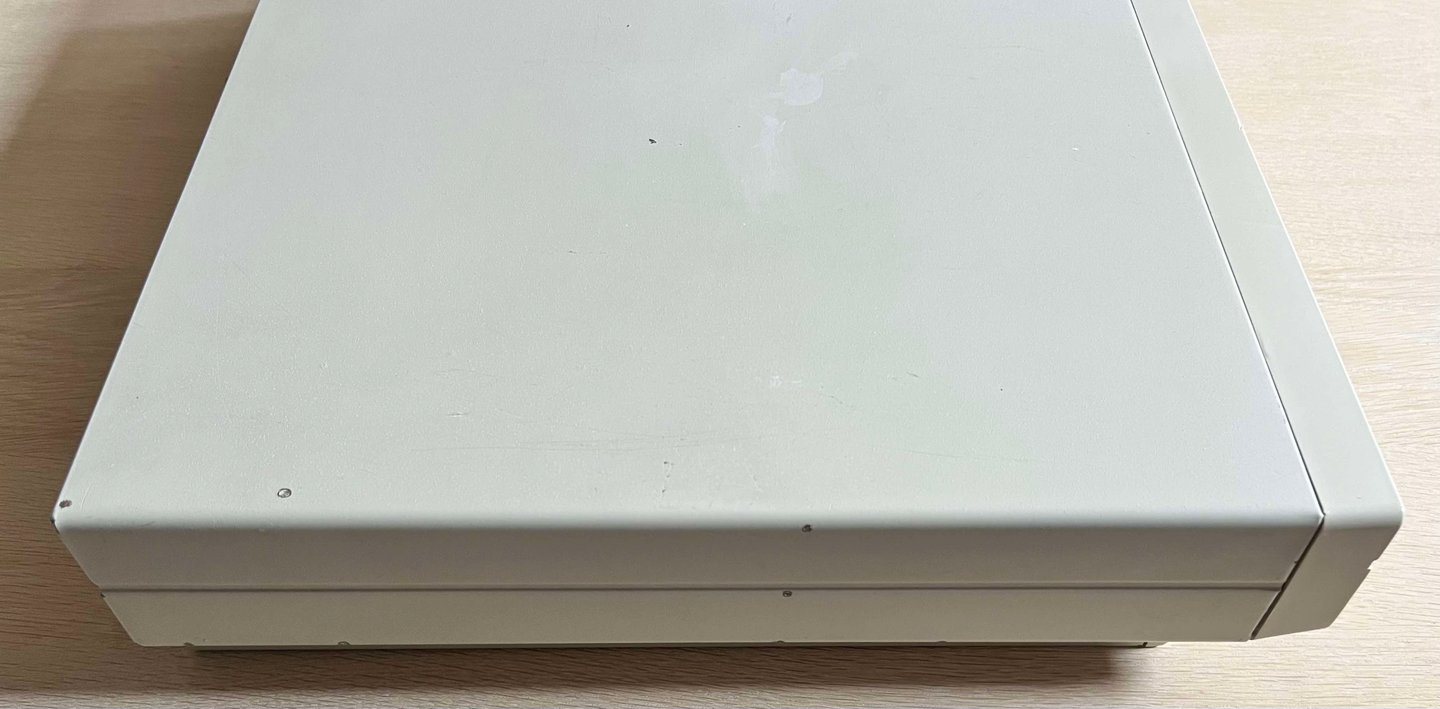
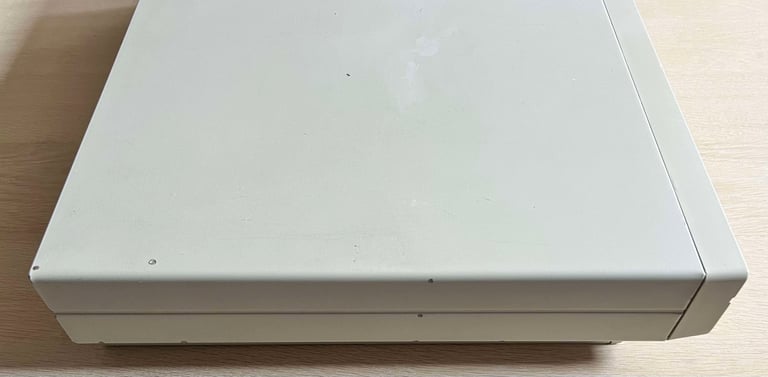
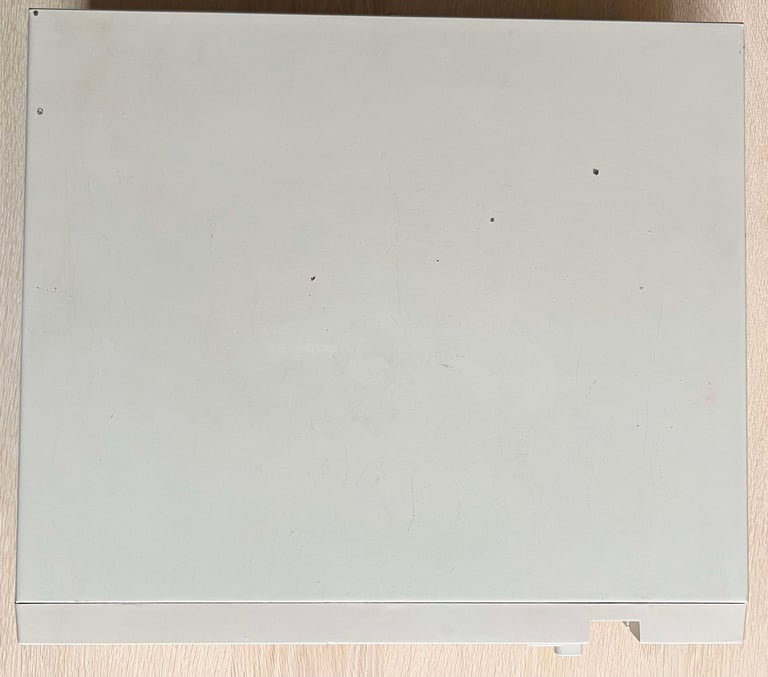
This Commodore 128D is in good condition, but is... yellow! Both the front bezel and the keyboard is severely yellowed, and quite some dirt and grease - especially on the keyboard cable and connector. The "+" keycap is a bit off, but it does seem to be working (mechanically speaking). So this refurbish will be a retrobrighting project - unless something unexpected shows up during the process. Below are some pictures of the Commodore 128 and keyboard before the refurbishment.


Refurbishment plan
The refurbishment plan for this C128D (several of them in parallell):
- Refurbish the keyboard (cleaning, reviving the plungers and retrobrighting)
- Refurbish the casing (cleaning and retrobrighting)
The plan can be updated during the refurbishment process. Sometimes I discover areas that needs special attention.
Keyboard
Disassembly - covers
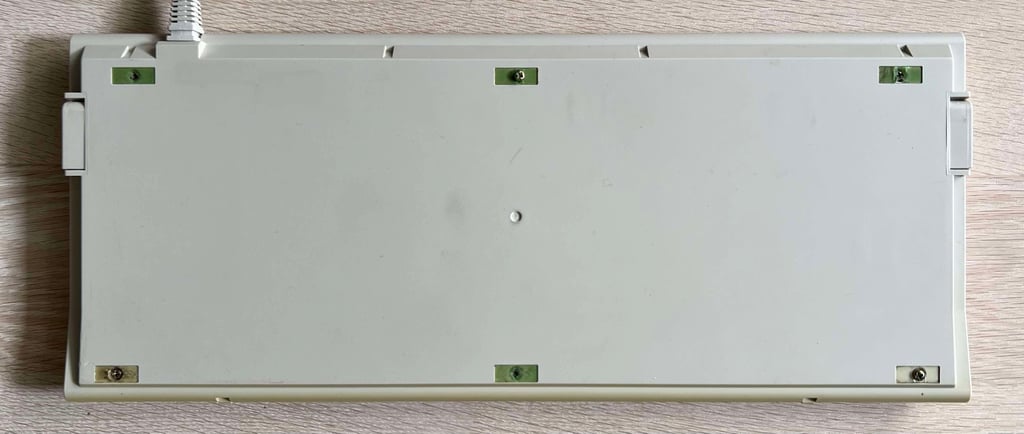
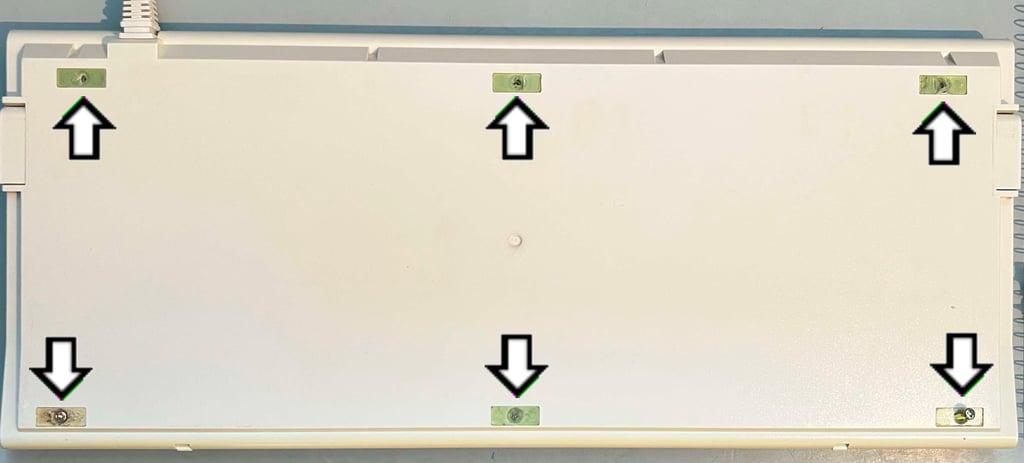
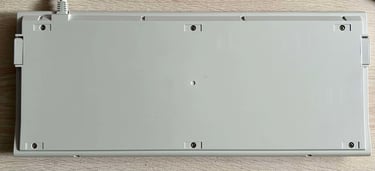
Someone has been here before... I notice that some of the screws are not properly installed, and the tape is pierced on all the six screws. Nevertheless, all the six screws (3 x 10 mm Phillips) are removed.
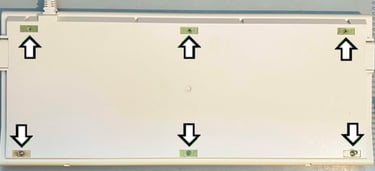
With the screws out of the way, the back cover is carefully pried off with some flat prying tools.


As mentioned someone has been here before. Another sign of this is the top left screw which is one of the six screws (3 x 8 mm Phillips) holding the keyboard PCB to the front cover. This screw is only partly installed and quite off - see picture below. Hopefully nothing is damaged.

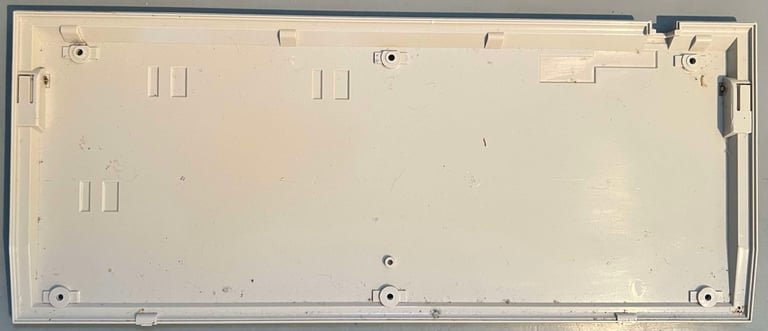
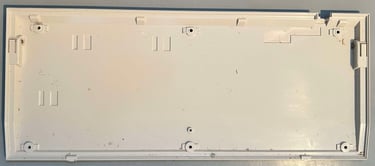
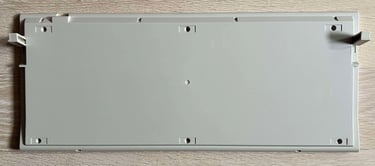
When all of the six screws are removed the PCB, and metal bracket, is lifted away from the top cover. Luckily both covers seems to be in mechanical good condition. Not both the top- and bottom cover are completely disassembled. Ready for cleaning and retrobrighting.
Disassembly - keyboard mechanism
The keyboard does seem to be in good mechanical condition. Besides from the yellow-cheese-looking keycaps, the only thing I notice is that the "+" key is somewhat misplaced. It does seem to work, but it looks twisted. Hopefully this can be fixed, or at least improved somewhat. Also, the keyboard is very dirty, but this is normal.

All keycaps are removed with a special keycap puller. Using this special purpose tool you reduce the probabilty of damaging both keycaps and plungers. NOTE: There is a small spring beneath the keycaps, and beneath the spacebar there are also two smaller springs in addition.
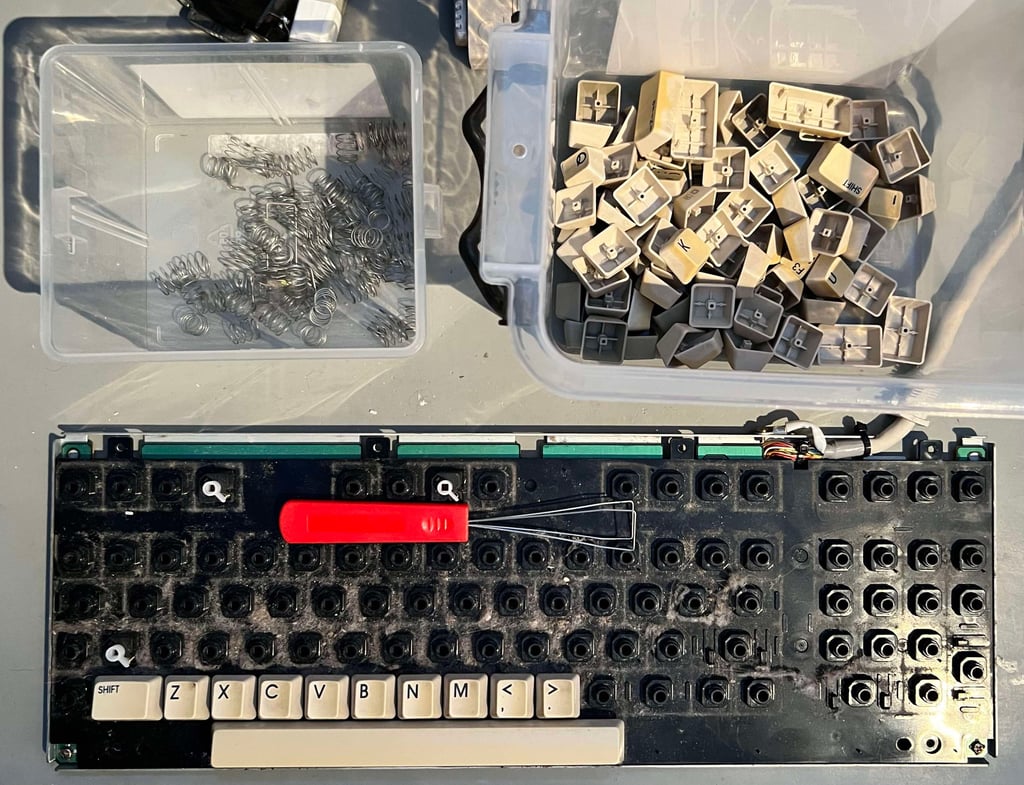

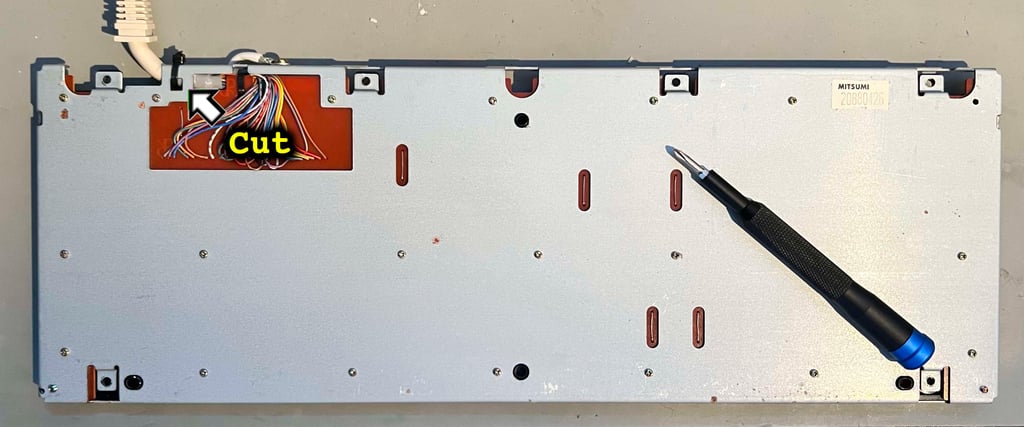
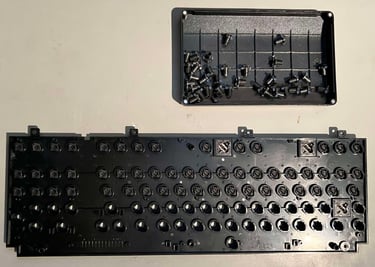
When all the keycaps are removed, the keyboard is flipped upside down and all of the small screws holding the PCB are removed. Also, the cable tie holding the keyboard cable to the metal bracket is cut.
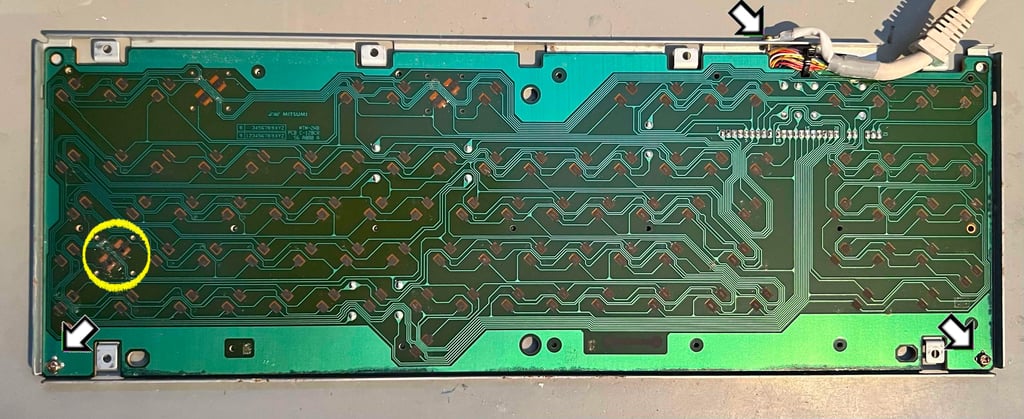
But we are not out of the woods yet. There are still some last things to do in order to complete the disassembly; remove the three last screws and lift the PCB off the metal bracket.

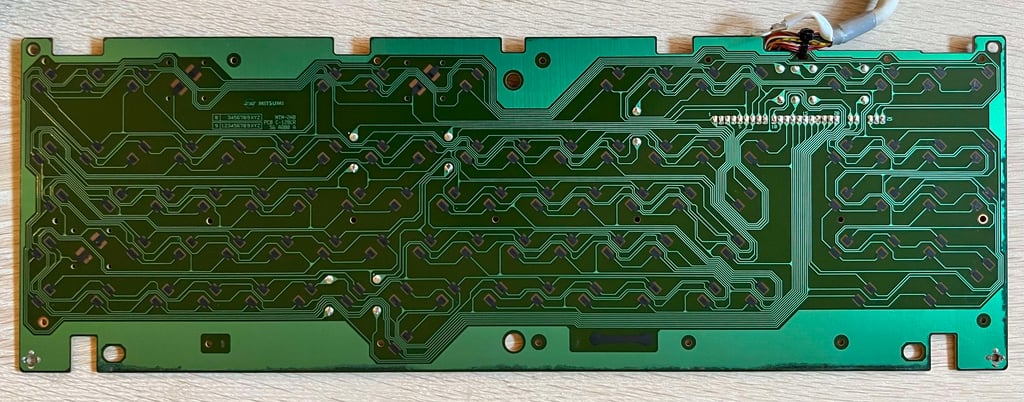
Inspecting and cleaning the PCB
There are some areas on the PCB which is contaminated with sticky grease. An example is from the SHIFT-LOCK area (see circular area in picture above). A close-up of this area is shown below.
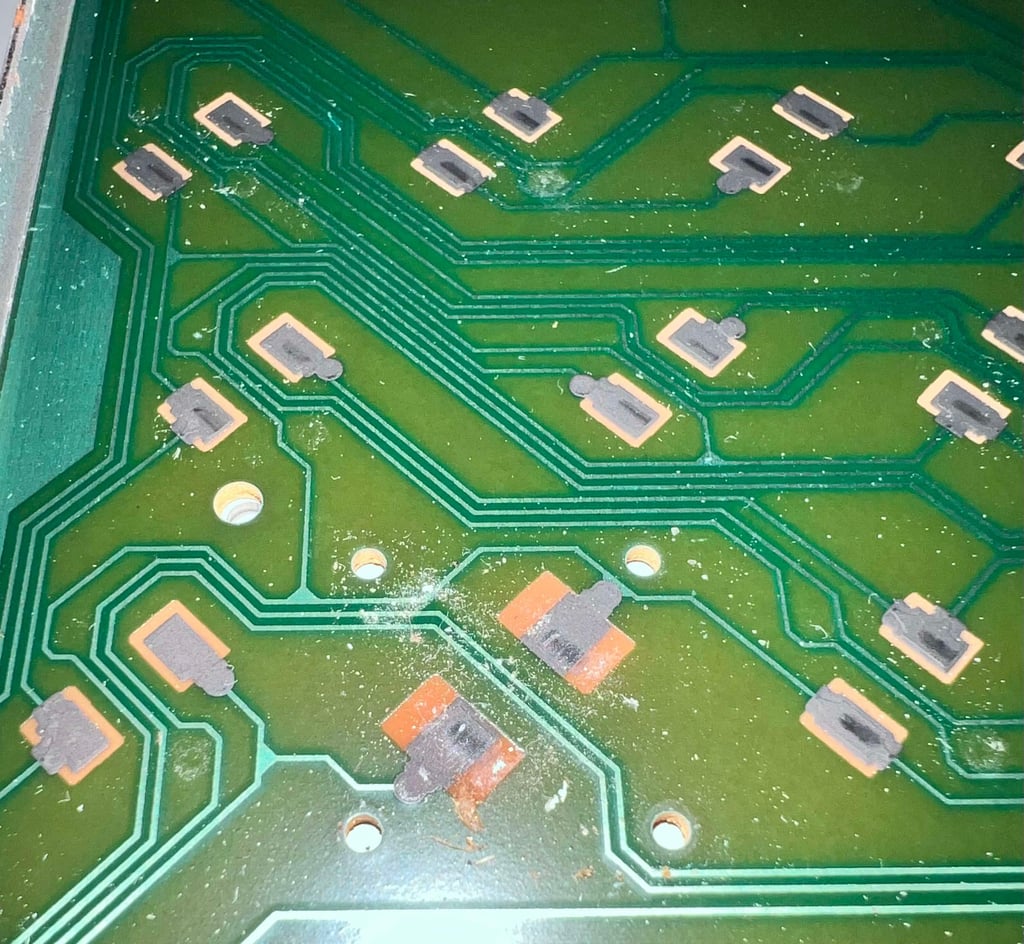

It is crucial that the PCB is cleaned properly, removing all of the dirt and grease. Otherwise moisture will gather over the traces and start corroding the tracks and pads eventually. Cleaning a PCB with carbon pads are done using distilled water ("batterivann" in Norway). I do not use isopropanol on these PCBs since it can damage the carbon pads. Below is a picture of the cleaned PCB - as good as new.
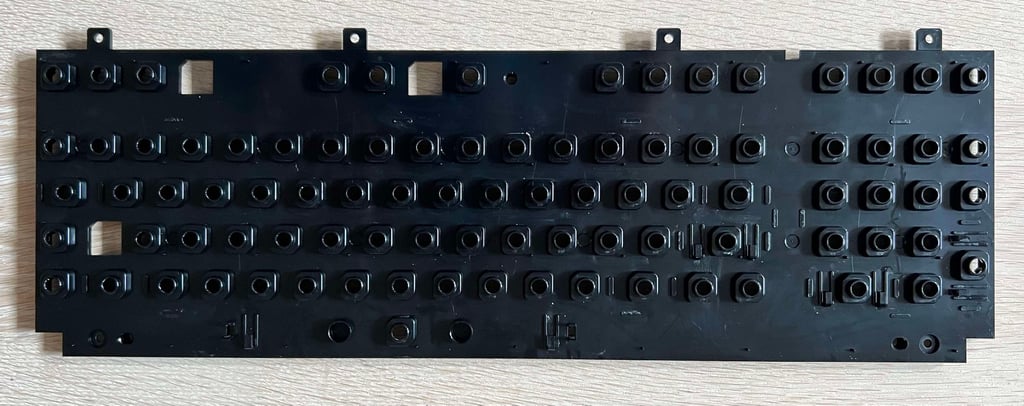
Cleaning the bracket, keycaps and plungers
Remember the dirty black plastic bracket? After some good cleaning with mild soap water the bracket looks good as new. All the dirt and grease are gone! This will both "feel" much better, but also prevent dust and grease accumulating - with will eventually be containers of moist entering the PCB.
All of the keycaps are placed in a box filled with mild soap water for about 48 hours. This will dissolve most of the fat and grease covering the keycaps which is essential for a good retrobrighting result later. The three special "click and lock" keys (CAPS LOCK, 40/80 MODE and SHIFT LOCK) are cleaned with isopropanol and "massaged" to make sure that they work as they should.

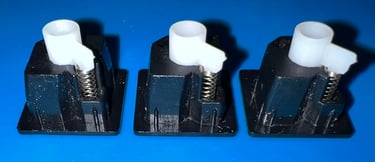
There is nothing more painful than a stubborn key that needs to be pressed REALLY hard to make contact. The reason for this happening on Commodore keyboards is that residue of grease accumulate on the conductive rubber (at the end of the plungers). This prevents the carbon pads from registering that a keycap has been pushed properly.
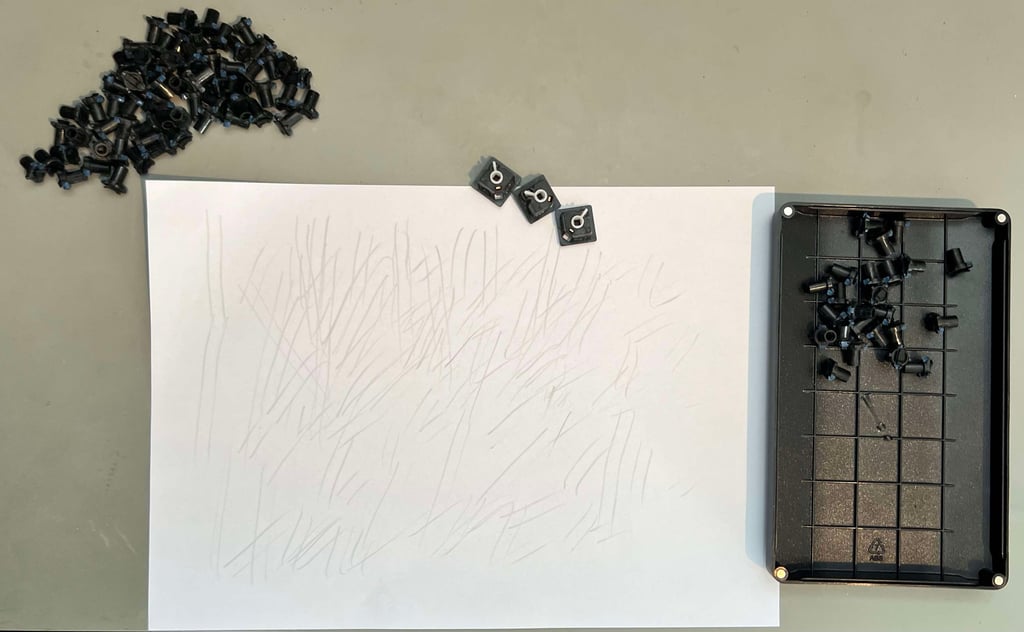
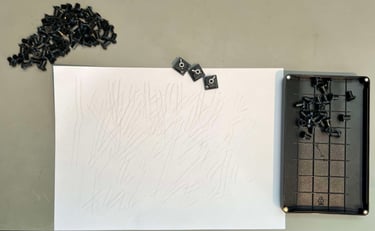
The way to clean a plunger is to carefully rub the conductive rubber along a sheet of paper. This will remove most of the grease residue and revive the plungers.
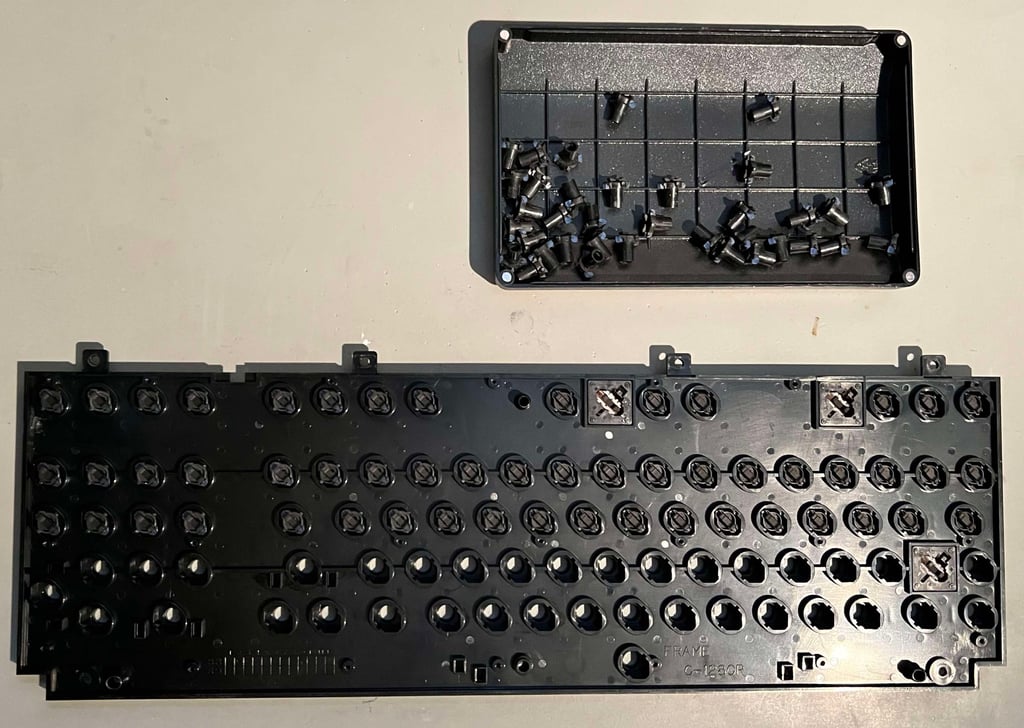
After cleaning all the plungers are put back in the plastic bracket. The special "click and lock" keys are simply clicked into position.
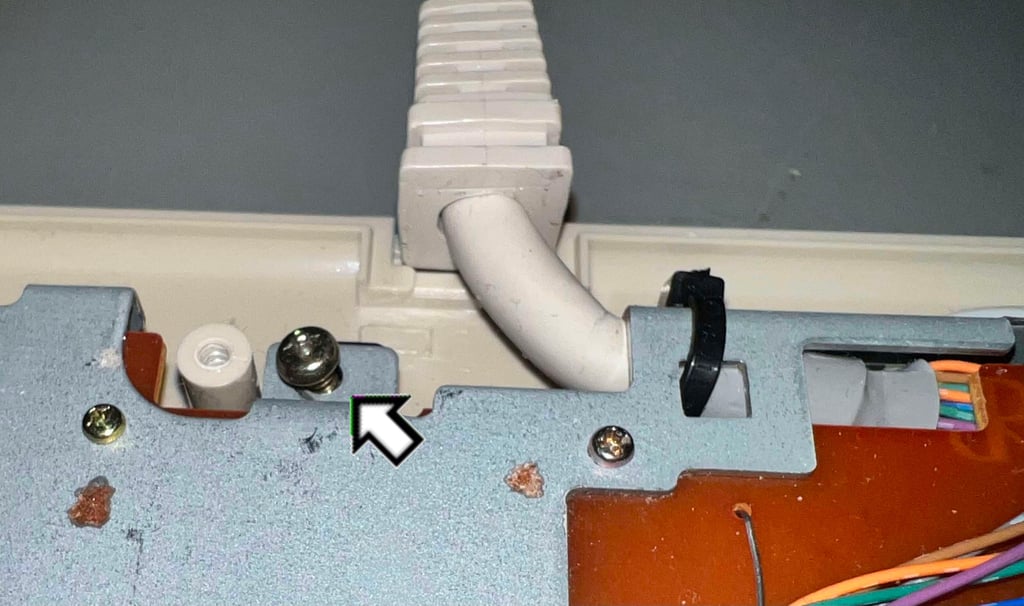
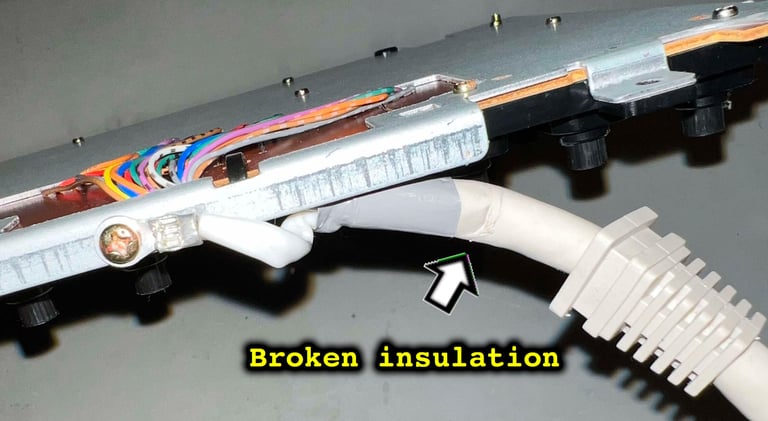
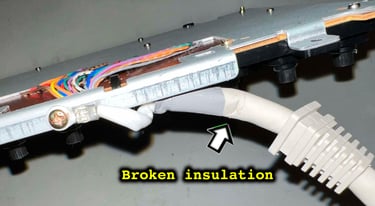
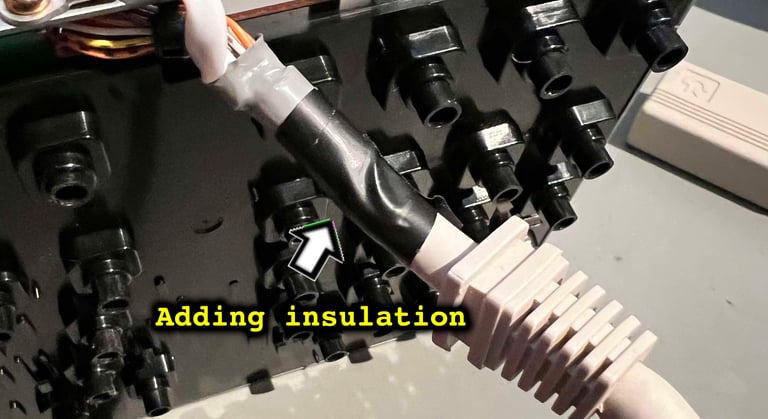
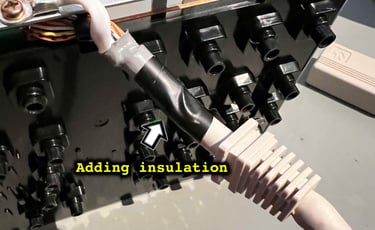
Preventing (?) further damage to the keyboard cable
During refurbish I notice that the keyboard cable is experiencing some strain against the metal shield. Originally there is a piece of protective tape, but the tape is too small to really do the job. As a consequence the cable is rubbed against the sharp metal - and eventually it would short circuit the wires inside. As a protective measure some insulating tape is added. This should make the cable both strong and resilient when rubbed against the metal. See pictures below.
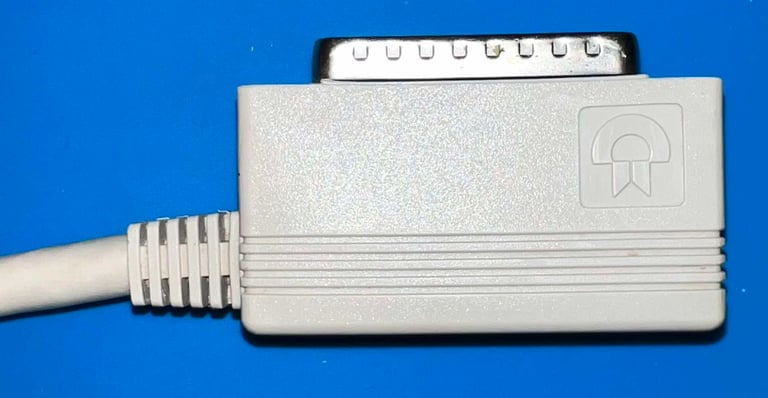
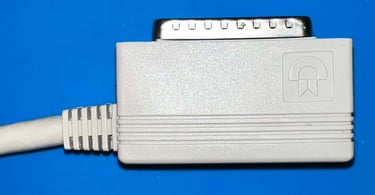
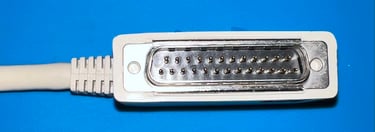
Inspecting and cleaning the keyboard connector
The keyboard connector, and the cable, is quite dirty. But otherwise it does seem to be in good condition. With a lot of isopropanol, and some patience, the connector is brought back to its original glory.

Retrobrighting the keycaps
All the keycaps are yellowed, but the degree of yellowing varies between each individual keycap. Below is a picture of the "most common" degree of yellowing. The top of the keycap is severely yellowed, and the side of the keycaps are about 40 % yellowed.

The keycaps are retrobighted for about 2 x 14 hours. 12 % hydrogen peroxide cream is applied frequently during these periods, and UV light is used to speed up the process. To help keep all the keycaps in place the are placed on a special purpose 3D printed mount.


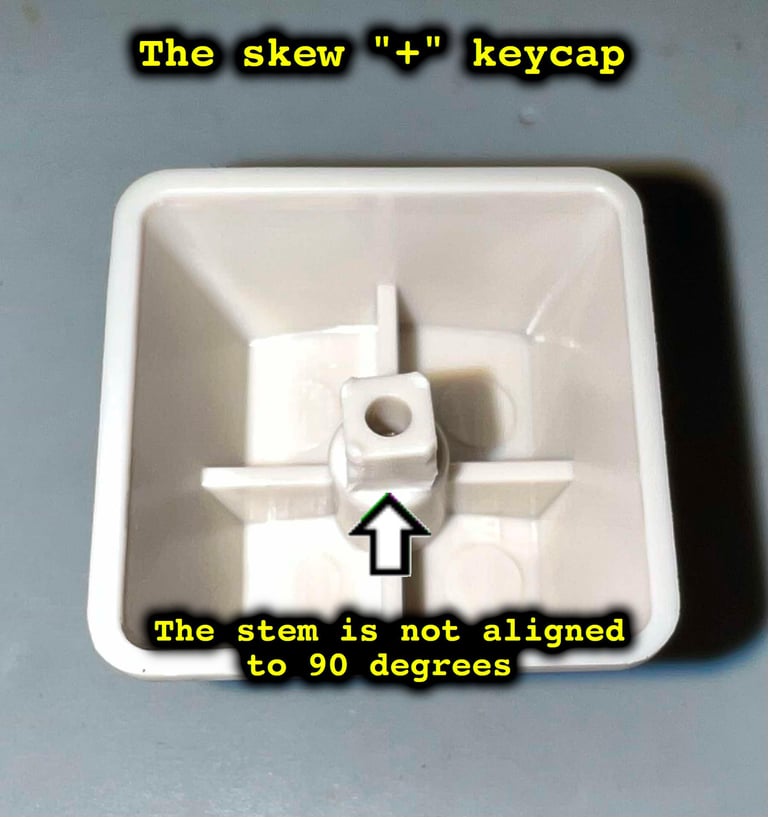
The odd "+" keycap
There is something odd with the "+" keycap. During retrobrighting I notice that the little stem inside the keycap is actually not 90 degrees straight. It is off by a small angle, and as a result the "+" will look misplaced when mounted. It would be tempting to try to bend this in place, but I am afraid that the brittle plastic will break so I decide to leave it as it is.
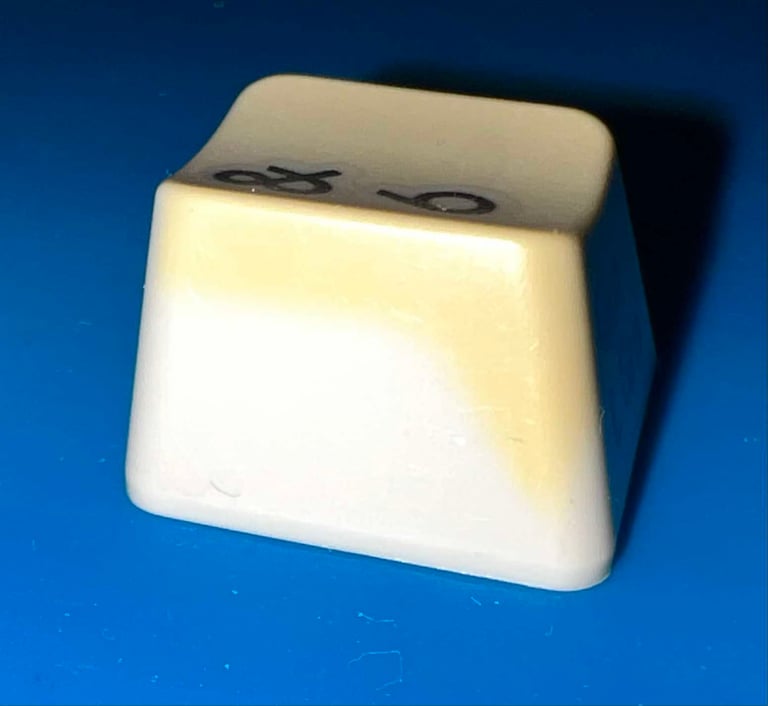
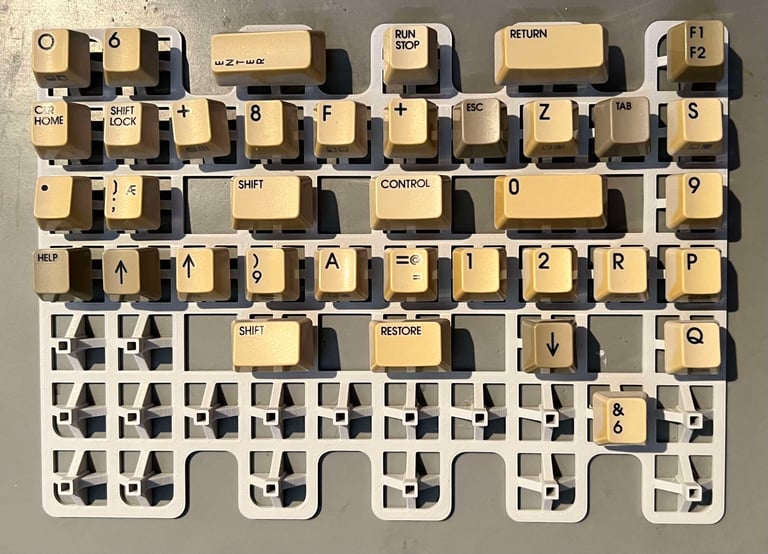
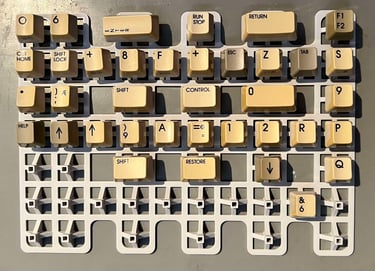
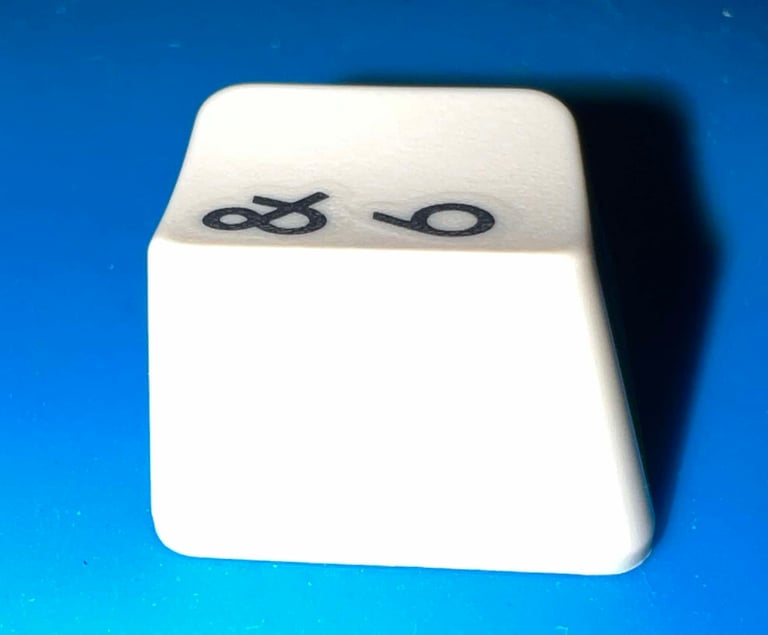
The result from the extensive retrobrighting is really good I think. Below is a picture of the "6 / &" keycap, and a picture of the partly assembled keyboard after retrobrighting.


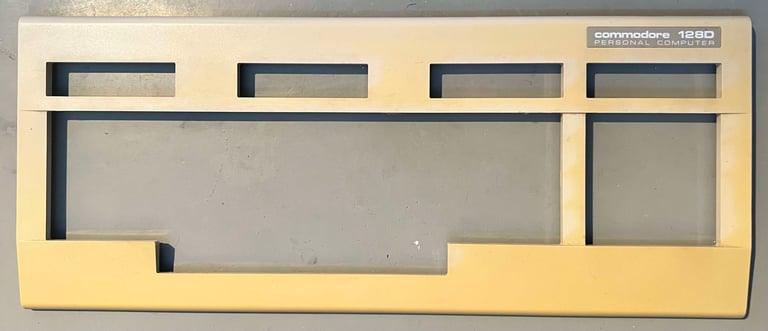
Exterior casing
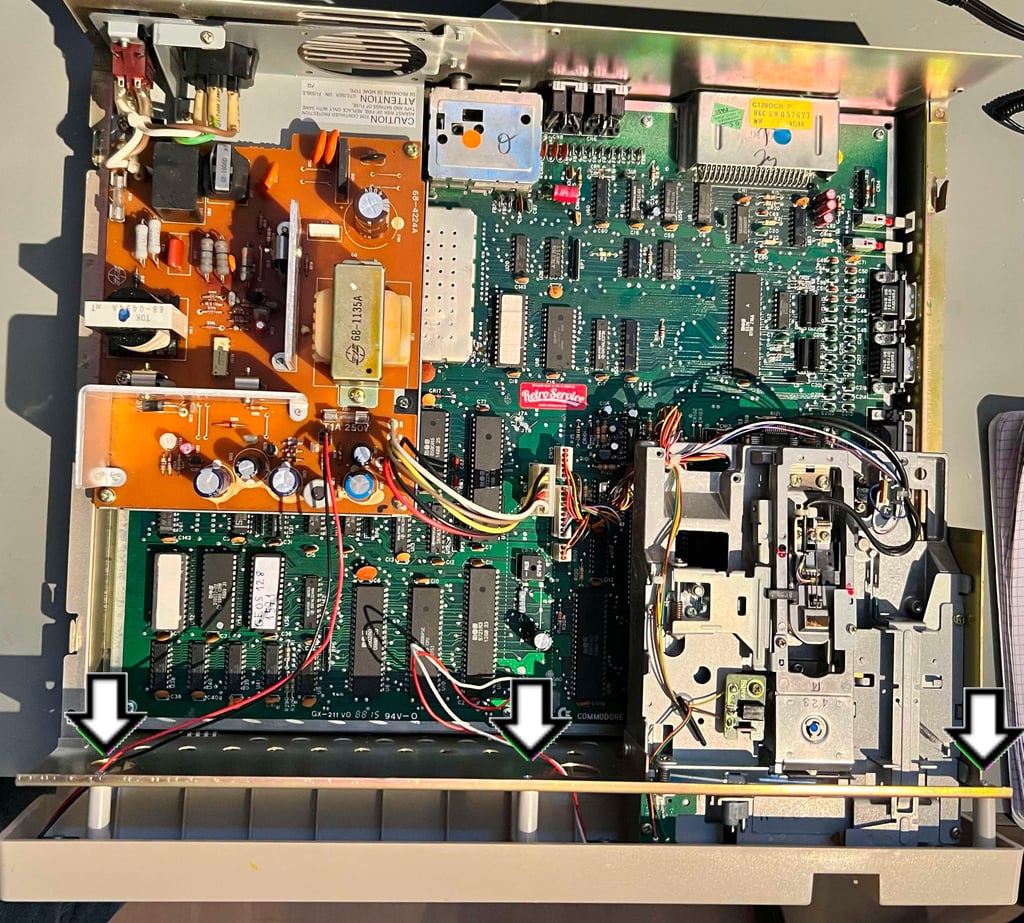
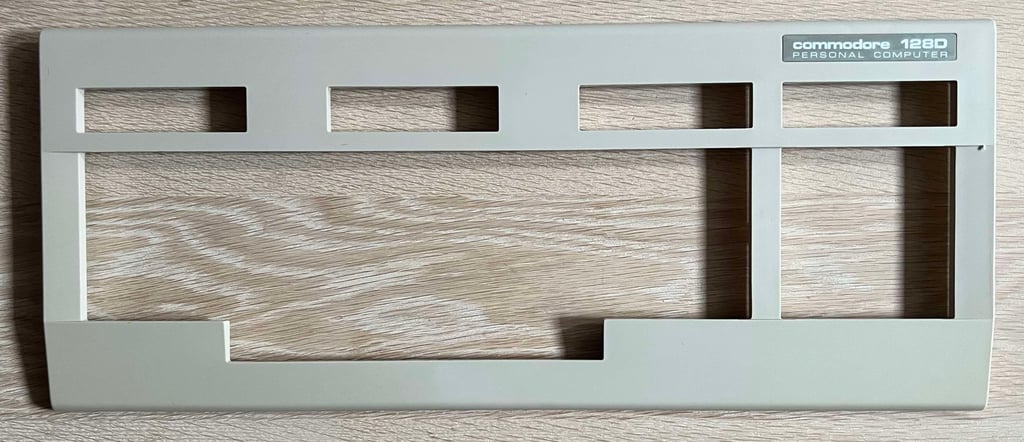
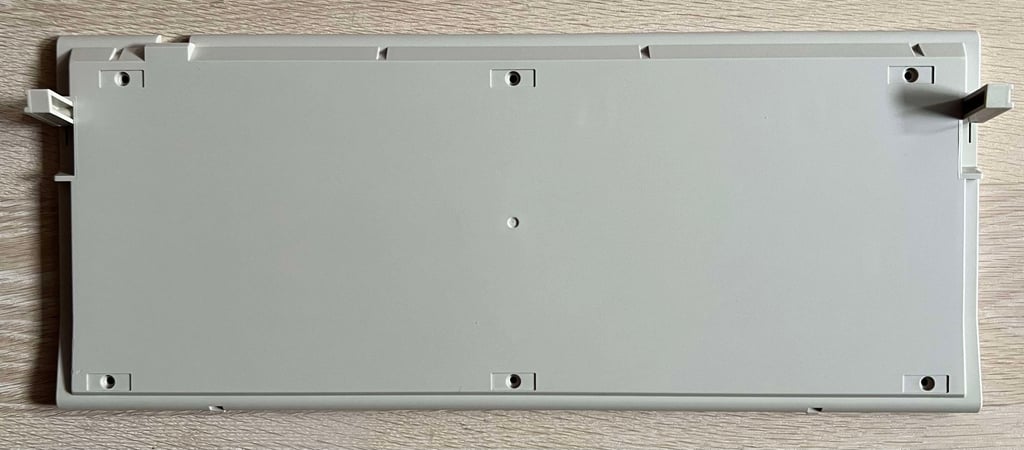
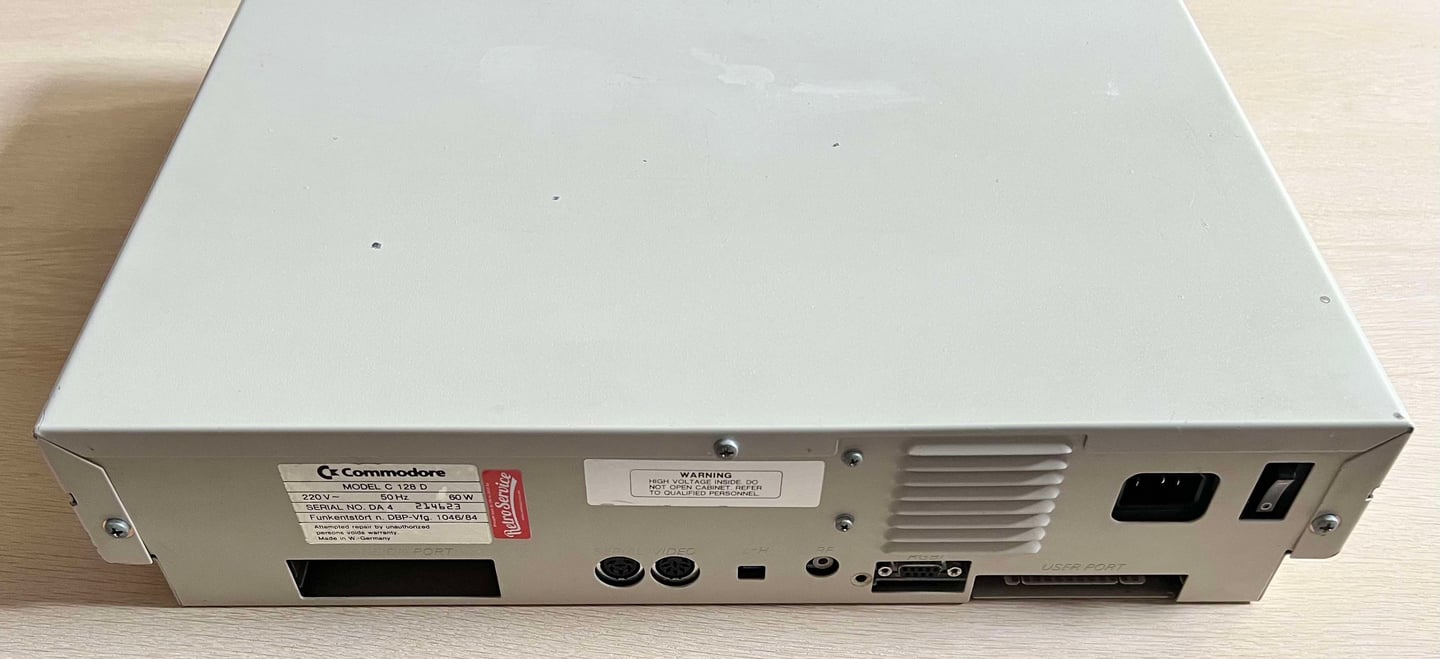
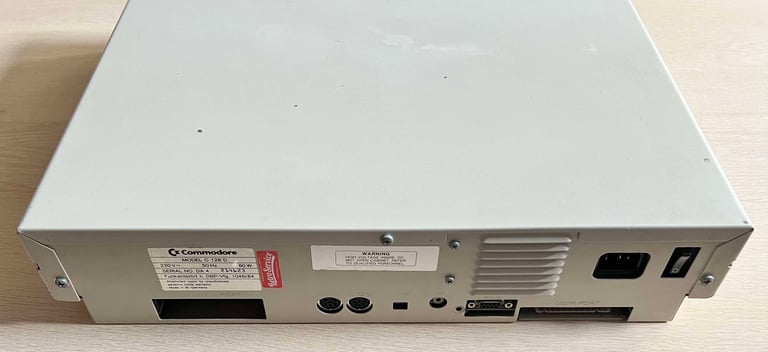
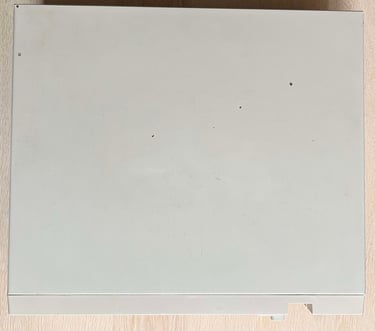
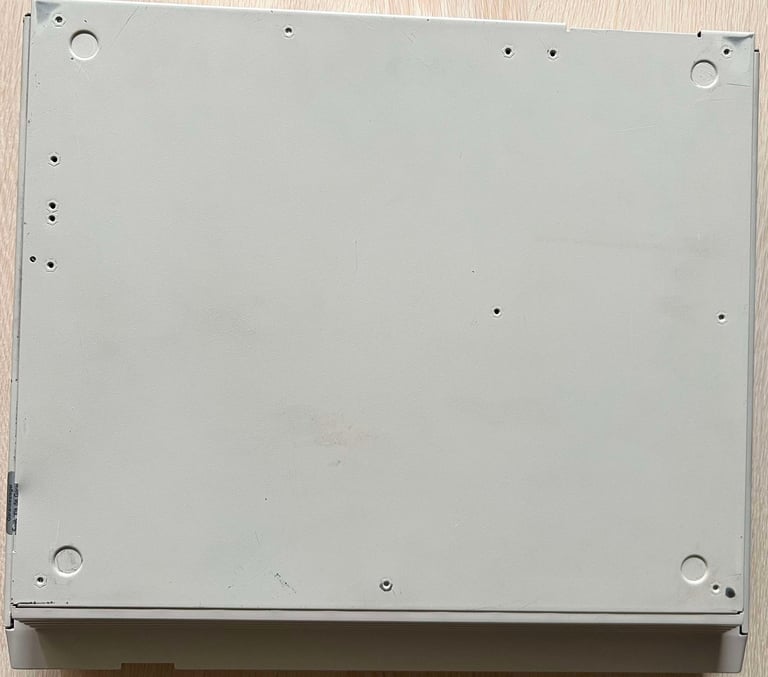
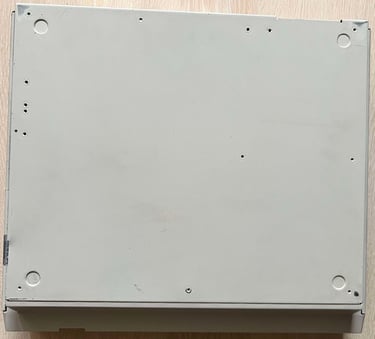
The Commodore 128D casing consists of both metal- and plastic covers. The main casing is metal, but the front bezel is made out of plastic. And it is the front bezel which is them main thing here; it is severely yellowed. The metal casing on the other hand is quite dirty, and with many signs of wear, but is in quite good condition otherwise.
Disassembly
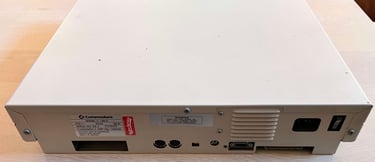
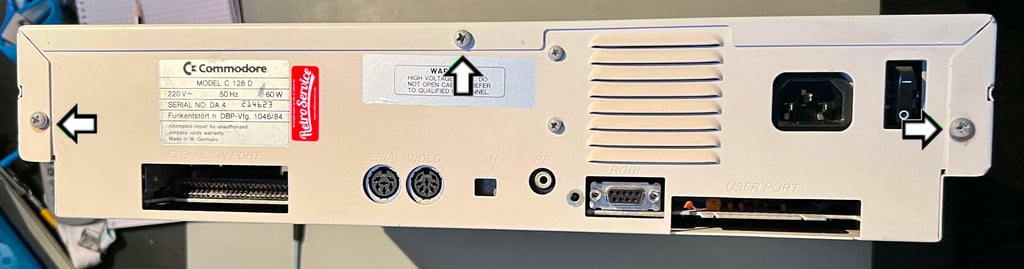
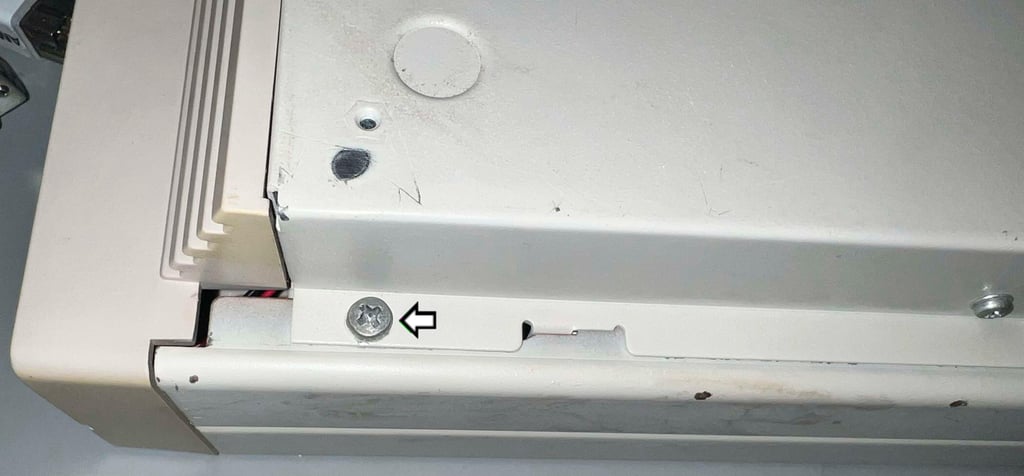
The first step in the disassembly is to remove the three screws at the back, and the two screws on the side (one on each side of the casing - seen from the bottom side).


Removing the front bezel is straightforward. The three screws are removed first, and then the two LEDs are carefully removed from the front cover.
The front is as mentioned quite dirty and yellowed. But beside that, it is in very fine condition!

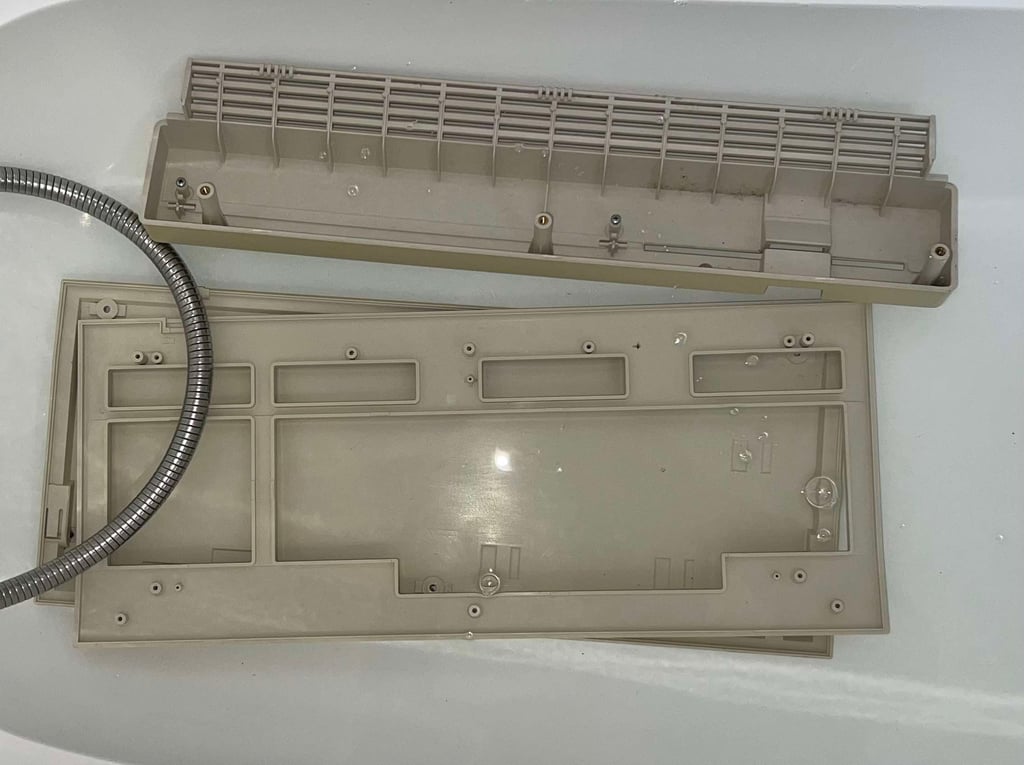
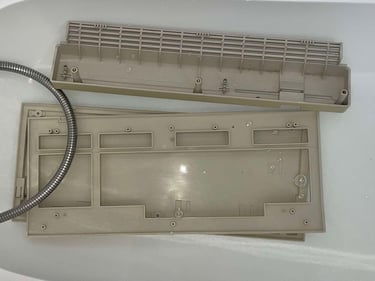
It is time to take a bath! Both the keyboard covers and the front bezel is placed in mild soap water for about 28 hours. This will dissolve most of the grease and dirt on the plastic parts.
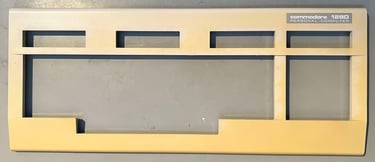
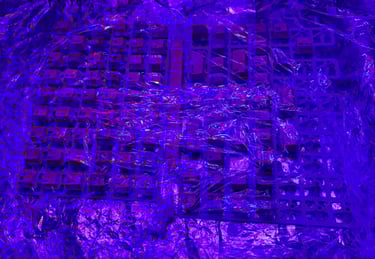
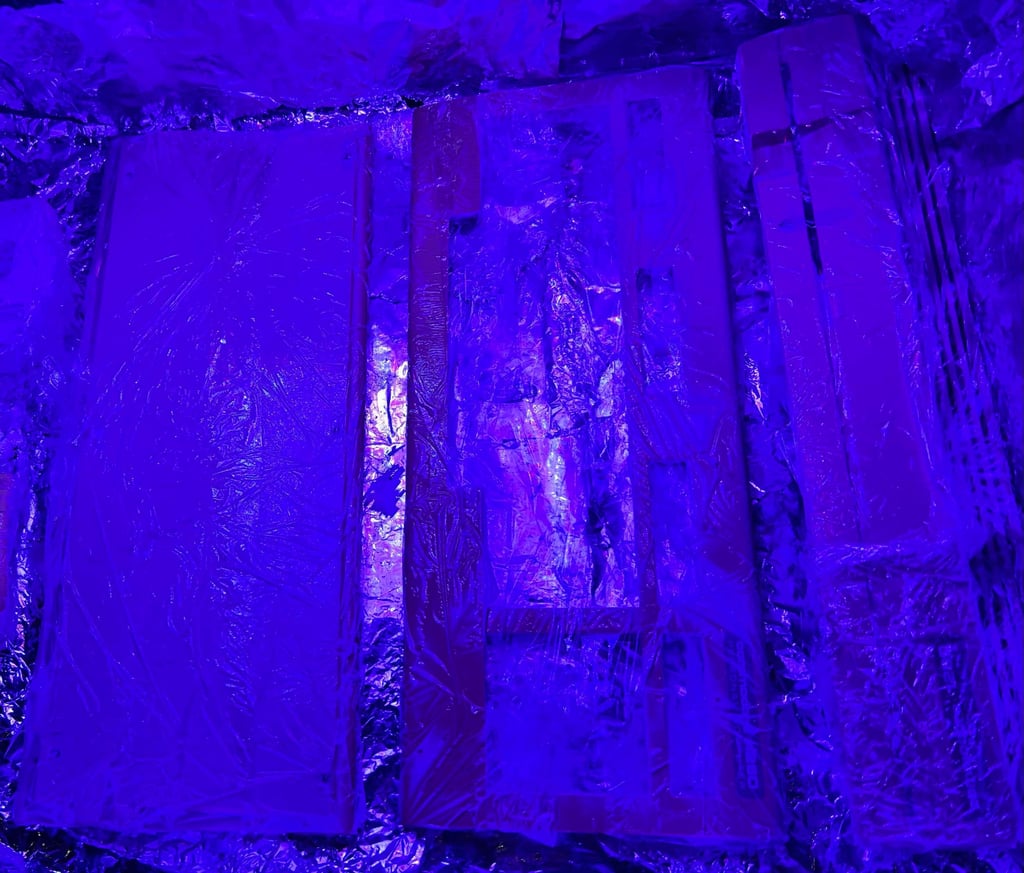
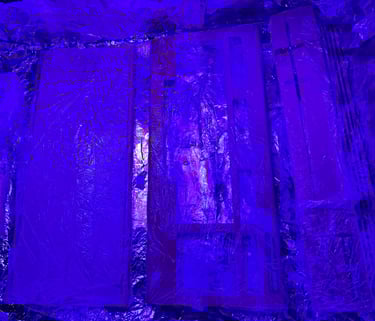
After the parts are cleaned they are retrobrighted. Both the covers and the front bezel are retrobrighted with UV light for approximately 14 hours straight. During the process, 12 % hydrogen peroxide cream is applied frequently. Also, the parts are wrapped in plastic cling film to prevent the cream from drying out.
After almost 56 (!) hours of retrobrighting the results are really good I think. Most of the yellowing is gone! See pictures below.


Final result
"A picture worth a thousand words"
Below is a collection of the final result from the refurbishment of this C128D. Hope you like it! Click to enlarge!

