

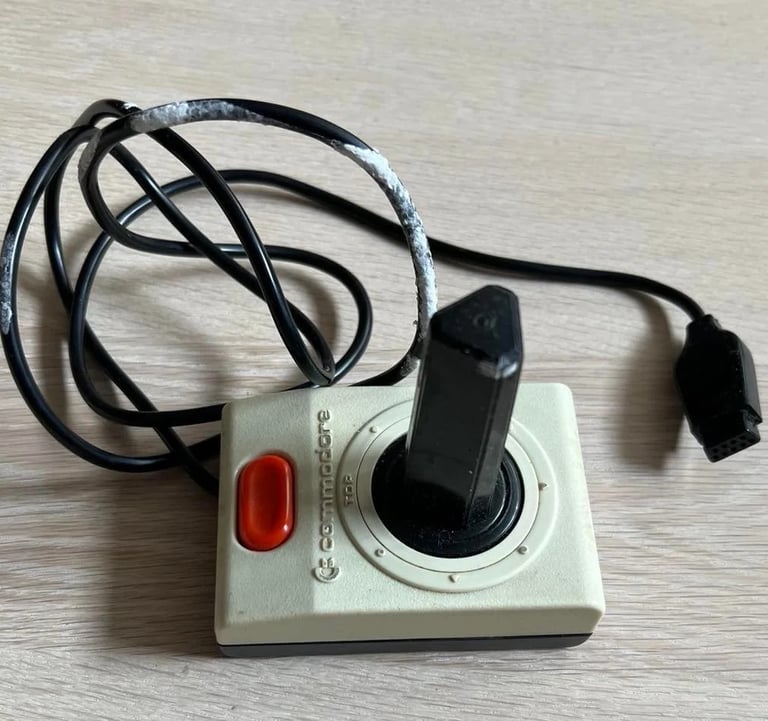
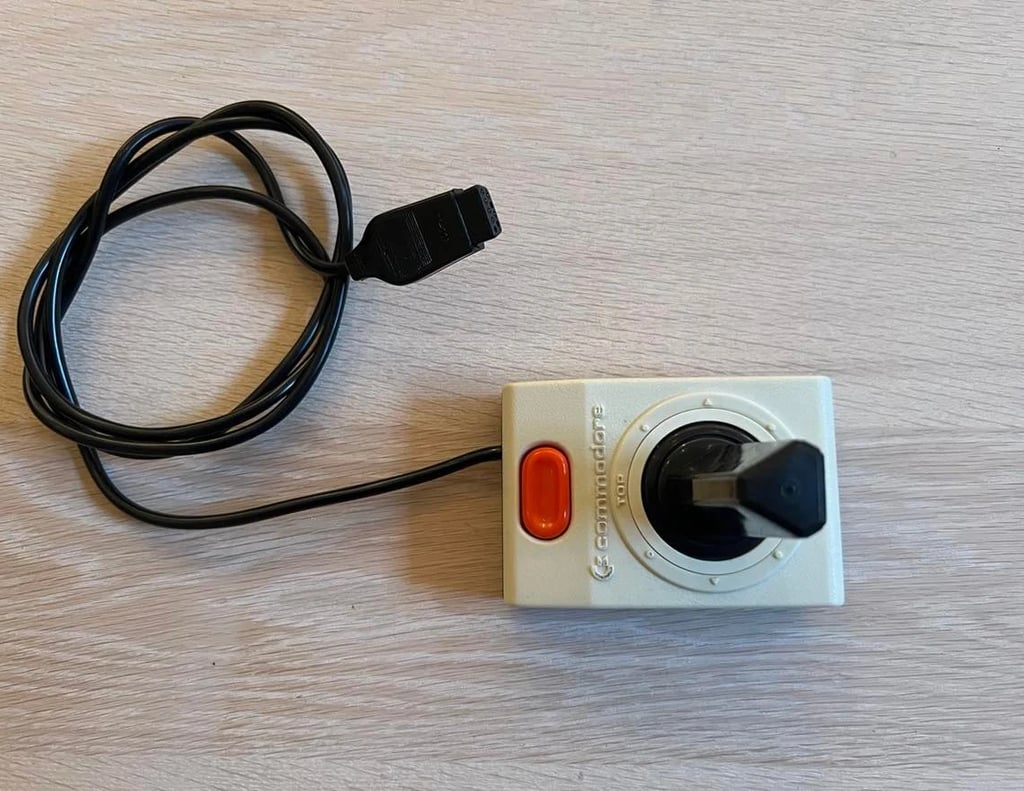
Joystick - Commodore 1311
Refurbishment plan
To refurbish this joystick the plan is to do this trough the following steps:
- Clean, and remove stains from, chassis and all parts
- Clean the PCB- Replace the sticker foil
- Check connectivity
- Verify joystick operation by testing
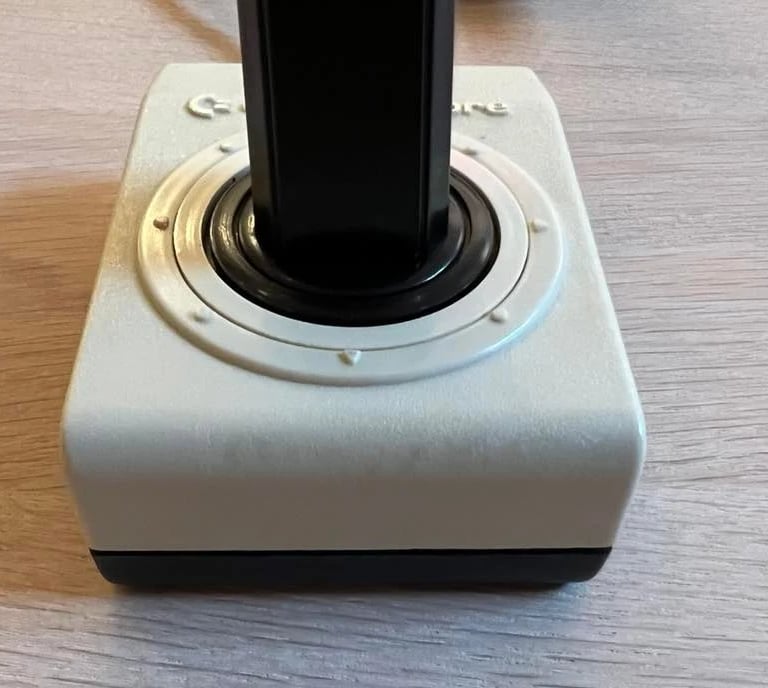
Chassis
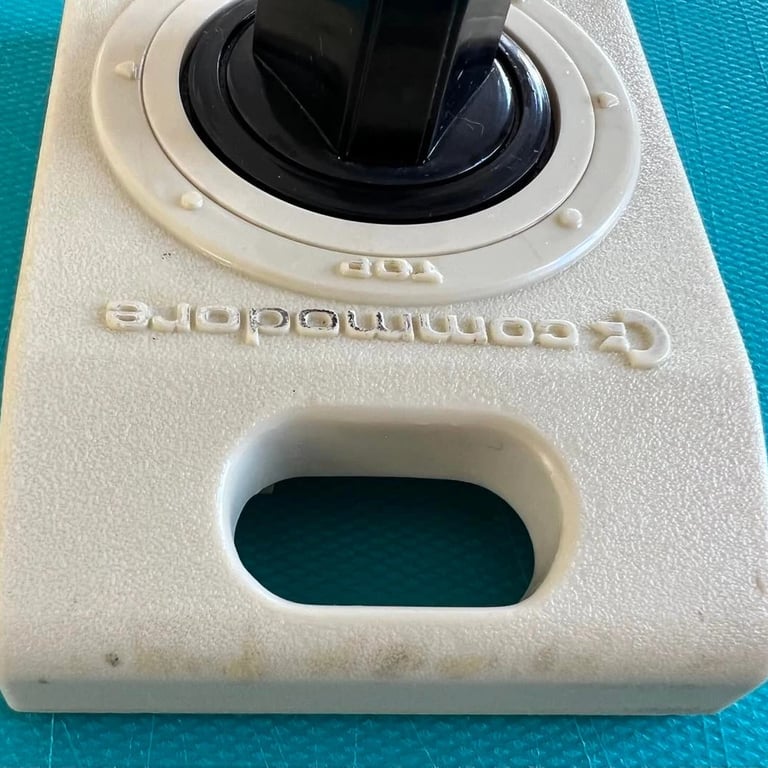
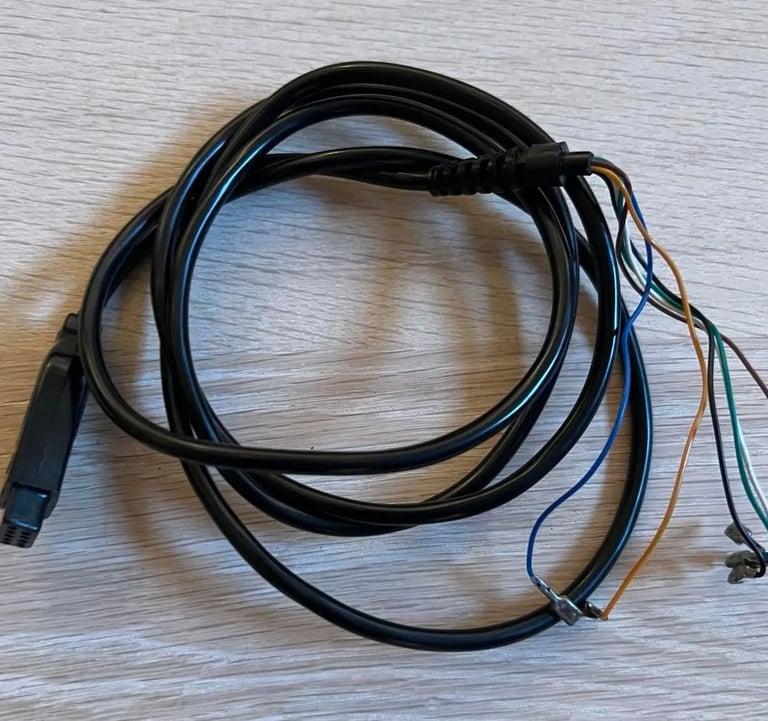
The chassis and the cable needs a thorough cleaning as you can see from the picture below. The outerior of the joystick looks otherwise quite ok. There are some minor marks in the front and the back of the joystick probably due to the cable been wrapped around there, but these are only cosmetic and should be hard to see after cleaning. Also some of the "metal" on top of the Commodore logo is missing on some characters.

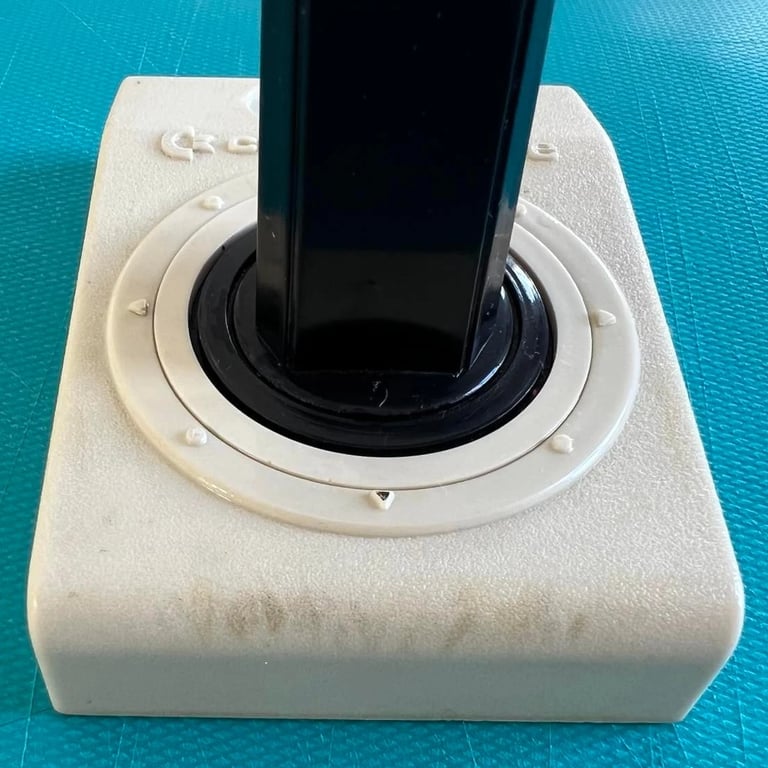
First, the four screws at the bottom are removed and then the joystick is disassembled. All plastic parts are cleaned with luke warm water and dishwasher soap. The result is quite promising, but there are still some stains left as you can see from the pictures below (click to enlarge).
To remove the stains baking soda is used together with a Q-tip. But these stains are really tough! They will not succumb to this way of removing... Next thing to try is a kitchen spray that is designed to remove stains from grill and oven. This is carefully sprayed ONLY on the front and the back and left overnight. This spray can etch into materials so special care is taken to not interfere with any rubber on the joystick!
The result of the cleaning is that there are still some marks left - but this is probably due to the cable that have etched into the plastic. But, all-in-all I´m quite happy with the result:
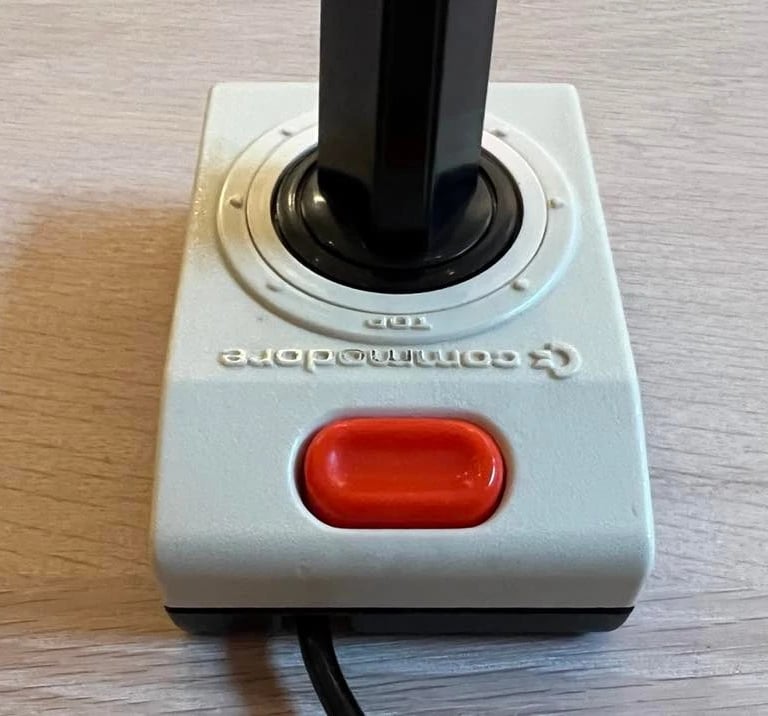
The cable was really dirty - some kind of sticky paper was all over. This was removed with plenty of isopropanol and hard work. But the end result was good!
PCB cleaning
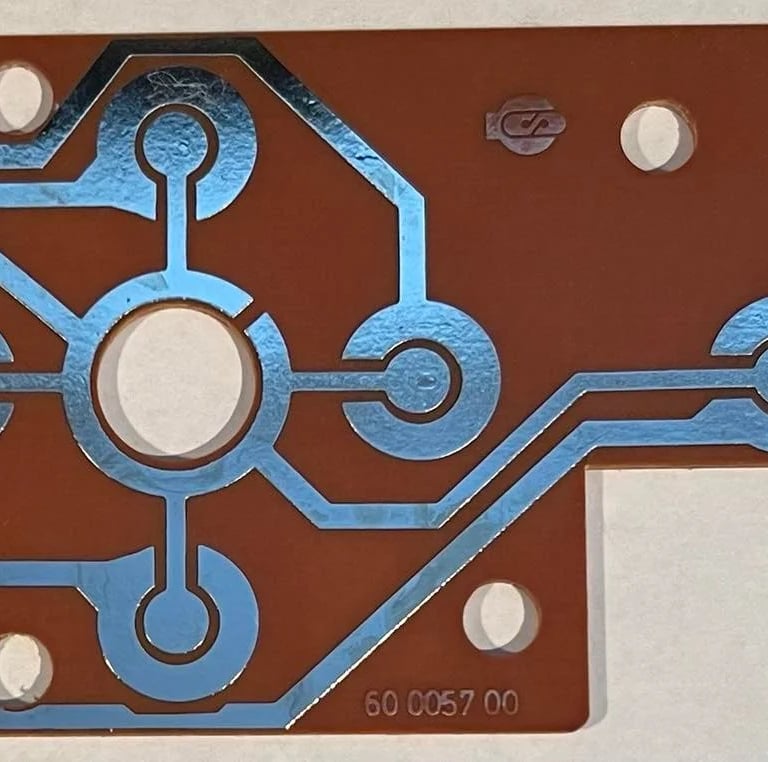
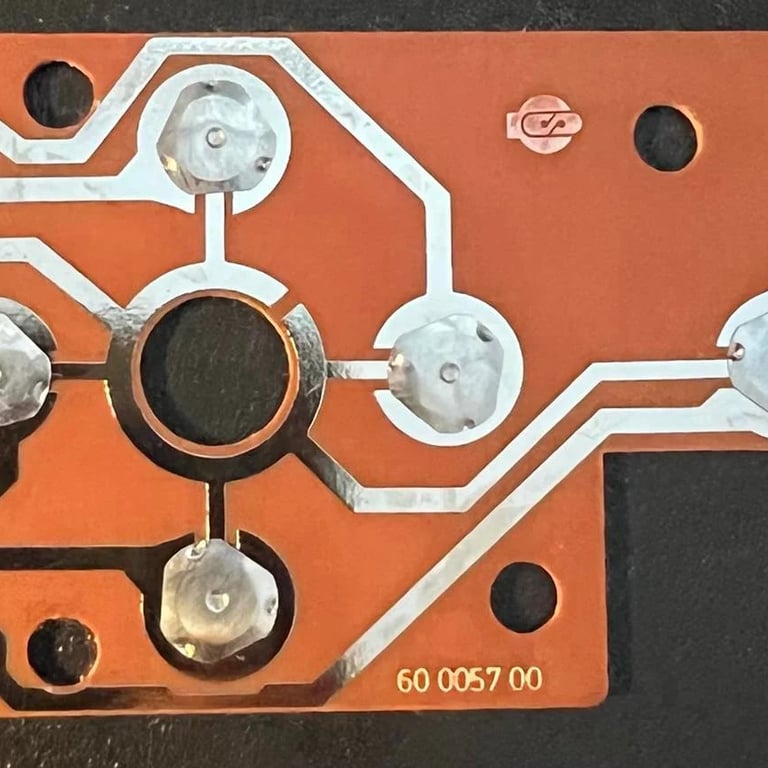
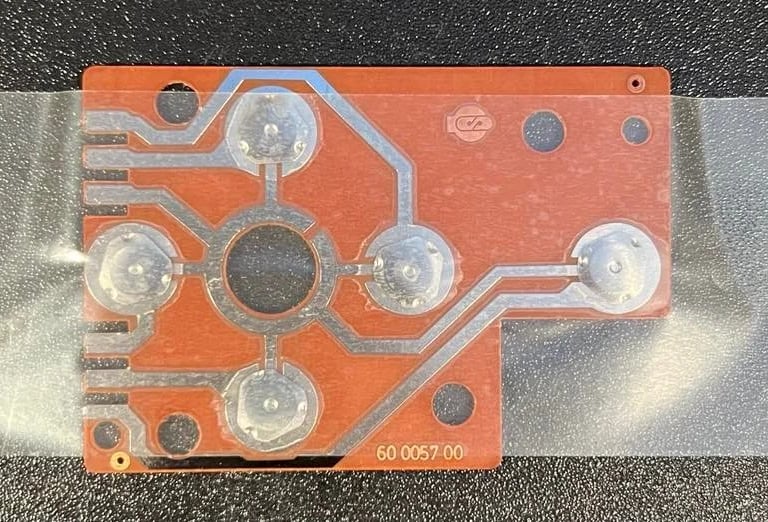
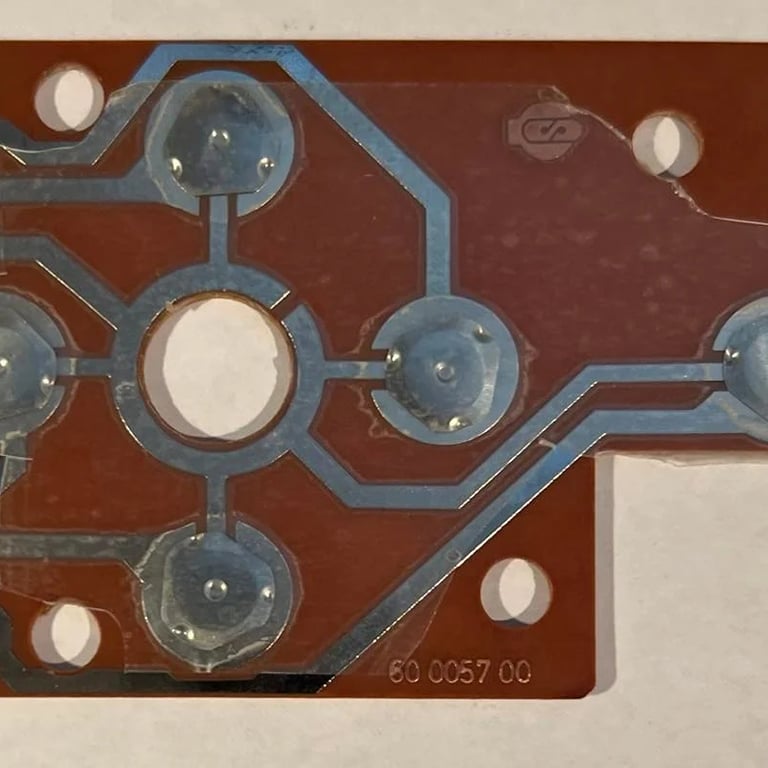
The PCB looks very dirty. It´s sticky and full of old crust. The foil keeping all the switches in place is also loose in quite a few places. See pictures below (click to enlarge).
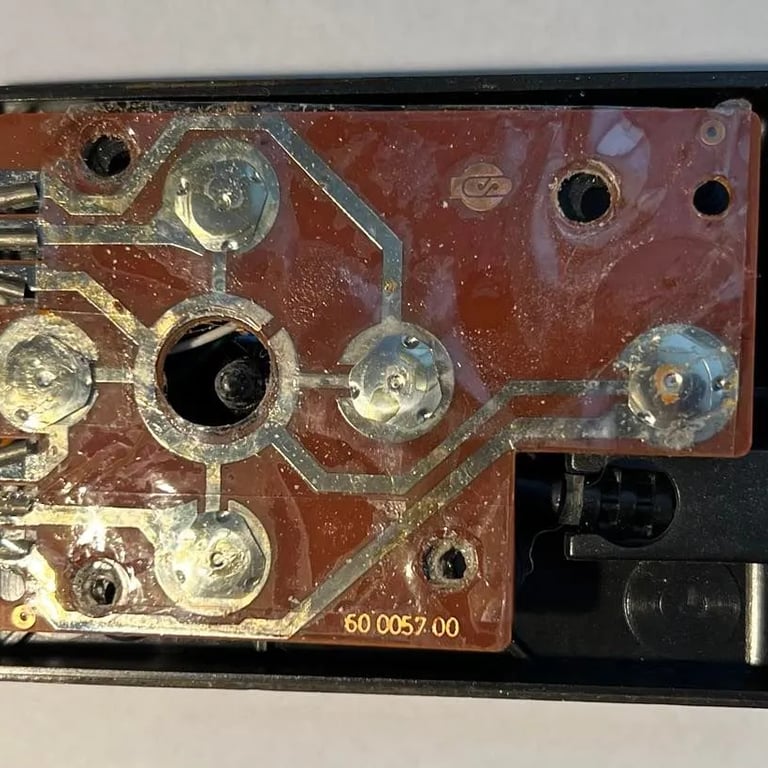
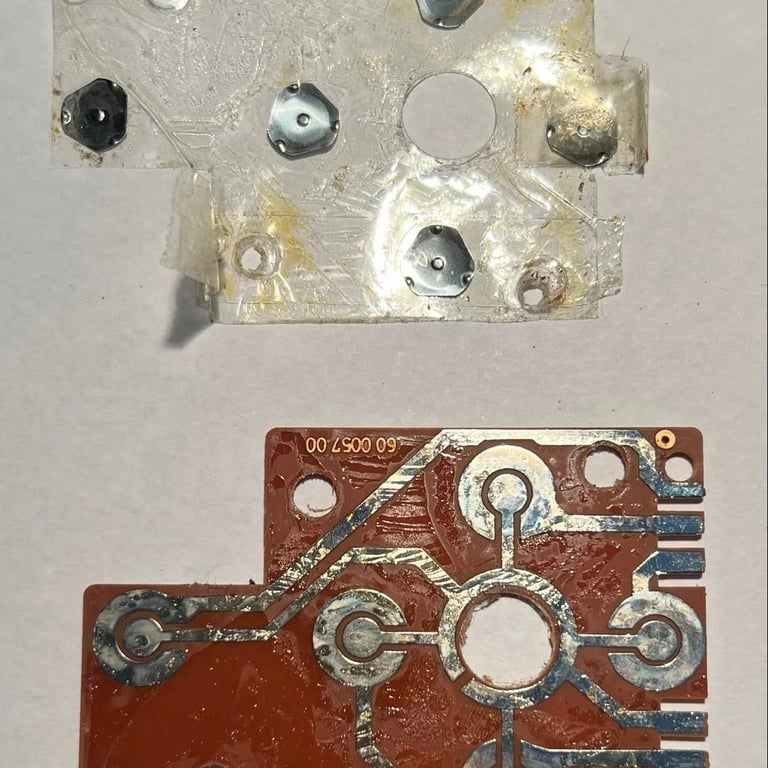
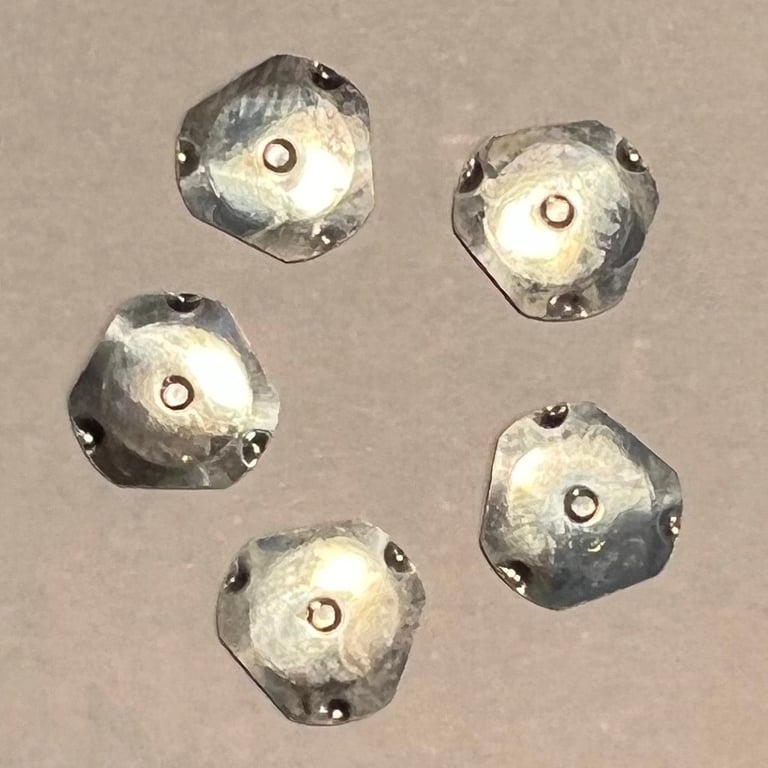
To get a good clean of the PCB and the contacts the foil is carefully removed. NOTE: the switches in this joystick is made from parabolic metal plate which is pressed flat onto the PCB to make contact. These parabolic metal plates can be brittle both due to age and usage so special care must be taken not to destroy these while removing them from the foil. Both the PCB and the metal plates are thoroughly cleaned with isopropanol. The result is very good (click to enlarge):
Replacing the foil
This joystick use a foil to keep all the five switches in place. It´s a very simple design, but works quite well. Nevertheless the sticky foil can loosen from the PCB due to aging, and the foil can break due to mechanical force from the joystick rudder. So replacing this foil is essential.
Replacing the foil is done by using a strong, and good quality, packing tape. The tape is carefully placed over the switches and the PCB, and then cut so that holes and contacts are not covered. Pictures below (click to enlarge).
Connectivity
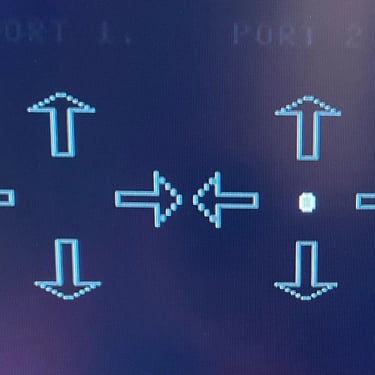
Before the joystick is tested in a real Commodore 64 the connectivity is verified. Joysticks for Commodore machines use 6-7 pins of the DB9 controller port. These pins are for up/down/right/left/fire and then ground and sometimes +5V (for autofire). When the joystick is idle the pins used to control direction (including fire) are high (+5V) using pull-up resistors, but when any of the directions (or fire) are enabled the input is connected to ground.
So to test connectivity:
- When no direction (or fire) is chosen there should not be any connection between any directional input and ground
- When a direction is chosen there should be a direct shortcut between the directional input and ground
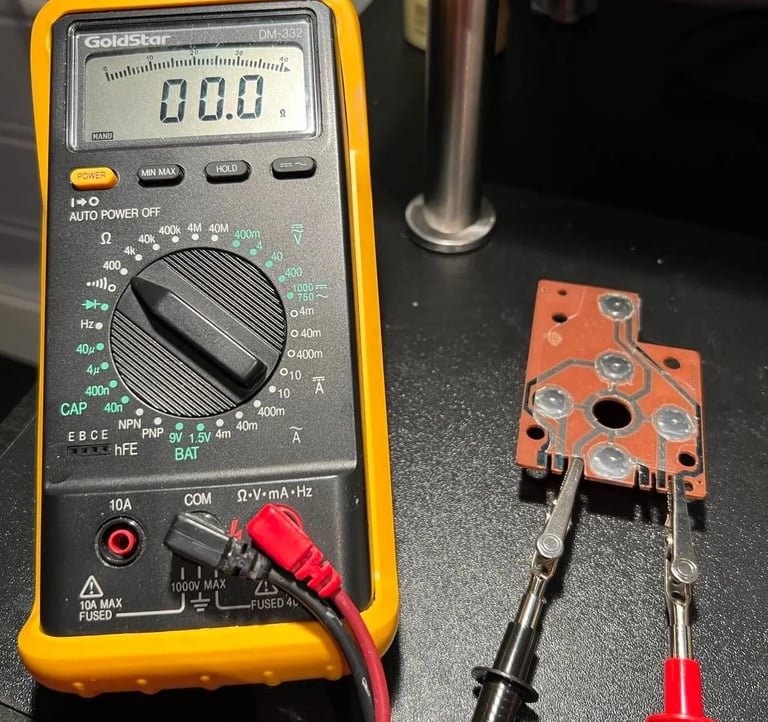
Testing the connectivity is done by using the digital multimeter. See picture below. (Note: the picture is somewhat "lying". It looks like it says that there are 0 Ohms between these two connections which is not correct. The reason that the multimeter shows 00.0 in this picture is because the display changes frequently between 400.0 / 00.0 when there is no connection).
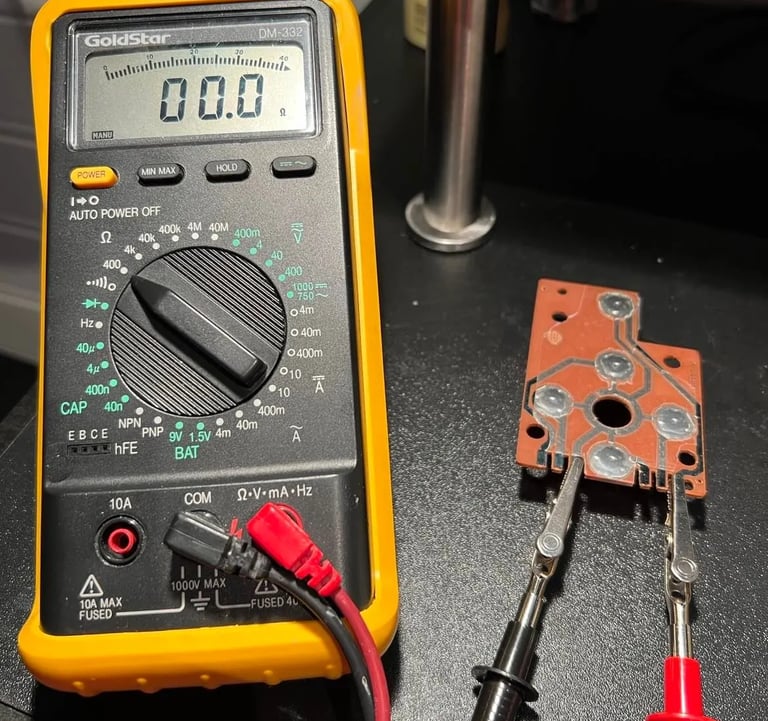
But... the connectivity test show that there is a short between the UP direction input and ground in idle mode. The reason for this is probably that the tape is a bit tight over that switch. So to fix this the tape is gently loosened over the switch, the switch is then repositioned and the tape is put back. After this small operations there are no short between the input directions and ground in idle mode, and a short when any of the directions (and fire) are enabled which is correct.
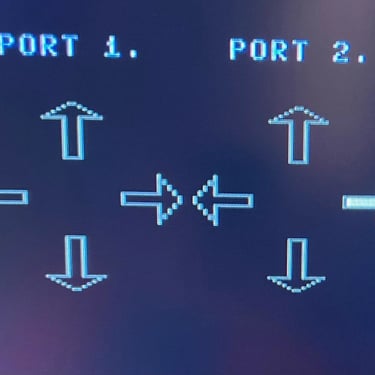
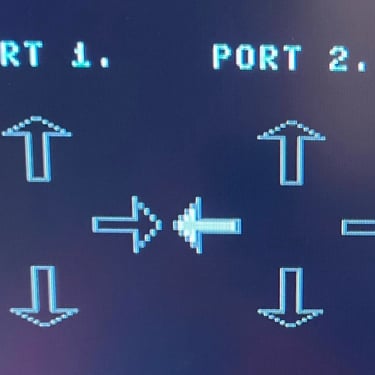
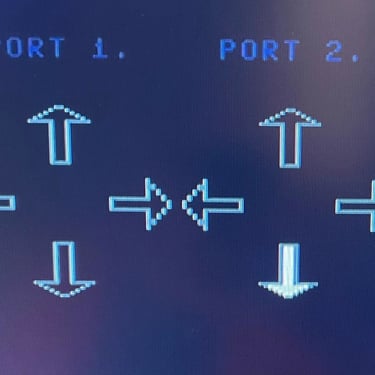
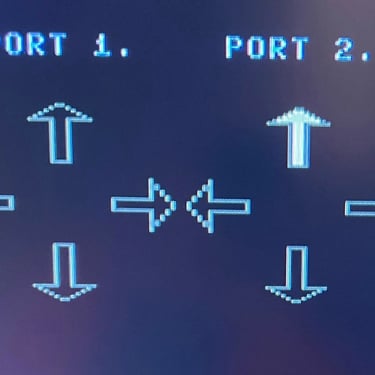
Testing
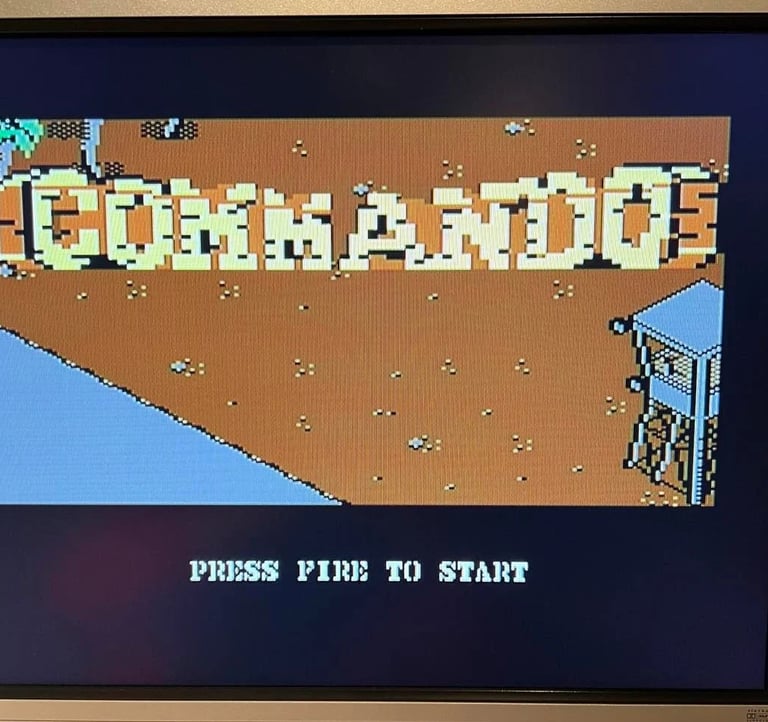
To make sure that the joystick is now fully working after the refurbishment it´s tested on a Commodore 64 - both with a special joystick test program and playing some games. The latter is also a nice reward after all the work with refurbishing! The joystick test program is quite handy; it gives direct feedback on which direction is chosen and if fire button is pushed. Nevertheless, the program doesn´t display all 8 directions (e.g. holding the joystick both down and to the right). So, to really test the joystick I play some games with it to verify that all works ok. And it does! In my opinion this is not the best joystick ever made - but it´s unique in it´s own way. These joysticks are getting rarer and it´s fun to know that this was the first original joystick from Commodore...

Final result
I´m quite pleased with the final result of this refurbishment project. The joystick works and the looks are way better than original and in addition it´s good to know that the interior PCB is in good condition!

Banner picture credits: Studio Alijn