
Competition Pro
Starting point
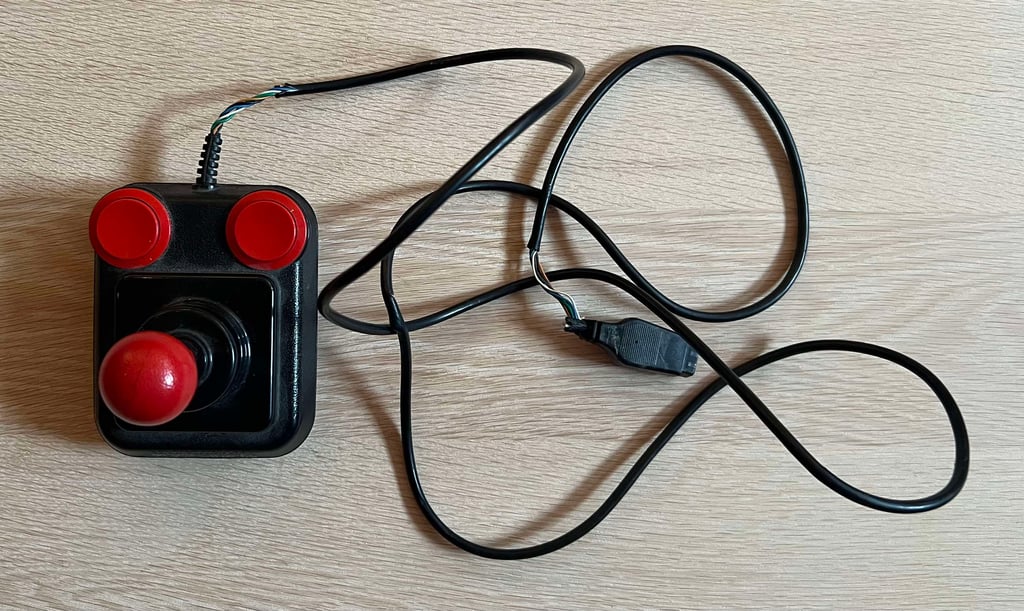
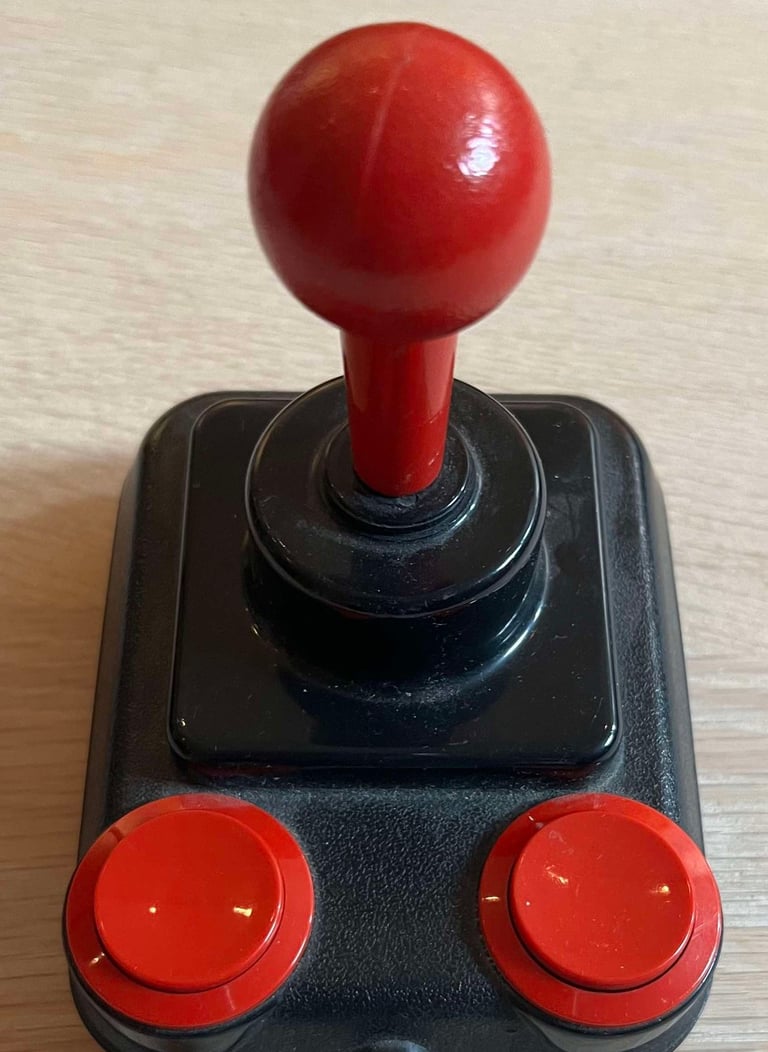
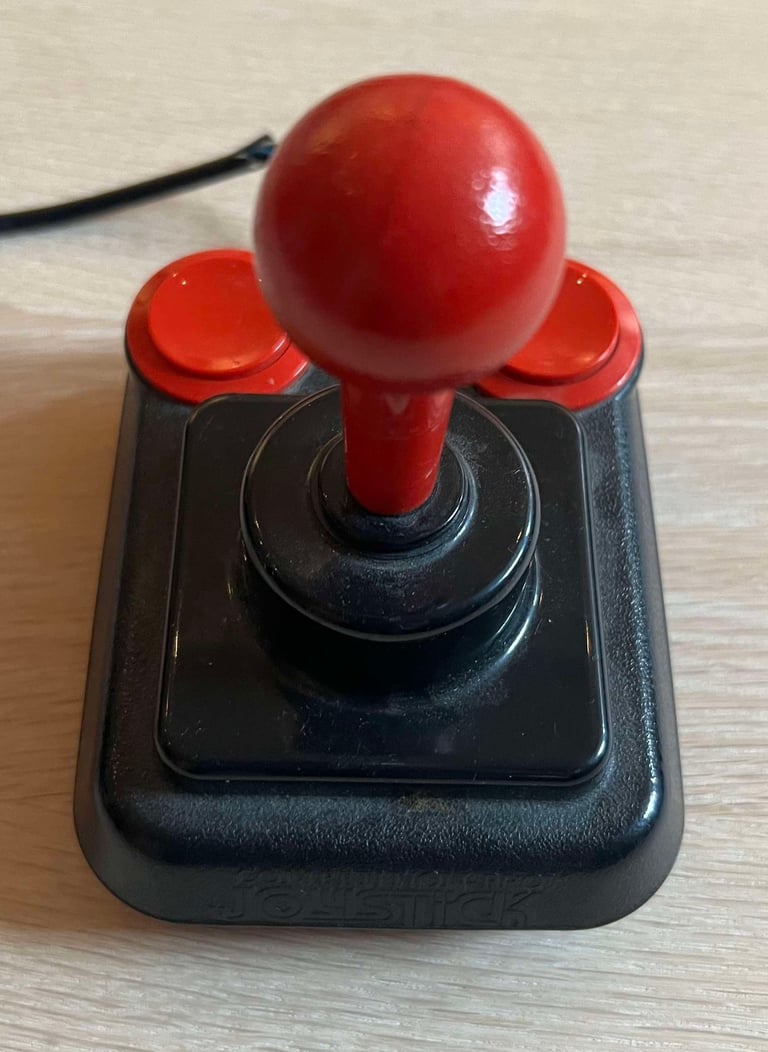
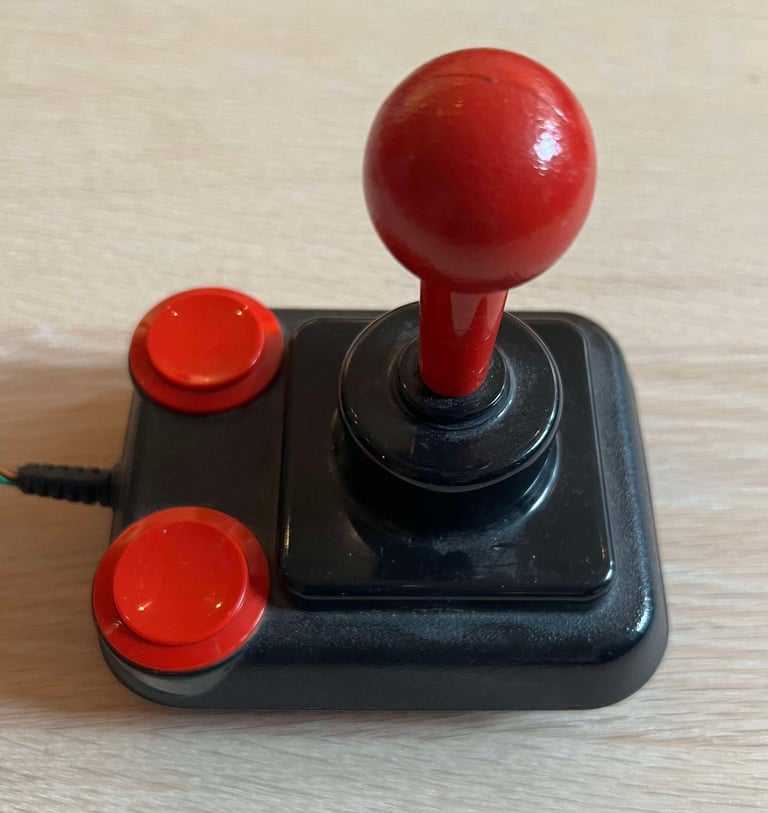
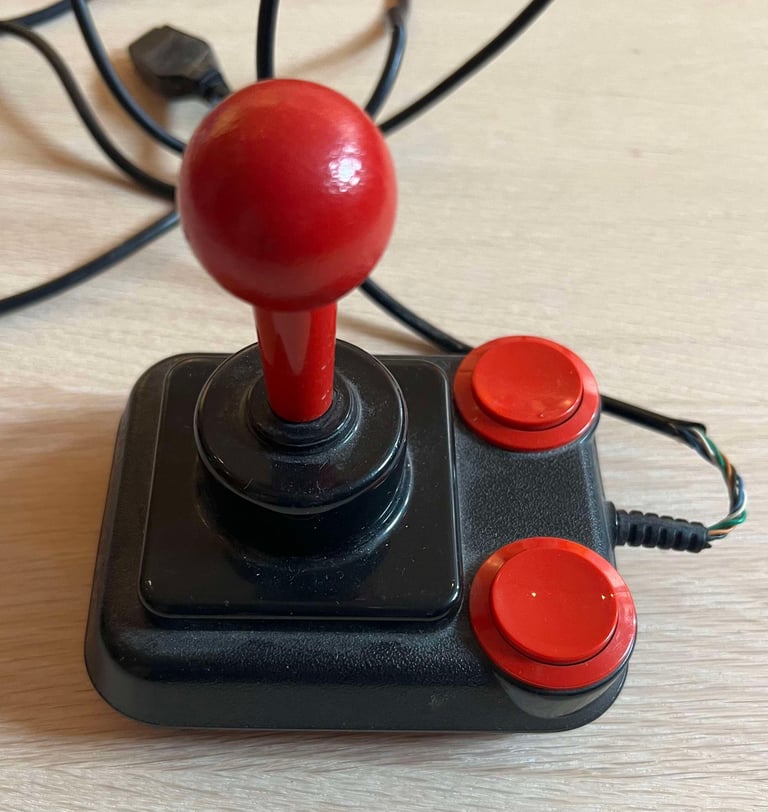
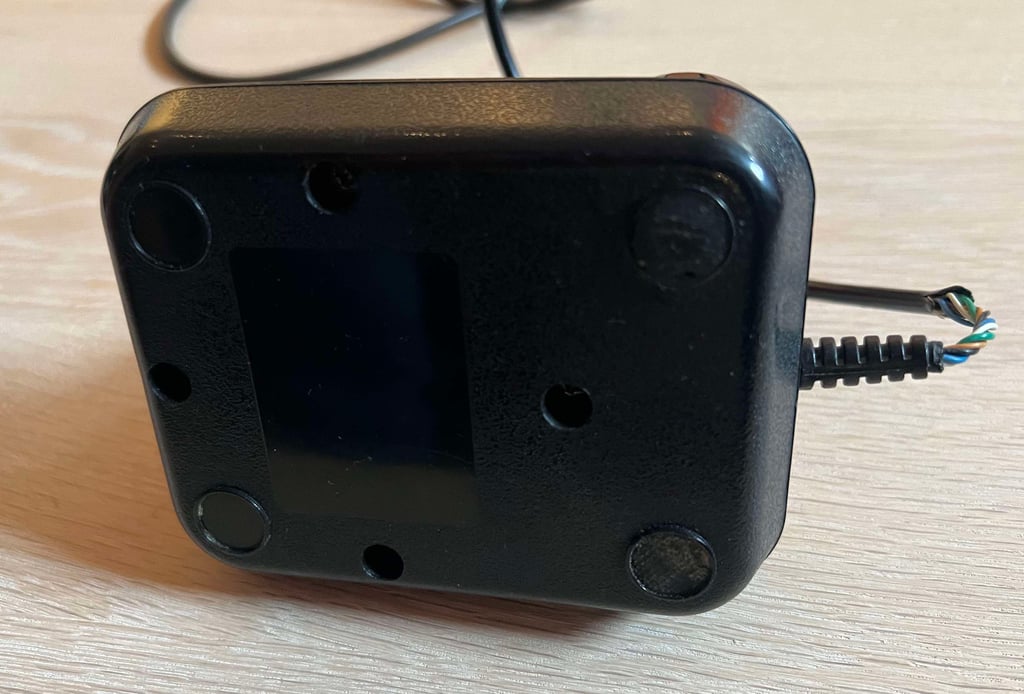
The Competition Pro joysticks has always been one on my favourites. Very high quality both in build and usability. This joystick has seen better days nevertheless. It is full of dirt and grease (the pictures doesn´t do it justice - it is worse). The cable is torn and stretched, hopefully have the strain relief prevented interior damage. Both fire buttons appear to be ok (they can be pushed without any problem), and the nice good clicking sound is present when the joystick shaft is moved in the four directional ways. Only one of the four rubber feet is remaining.
Below are some pictures from before the refurbishment.






Refurbishment plan
To refurbish this Competition Pro joystick the plan is to do this by:
Cleaning the exterior casing
Check (and potentially repair) the interior electronics, switches and mechanics
Replace cable and check cable connectivity
Verify operation by testing
Disassembly
Disassembling a Competition Pro starts with removing the four screw at the bottom cover. This will separate the top cover from the bottom cover.
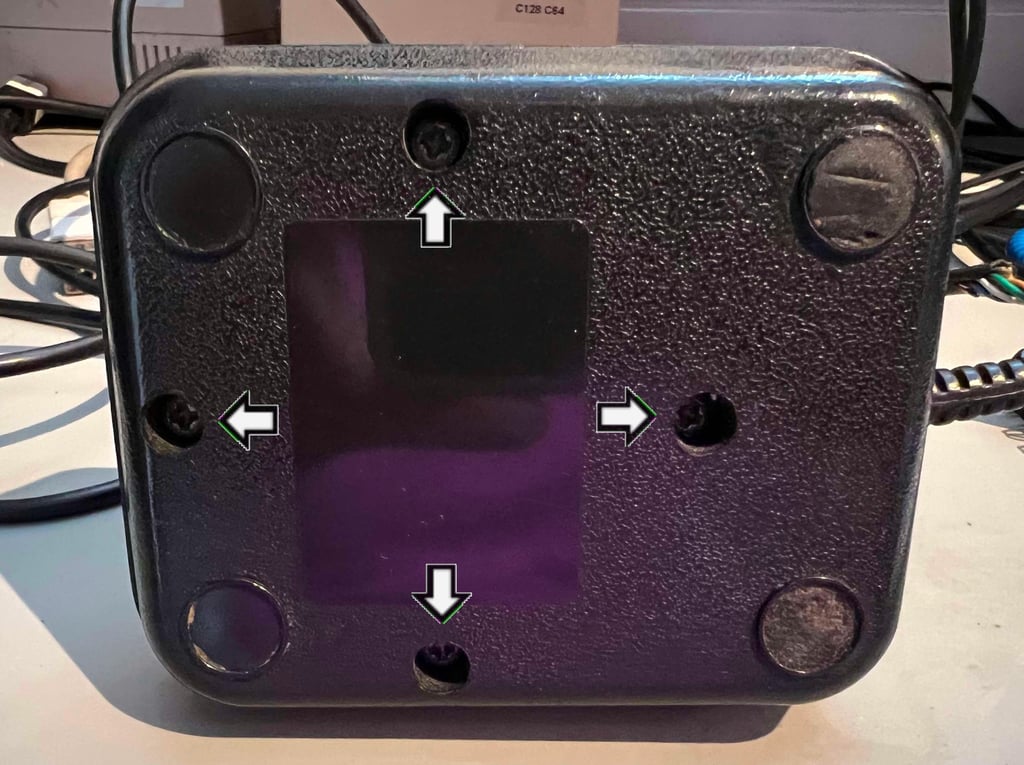

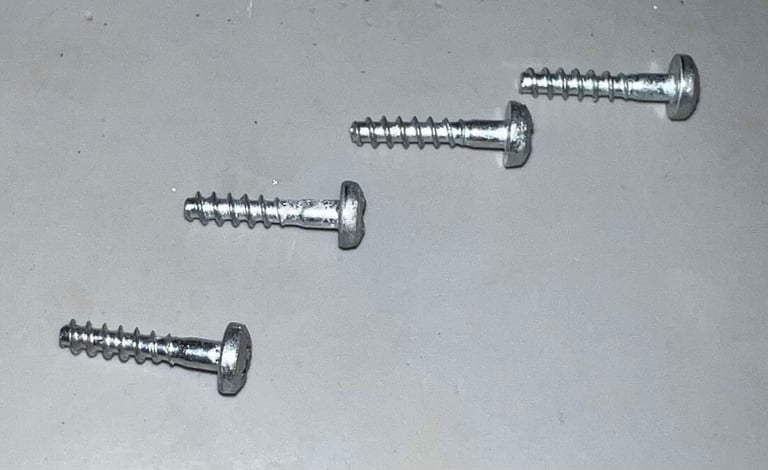
The four screws (3 mm x 16 mm pozidrive) are in fine condition. This is a good sign for whats to come - I think that this joystick has been stored in a dry room.

Removing the top cover reveals the interior. And it looks to be in fine condition! There is very little dust and grease inside. But I do notice that...
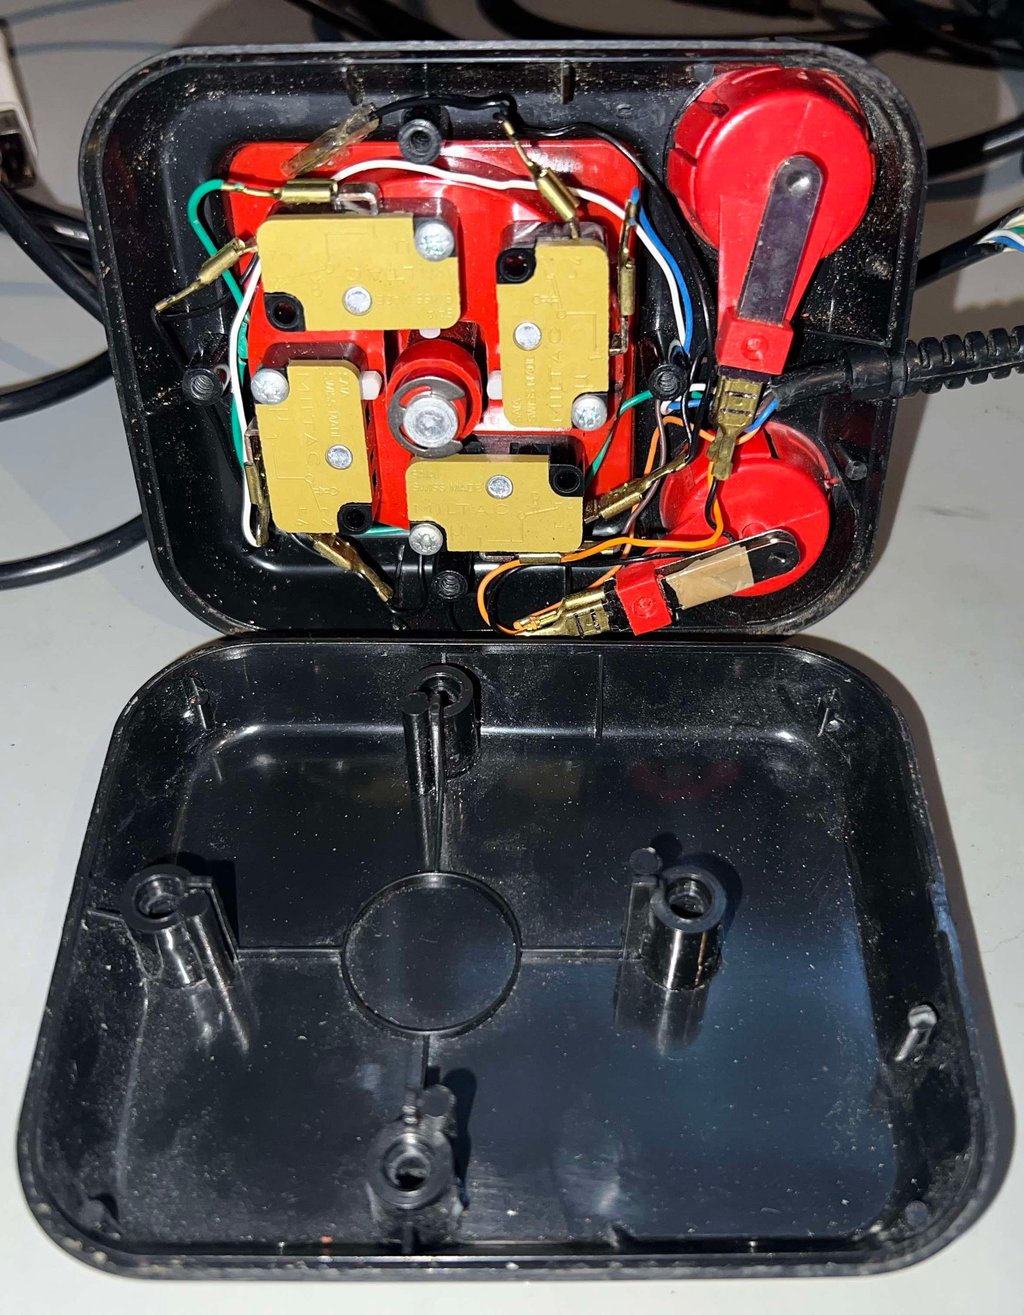

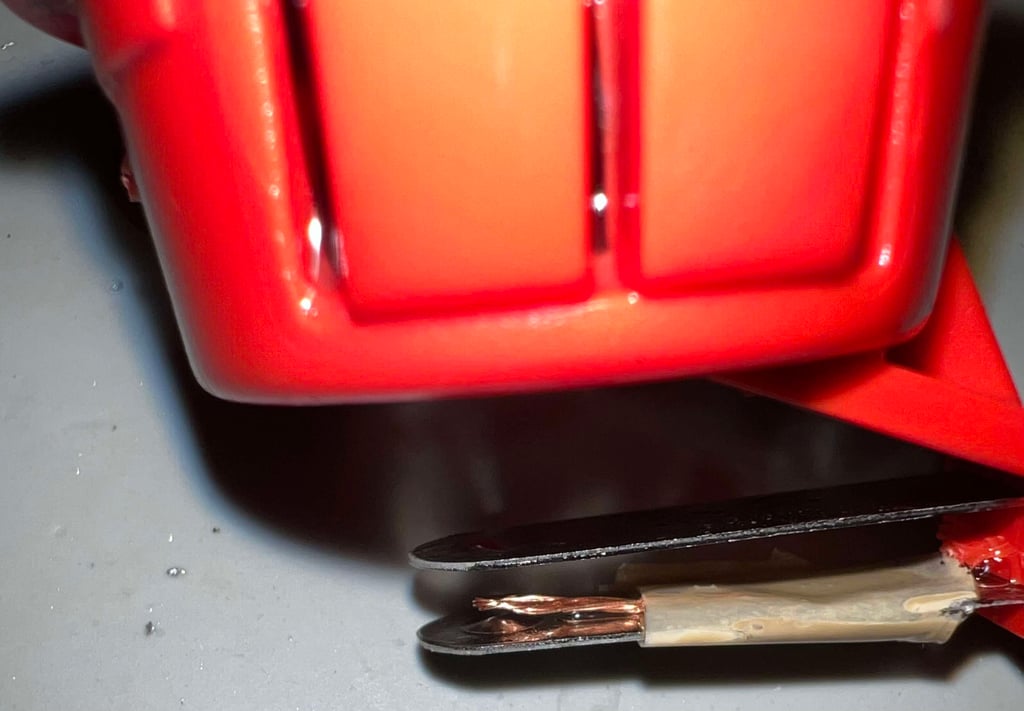
... someone has been here before. I see a pieces of tape used to repair a broken wire (?) and ... eh... repair the fire button switch (?). See pictures below.
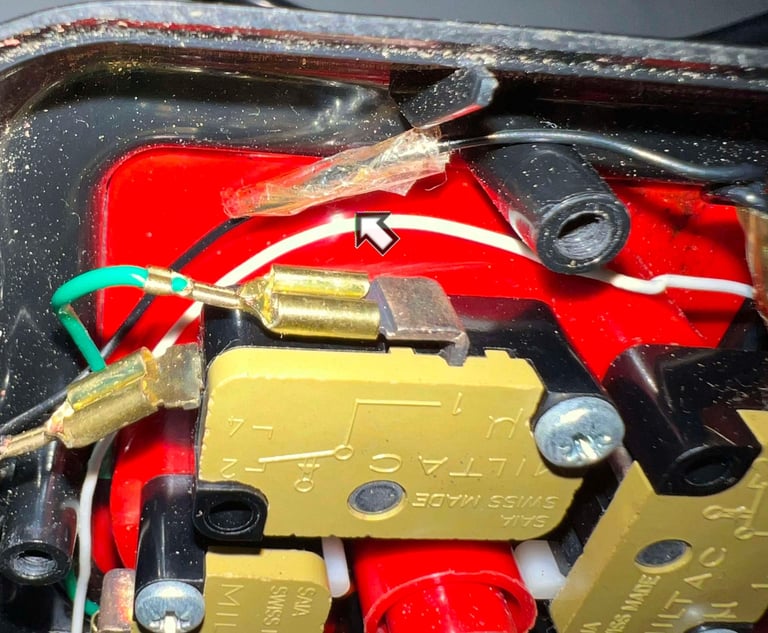

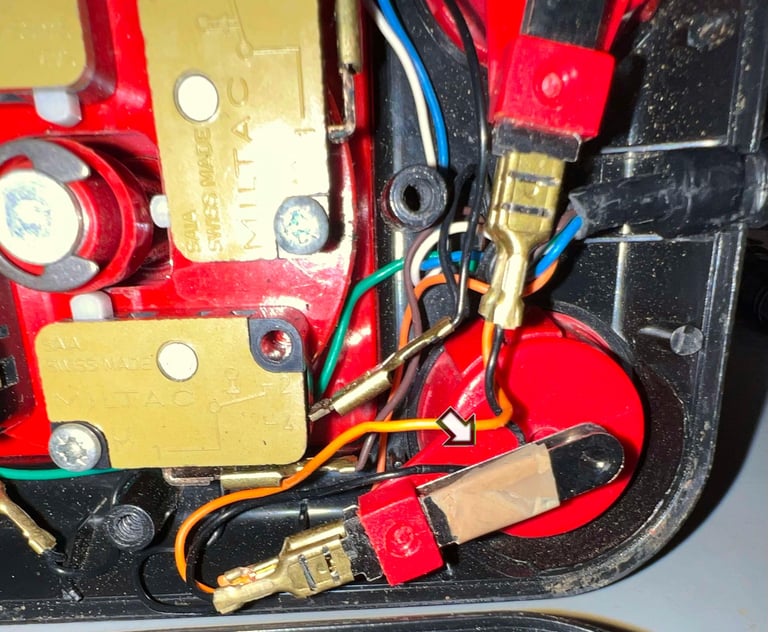

The plastic bracket holding the four directional microswitches are carefully removed from the end of the joystick shaft.
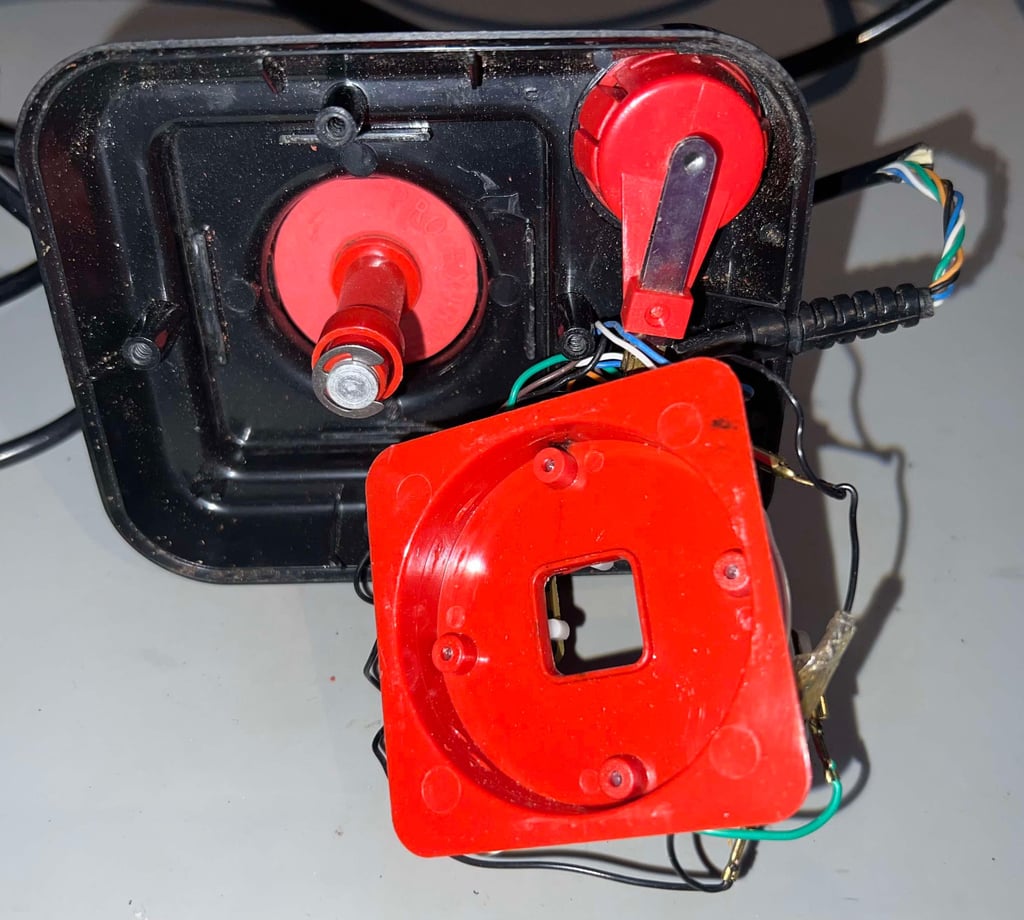

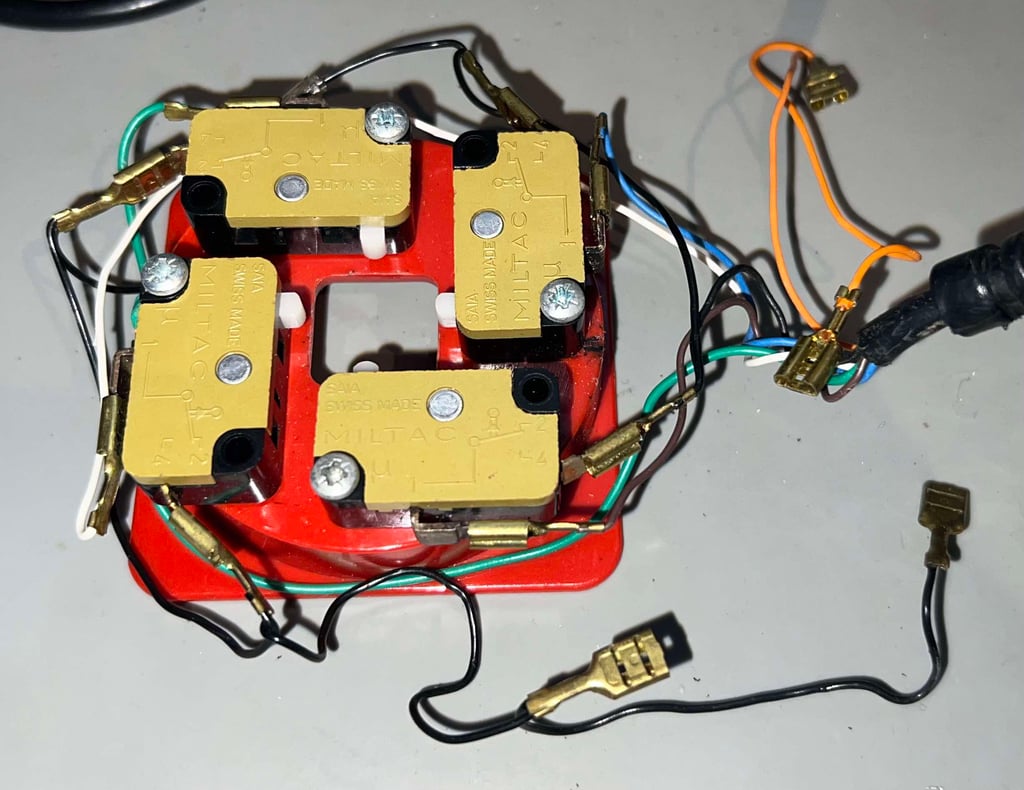
There are four 3 mm x 16 mm pozidrive screws also on the plastic bracket holding the microswitches in place. But notice that even if the length and width is the same, the screw threads are different. So when removing these, it is good practice to keep these apart from the other screws so avoid mixing it up. Also, the cable shoes attached to the two fire buttons are disconnected.

Disassembling the fire buttons and joystick shaft
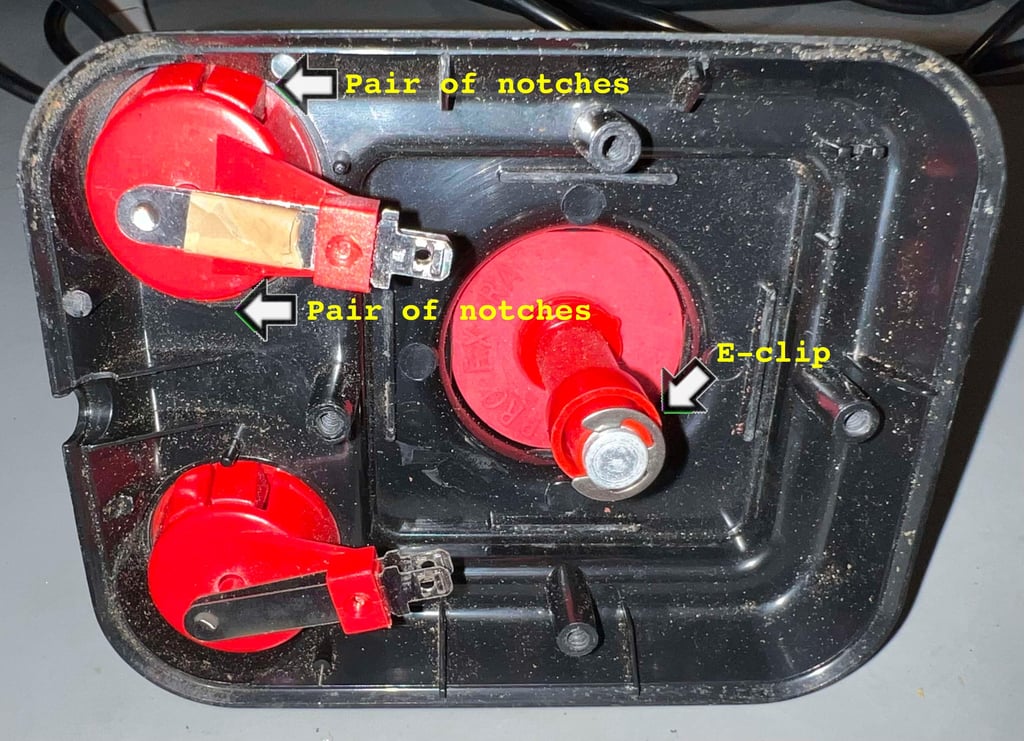
It is not difficult to disassemble the fire buttons, but it is good to know to avoid breaking the old brittle plastic. There are two pairs of notches that can be carefully pressed inwards (from the backside of the top cover). While the notches are pressed inwards the fire button is gently pushed outwards. This can be a bit cumbersome, but with some patience the fire buttons will come loose. Note that the fire buttons will come out as a complete module.
To start disassembling the joystick shaft the E-clip is gently removed with a flat thin screw driver.

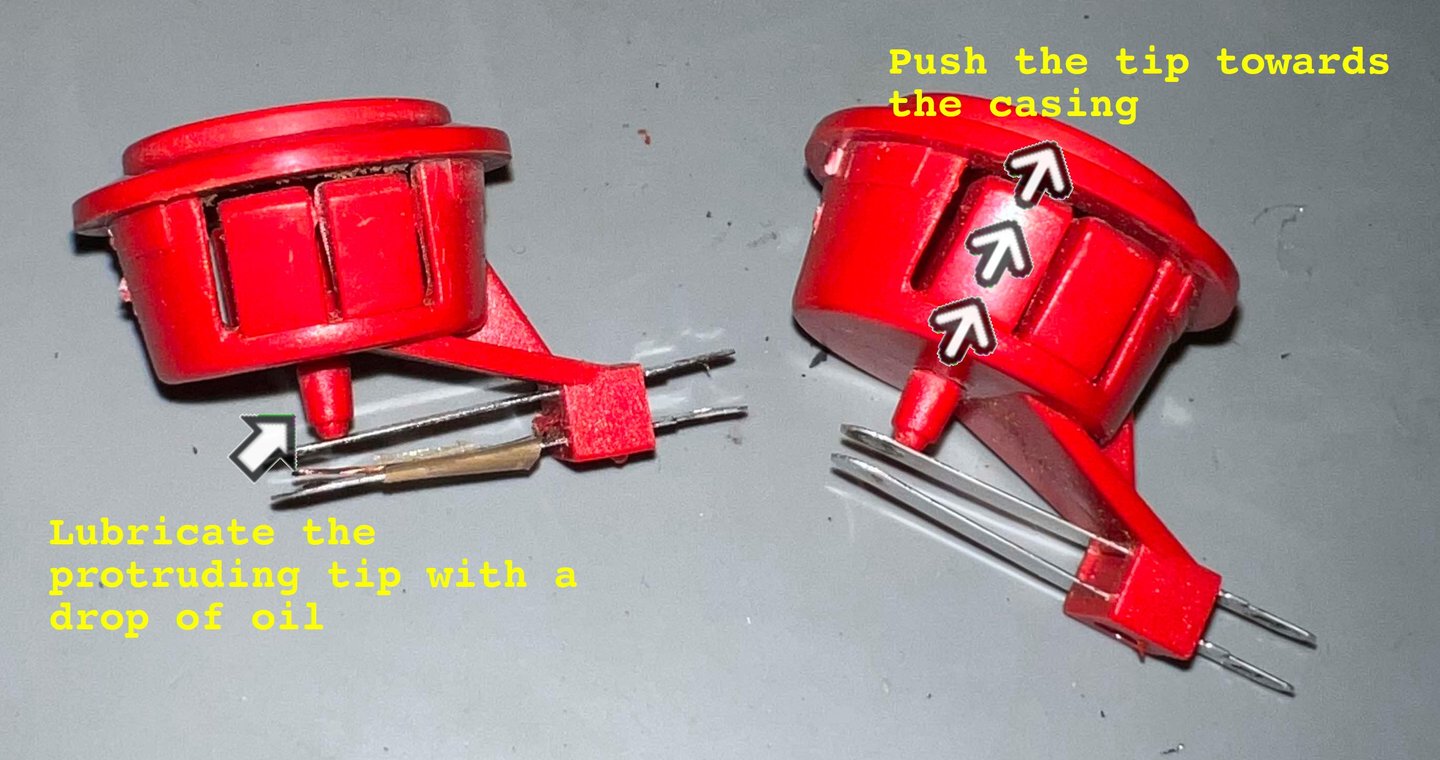
For the complete disassembly of the fire button modules I use a little trick: sewing machine oil. By applying just a tiny drop of sewing machine oil on the tip of the protruding tip it makes it "easier" to push the fire button out of the casing. The protruding tip is kind of a "barb" which is only design to go into the casing and then lock it. But with the lubrication in place this process can be reversed. A flat screwdriver is used to press the protruding tip - and this will release the fire button from the casing.

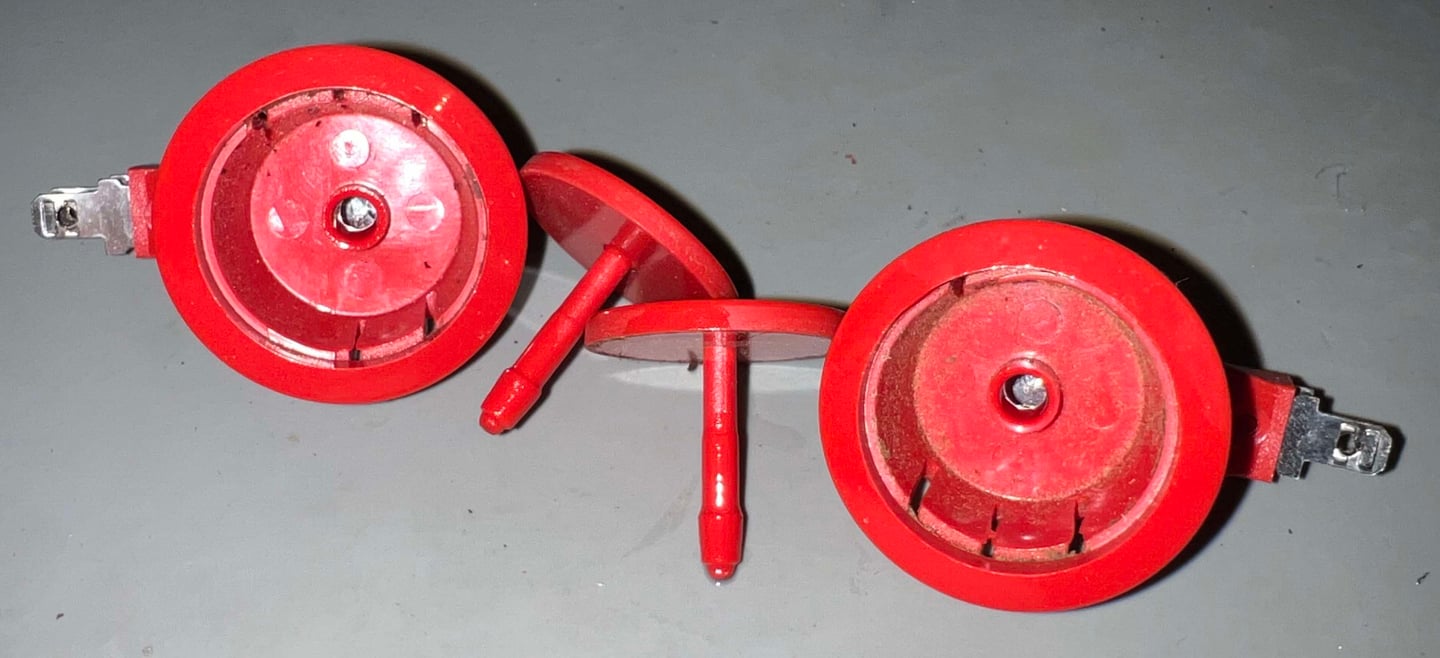

With the E-clip out of the way, disassembling the joystick shaft is a walk in the park. The joystick shaft is pulled out of the rubber puck and the remaining plastic parts collected.
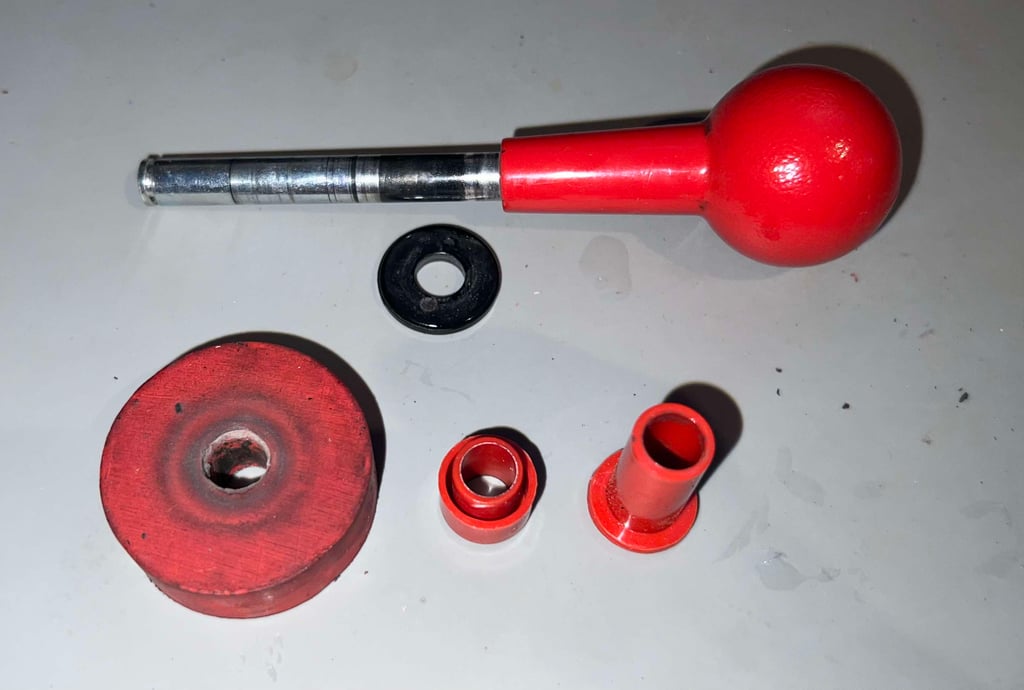

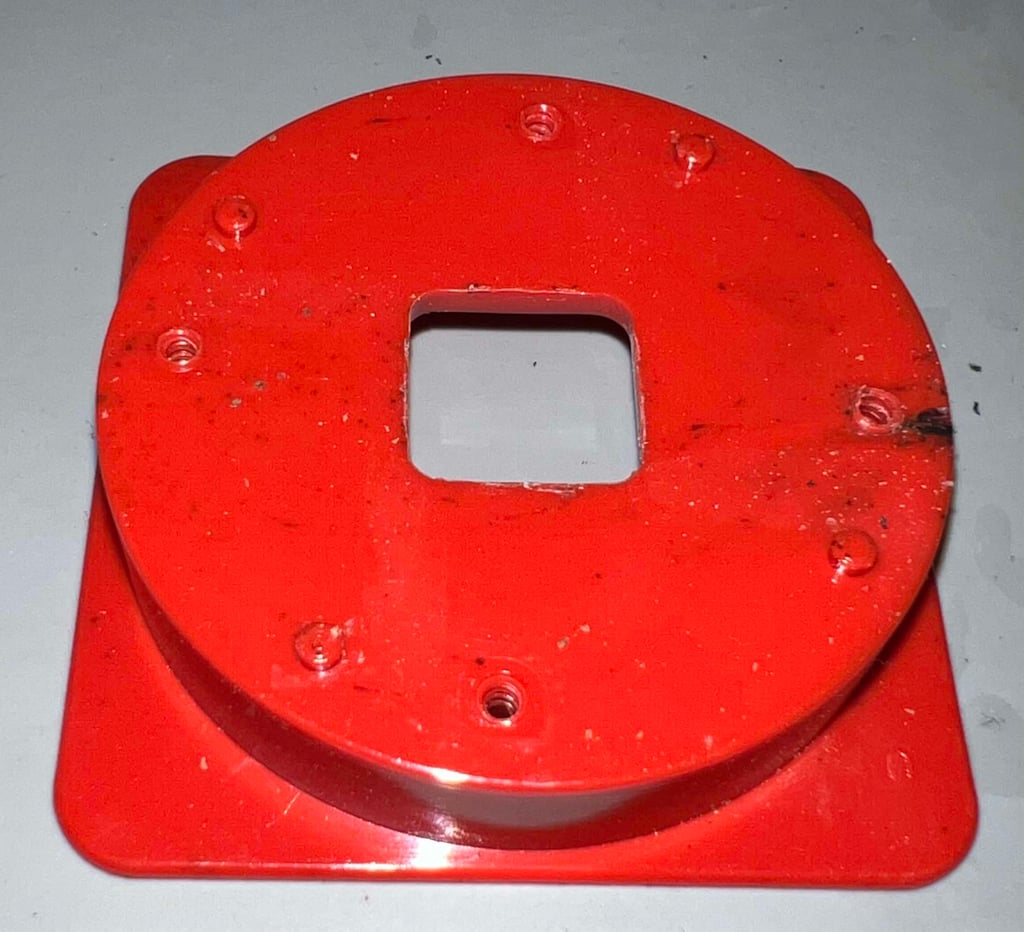

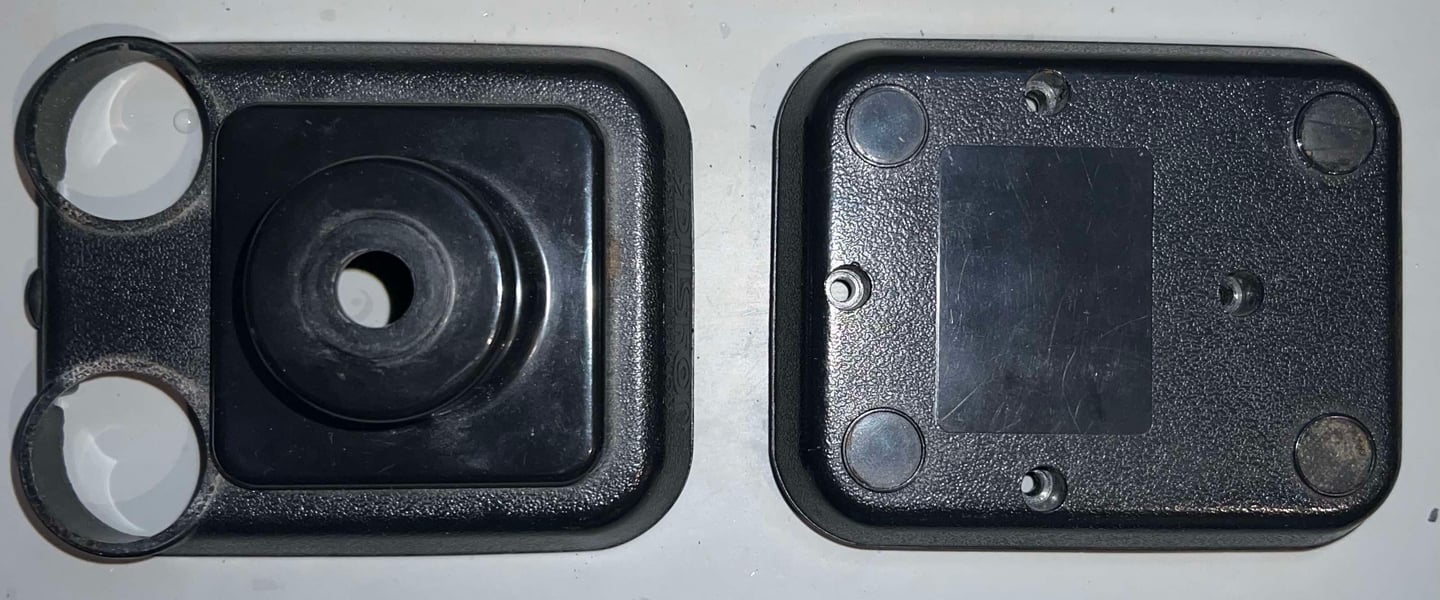

Exterior casing and plastic parts
So simple, but yet so effective, a long 24 hours bath in mild soap water and a hint of glass cleaning spray does wonders. Most of the dirt and grease will be dissolved without any damage to the plastic.
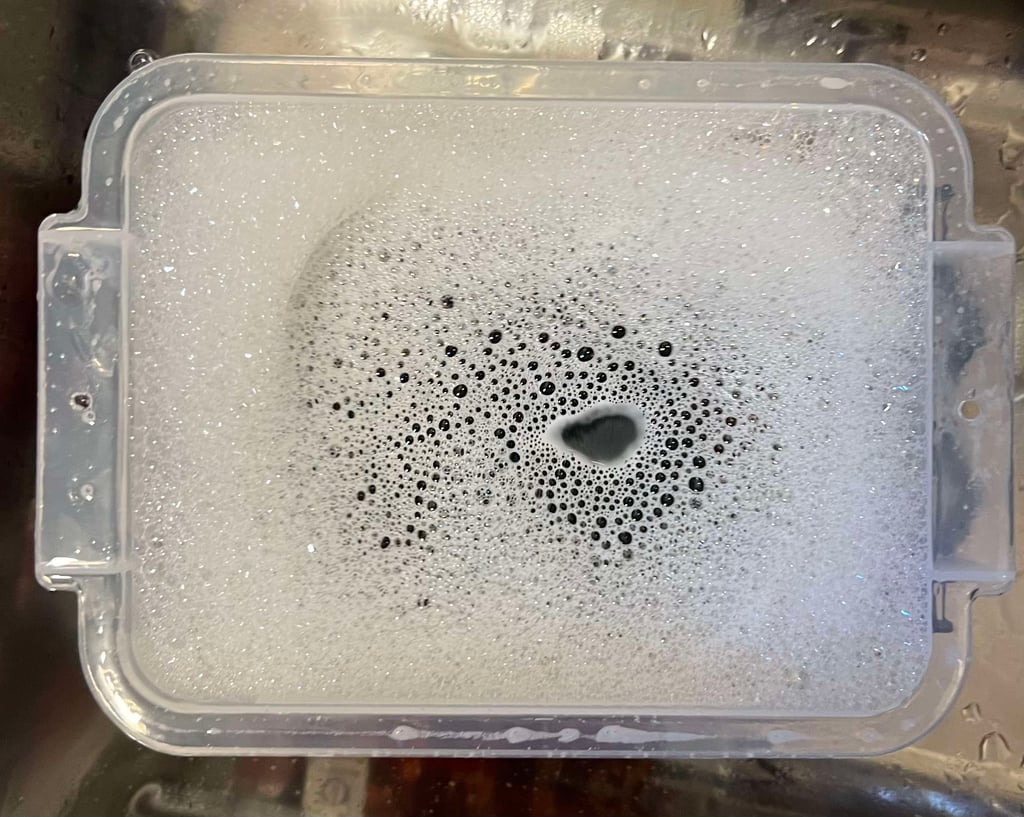

All the parts look quite good after the celeaning.
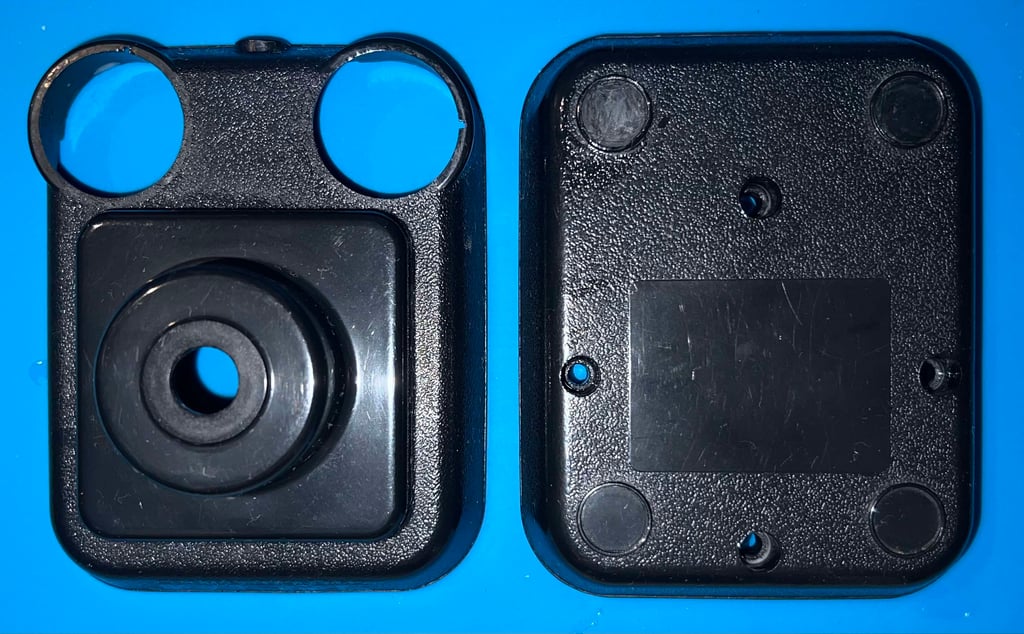

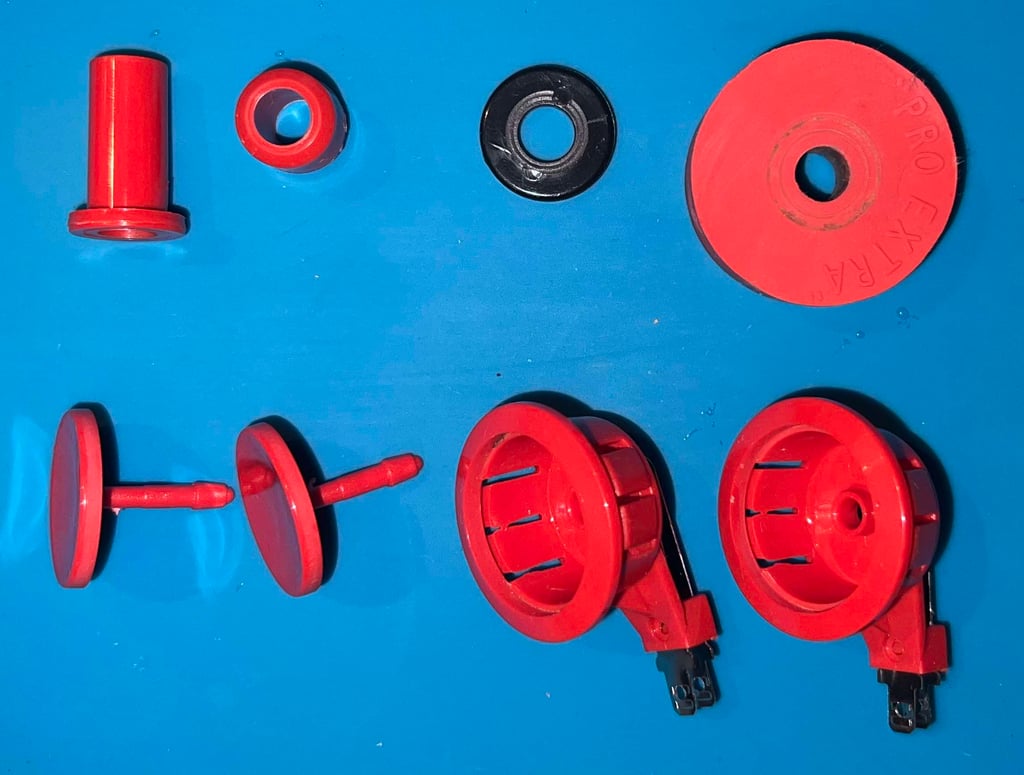

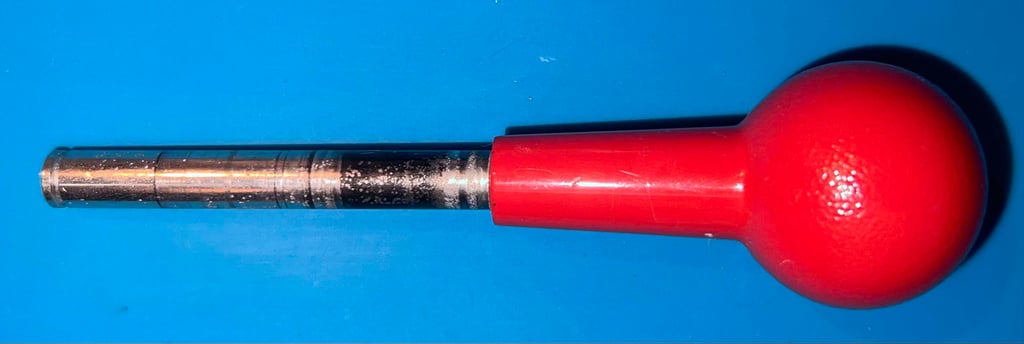

To reduce the risk of "creaking noises" a thin layer of multi purpose grease is applied within the dome area where the rubber puck will be placed later.
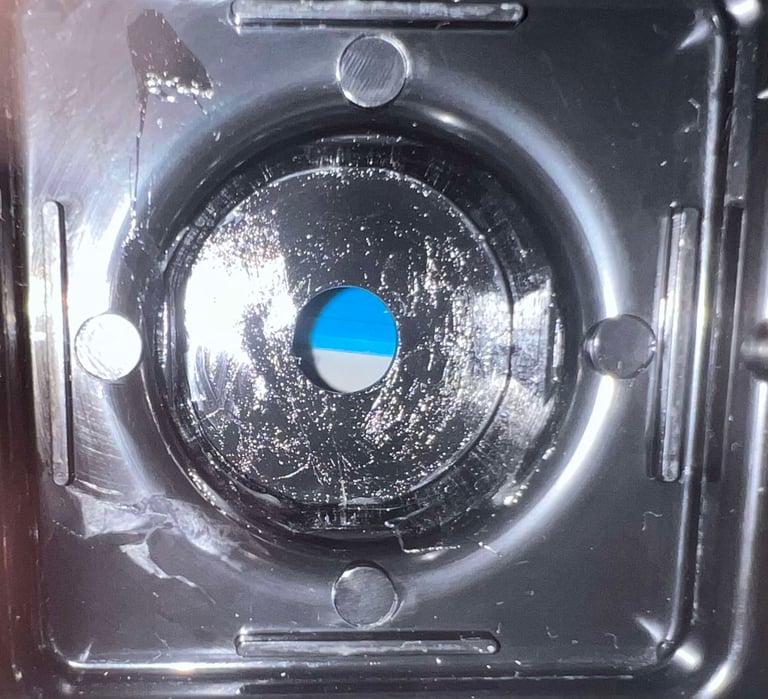

Electronics and microswitches
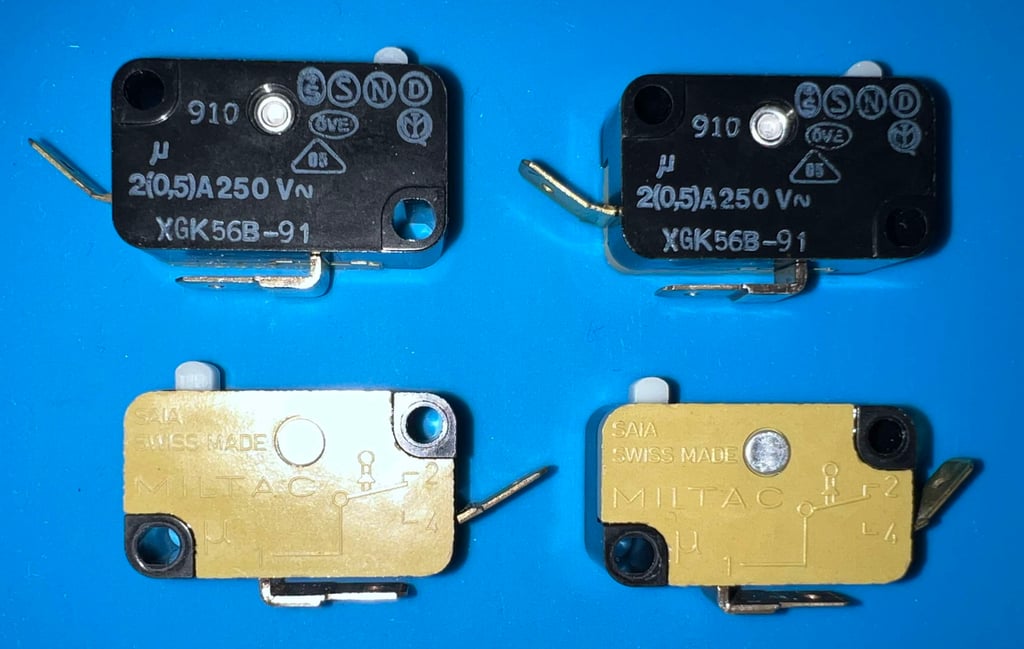
The joystick is equipped with four high quality microswitches from SAIA MILTAC, version XGK56B-91 and made in Switzerland. But after disassembly it becomes clear that the contacts are heavily oxidized. To remove the oxidation the copper is thoroughly brushed with a steel brush, and then cleaned with isopropanol. Below are some before (left/top) and after (right/bottom) pictures. Note that these pictures does not do real justice - they are more oxidized than it appears in the pictures.
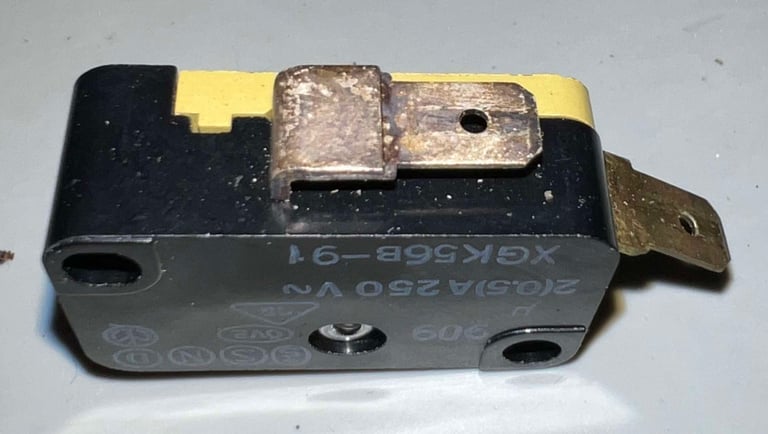

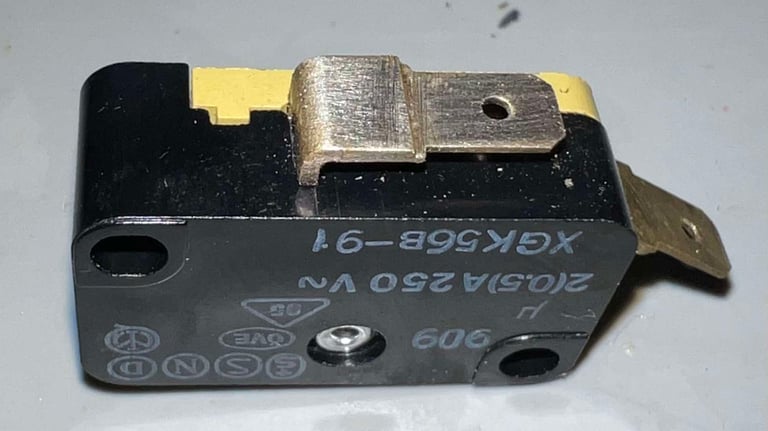

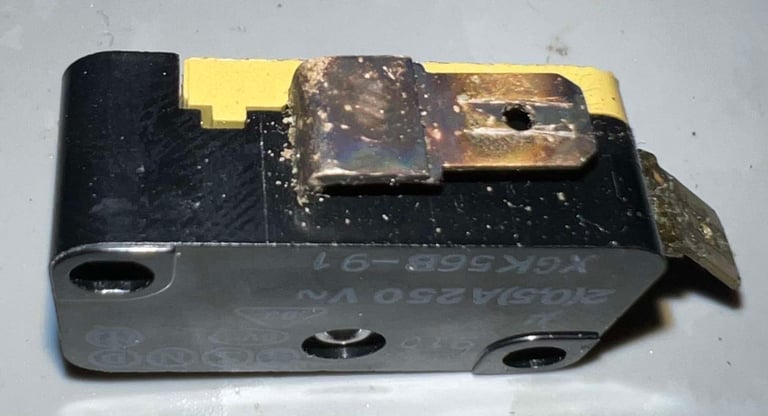

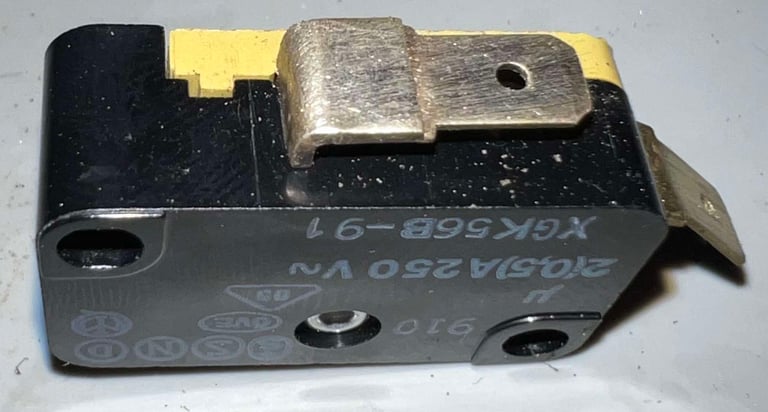

After cleaning the microswitches look good as new. Nice!

With closer inspection I see the purpose of the small piece of tape on the fire button. It is holding a piece of additional copper wire - to make good contact between the leaf switches. This is probably done by a previous owner (I hope! And not from factory!) because the two leaves are not touching properly when pressed. This is fixed by using a pair of pliers and carefully bending the lower leaf switch.

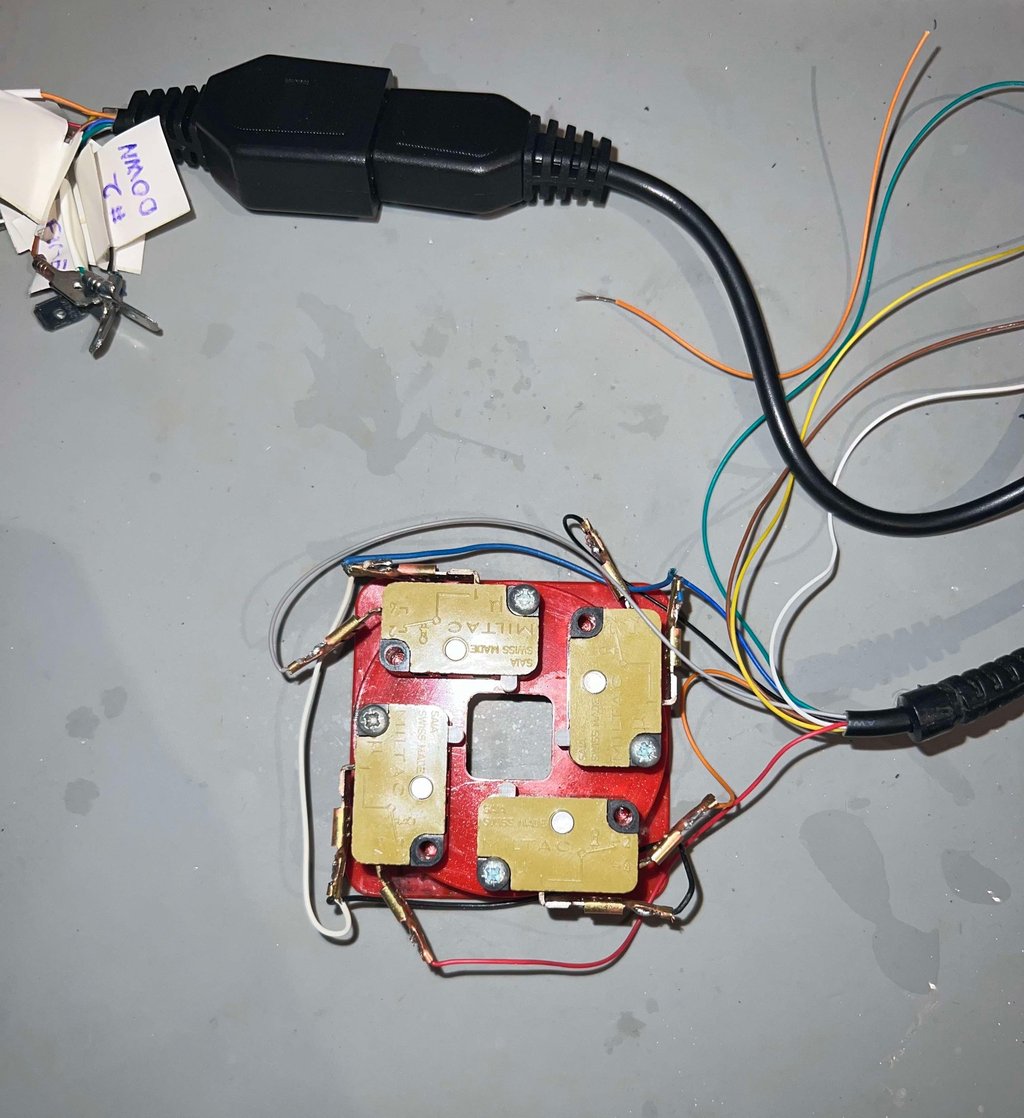
A brand new cable, and a DB9 connector, is mounted back on the microswitches.

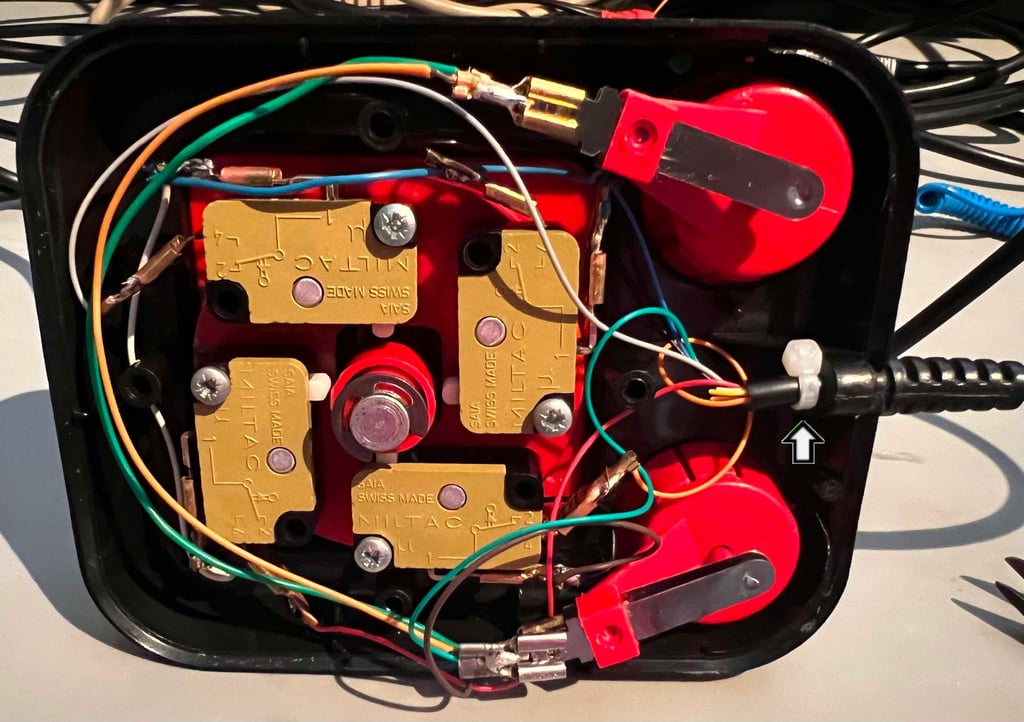
Finally the microswitches are put back in the top cover, the fire buttons reattached and a small "extra strain relief" (aka a good old cable tie) is added. Ready for testing!

Testing
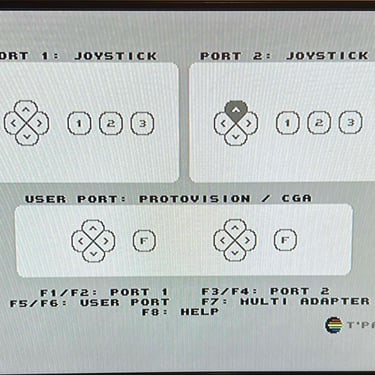
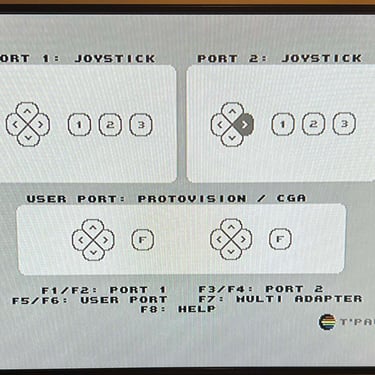
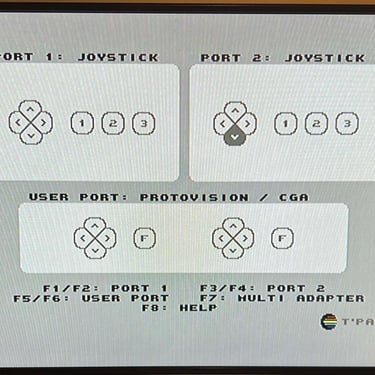
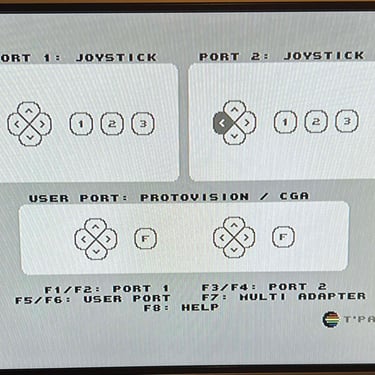
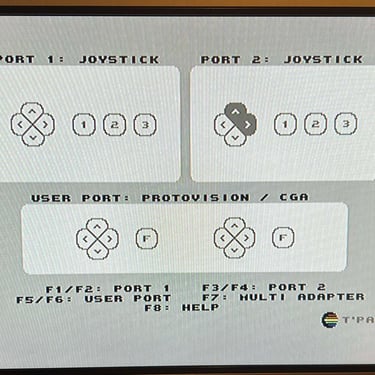
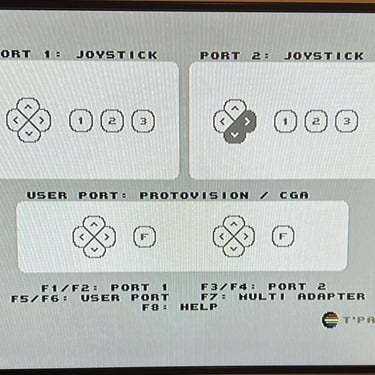
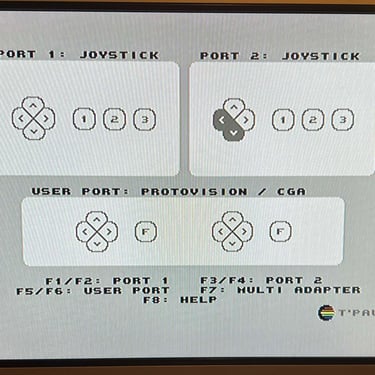
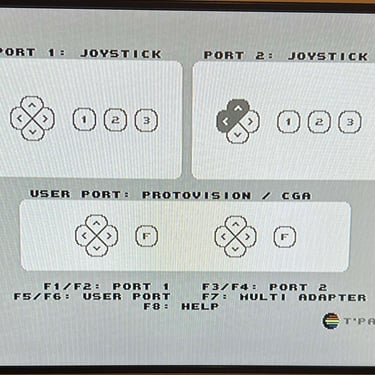
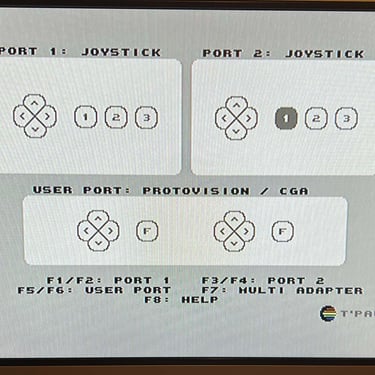
To verify that the joystick work as it should I check it with the Joyride software. Result is that all directions and fire buttons works fine works as expected. All tests pass.
Final result
"A picture worth a thousand words"
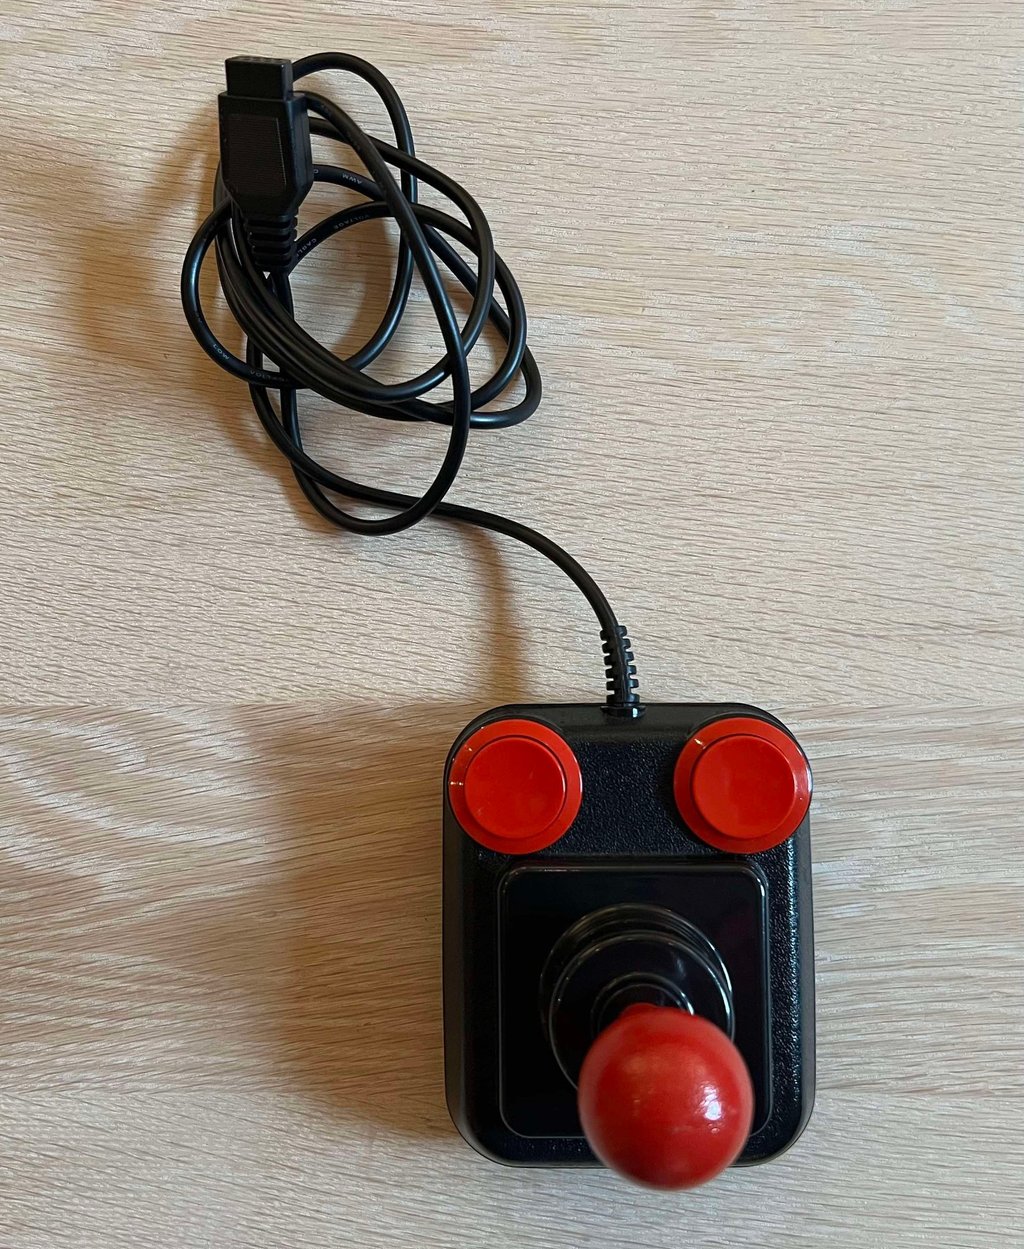
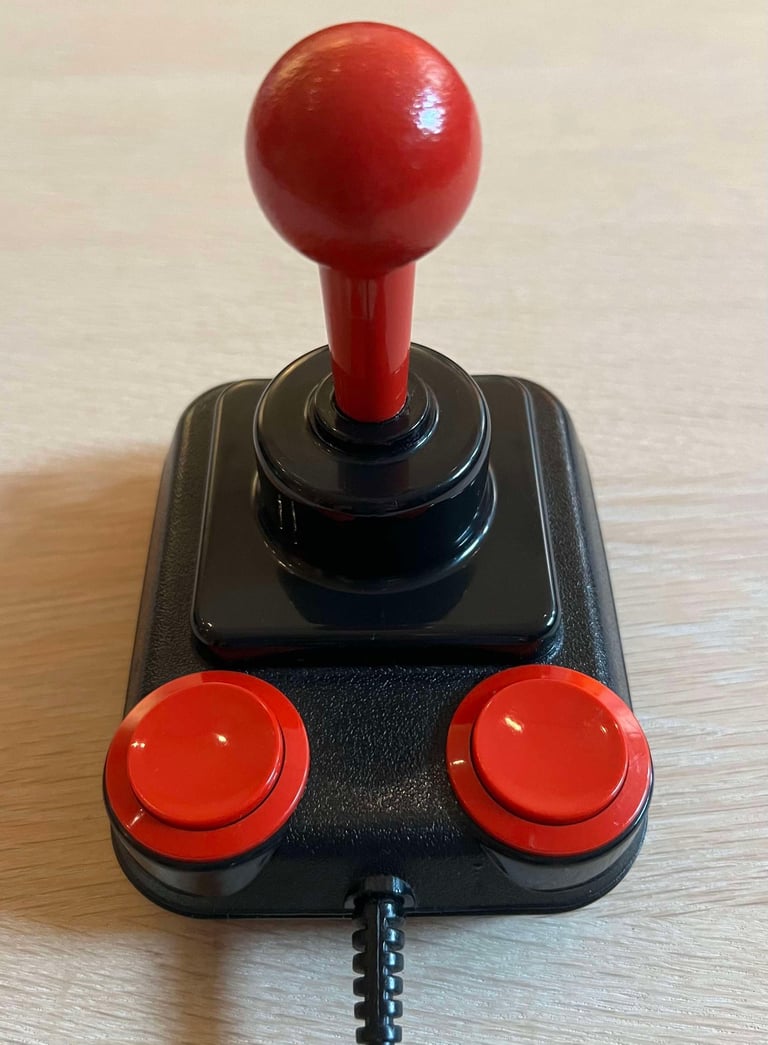
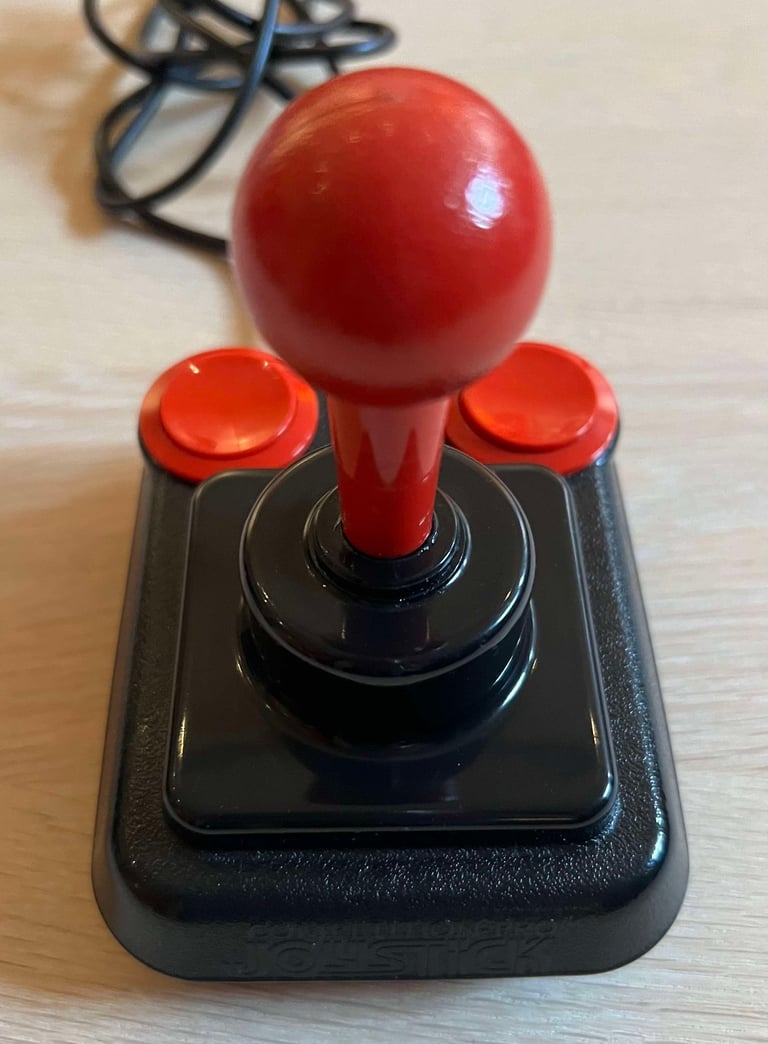
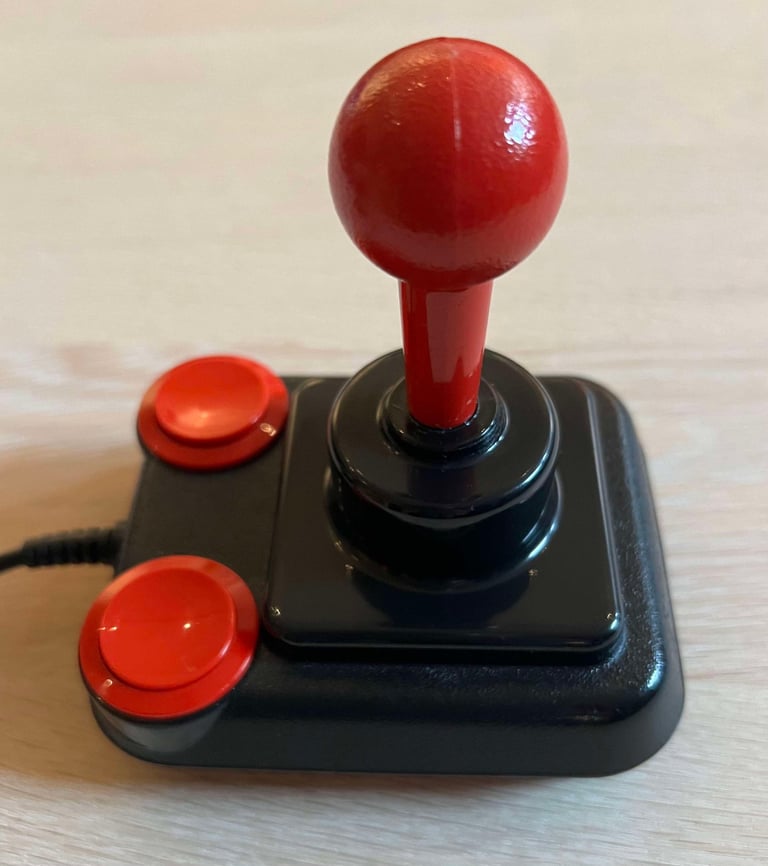
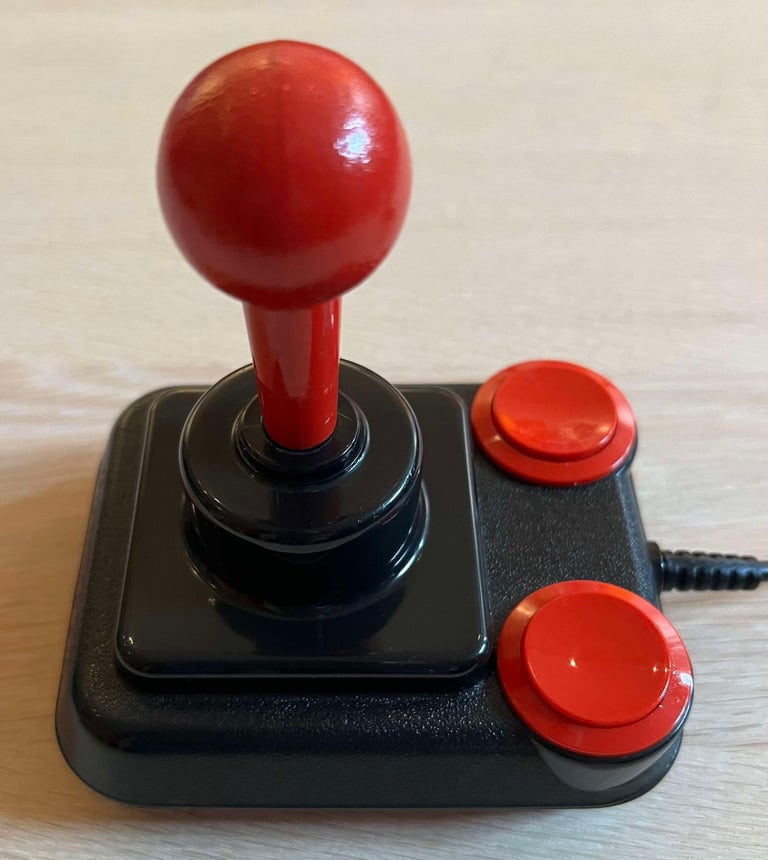
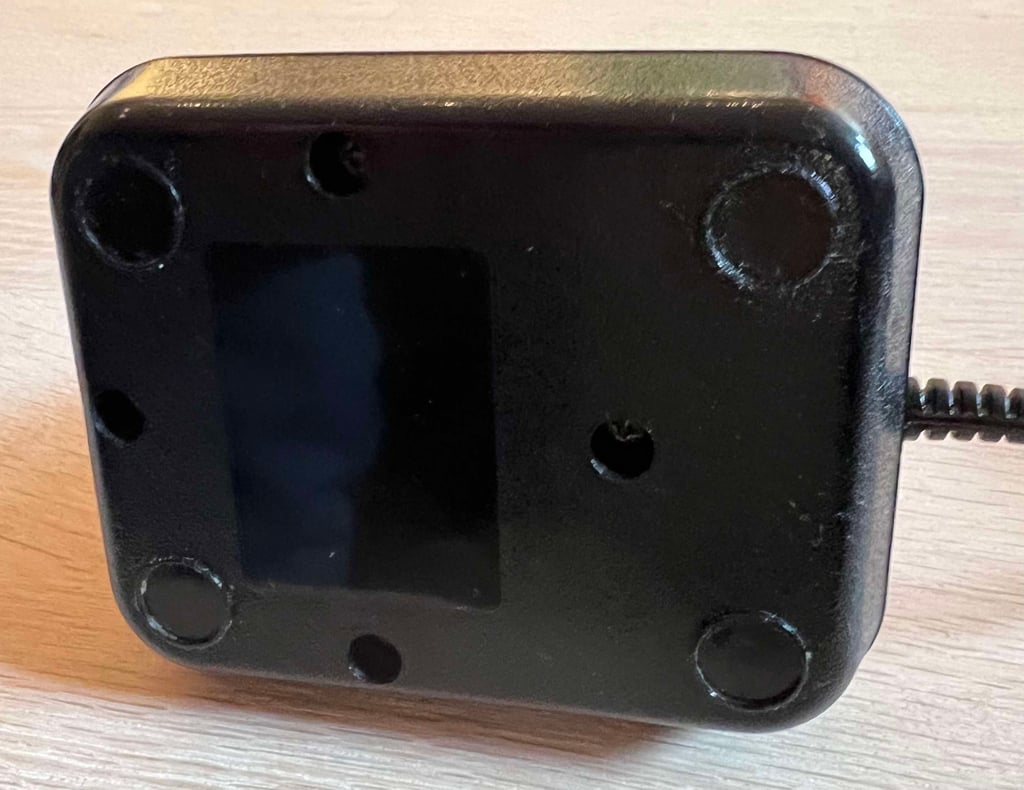
Below is a collection of the final result from the refurbishment of this Competition Pro joystick. Hope you like it! Click to enlarge!






Banner picture credits: Kshade
