
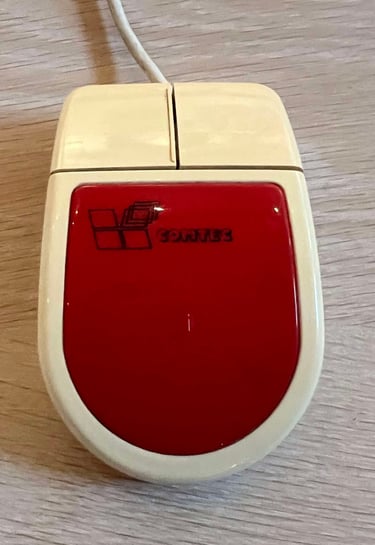
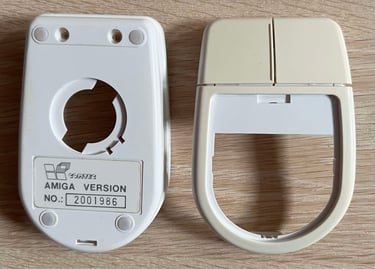
Comtec
Amiga Mouse
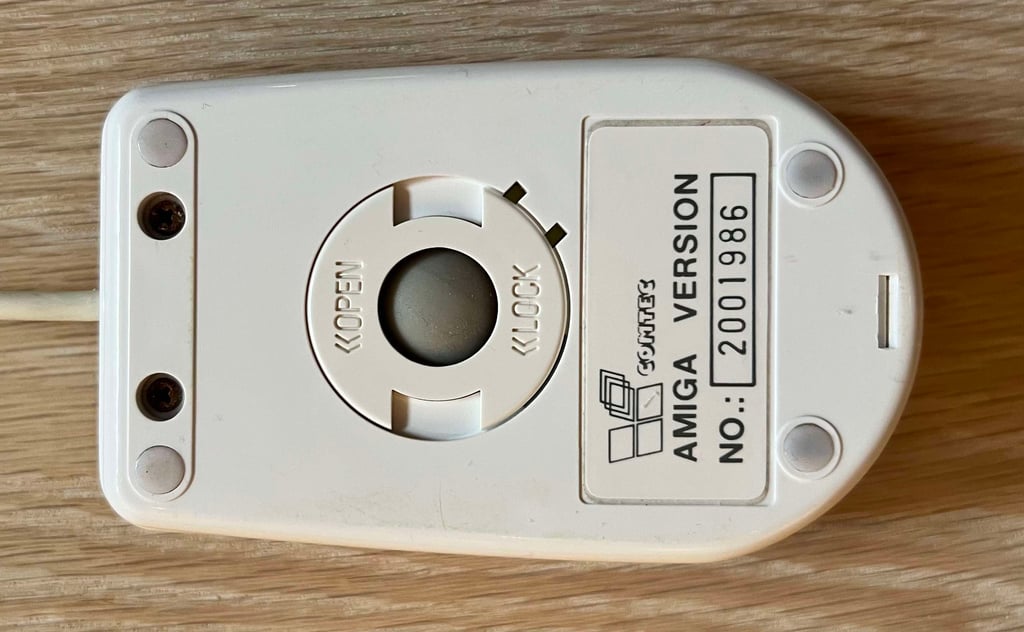
Ser. No. 2100986
Starting point
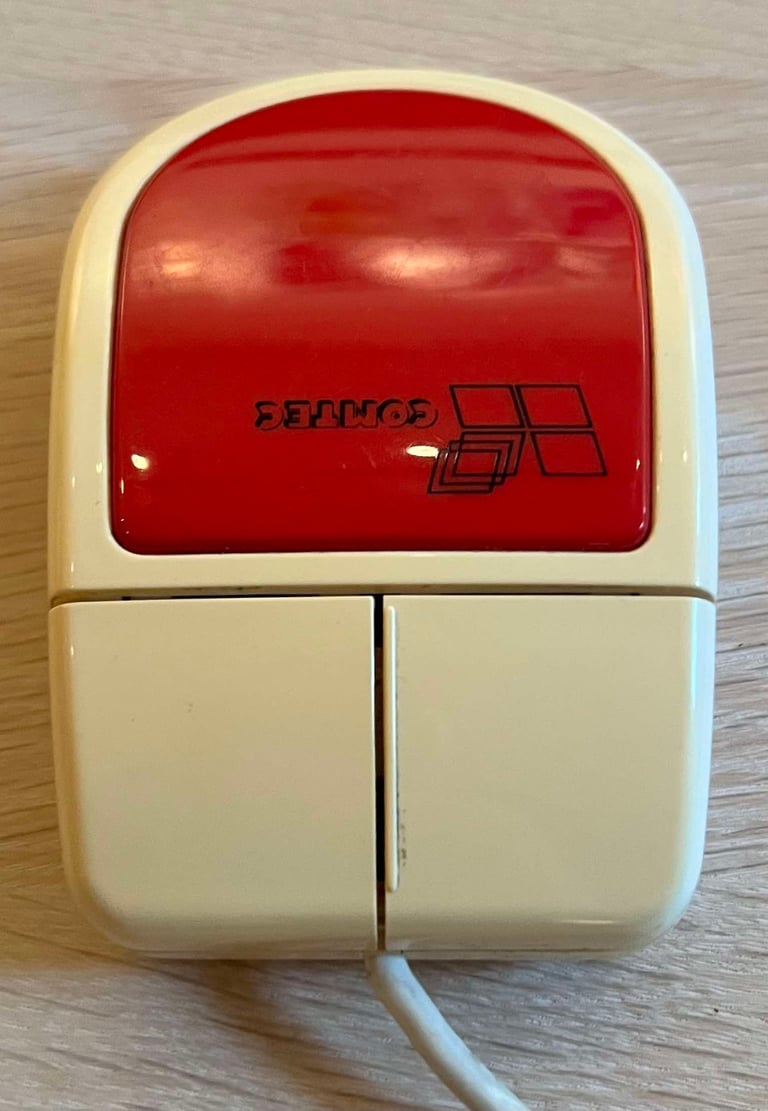
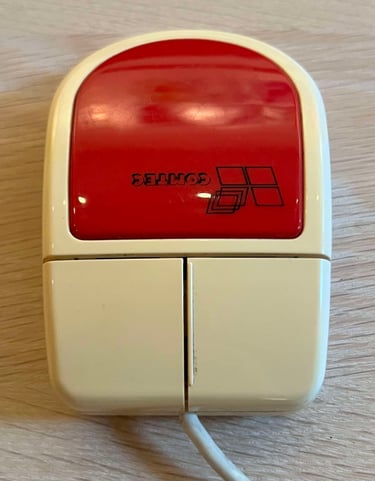
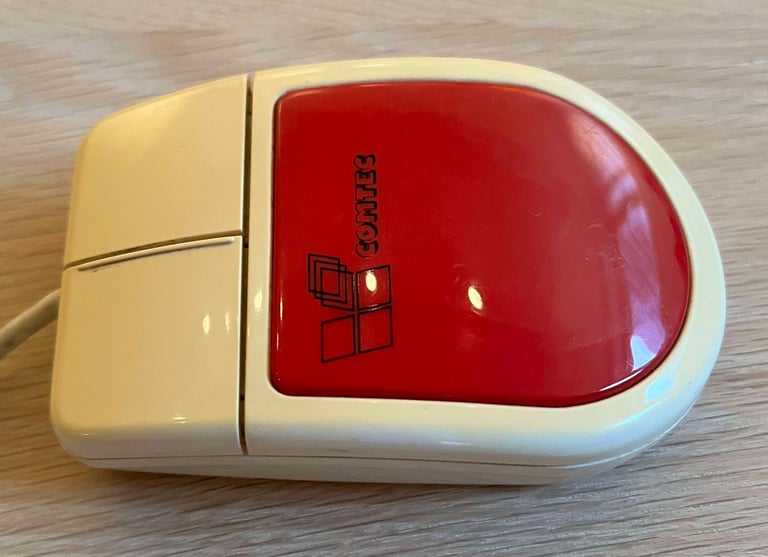
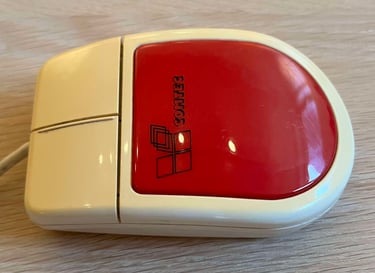
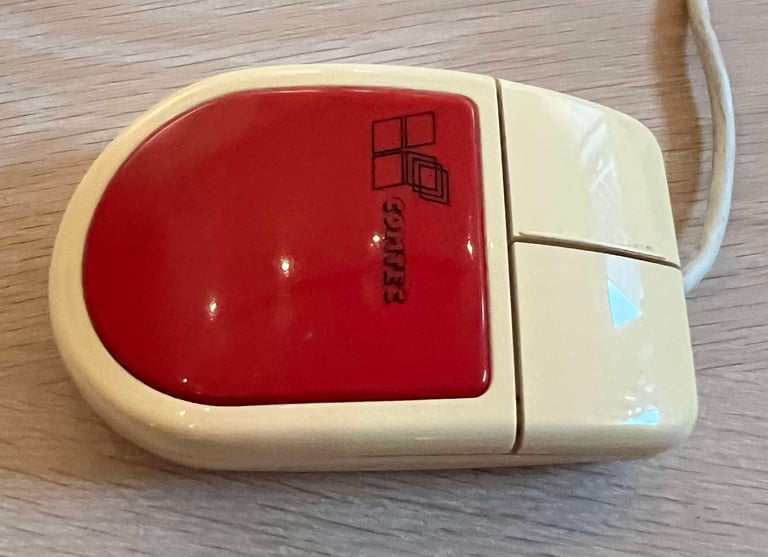
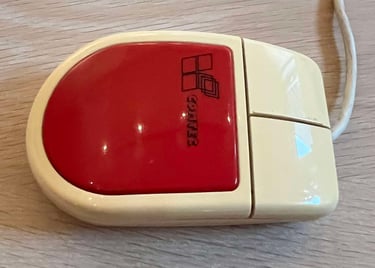
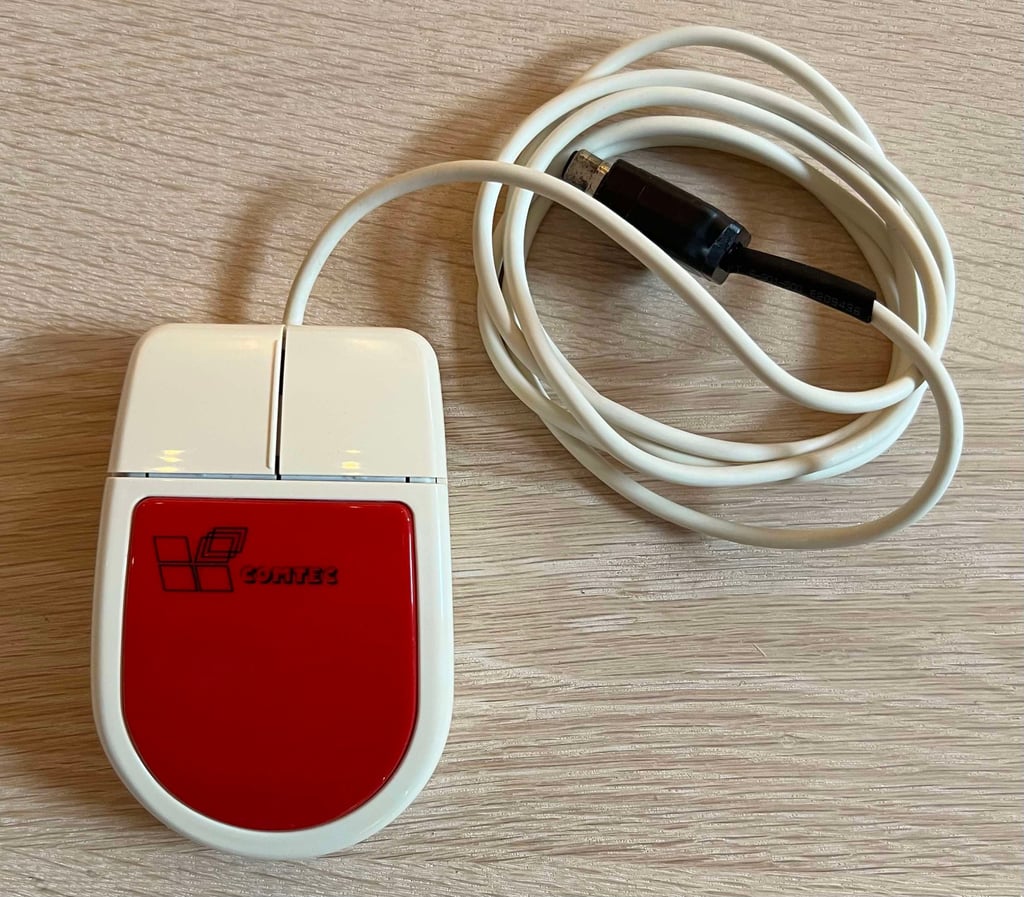
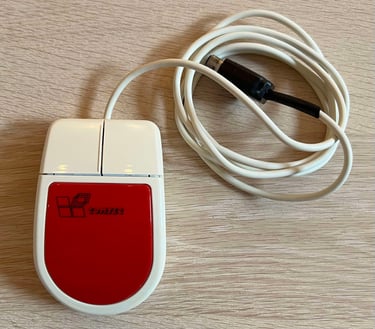
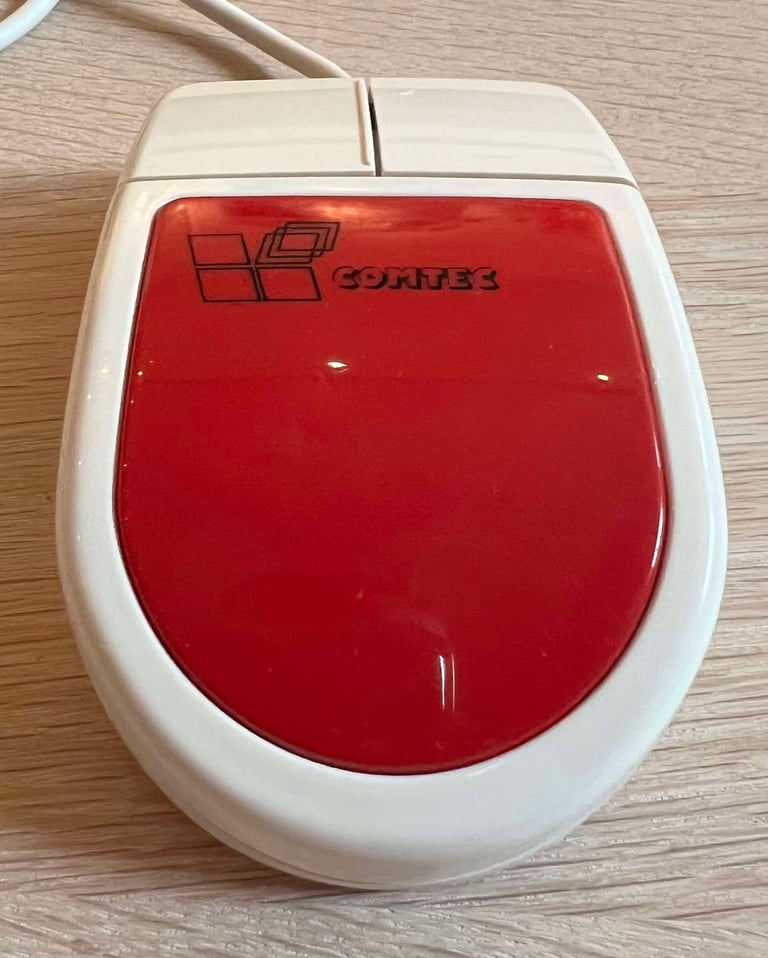
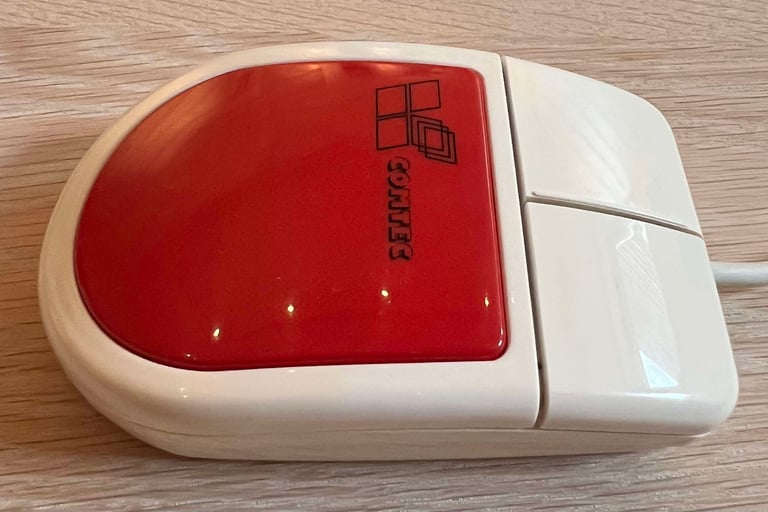
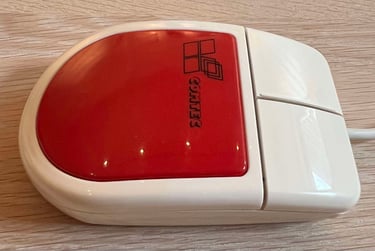
Comtec? Never heard about that brand. This mouse is probably not recognised as a high-end Amiga mouse, but truth is that this mouse feels quite good! The left- and right buttons have a nice quality touch (and click), and the mouse fits well in the palm. But... oh my, this mouse is quite dirty and severely yellowed. The cable, and connector, all have seen better days.
A quick test of the mouse shows that it does work - partly. I register motion in all directions, and both buttons works, but it is quite "flaky". Whether or not this has something to do with the cable, connector or interior electronics I do not know yet.
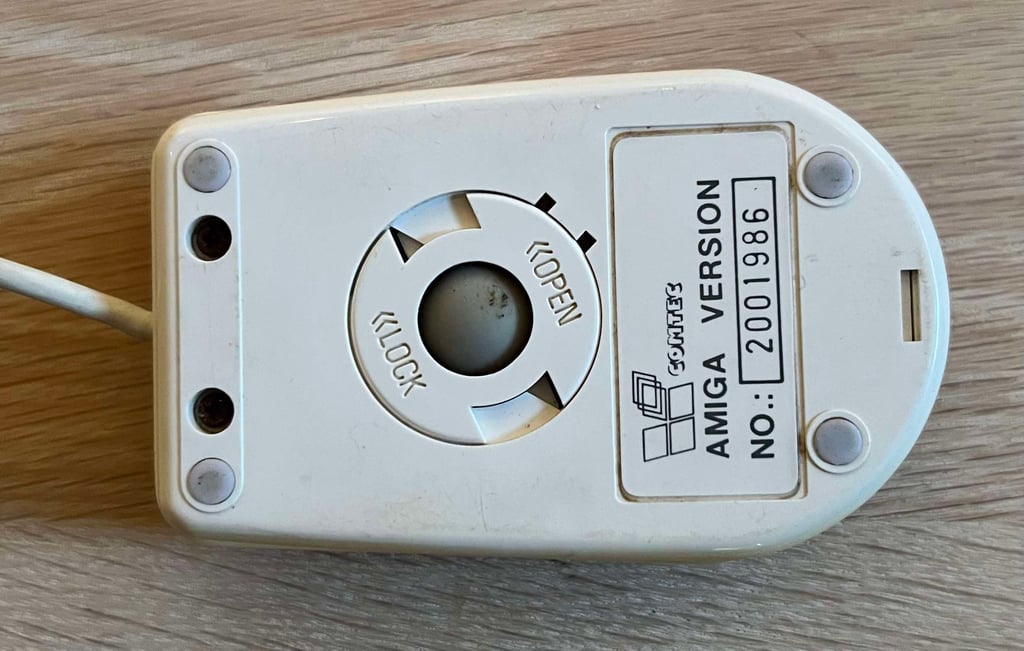
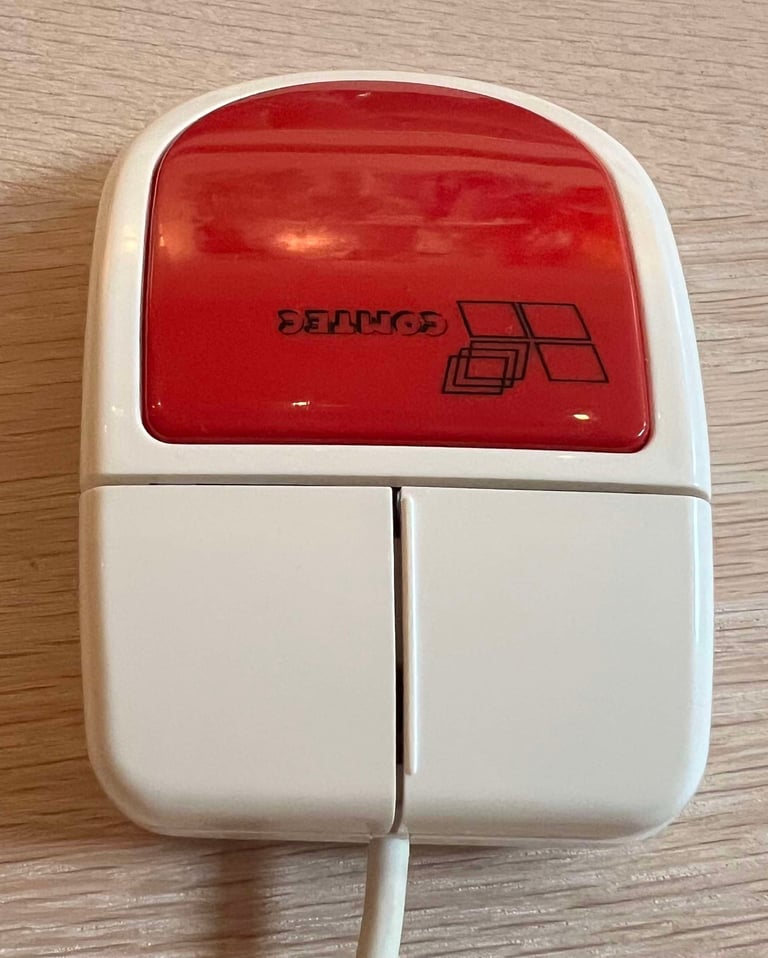
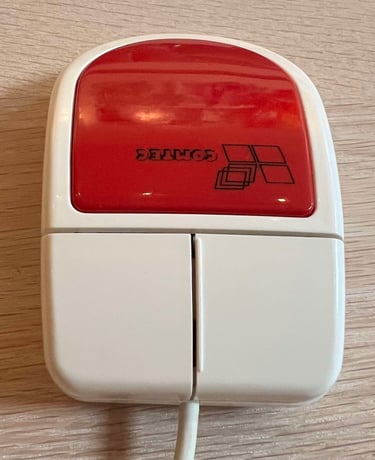
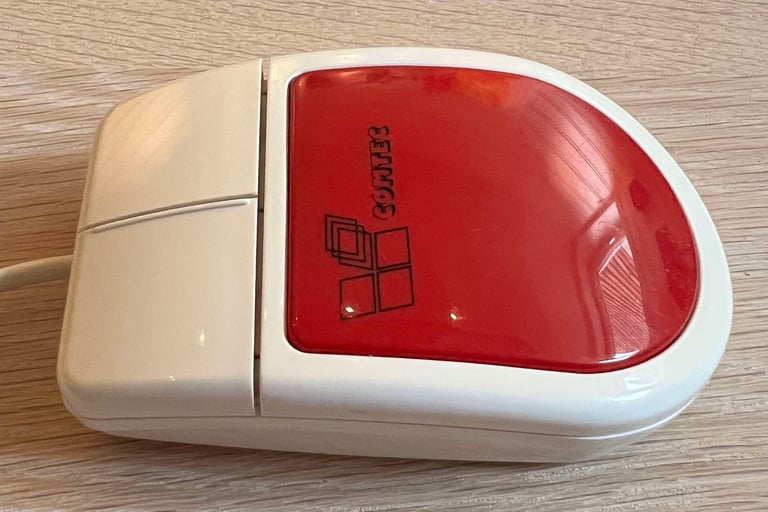
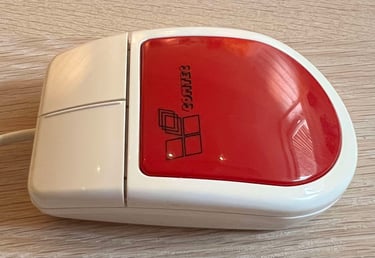
Below are some pictures of the mouse before refurbish. Notice that the bottom of the mouse is not yellowed at all.


Refurbishment plan
To refurbish this mouse the plan is to do this trough the following steps:
- Clean, and remove stains from, casing and all parts (and repair if required)
- Retrobright casing
- Clean and check the interior electronics (and repair if required)
- Verify joystick operation by testing
Disassembly
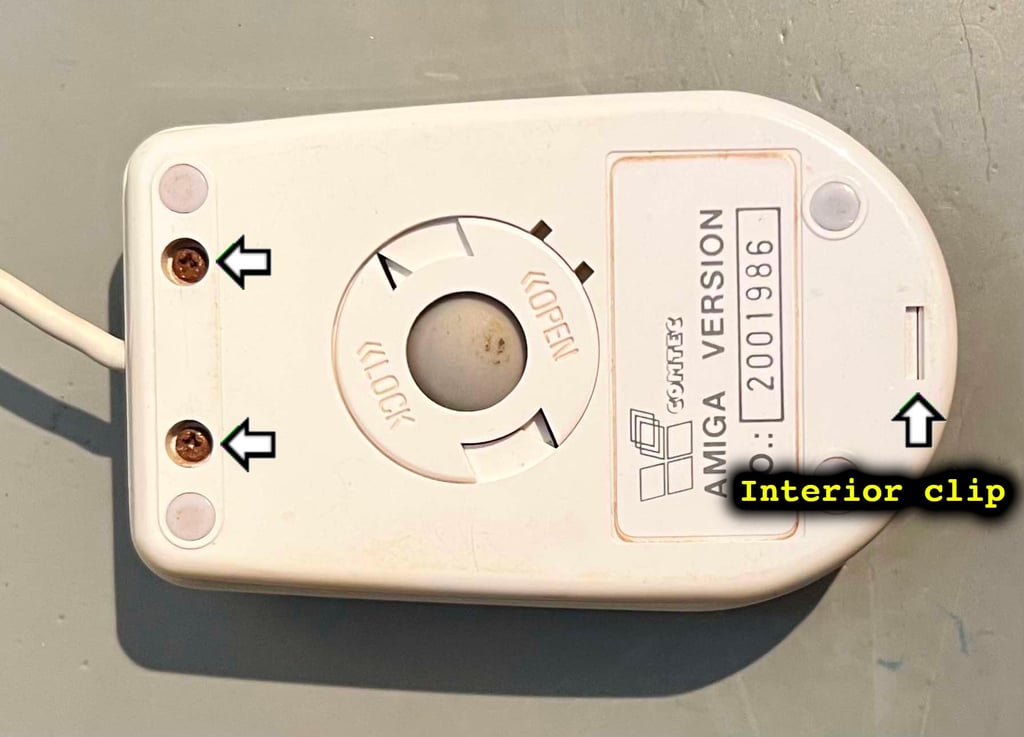
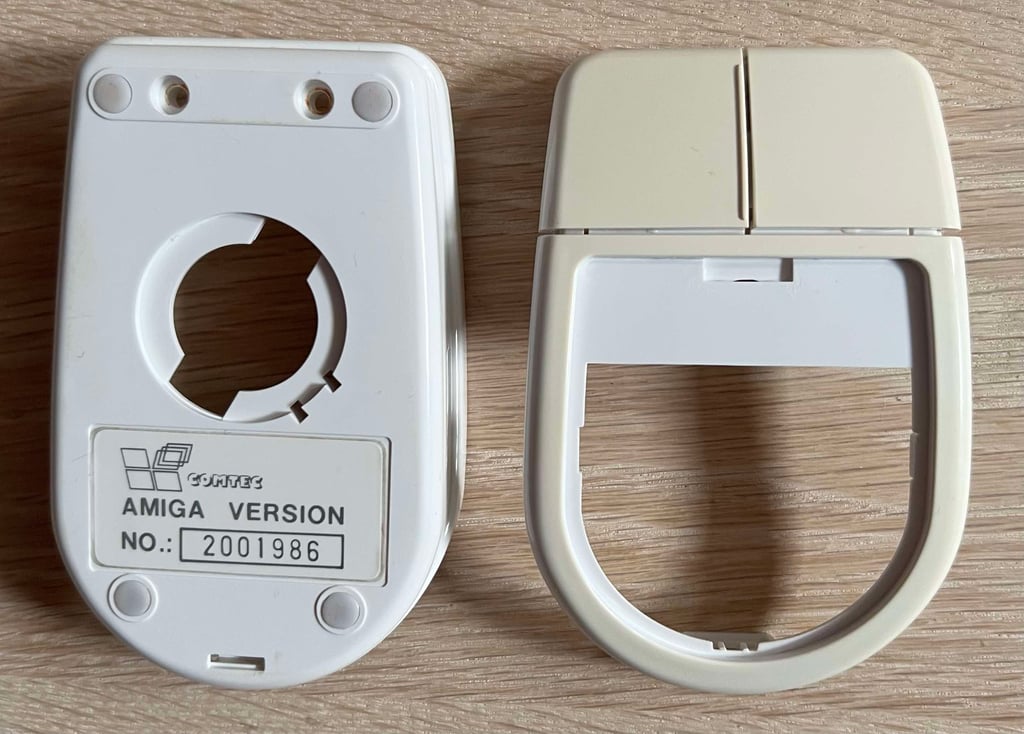
To disassemble the Comtec mouse the two screws at the bottom are removed first (2.5 x 10 mm Phillips). This will loosen the front part of the mouse, but the rear is still held in place by a small interior clip. The clip is both visible, and reachable, from the small rectangular slit at the rear. With some prying tools, the rear is carefully disassembled. Note that it is not trivial to release the clip, so be patient not to break the brittle plastic.
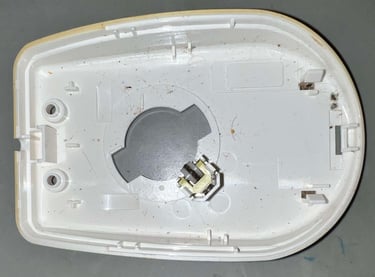
With the top cover out of the way, the interior is revealed. And oh my, this one is very dirty. There are dirt and grime all over (the picture doesn´t do it justice - there is more than meets the eye). Could this be the cause of the flaky behaviour?
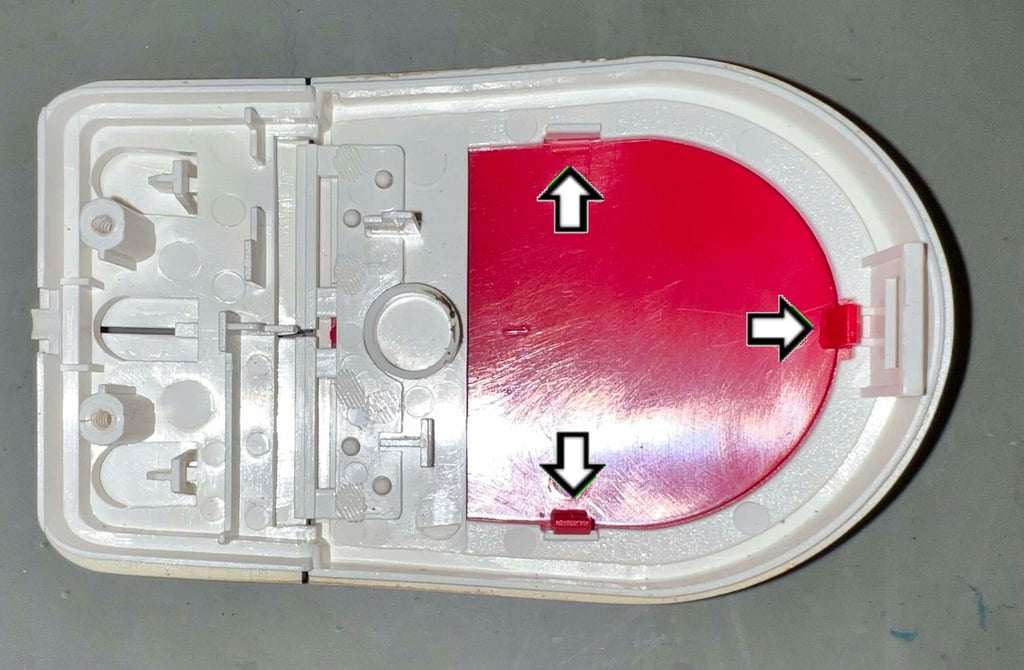
To remove the red plastic shield is simple. It is held in place with three small plastic clips, but unfortunately one of these are broken (?). Could that be a hint that someone has tried to repair this mouse before? I can not find the missing part inside the mouse, but this could very well be because it has fallen out long time ago...

There are two small rear clips, but no screws, holding the PCB in place so it is easily lifted from the bottom cover. As can be seen from the picture below there is a significant amount of dirt and grease also beneath the PCB. But otherwise the bottom cover seems to be intact.
Exterior covers and plastic parts
As previously mentioned the covers and plastic parts are very dirty - and yellowed. There is basically dirt and grime all over. Nevertheless, this is to be expected after 30+ years.
Top- and bottom cover
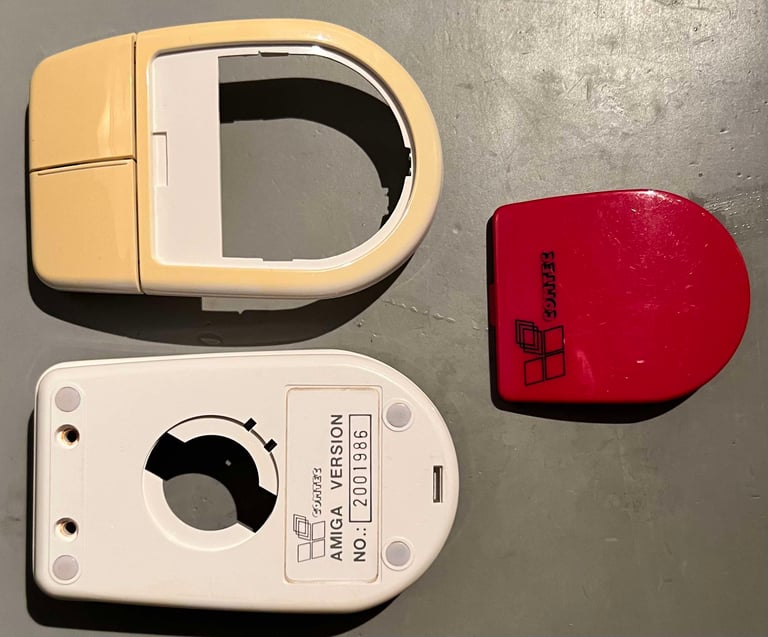
The top- and bottom cover are placed in a box filled with mild soap water for approximately 48 hours. This should dissolve most of the grease and dirt, and prepare the parts for retrobrighting later. Below is a picture of the covers after cleaning, but before retrobright.

Retrobrighting is done using 12 % hydrogen peroxide cream. The cream is applied frequently while the parts are exposed to UV light for about 2 x 14 hours straight. Note that the parts are wrapped in plastic cling film to prevent the cream from drying out.

After almost 56 (!) hours of retrobrighting the covers are done. It is not 100 % back to the original colour, there is still some yellowing, but it is significantly better than before the refurbish. Below is a picture of the covers after the retrobright.


All parts are cleaned with isopropanol. The "stuff" on the roller itself is so stuck that a thin flat screwdriver is used to remove it. But after cleaning the spring-loaded roller looks good as new!

Mouse ball
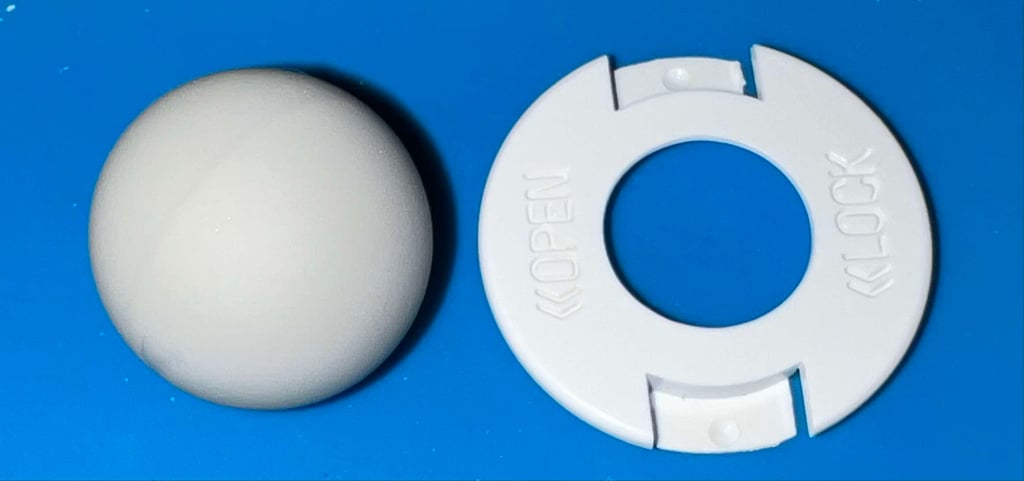
Best practice is to clean the mouse ball with some mild soap water only. But the dirt and grime on this one is so stubborn that I have to use some isopropanol to really clean it. But afterwards the mouse ball looks as new!

Cleaning the spring loaded-roller
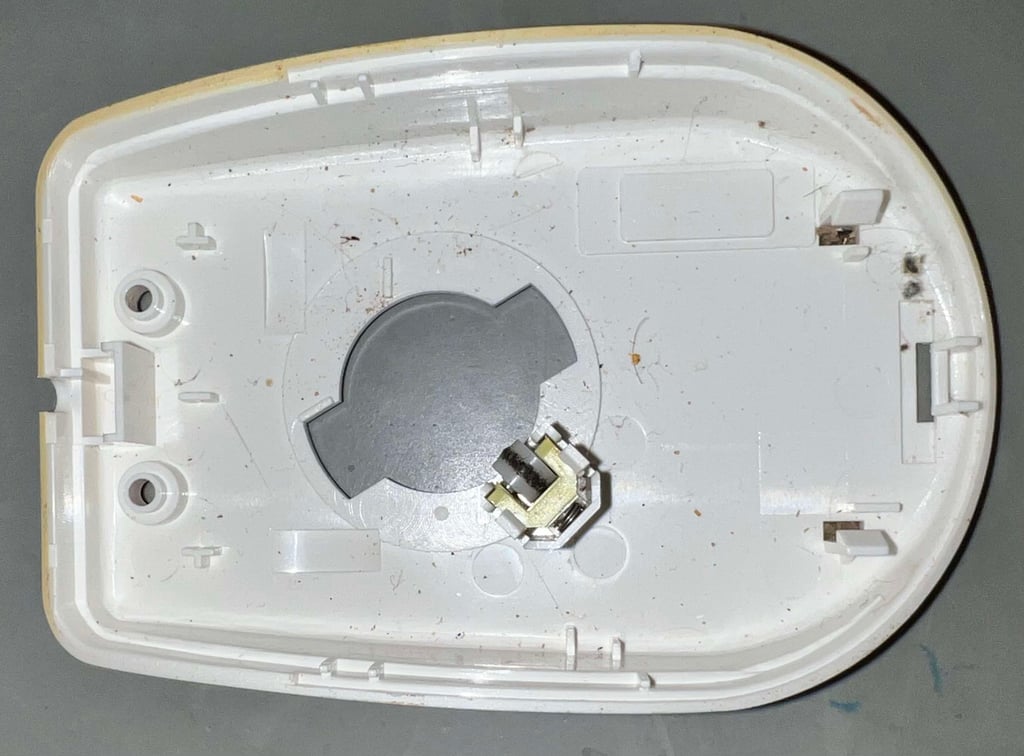
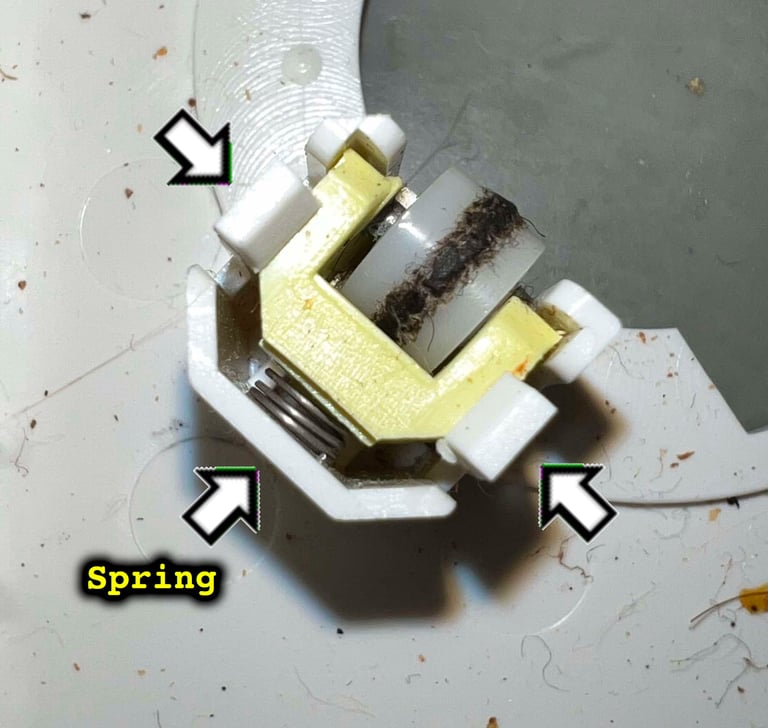
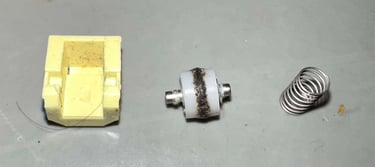
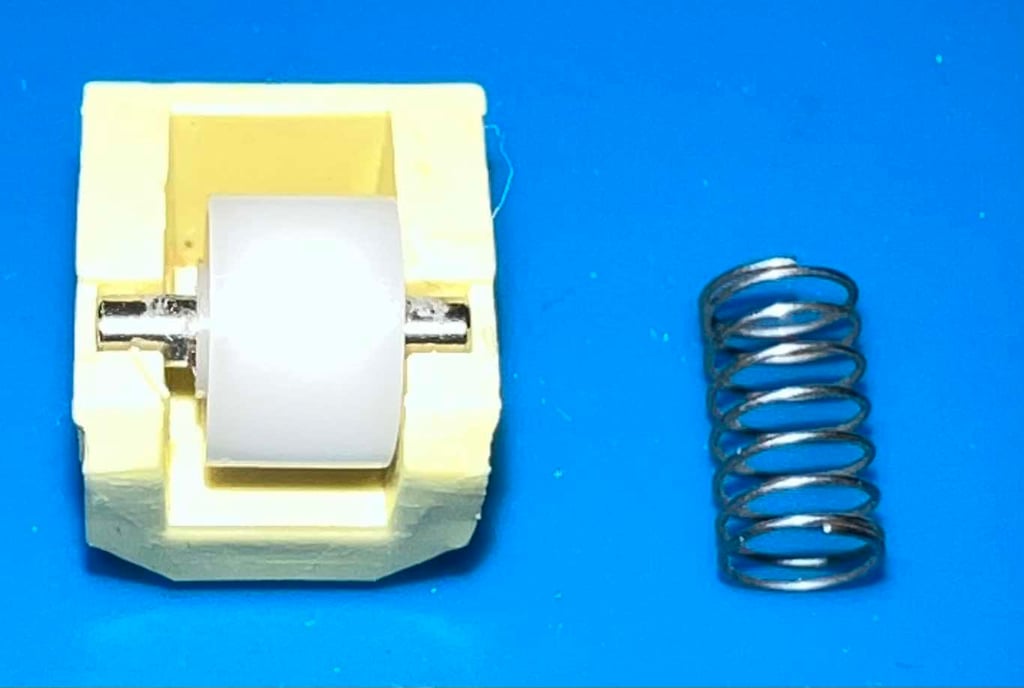
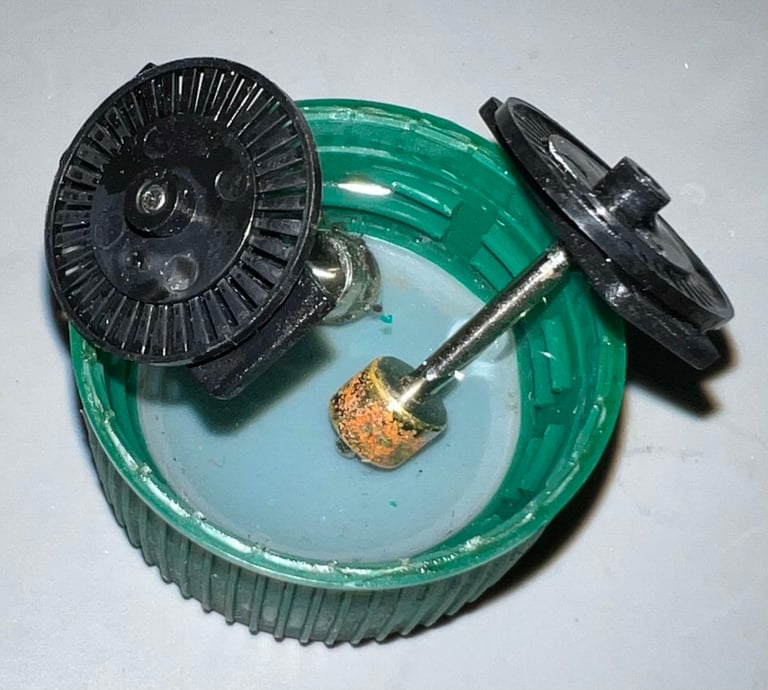
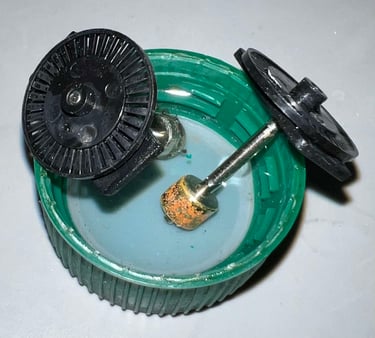
There is a small spring loaded roller mounted on the bottom cover. The purpose of this roller is to gently push towards the large mouse ball - basically keeping it in center when rolling. But... the roller is very dirty as can be seen from the picture below. To remove, and disassemble, the roller the two small clips are pushed outwards while at the same time the module is carefully lifted out. Note that a tiny spring is part of the assembly so make sure to not loose this.
Electronics
Visual inspection
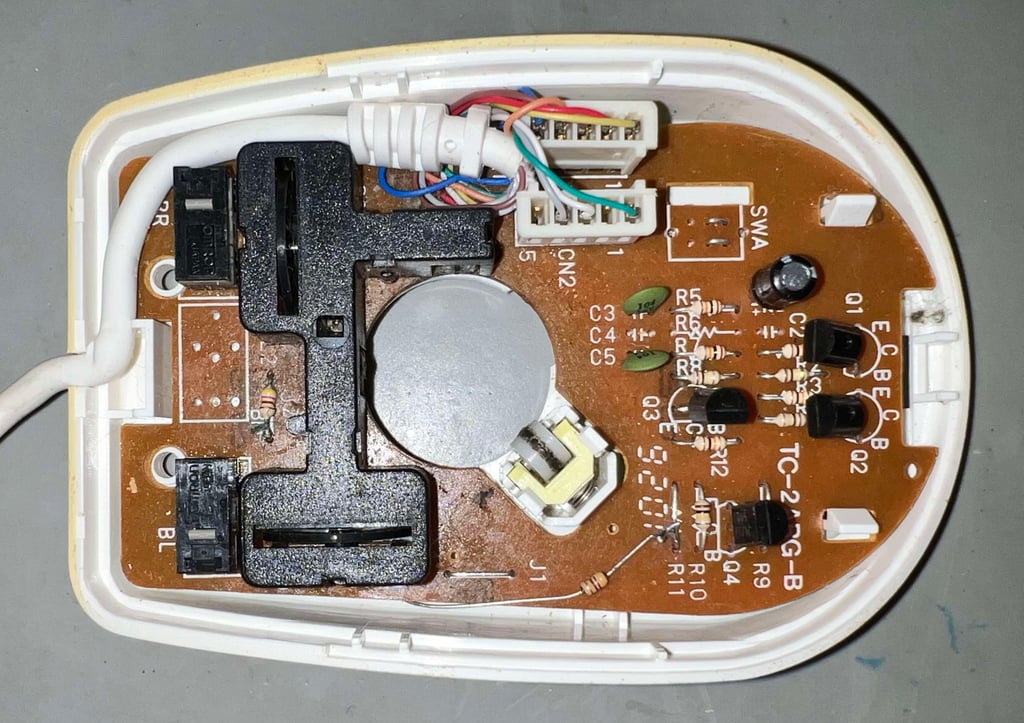
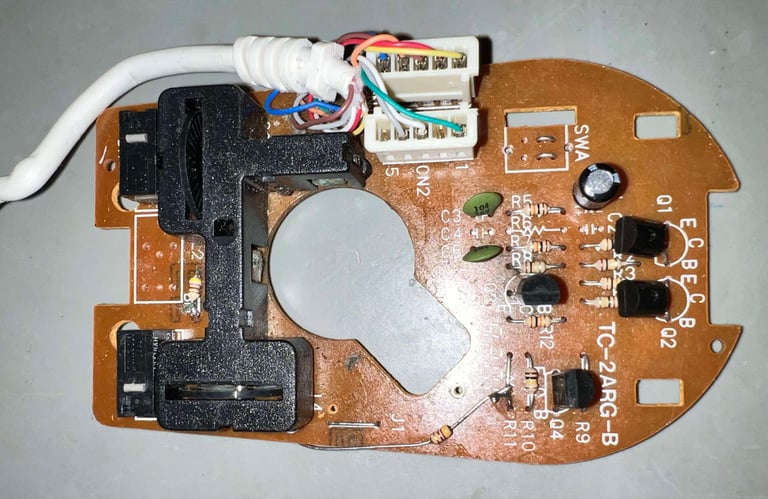
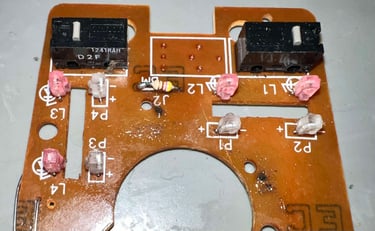
The PCBA, labeled "TC-2ARG-B", is covered with dust and grease - but appears to be undamaged. In addition, there is quite some flux residue at the backside of the PCB. The electrolytic capacitor is not bulging or leaking, all transistors looks fine and the ceramic capacitors are also in good condition.
I said in the introduction that this mouse has a "quality" feeling. And this is also present in the inside: quality microswitches and molex connectors. Yes, there is a bodge resistor, but this was a common way to fix design flaws back in the days. Below are some pictures of the PCBA before refurbish.

Vertical- and horisontal roller
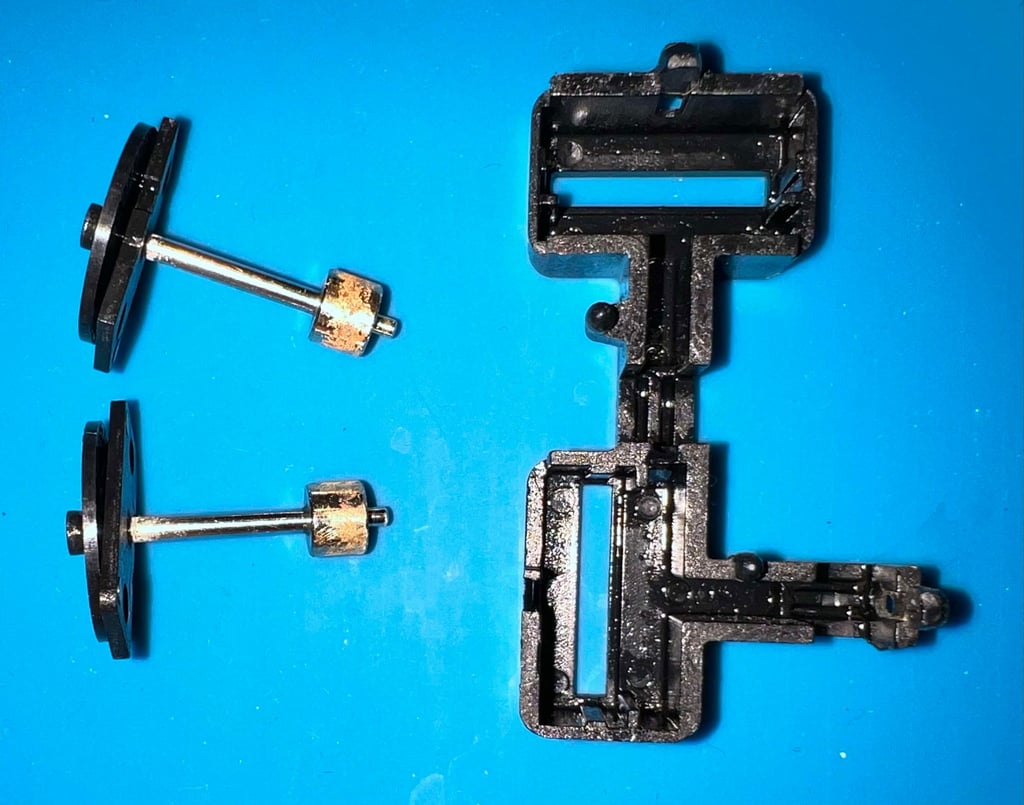
An integrated part of the PCBA is the vertical- and horisontal roller module. This module consists of two shaft-mounted wheels, where the wheels have tiny punched-out windows to let the light pass. At the end of the shaft there is a larger barrel which will touch the mouse ball, allowing the mouse to detect motion in both vertical- and horisontal direction.
The barrels are covered in dirt and grime. This has to be removed to make sure that the traction can be registered correctly. Otherwise, there is a risk that the barrel will slip the the smooth surface of the mouse ball.
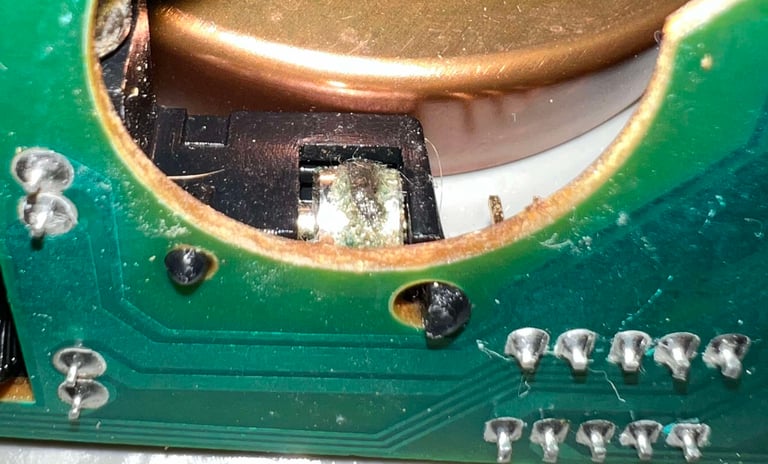

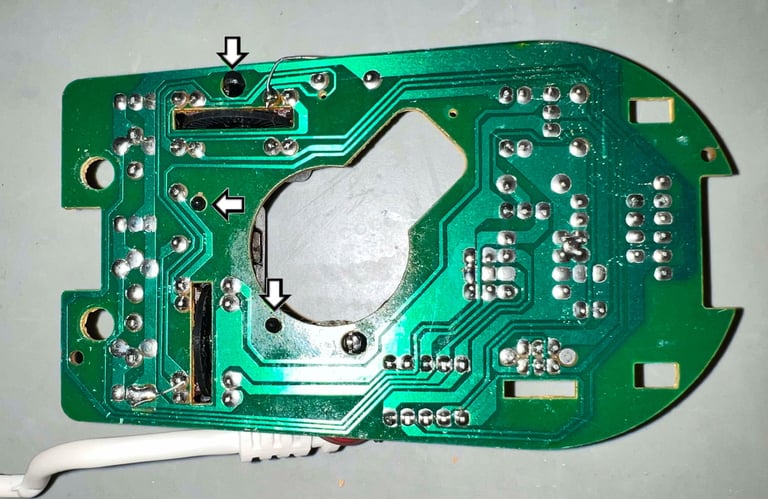
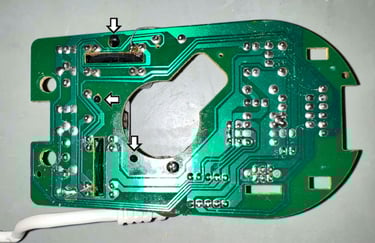
Removing the roller module from the PCBA is straightforward. There are three small plastic clips protruding the backside of the PCB (see arrows in the picture above). While carefully pressing these inwards, the module is pried off the board. As can be seen from the pictures below, the module is covered in grease and dust. And also the PCBA is quite dirty. Dirt on the photosensitive LEDs can prevent the mouse from working as it should.
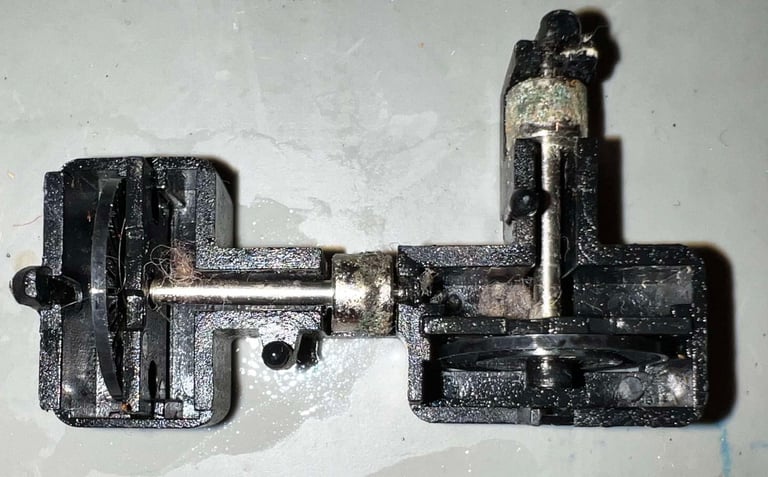


The barrels are quite corroded. This is because dust and grease have been sitting on the barrels for a long time. Moisture is accrued in the dust and the corrosion starts. Nevertheless, this should not be a problem, but the corrosion must be stopped. After cleaning the barrels with isopropanol, and scraping most of the corrosion with a flat screwdriver, the barrels are placed in some vinegar for about one minute.
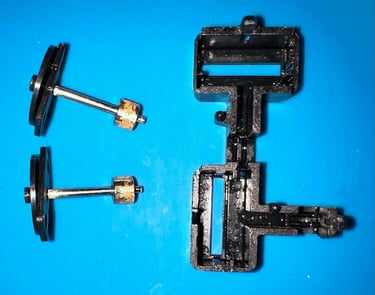
After cleaning the roller module looks way better. It is not perfect, but much better than before refurbish.
Initial testing - identifying the need for repair
During the refurbish of the PCBA the mouse is tested briefly on an Amiga 1200. It turns out that the end connector is.... flaky. It does partly work, but you need to hold it in an awkward position for the Amiga to register input from the mouse.
To repair the connector the following is done:
The old 9 pin DB9 connector is rescued from the old connector, and all the pins are pulled out from this
The old cable is cut about 5 cm, and then each wire is stripped and soldered to the old pins before put in the connector once again
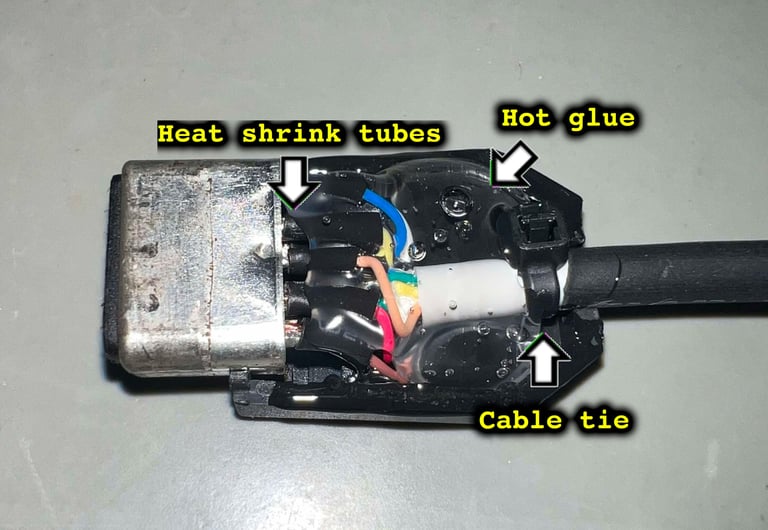
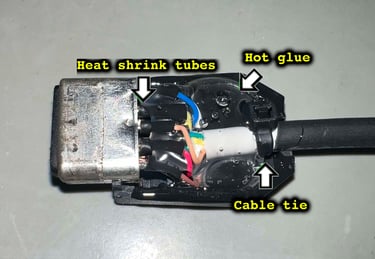
The DB9 connector and wires are placed in a replacement DB9 housing. The cable is fastened with a cable tie (function as a strain relief), and the cable/wire strip is covered with heat shrink tube. Finally, the housing is filled with hot glue.
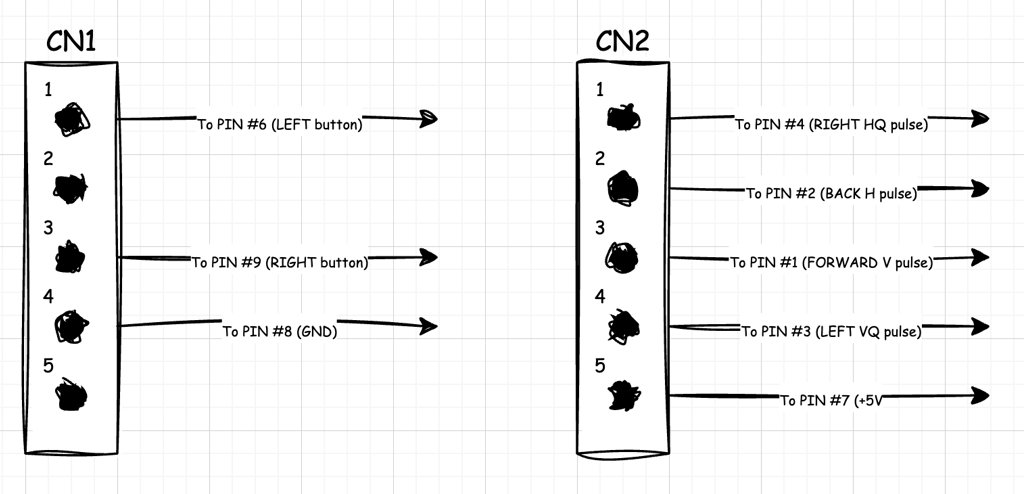
To get the wiring correct, the old cable and DB9 are reverse engineered. There are 2 x 5 pins connectors on the PCBA (labeled CN1 and CN2) which connects to the mouse cable. Below is a schematic showing the connection between the 2 x 5 connectors and the DB9 pinout. NOTE: only 8 out of 10 pins are used.


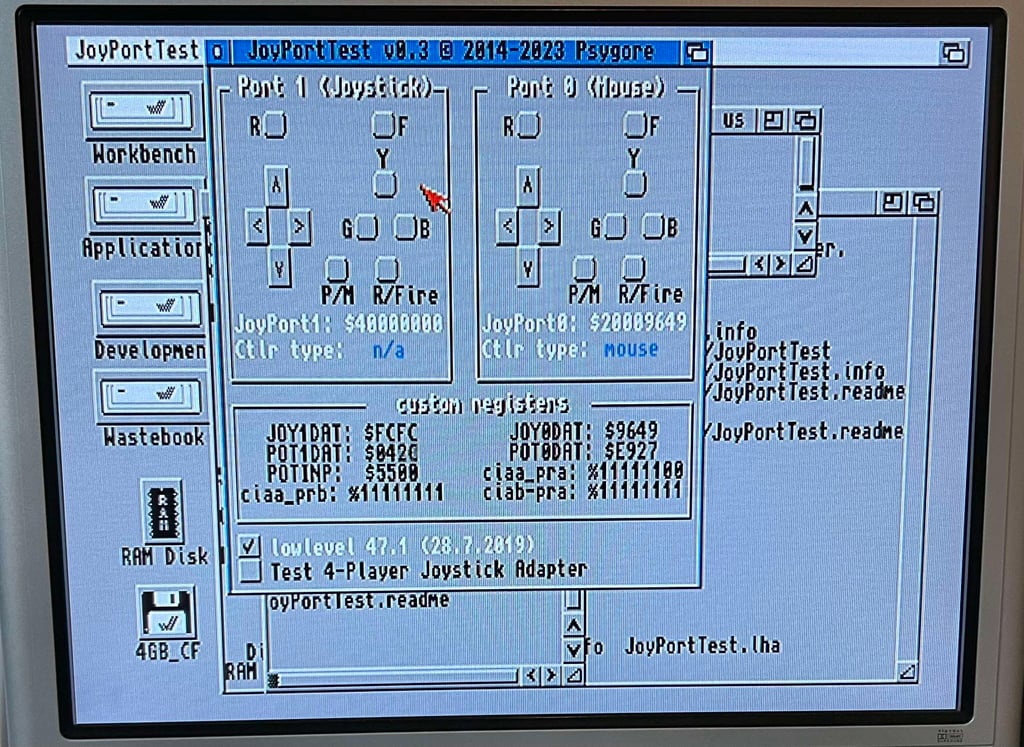
Testing
To verify that the mouse work as it should I check it with a software for the Amiga called the "JoyPortTest" (found at Aminet). Result is that all directions and both mouse buttons works as expected. All tests pass.

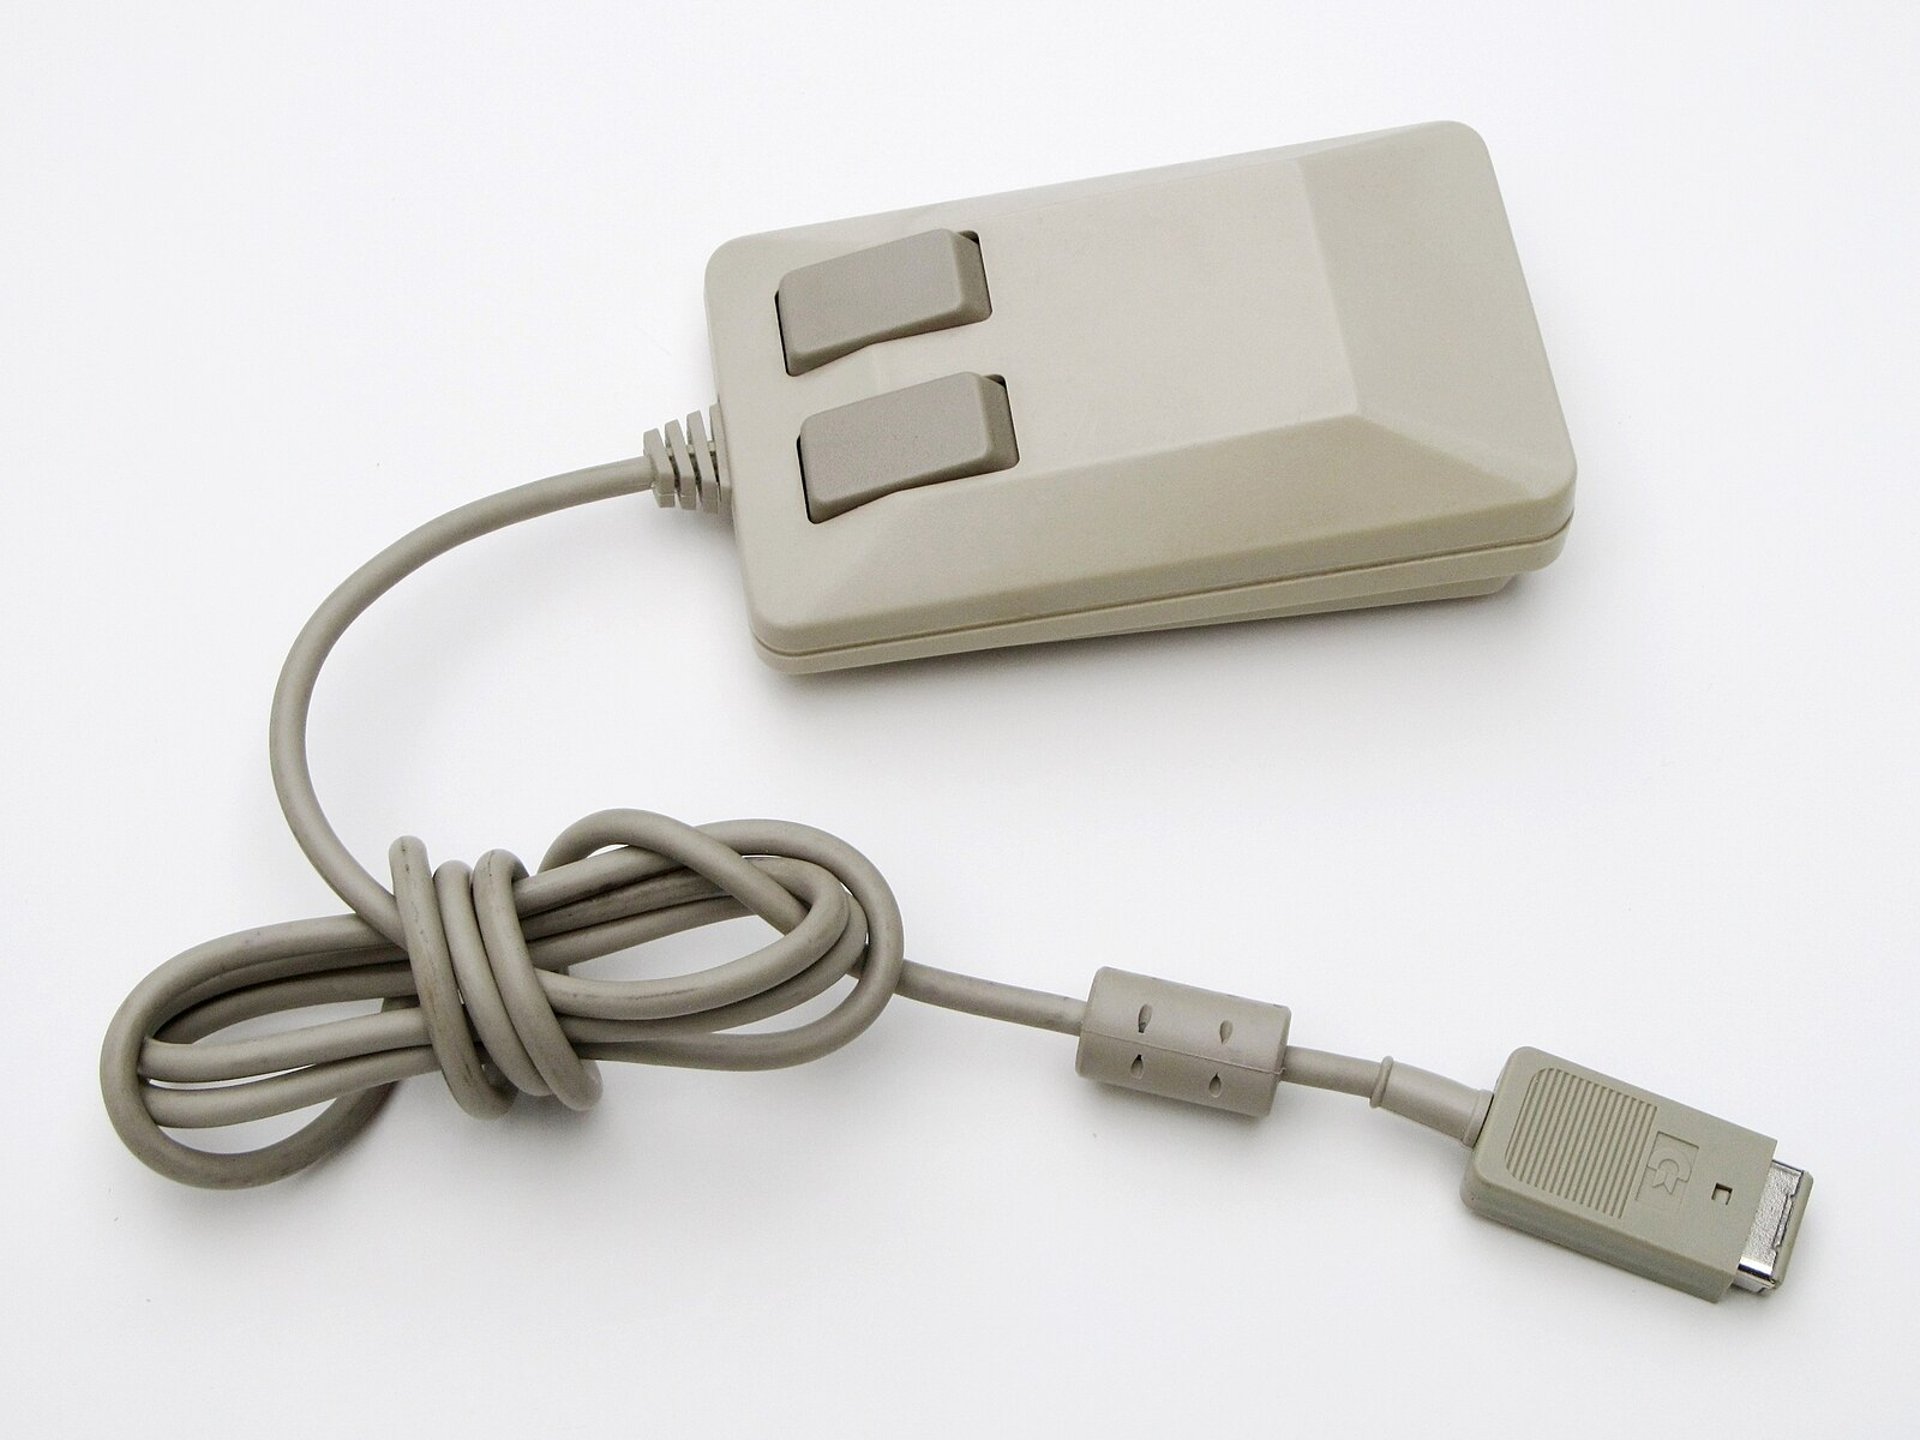
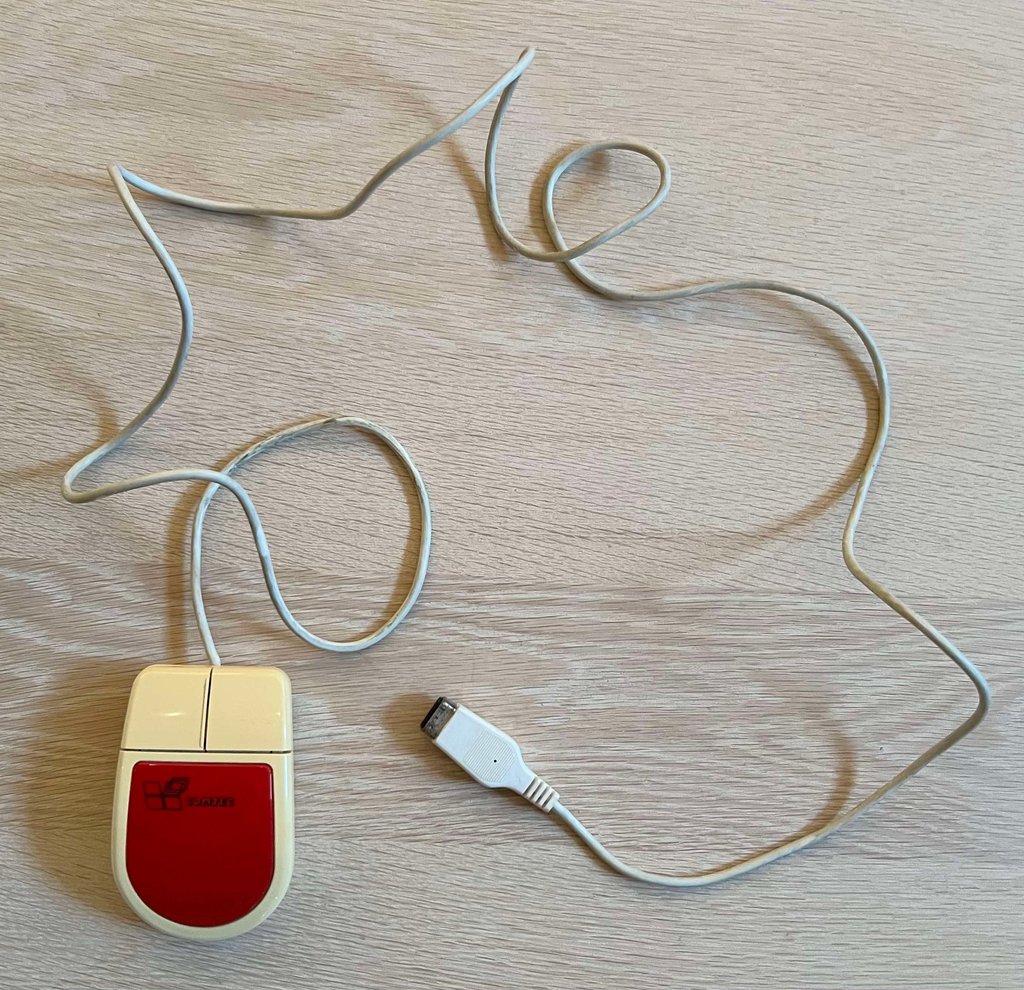
Final result
"A picture worth a thousand words"
Below is a collection of the final result from the refurbishment of this Comtec Amiga mouse. Hope you like it! Click to enlarge!

