
Powerplay
Cruiser
Starting point
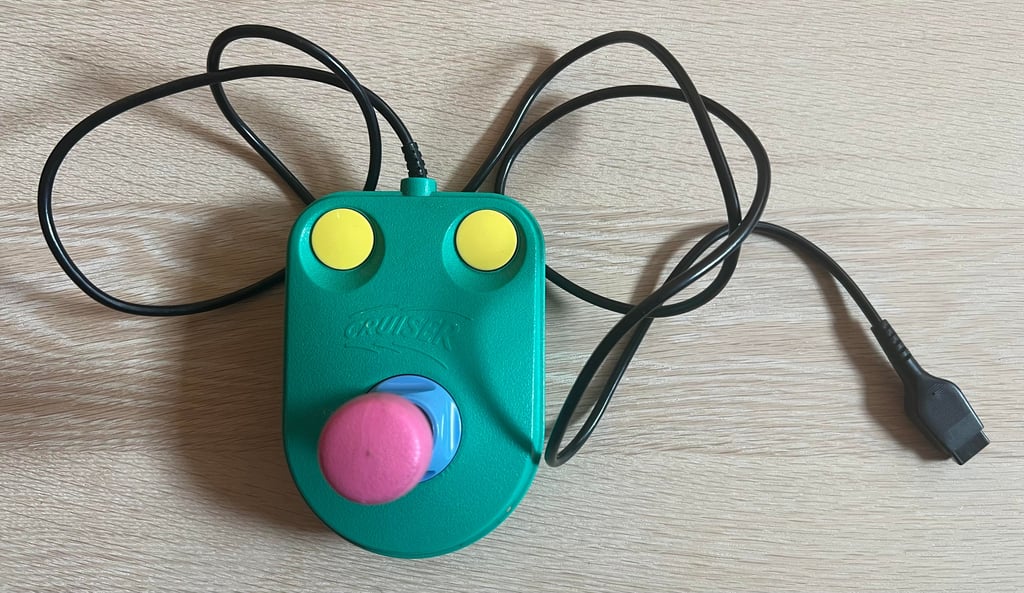
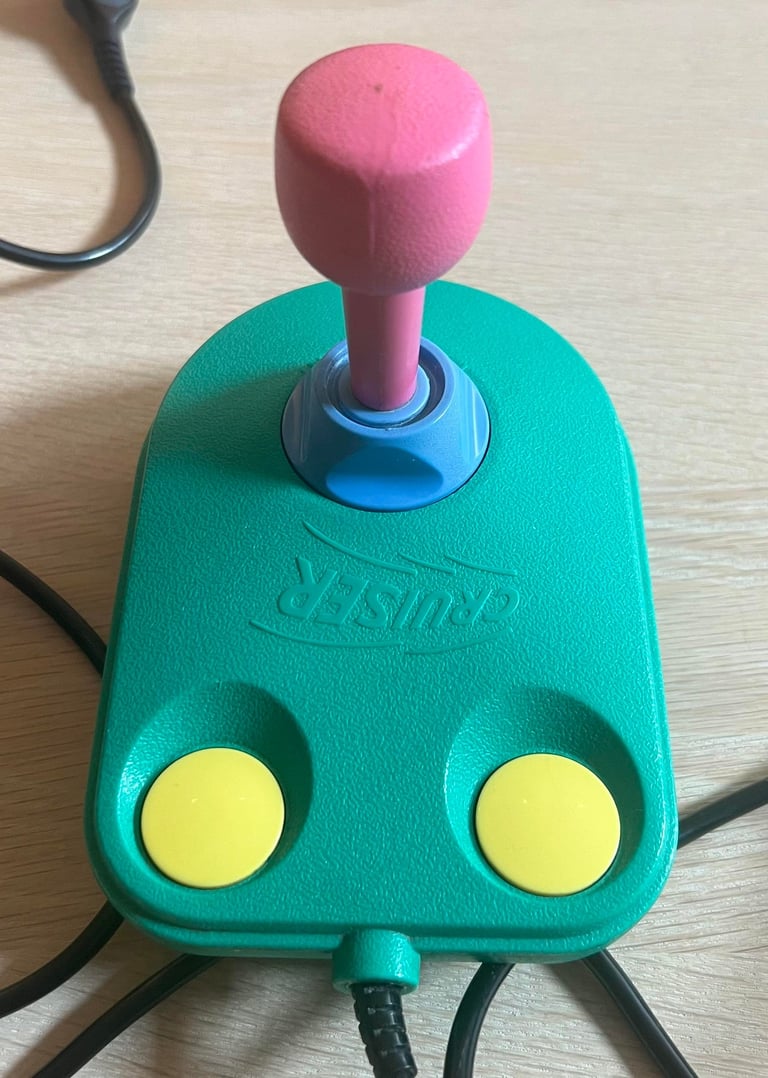
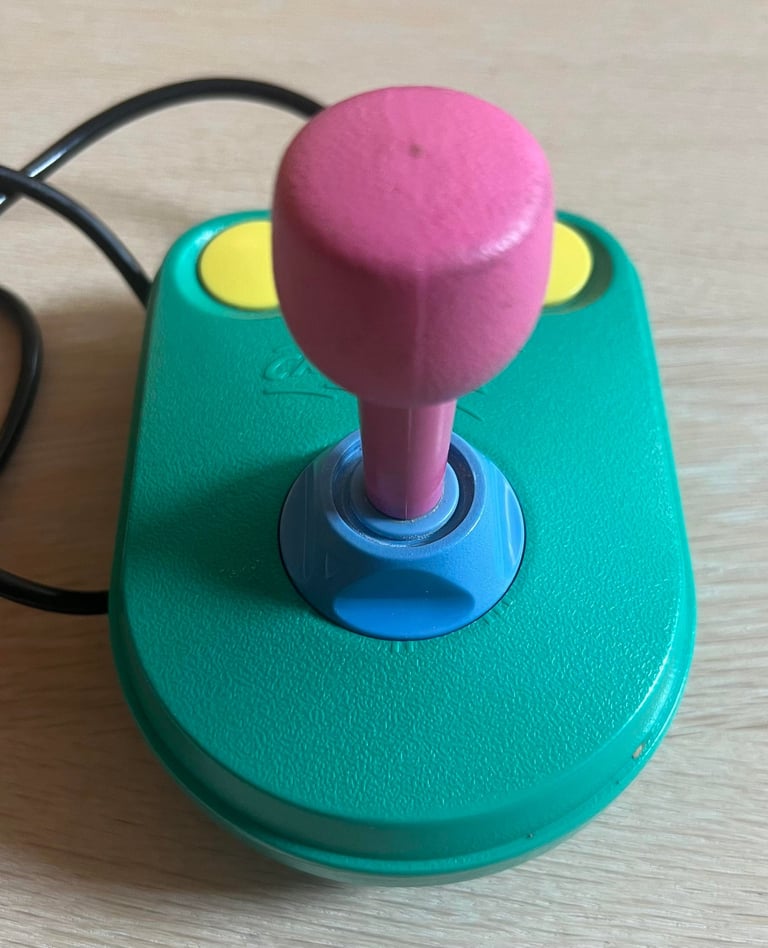
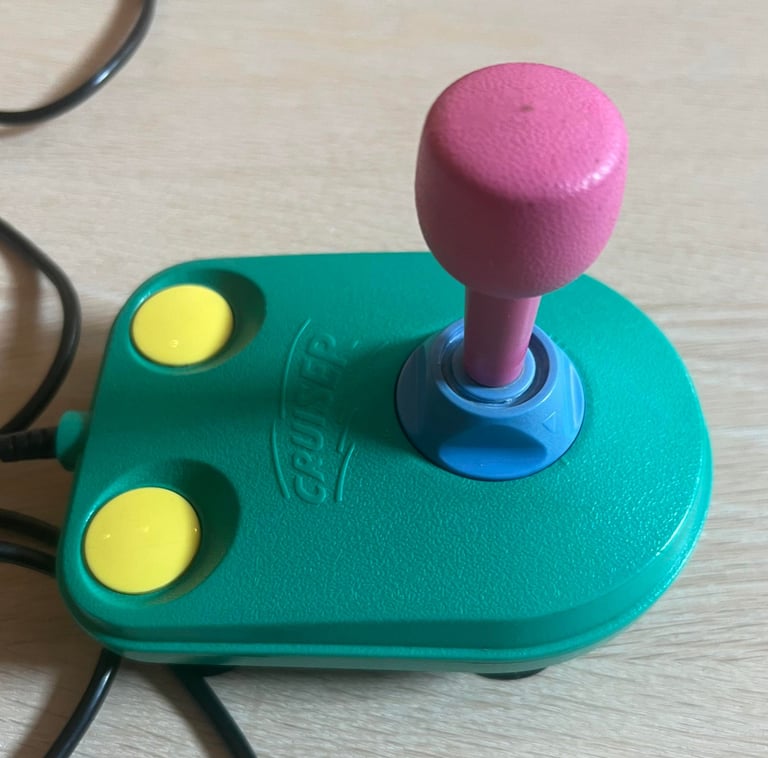
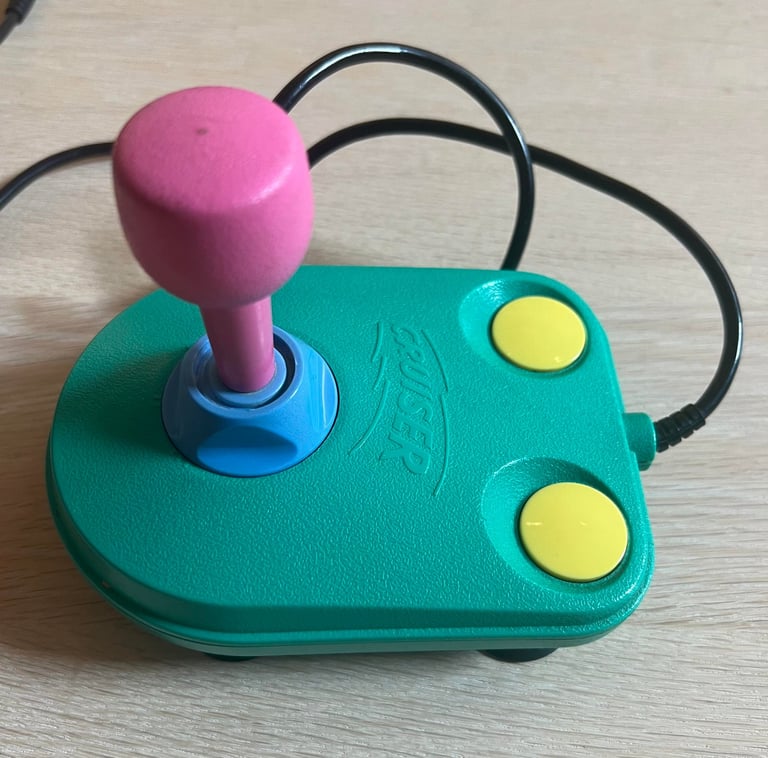
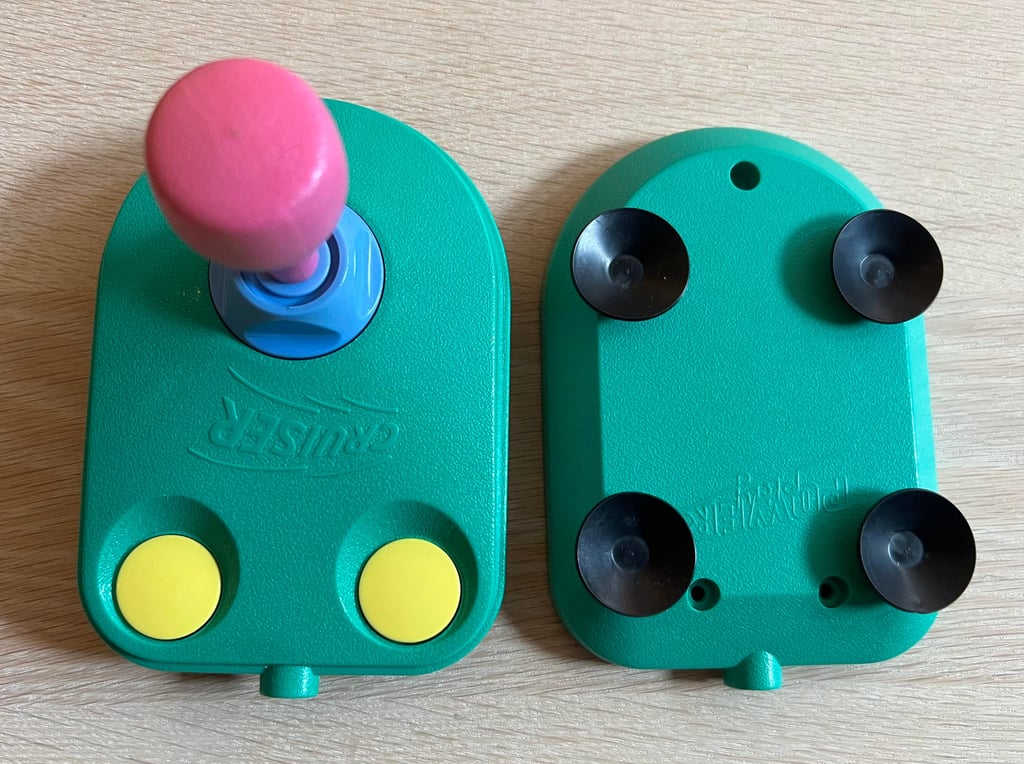
This Powerplay Cruiser joystick appears to be in very good condition! When listening carefully I can hear that there is a small rattling sounding inside - probably some loose or broken part. The Powerplay Cruiser joystick was first released in 1986 and resembles in many ways the popular Swedish car at the same time: the Volvo 240. As with the Volvo the Powerplay Cruiser is build to be heavily used. Very robust with its rugged plastic body and real microswitches. It even has a torque control on the joystick shaft allowing the user to set how "stiff" the shaft feels when playing. So with such a robust design chances are good that this joystick should still be able to operate after 40 years.
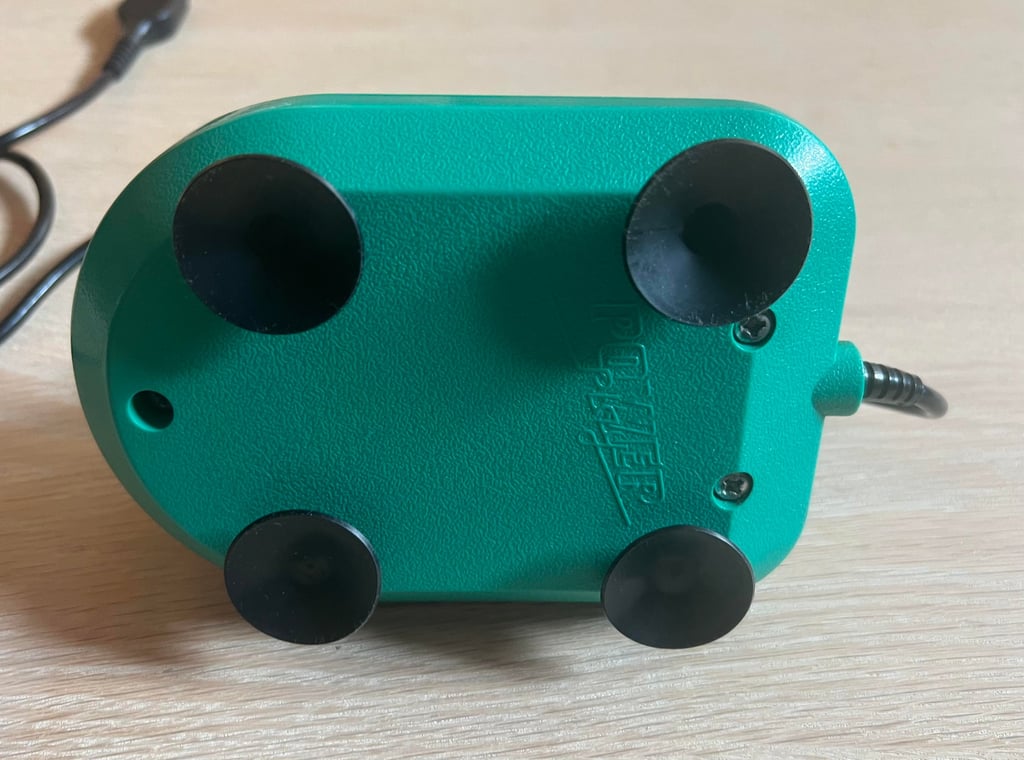
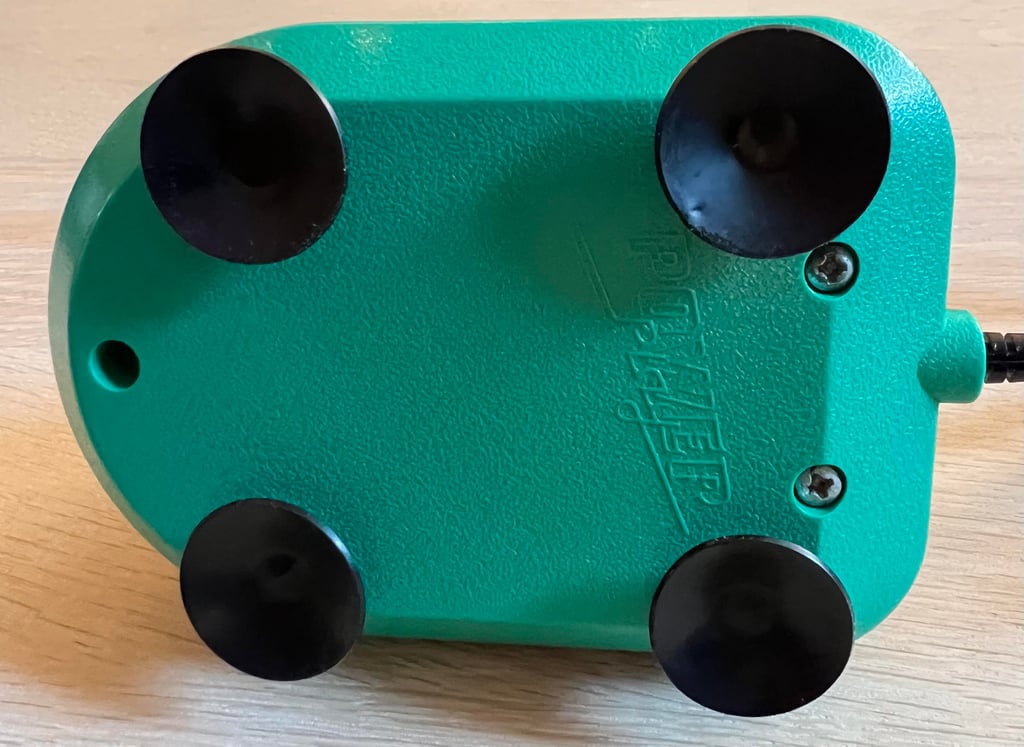
Nevertheless, the joystick is quite dirty. And in addition to the small "rattling" sound inside there is some squeaky sound when moving the joystick shaft. Whether or not this is normal I do not now, but I will check for any difference after lubrication. The sound from the microswitches also feels ok; the nice "click click" is still there. All four rubber feets are in great condition (none of the normal "chewing" marks are visible). Also, the adjustable torque control appears to be working. It is a bit hard to turn, but I think this is normal.
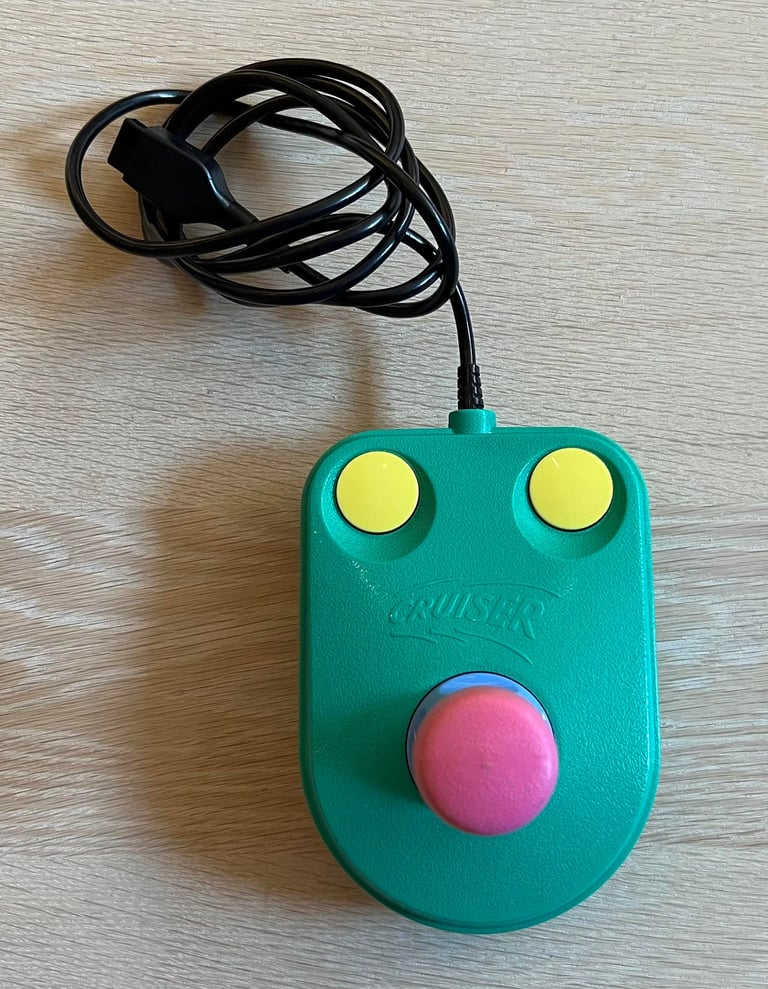
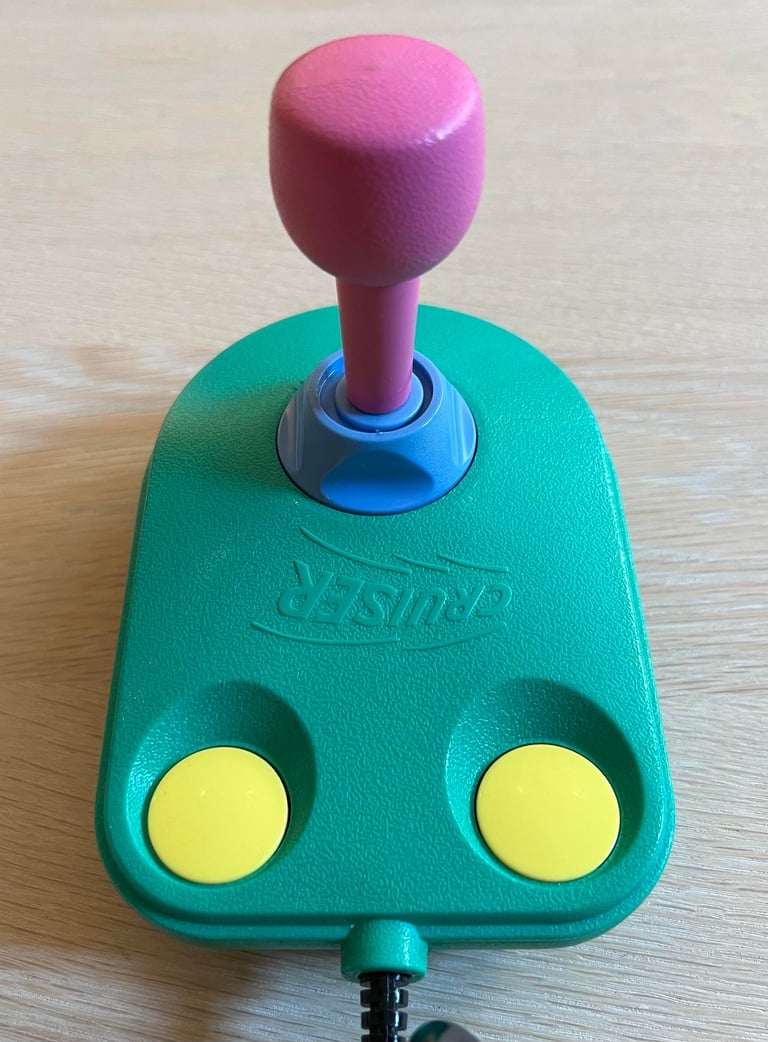
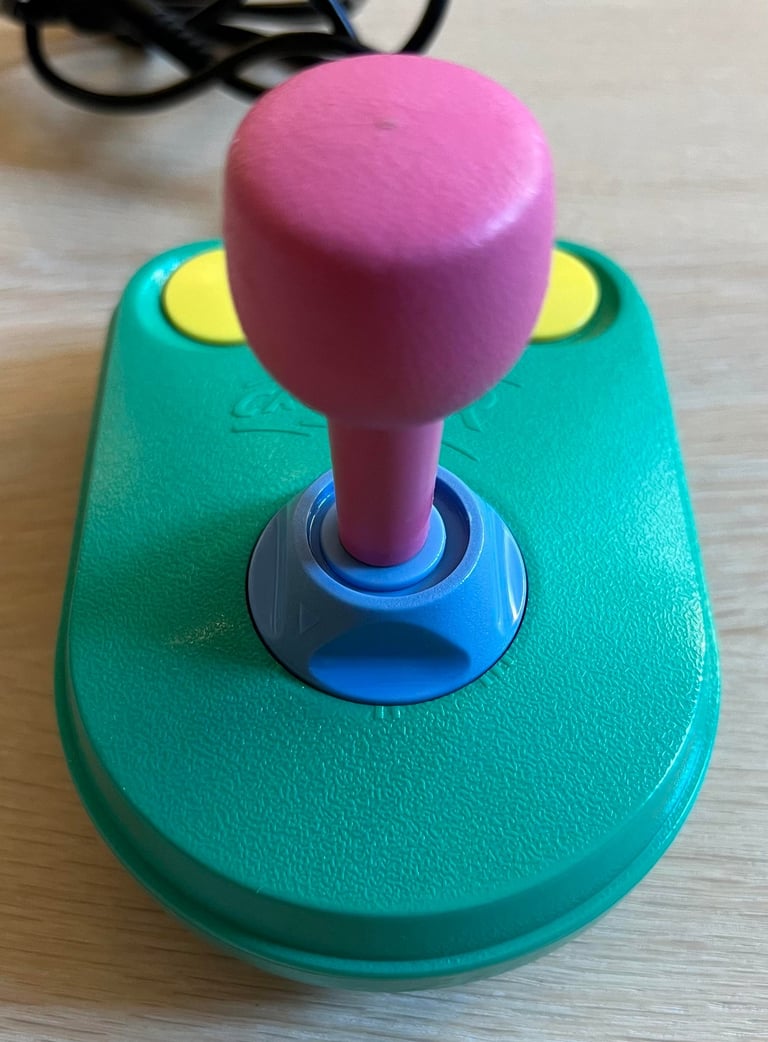
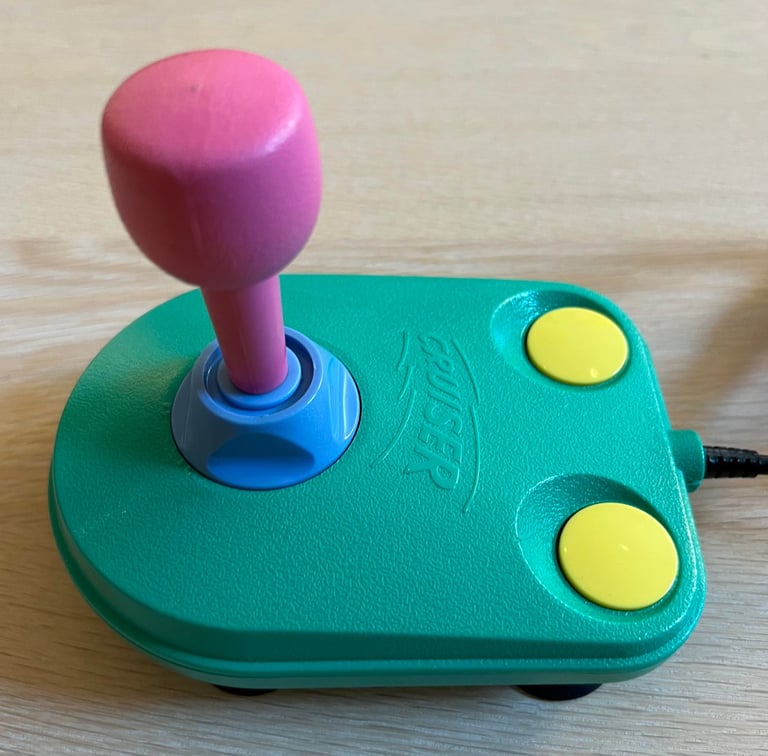
Below are some pictures of the Powerplay Cruiser joystick before refurbishment.






Refurbishment plan
To refurbish this joystick the plan is to do this trough the following steps:
- Clean, and remove stains from, chassis and all parts (and repair if required)
- Lubricate moving parts
- Clean and check the microswitches (and repair if required)
- Check connectivity (and repair if required)
- Verify joystick operation by testing
Disassembly
To separate the Powerplay Cruiser´s top- and bottom cover is simple - just. to remove the three bottom screws. As mentioned this high quality joystick is "built to last", and an example on this are the screws: proper wood screws 16 mm x 3 mm (!). Almost build like a battle tank (or an old Swedish Volvo for that matter).
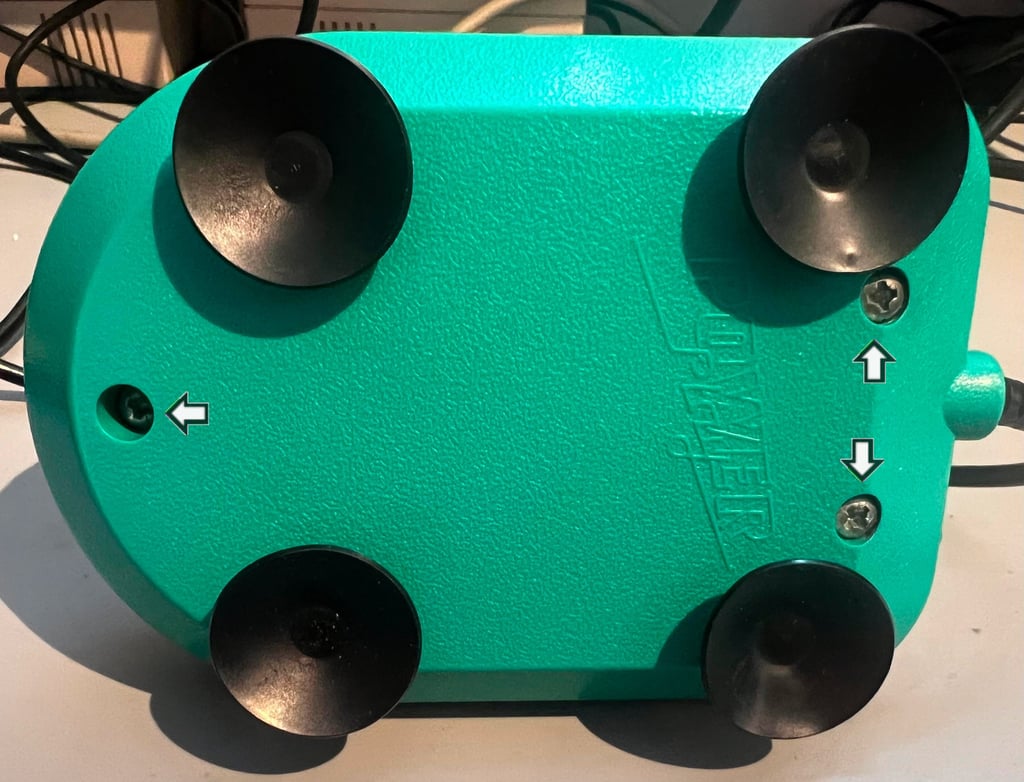

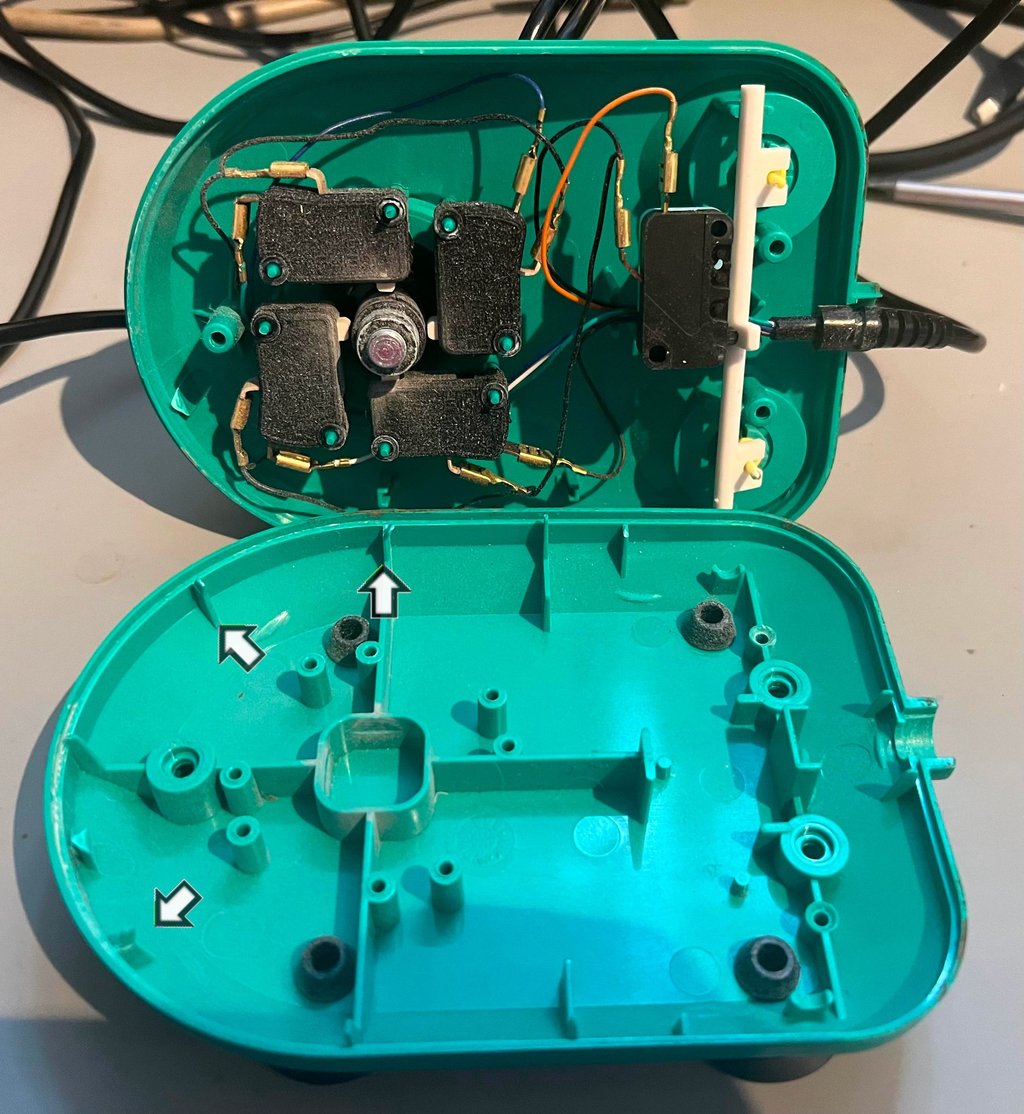
The bottom cover is lifted away, and the interior is exposed. It looks to be in quite good condition, but there are two findings:
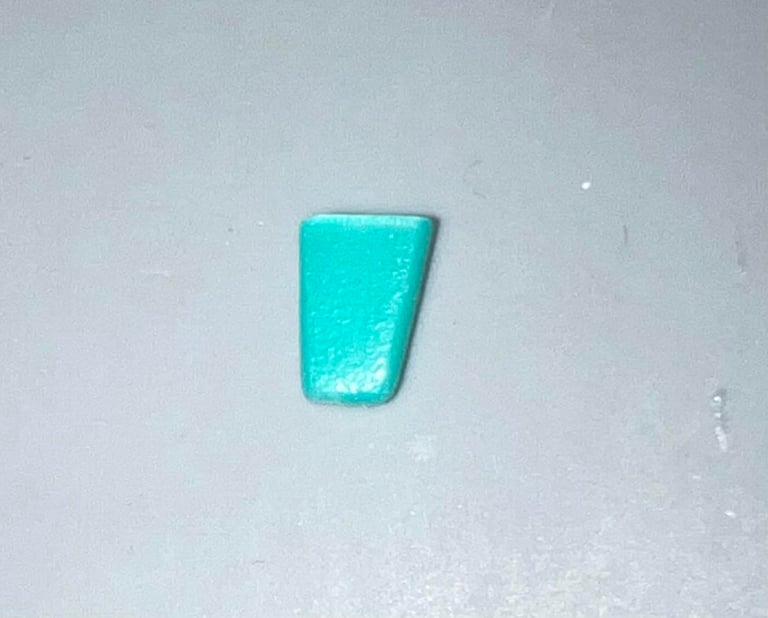
Three of the small rear plastic pins are broken. And of the broken pins are found to be still inside the joystick making the small rattling sound. These plastic pins are not vital in any way I think as they are more to align the top- and bottom cover. It is probably no issue that they are broken. See the arrows in the picture below and the picture of the discovered broken plastic pin.
Four out of the five microswitches are covered with... something? I have seen this on old microswitches, but I am not sure what it is. It appears to be some kind of thin film of dust.


A closer look at the dust (?) on the microswitches.
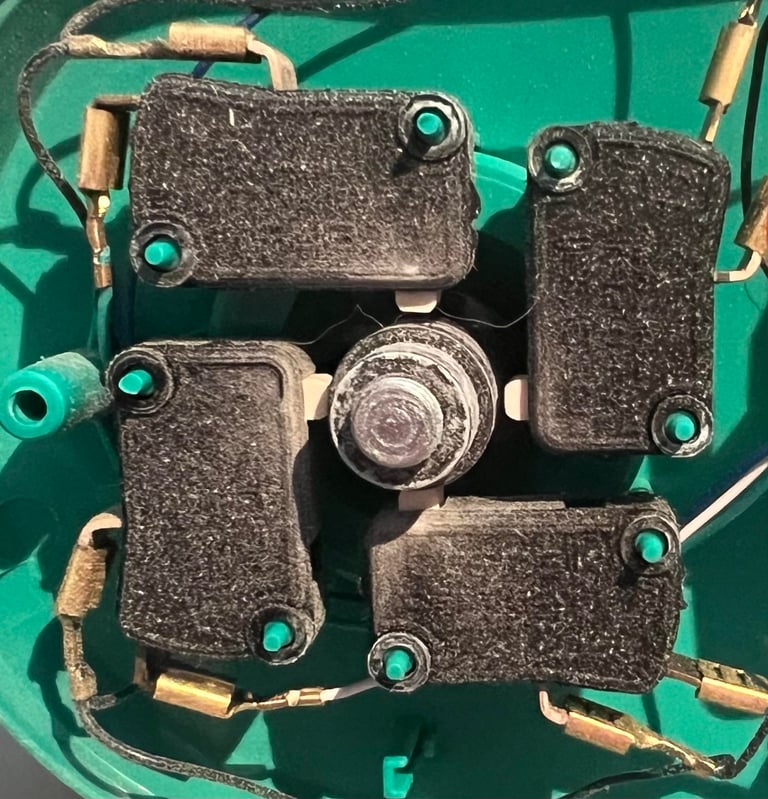

The long plastic shaft used to press the microswitch from both the fire button is removed. By using this plastic rod the Powerplay Cruiser use only one microswitch for two fire buttons (!). This is a very smart engineering feat I think. As far as I know this is the only joystick who use this technique as the rest use a separate microswitch for each of the two fire button.


Now the disassembly comes to a halt. Normally I would like to disassemble the joystick shaft and the fire buttons, but as far as I can see these are not possible to disassemble without risking breaking something. The old plastic is very brittle so when disassembling old plastic you need to be very careful. On other joysticks, such as the Zipstik, the joystick shaft is closed with an E-clip. But on these Powerplay Cruiser joysticks the shafts seems to be "hermetically sealed". This should not be a problem, but I will make the cleaning and lubricating a bit more time consuming - which is perfectly fine.
Exterior casing and plastic parts
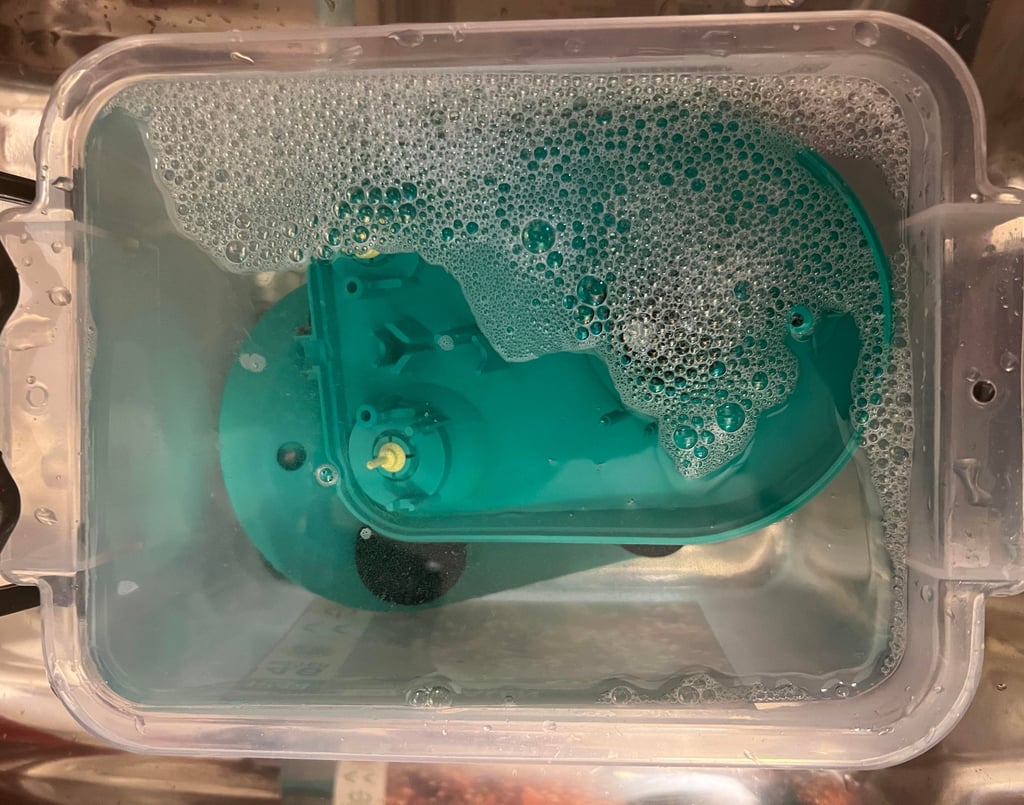
The top- and bottom cover are placed in a plastic container filled with mild soap water for about 24 hours. After the first 24 hours the plastic parts are cleaned properly with a soft brush and also with isopropanol and Q-tips. Then they are placed in mild soap water again for another 24 hours. Normally, the first 24 hours would be sufficient but since I can not disassemble all parts without risking damaging the plastic I let them soak for another day.

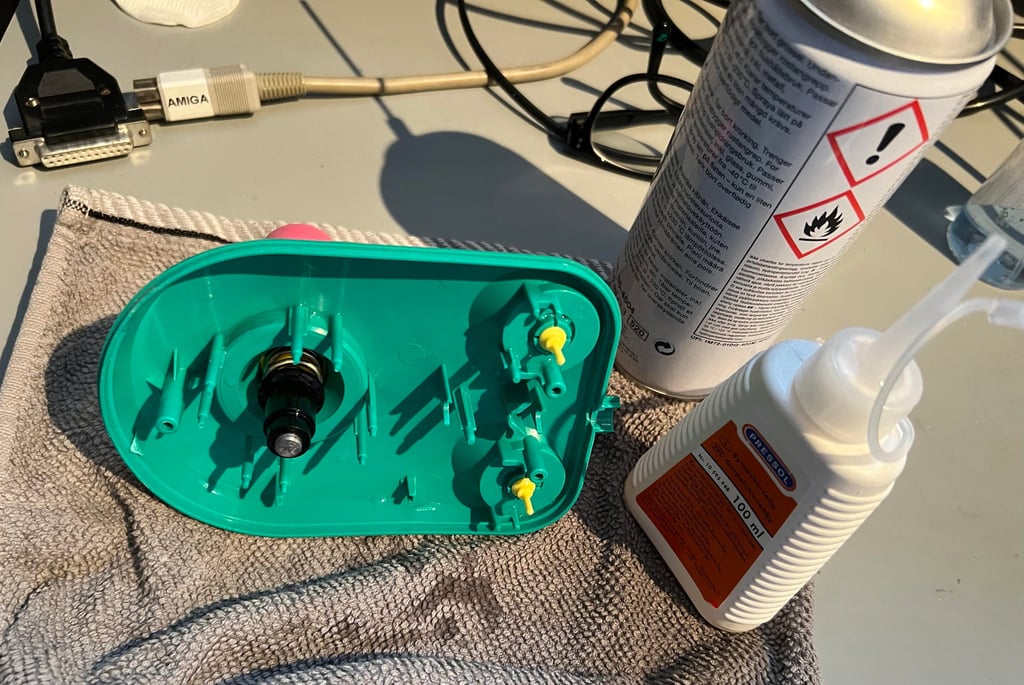
After cleaning, and drying, the moving parts are lubricated with a combination of silicone spray and thin sewing oil. This is quite a messy operation since not all parts could be disassembled, but nevertheless the spray and oil have no problem protruding all areas.

I am quite happy with the result after cleaning and lubrication. It looks almost brand new and I think that the squeaky noise is gone (!) - I am not completely sure, but it do sound much better now. Nice!

Electronics and microswitches
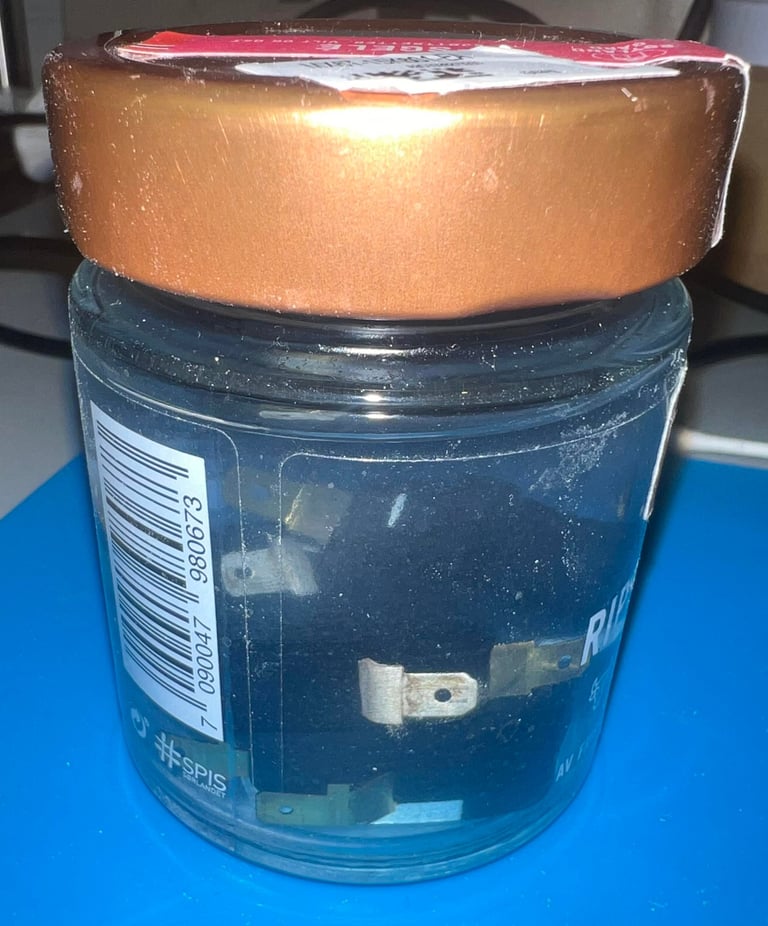
All of the five microswitches are placed in a jar filled with isopropanol for about 24 hours. This will probably remove most of the dust (?) both on the outside and the inside of the switches. These old microswitches should be capable of working fine after 40 years, but the metal on the inside (and outside for that matter) needs to be sufficiently clean.

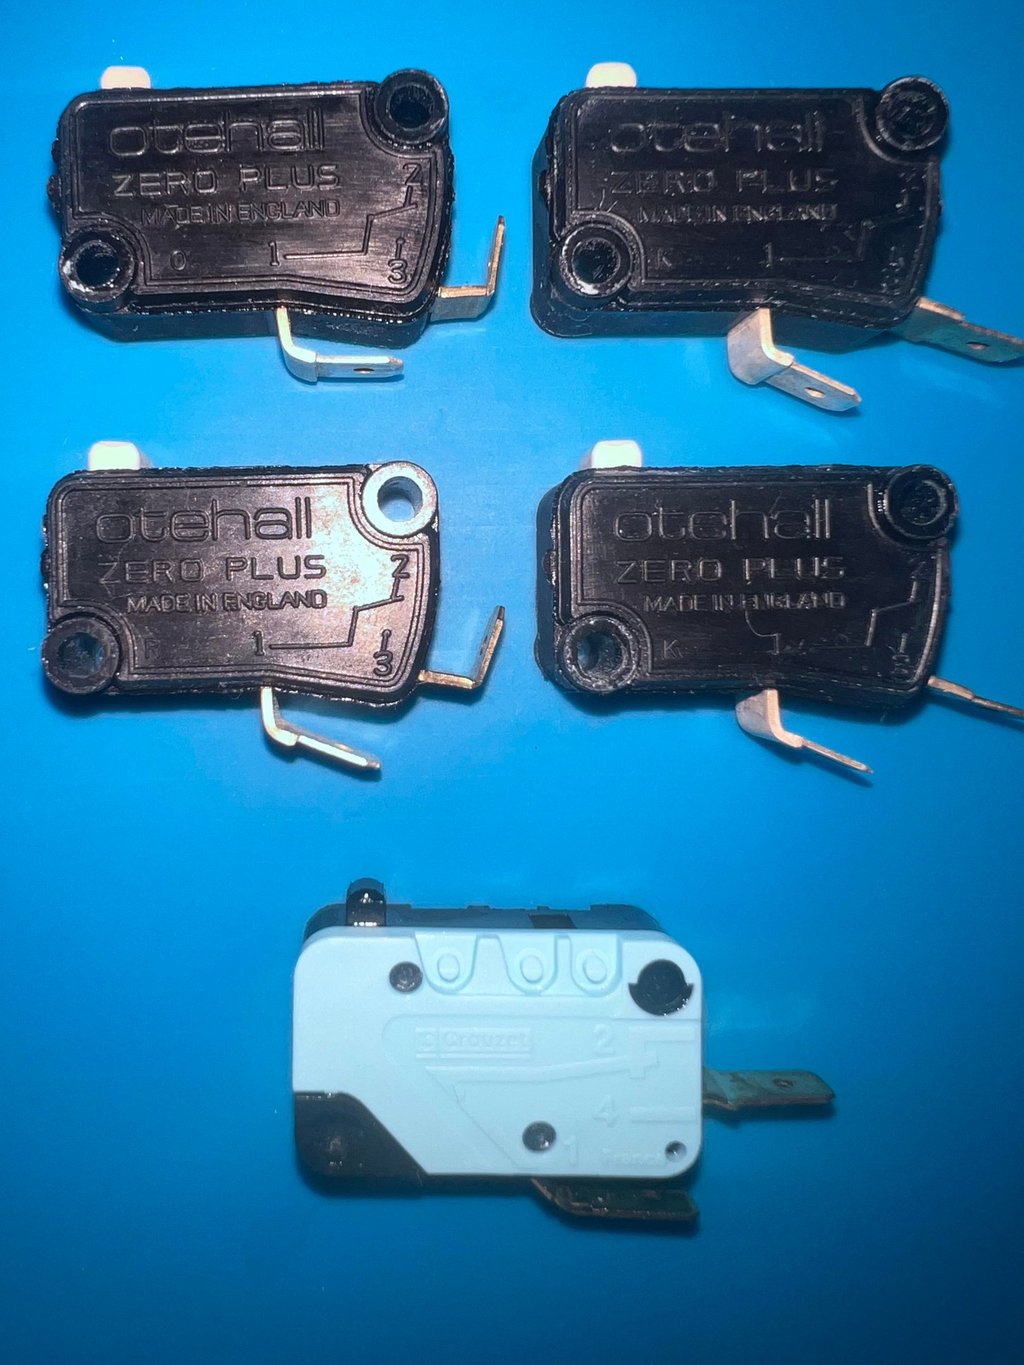
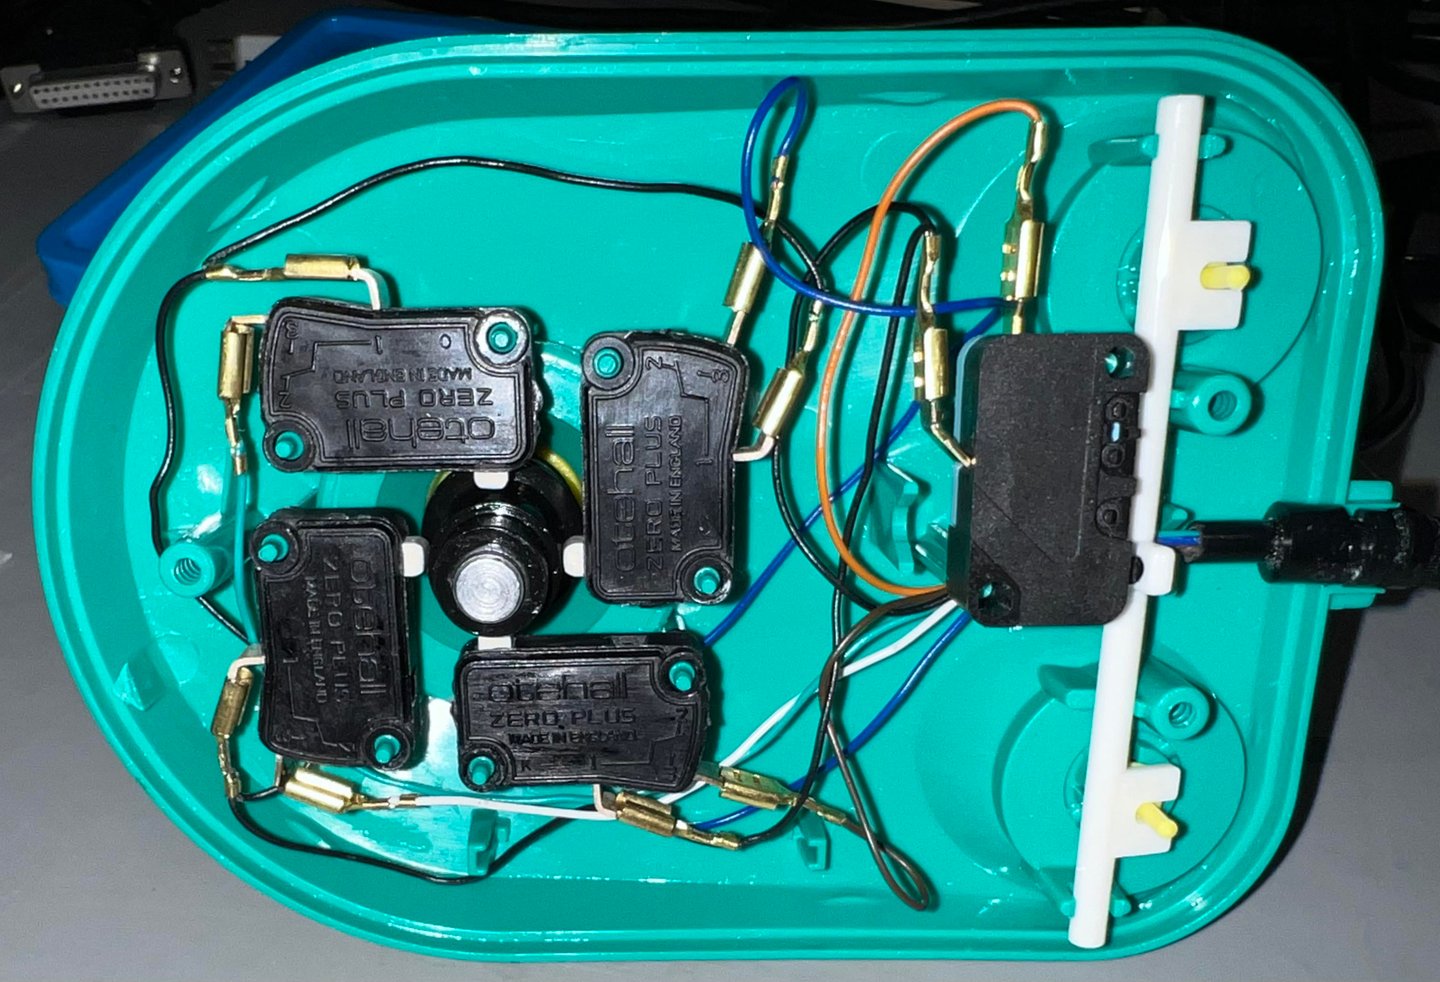
After cleaning the switches look good as new. The four microswitches used for directional motion are made in England by Otehall and are marked "zero plus". The microswitch used for the fire button(s) is made in France by Crouzet. Why a different brand for this one? I can not know for sure, but the Crouzet switch feels a bit "lighter" to press so perhaps it is easier for the fire button shaft to press this one?

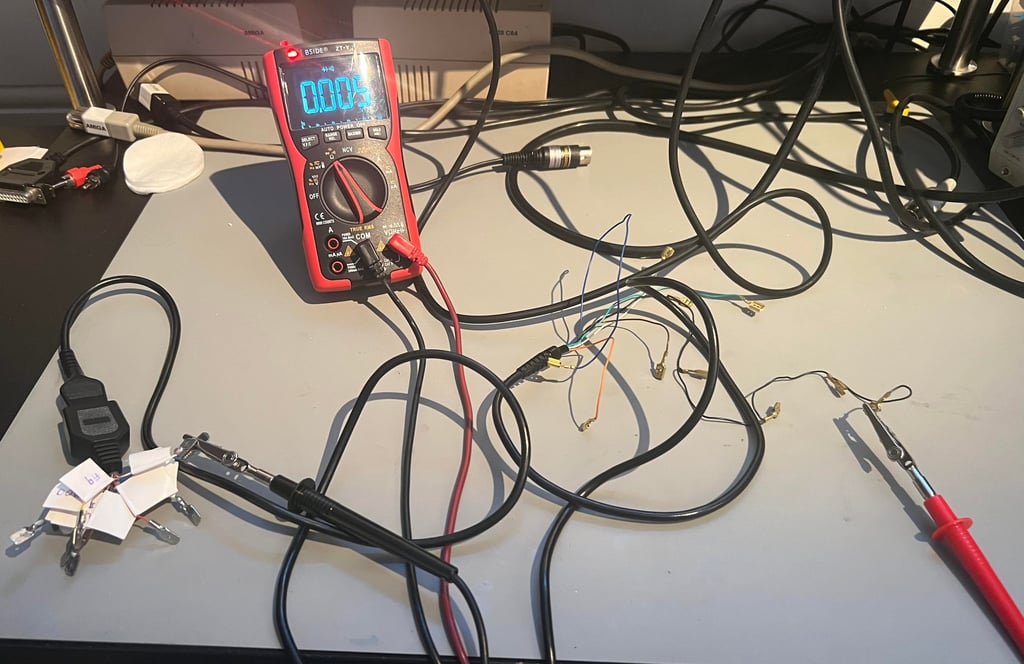
A very common fault on old joysticks is broken, or marginal, cables or connectors. Therefore it is good practice to check all the wires for continuity. The way I do this is by using a multimeter in continuity mode (beep-mode). The probes are connected on each side of the cable through a home-made DB-9 connector. While the multimeter is beeping the cable is twisted and turned - listening for any breaks in the beep sound indicating a fault. Also, the connector pins are properly cleaned with contact cleaner. I can not find any faults on the cable.

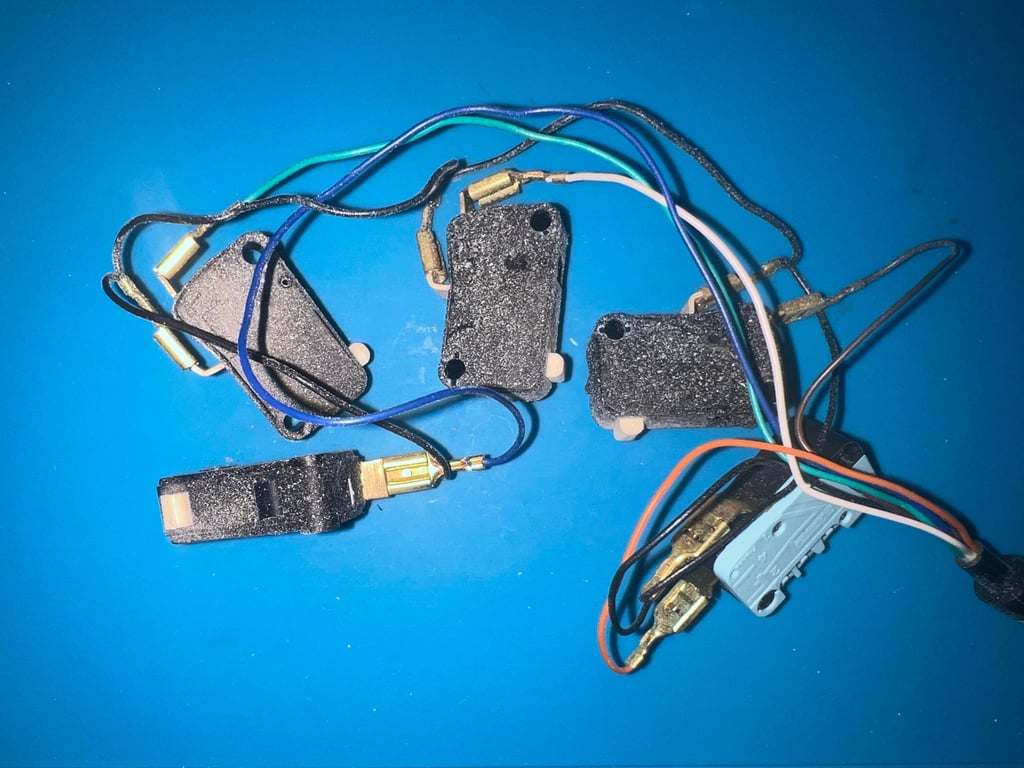
The microswitches are removed from the top cover first. And then the connectors are carefully removed from each of the microswitches.

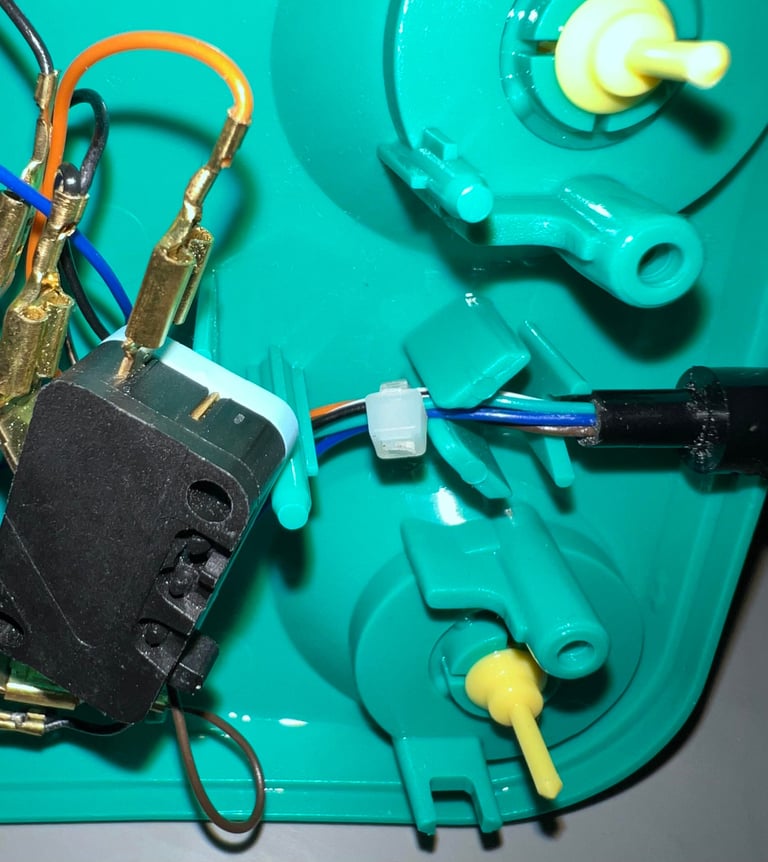
All wires and microswitches are re-assembled and mounted back in the top cover. A small thin cable tie is added to hold all the wires in place. Looks good a new (!?)


Testing
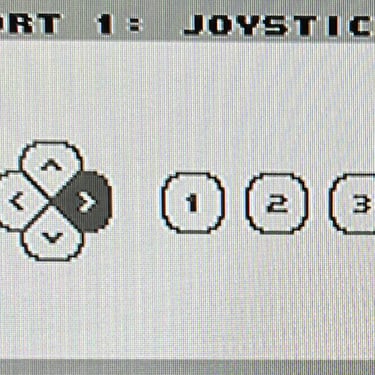
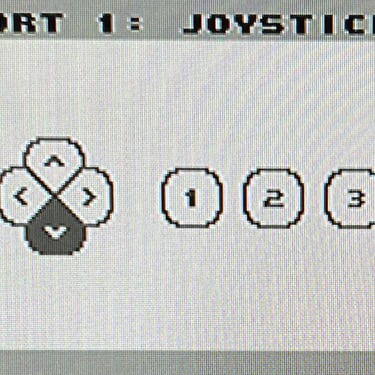
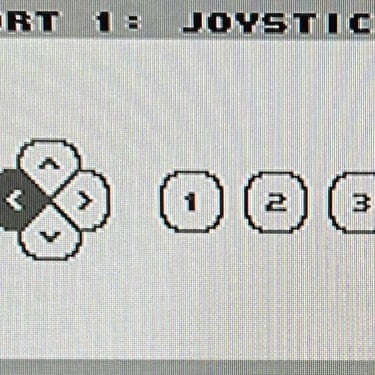
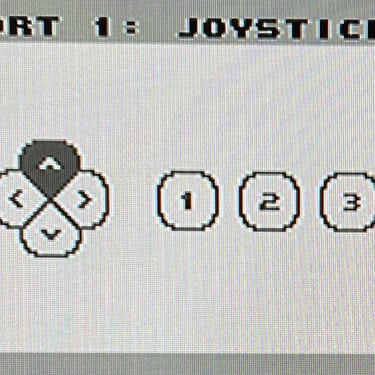
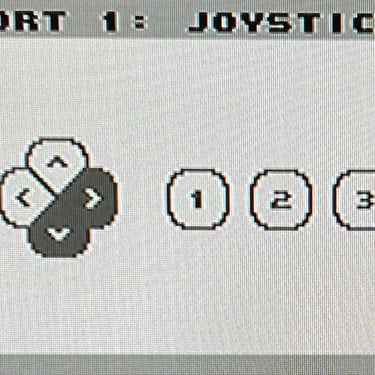
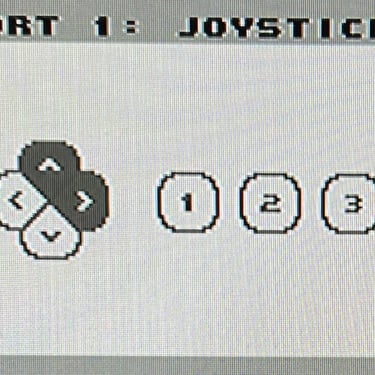
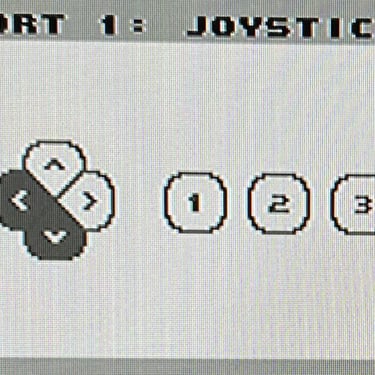
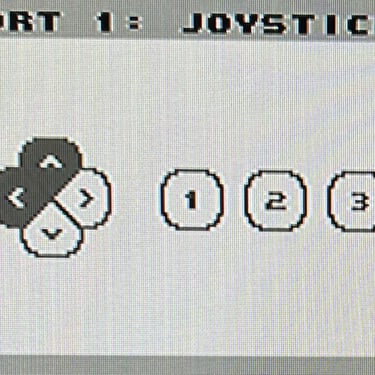
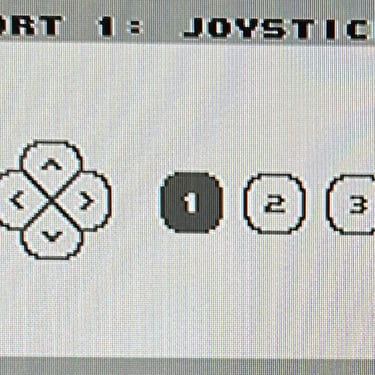
To verify that the joystick work as it should I check it with the Joyride software. Result is that all directions and fire buttons works fine works as expected. All tests pass.
Final result
"A picture worth a thousand words"
Below is a collection of the final result from the refurbishment of this Powerplay Cruiser joystick. Hope you like it! Click to enlarge!






Banner picture credits: Steveinuk99
