
Prof Competition
Starting point
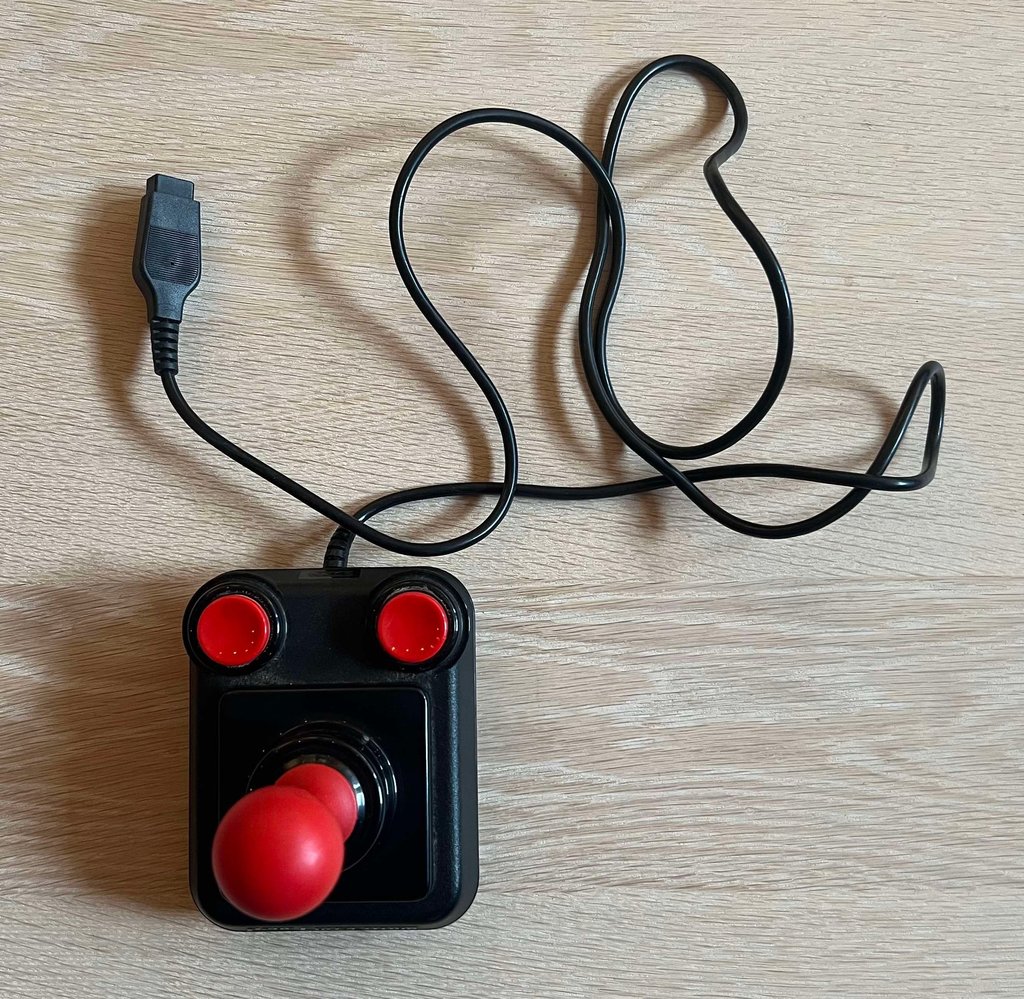
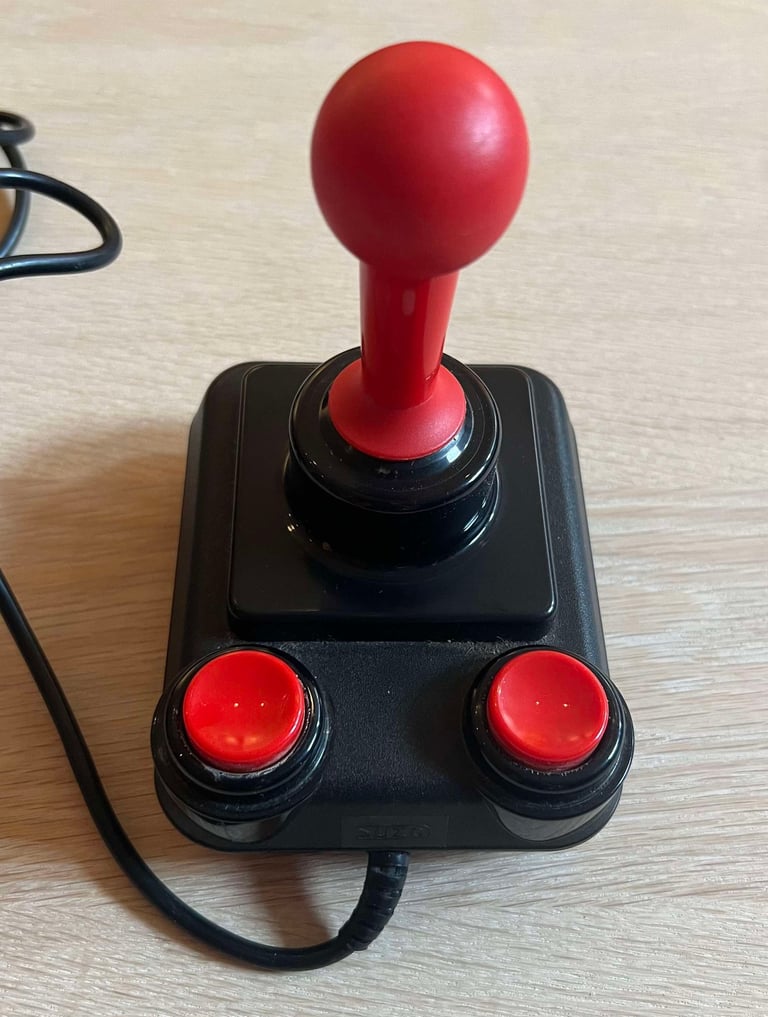
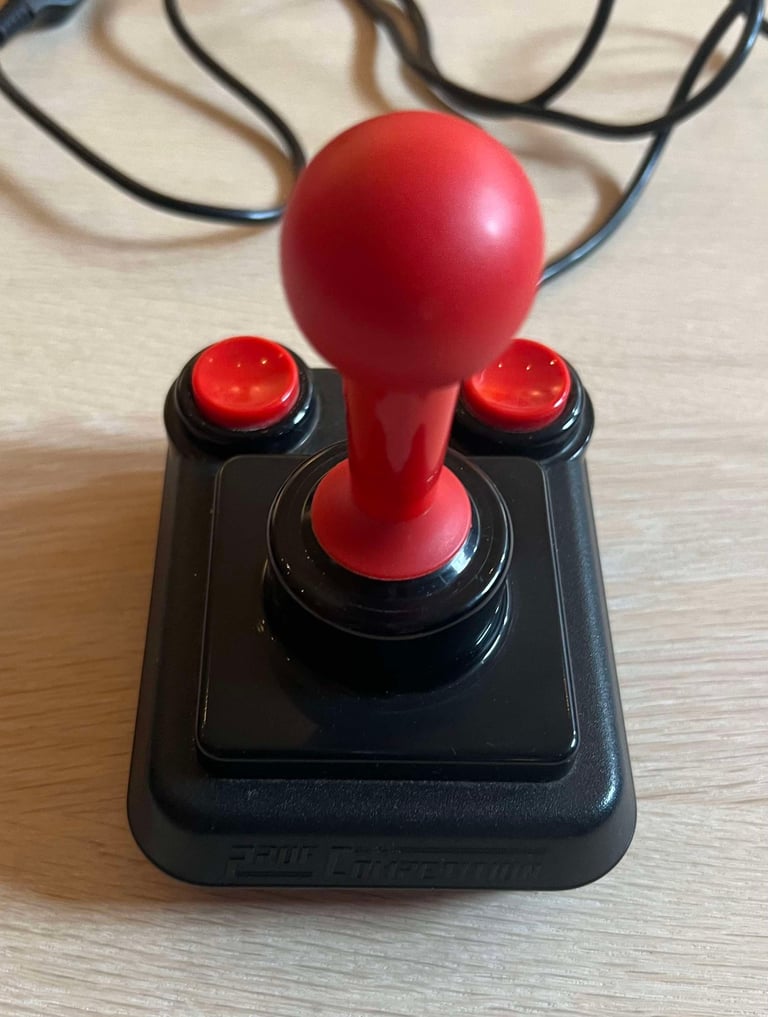
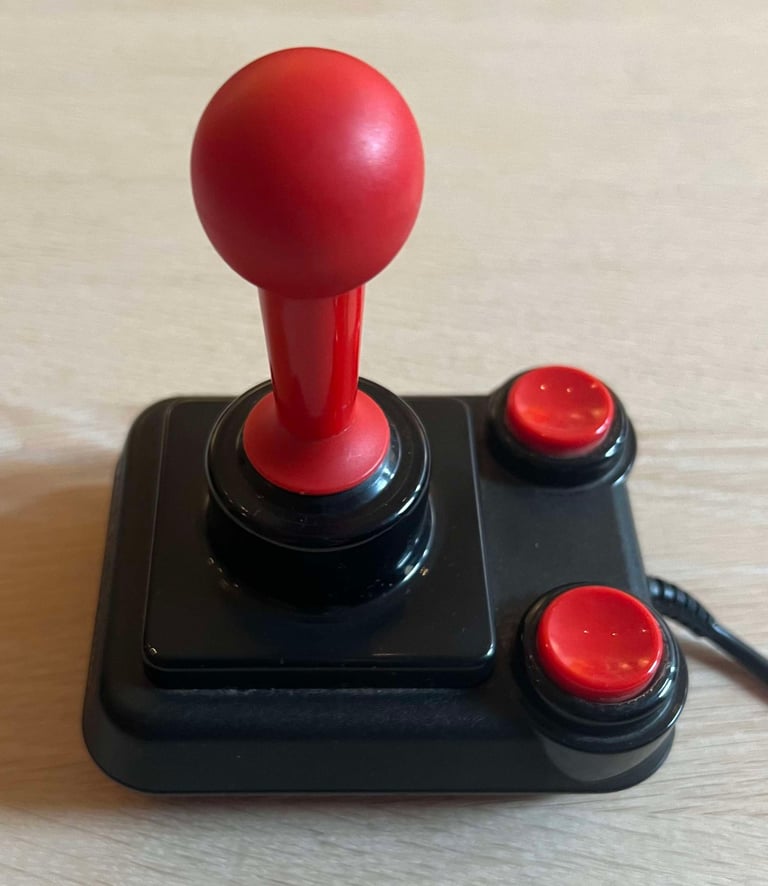
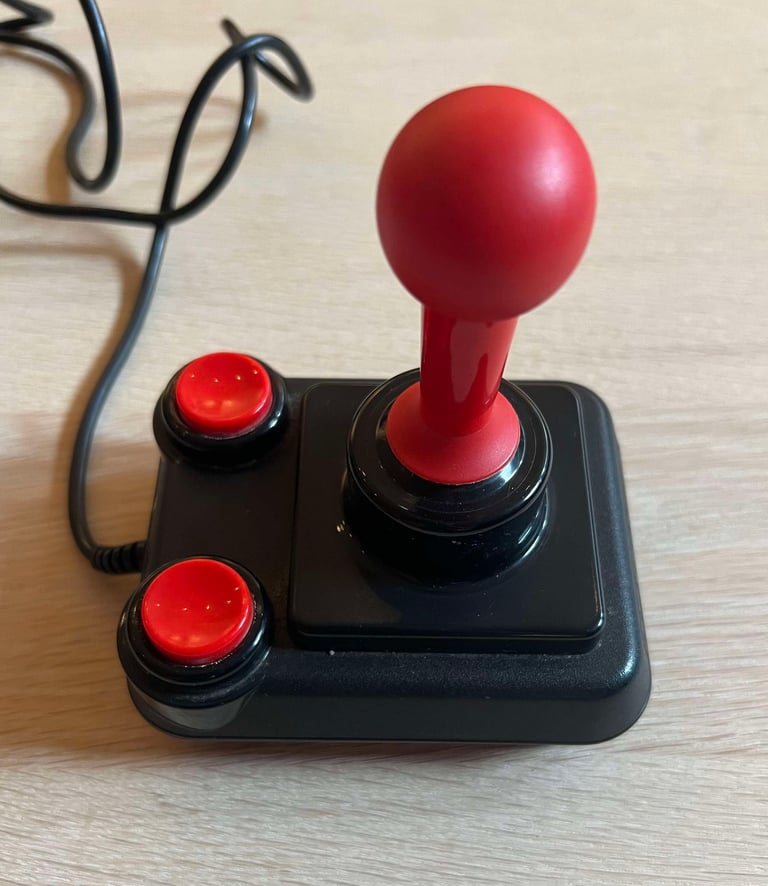
One word: WOW! This joystick looks to be in very good condition. Yes, it is quite dirty, but other than that I really can´t see anything wrong with it (ok, there is a rubber feet missing - but what else can you expect after 40 years?).
I don´t think that the Prof Competition joystick from Suzo International is as famous as its older brother - The Arcade. But it is obvious that Suzo International developed their series of joystick making them better and better. The Prof Competition is quite similar to The Arcade, except that the Prof Competition have two fire buttons and not a single one.
But as with all refurbish projects - you newer know what you will meet when you start! Hopefully this will be an easy one!
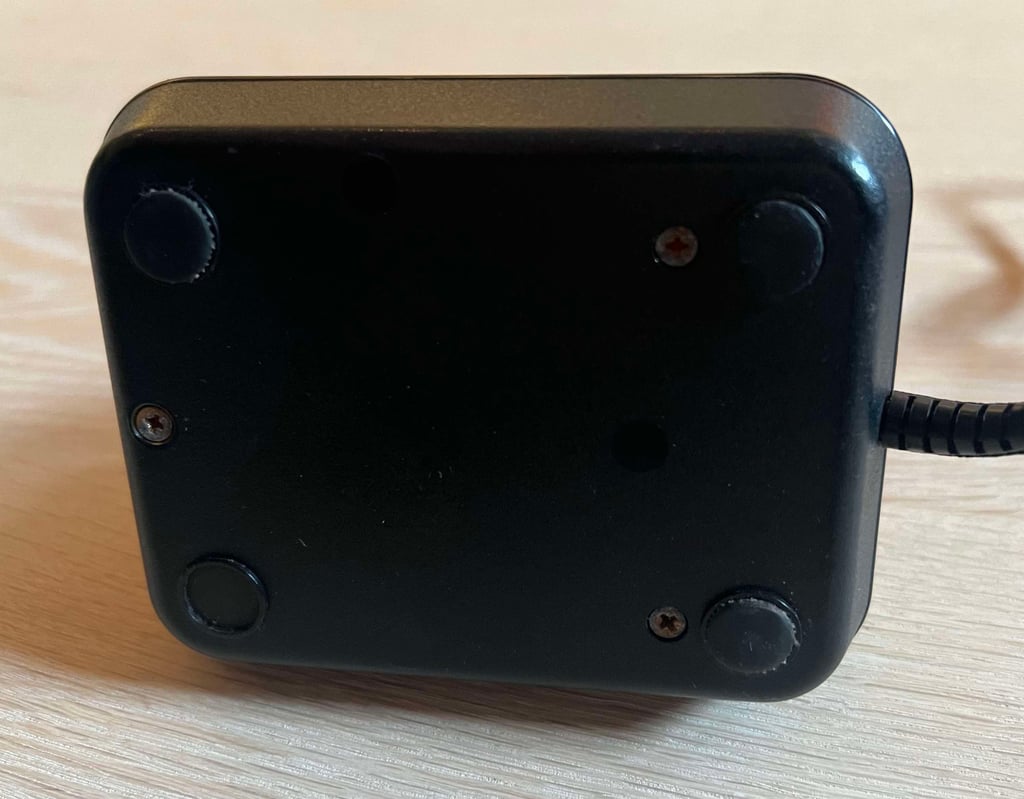
Below are some pictures of the joystick before refurbishment.






Refurbishment plan
To refurbish this Competition Pro joystick the plan is to do this by:
Cleaning the exterior casing
Check (and potentially repair) the interior electronics, switches and mechanics
Replace cable and check cable connectivity
Verify operation by testing
Disassembly
Partly disassembling this joystick is trivial. A complete disassembly is more complicated and not recommended as you are likely to break, or deteriorate, the plastic parts. Only do a complete disassembly of these joystick if you have no other choice.
To disassembly the joystick the three screws at the bottom cover are removed.
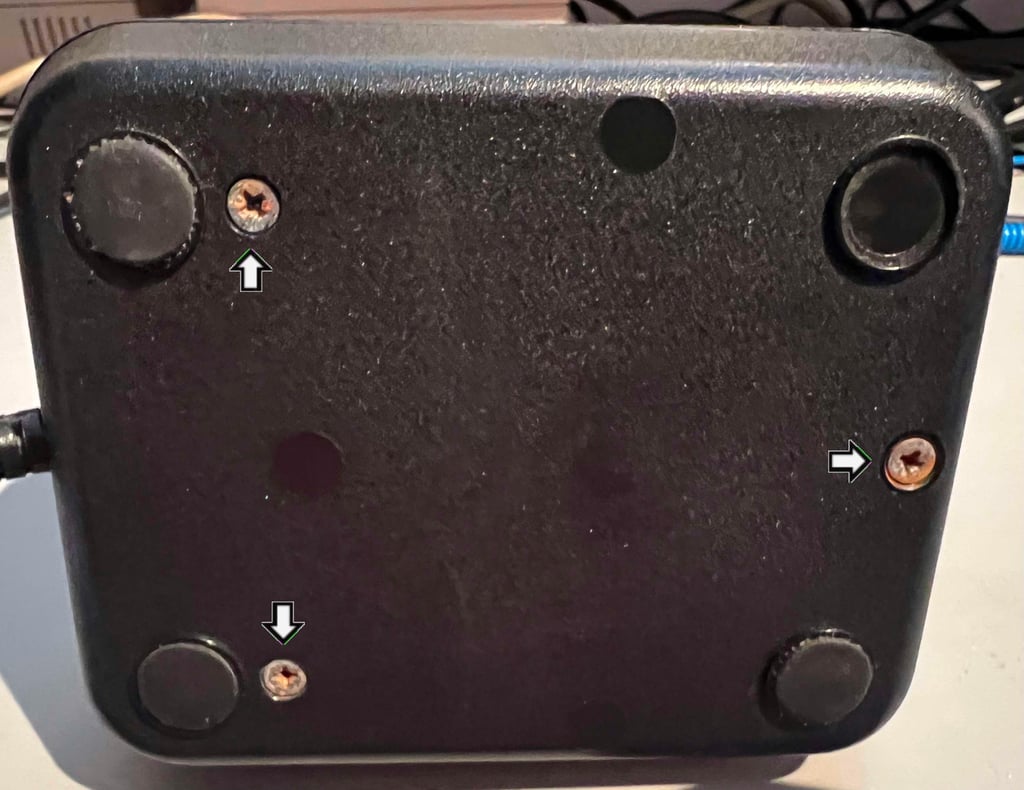

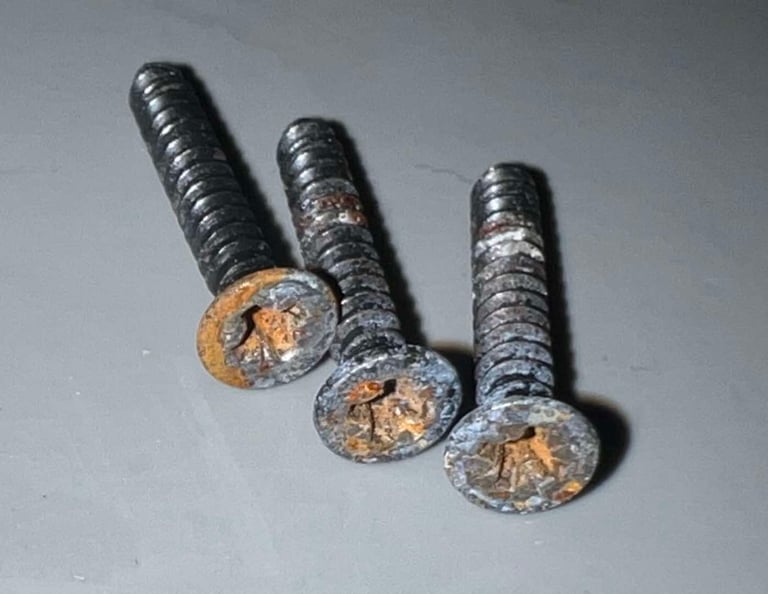
The screws have some surface rust, but nothing that should be a problem to remove later.

Removing the top cover reveals the interior. And it looks to be in very good condition!
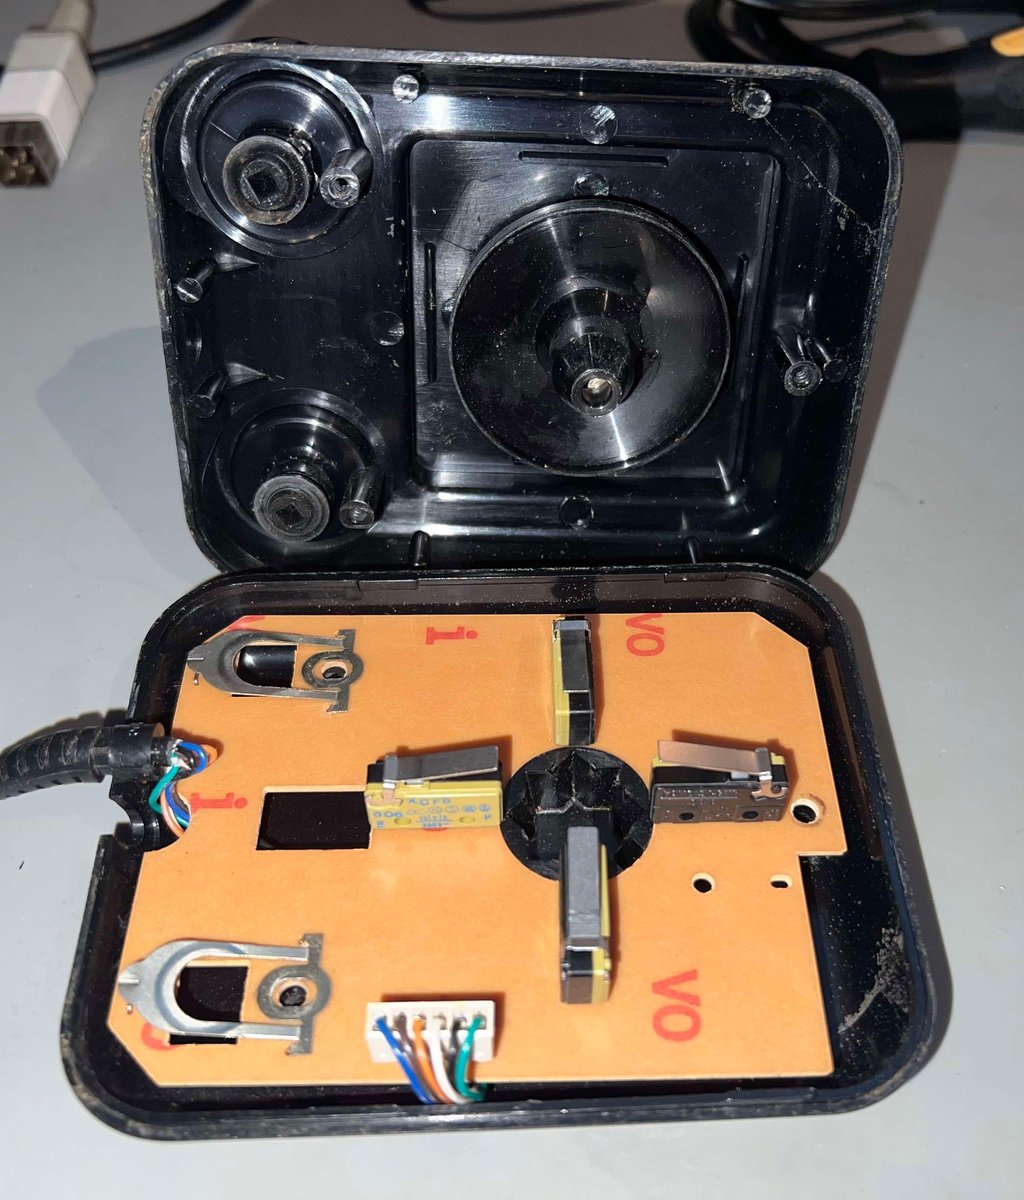

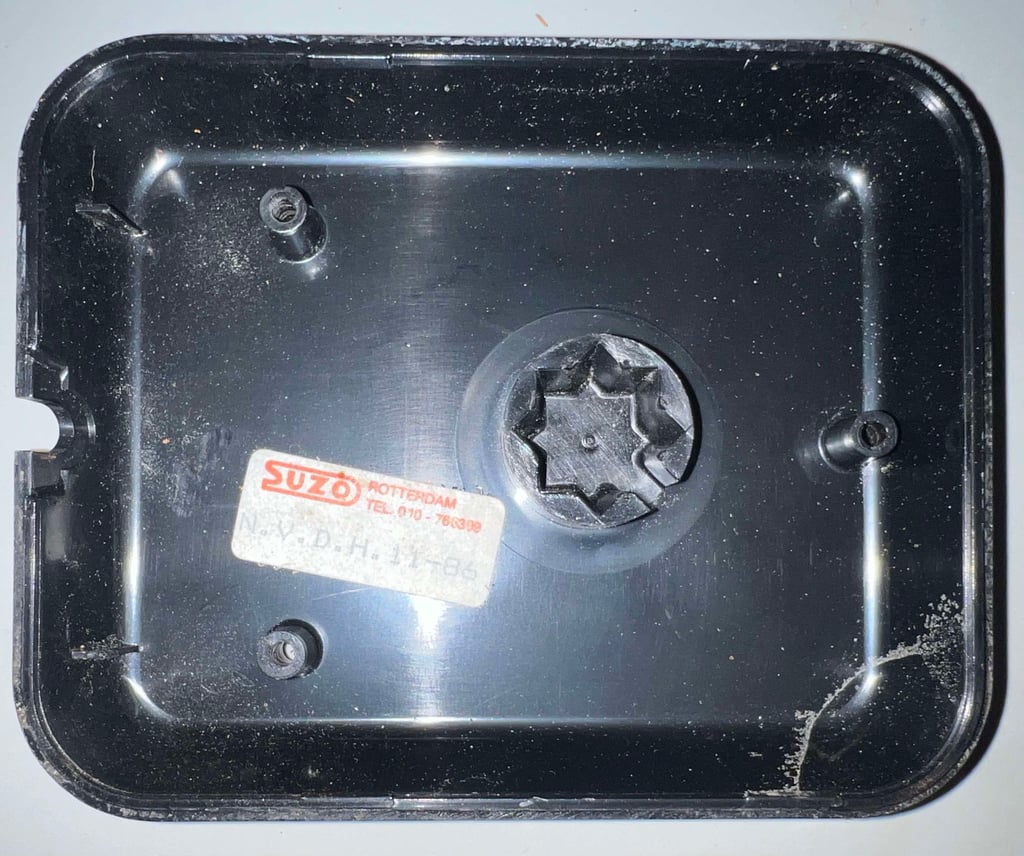
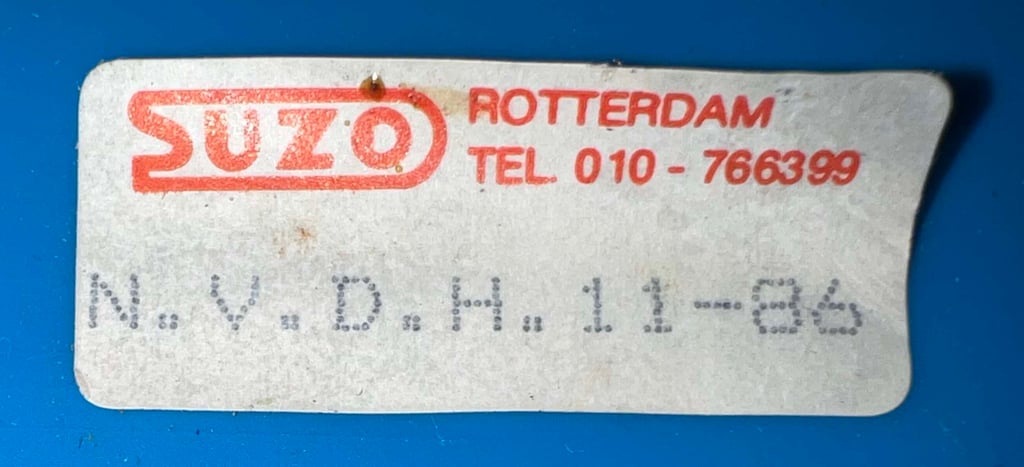
The PCB is lifted out of the bottom cover. And it is great to see this old sticker from SUZO Rotterdam marked "N.V.D.H. 11-86". I wonder what that means? Maybe some initials from a worker at SUZO and the 11th month of 1986? Maybe this joystick was a Christmas gift in 1986?

Exterior casing and plastic parts
Before the top- and bottom covers are cleaned the old SUZO sticker is removed. This is done by carefully peeling it off while applying some hot (h)air from a hair dryer.

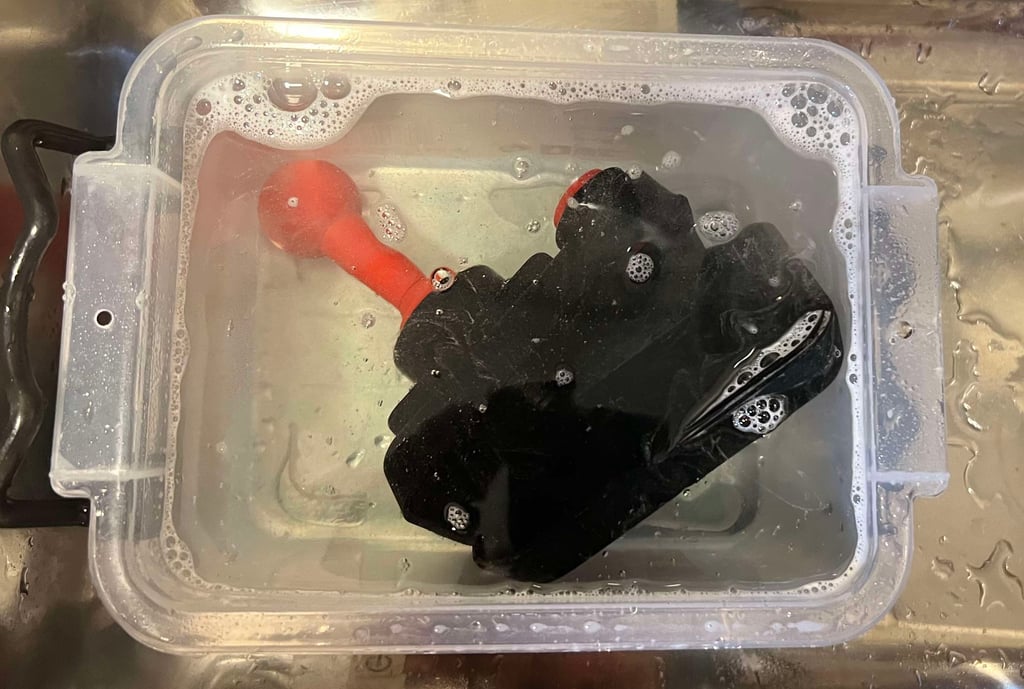
With the sticker out of the way the top- and bottom covers are placed in a box of mild soap water for about 48 hours. This removes most of the dust and grease without much effort.

The covers look very good after cleaning!
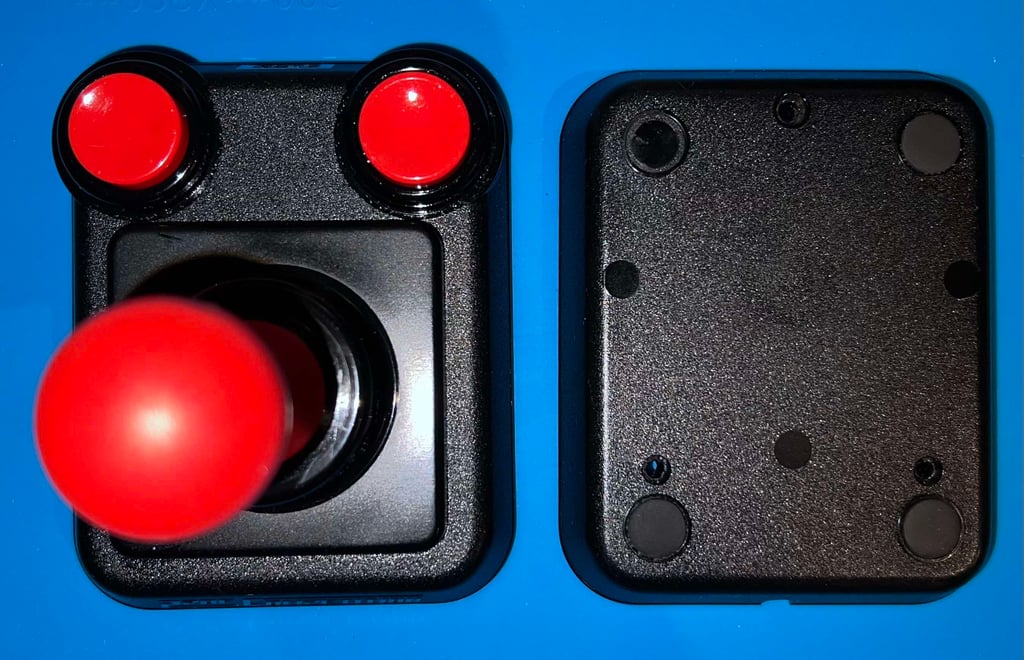

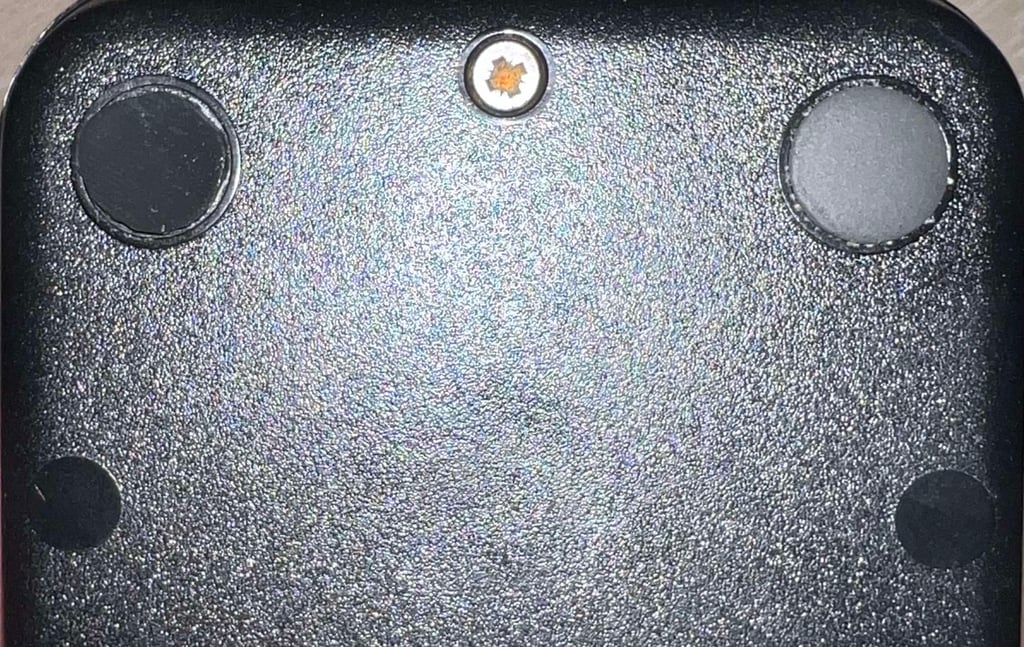
Since one of the rubber feet are missing a new one is installed. Unfortunately, the old rubber feet have a diameter of 12 mm, but I only have 14 mm available. But with some careful cutting the new rubber feet is in place. The new one is to the left.

Electronics and microswitches
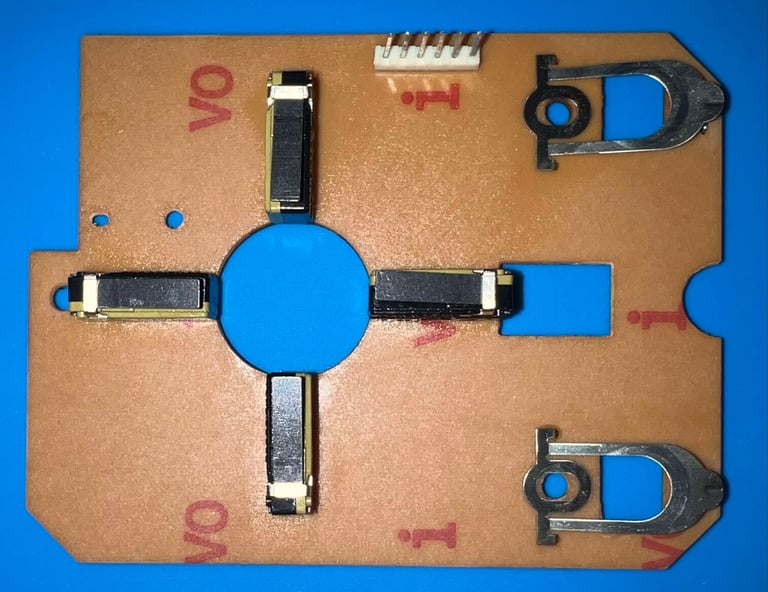
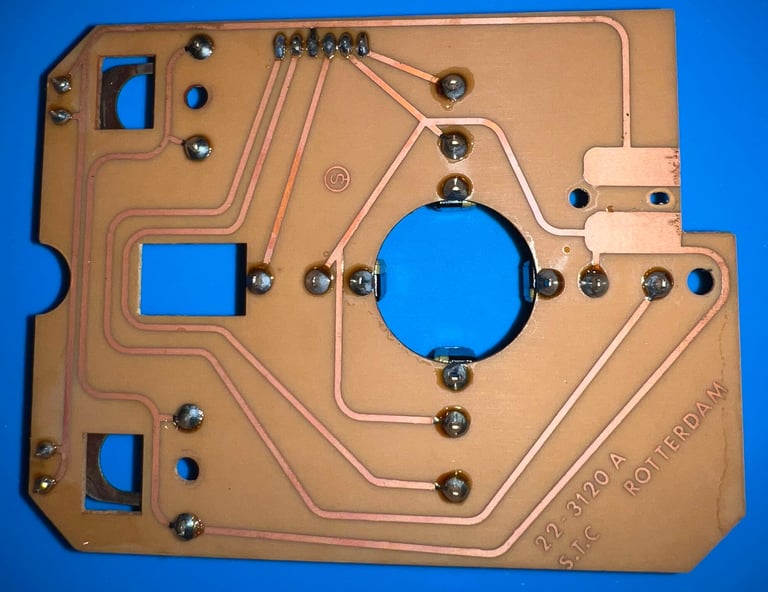
Except for some dust, and old grease, the PCB looks in very good condition. The PCB is marked with "22-3120 A" S.T.C. Rotterdam.
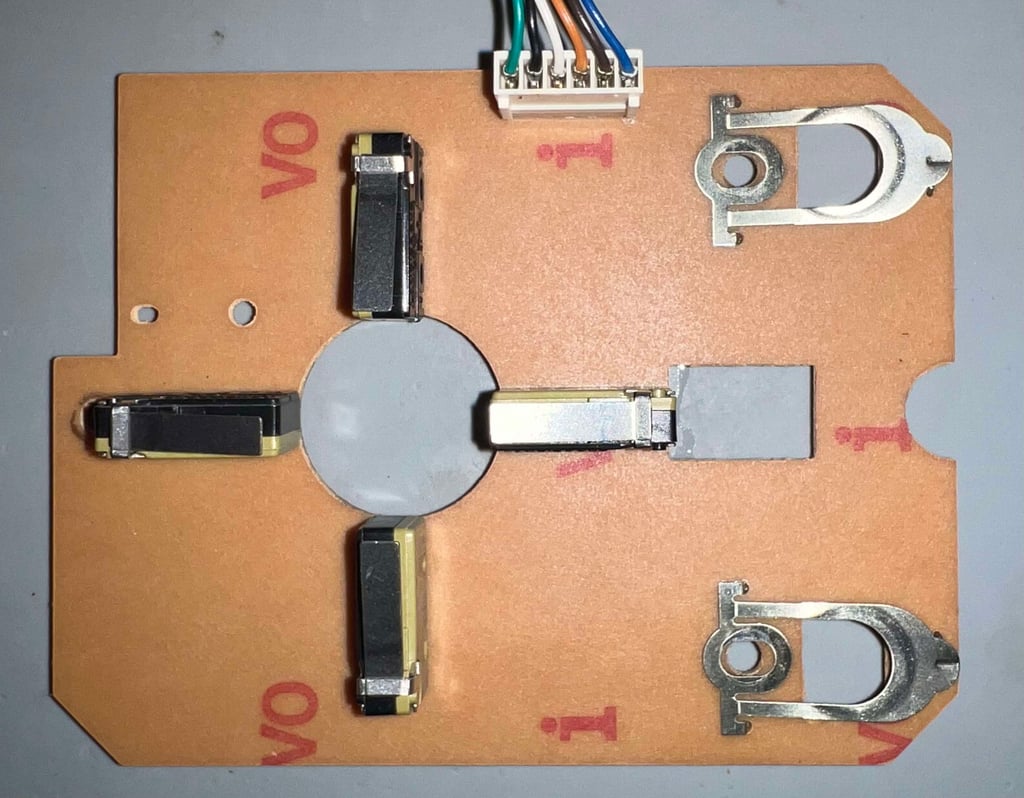

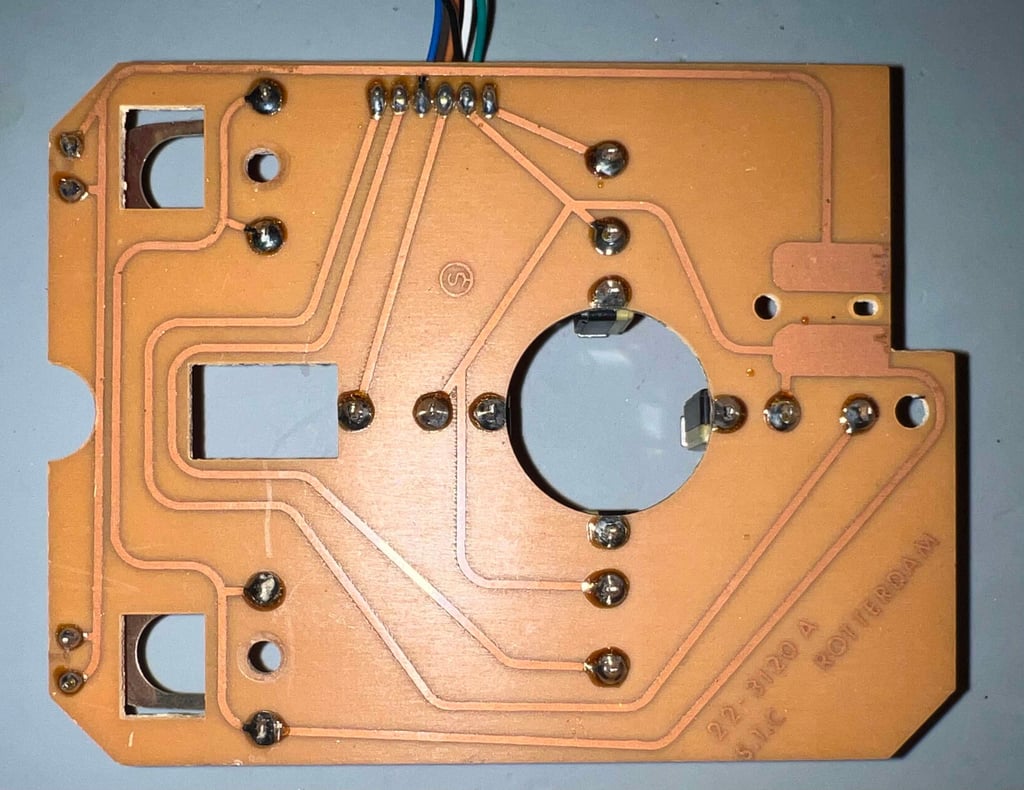

I notice that the exposed metal which functions as the fire buttons are quite oxidized (not so easy to see on the picture below). The exposed metal is cleaned with contact cleaner and rubbed with a steel brush to remove the oxidation.
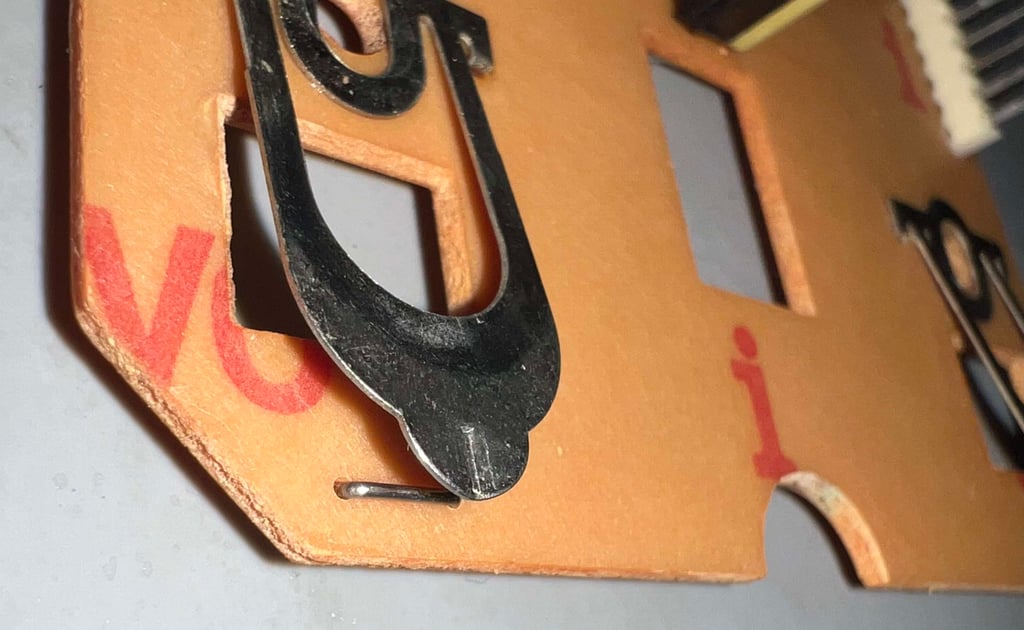

In addition to the fire buttons the pin headers used for the cable connector are also oxidized. With a steel brush and a mix of isopropanol and contact cleaner these are rubbed clean.
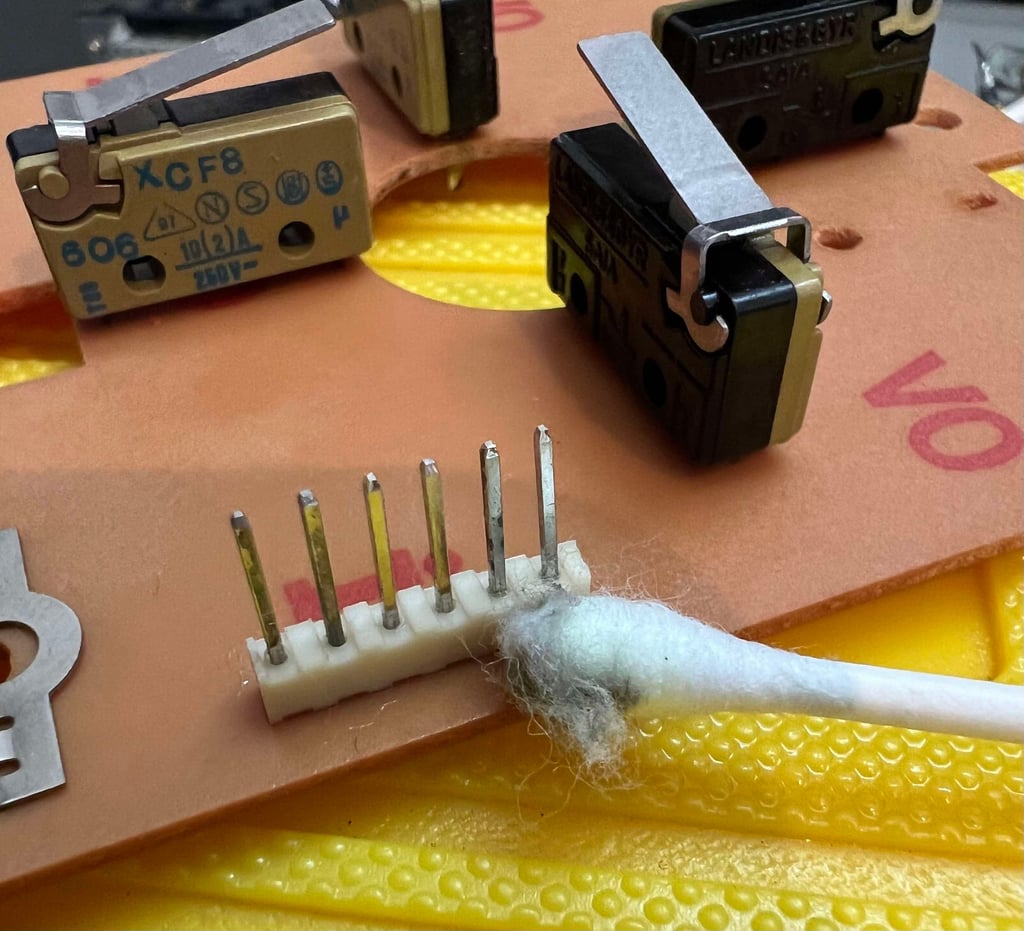

There are four microswitches used for the UP/DOWN/RIGHT/LEFT. The brand and model of these are: Landis & Gyr SAIA XCF8. I can not see any visual damage or corrosion on these, but I can assume that they are also oxidized inside. Contact cleaner is sprayed into each of the microswitches and "massaged" pushing the lever several times.
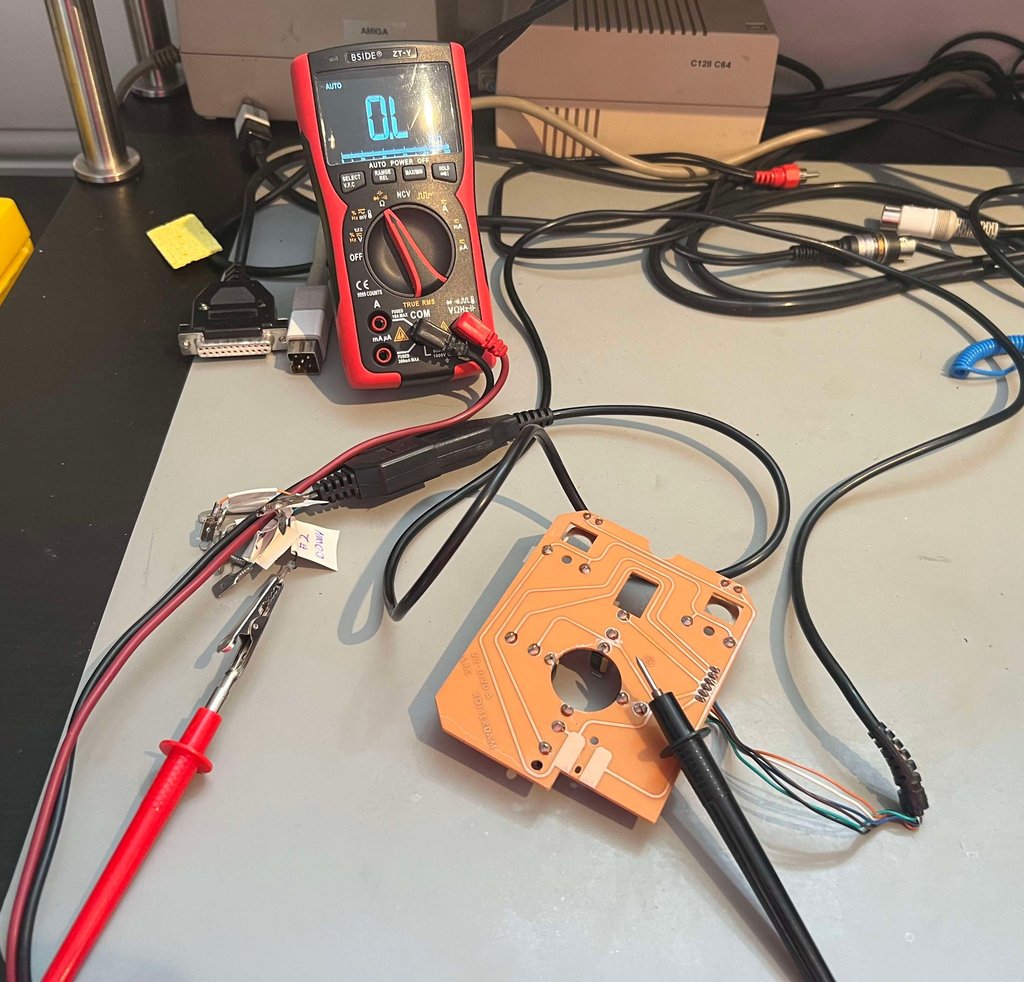
After cleaning the PCB, and cable, are properly tested with a multimeter.

Below are some pictures of the cleaned PCB (click to enlarge).


Testing
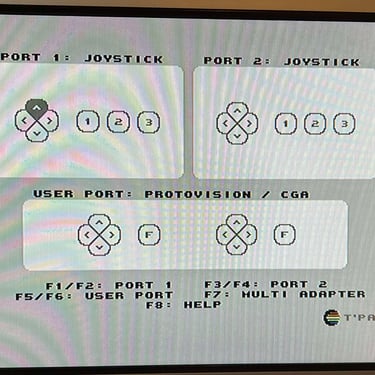
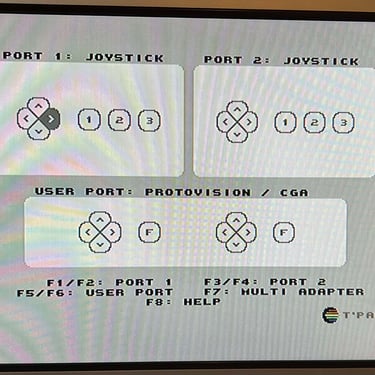
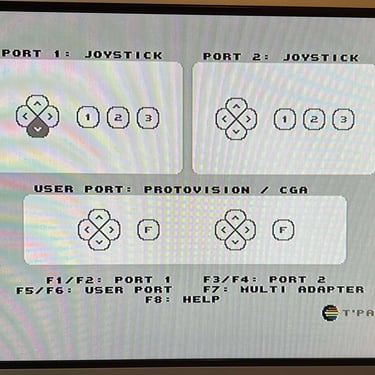
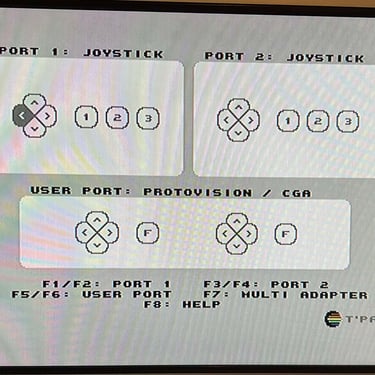
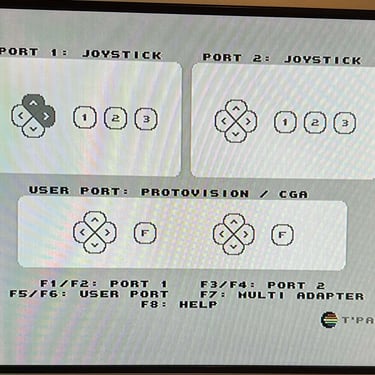
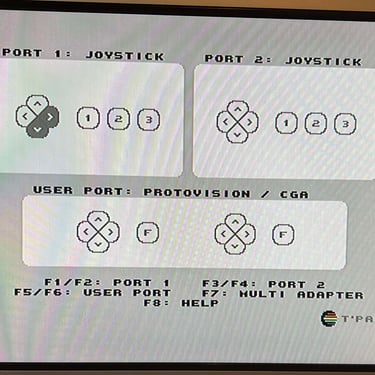
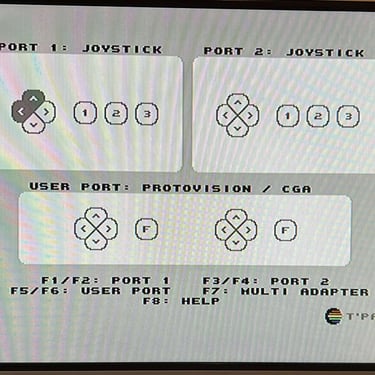
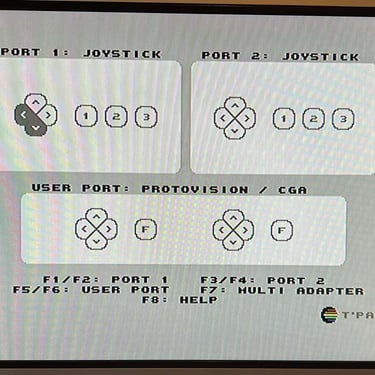
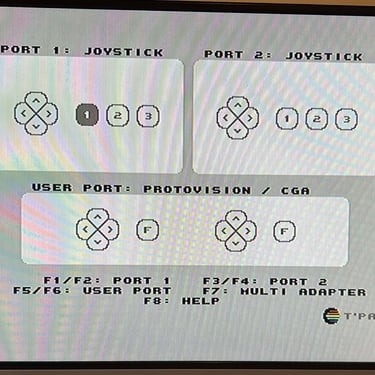
To verify that the joystick work as it should I check it with the Joyride software. Result is that all directions and fire buttons works fine works as expected. All tests pass.
Final result
A picture worth a thousand words"
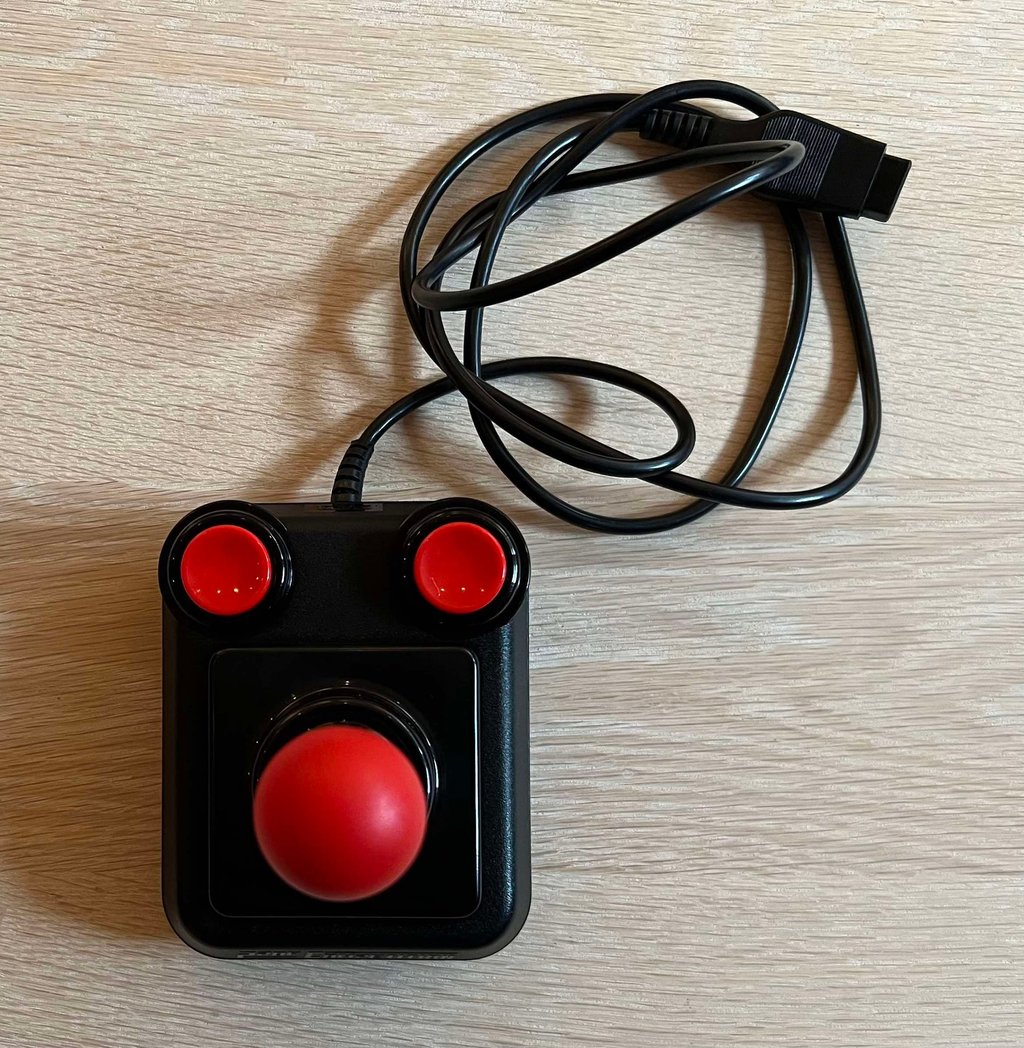
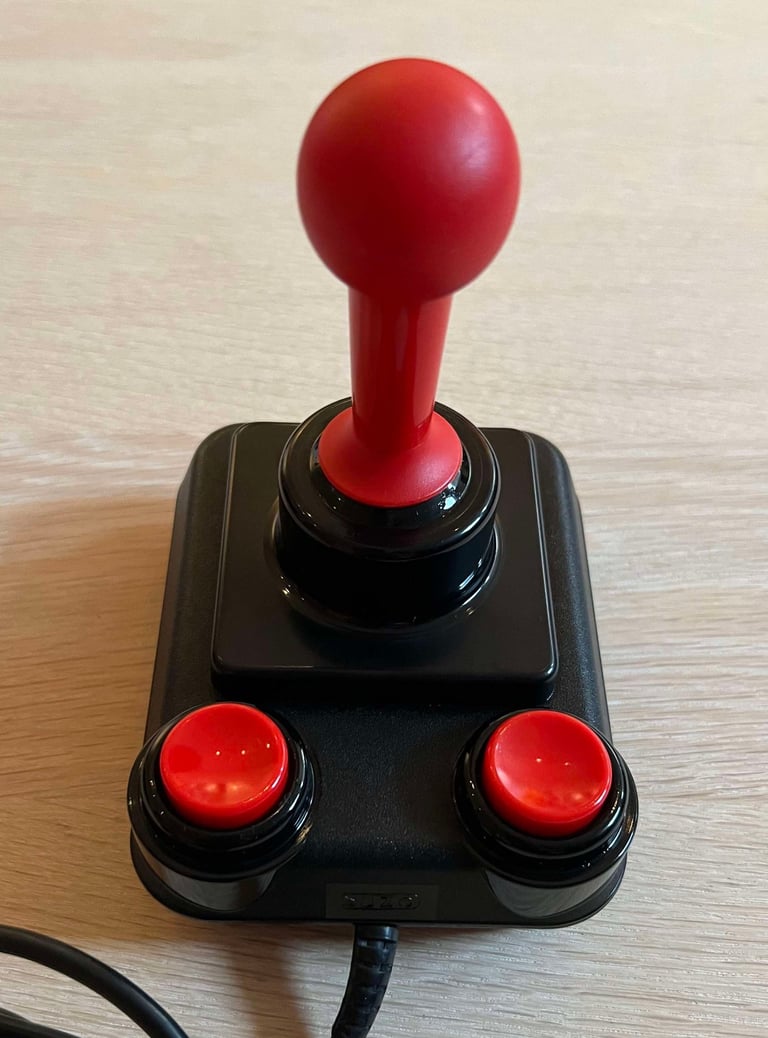
Below is a collection of the final result from the refurbishment of this Prof Competition joystick. Hope you like it! Click to enlarge!


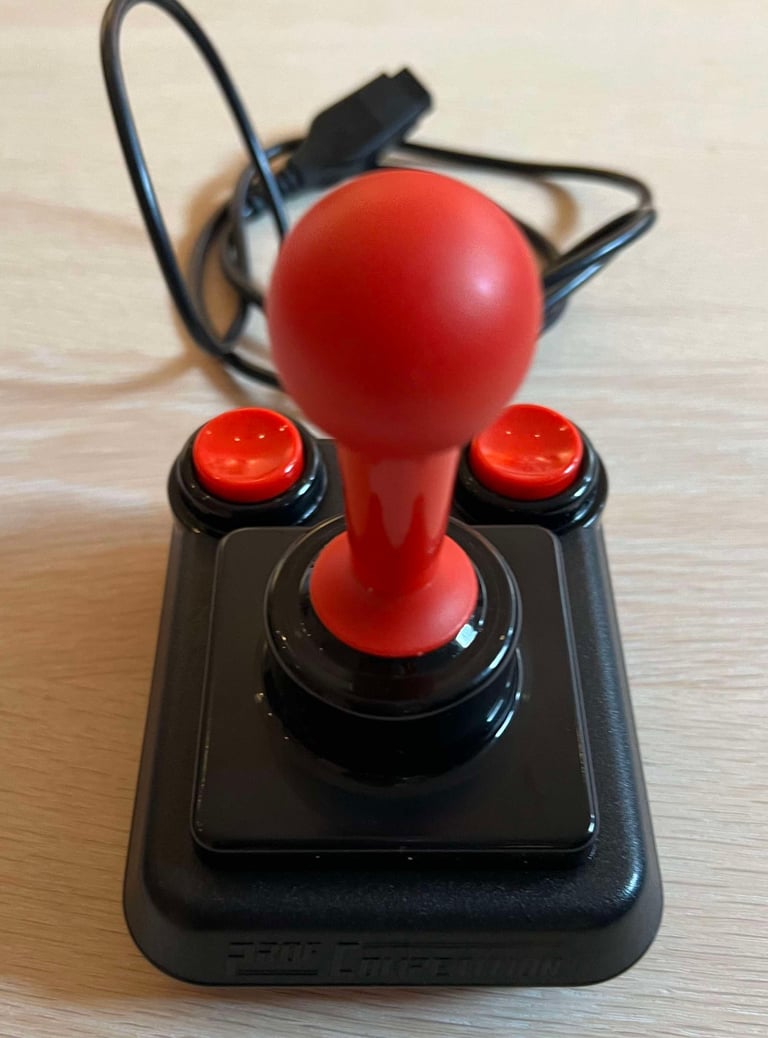

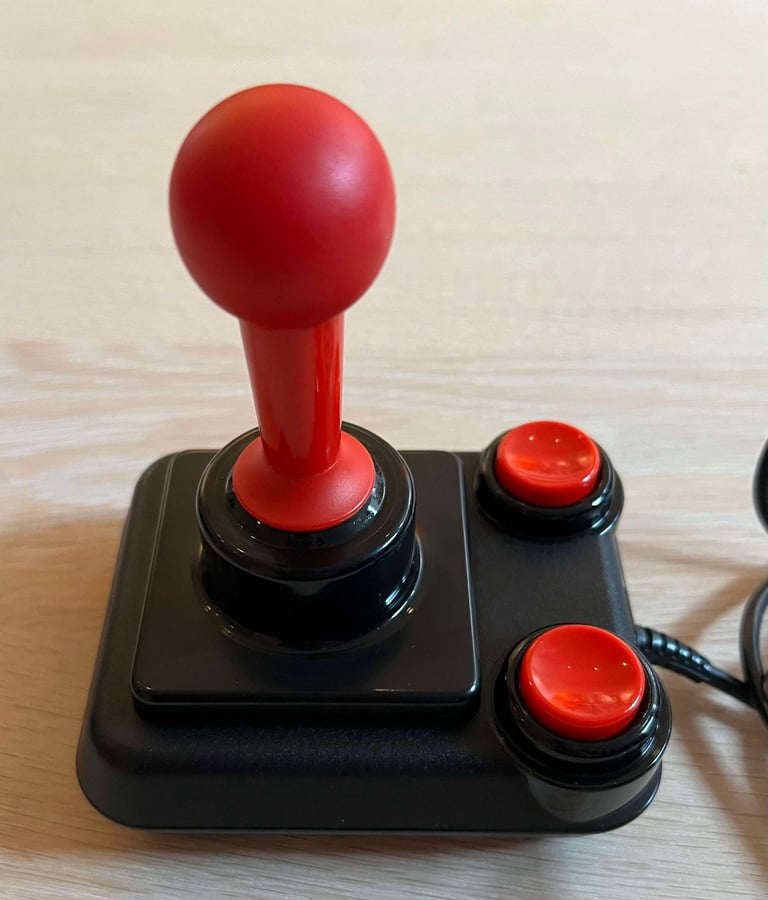

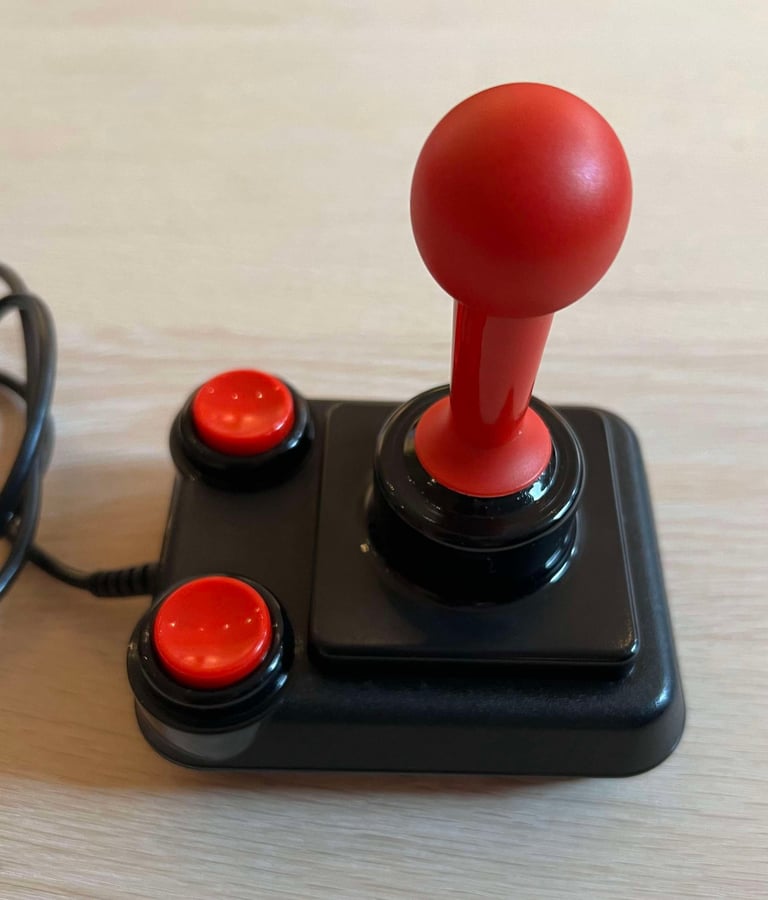

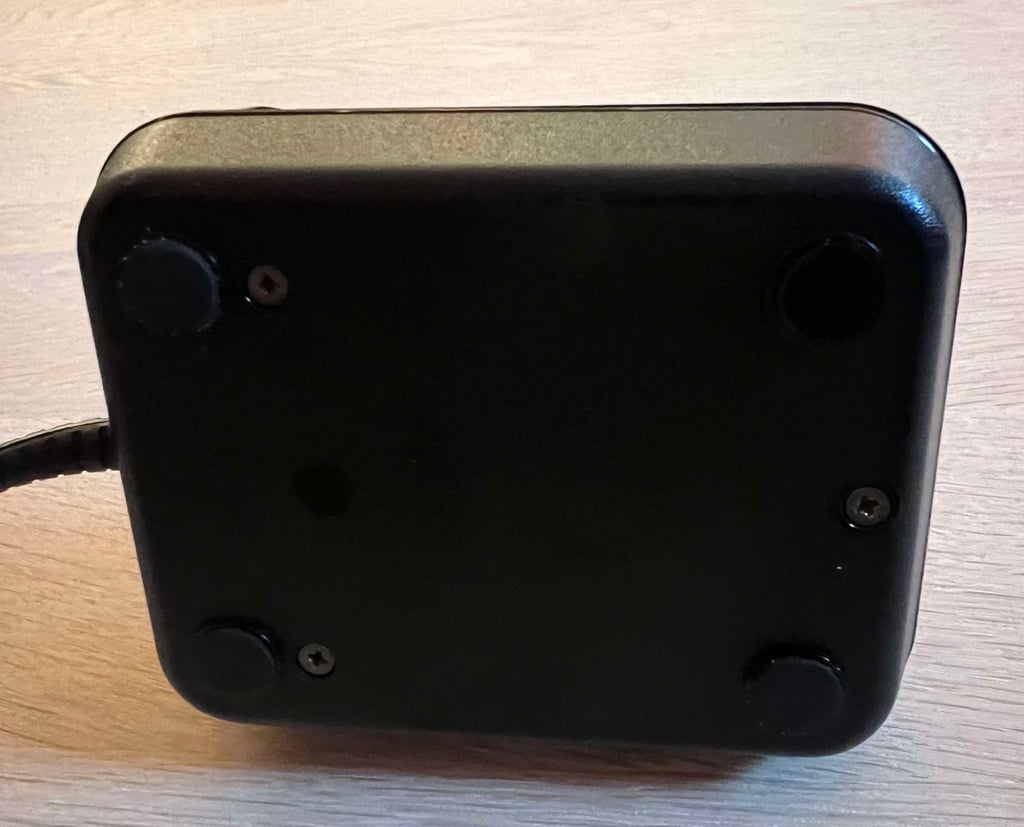

Banner picture credits: Kshade
