
Konix
Speedking
Starting point
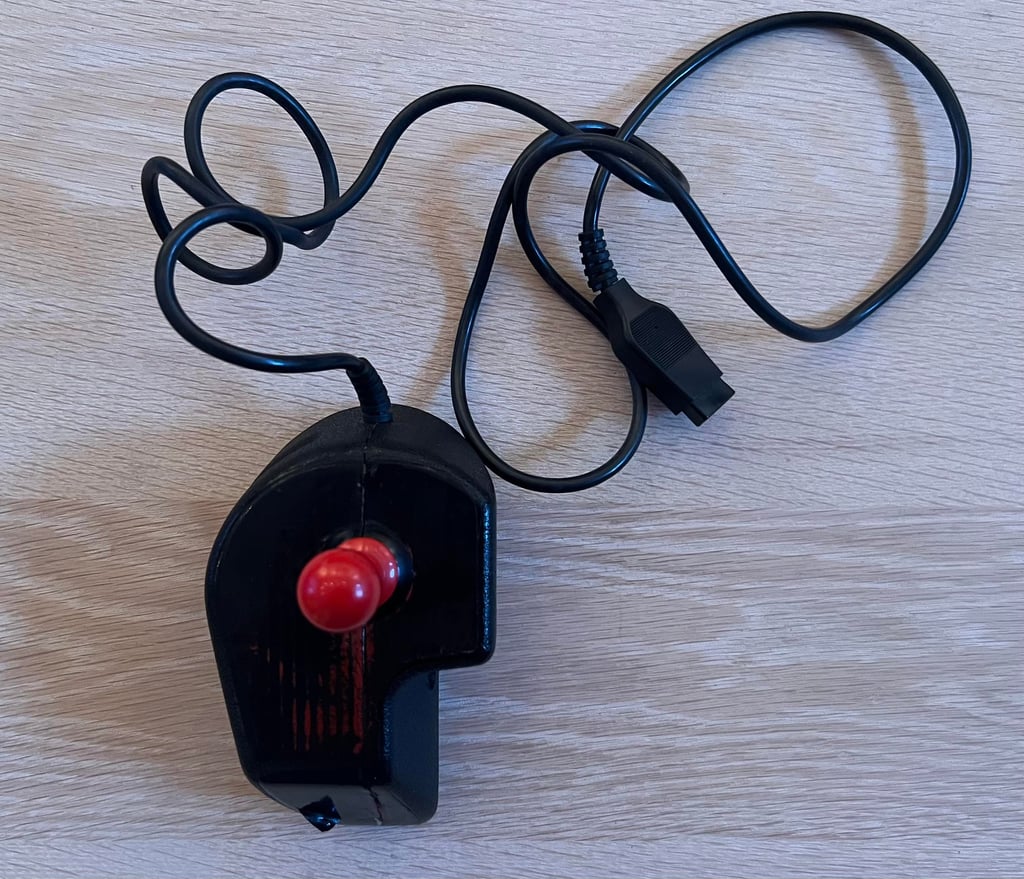
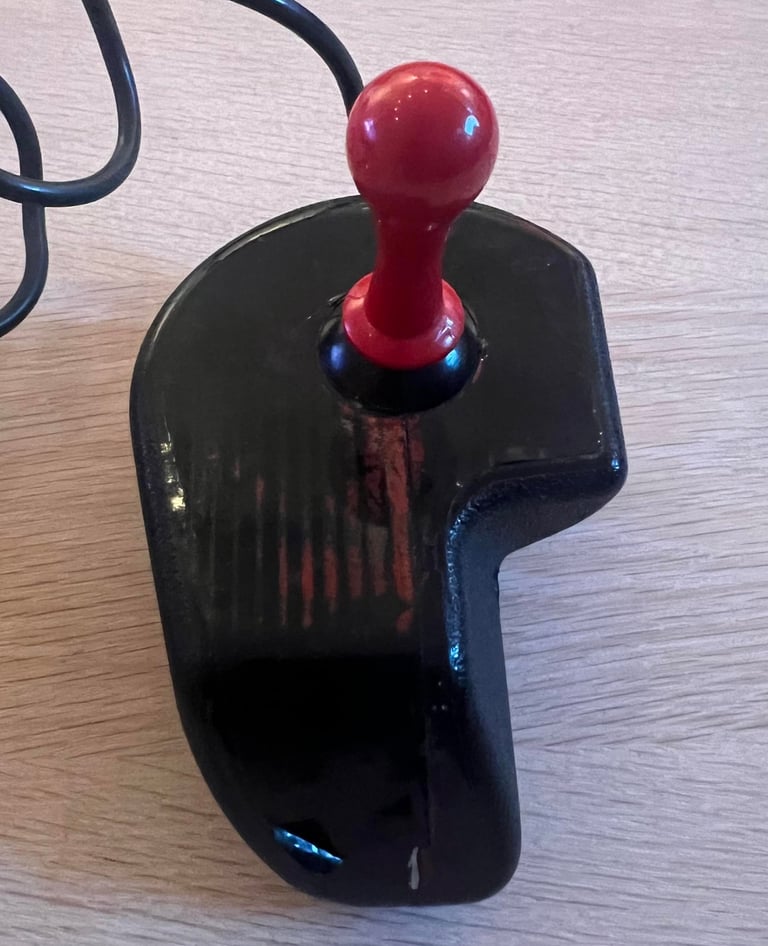
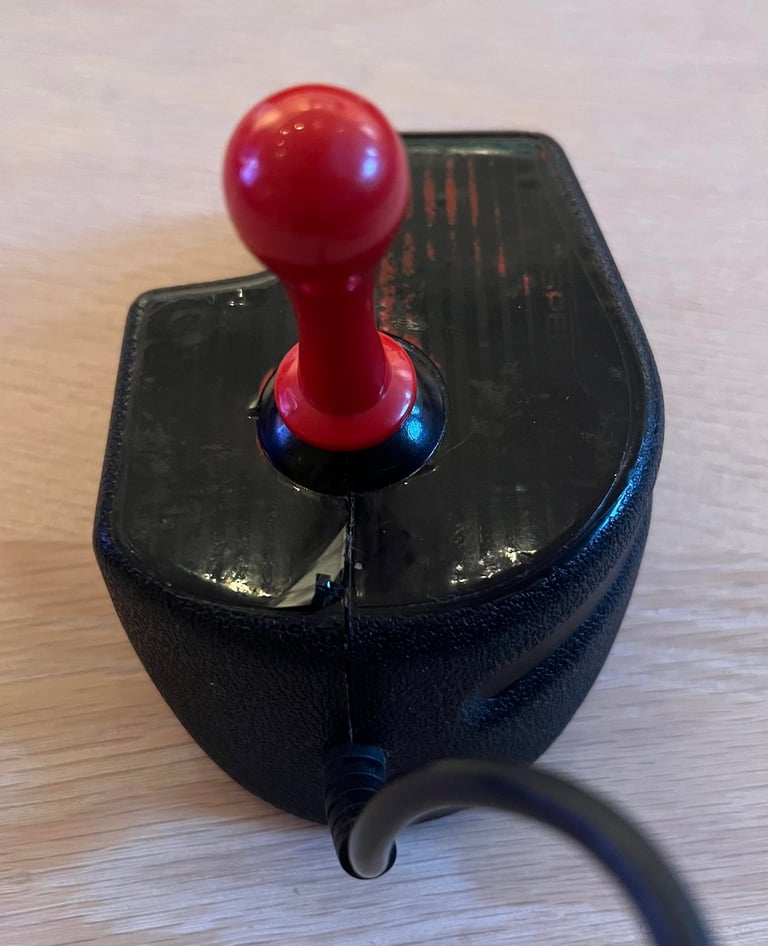
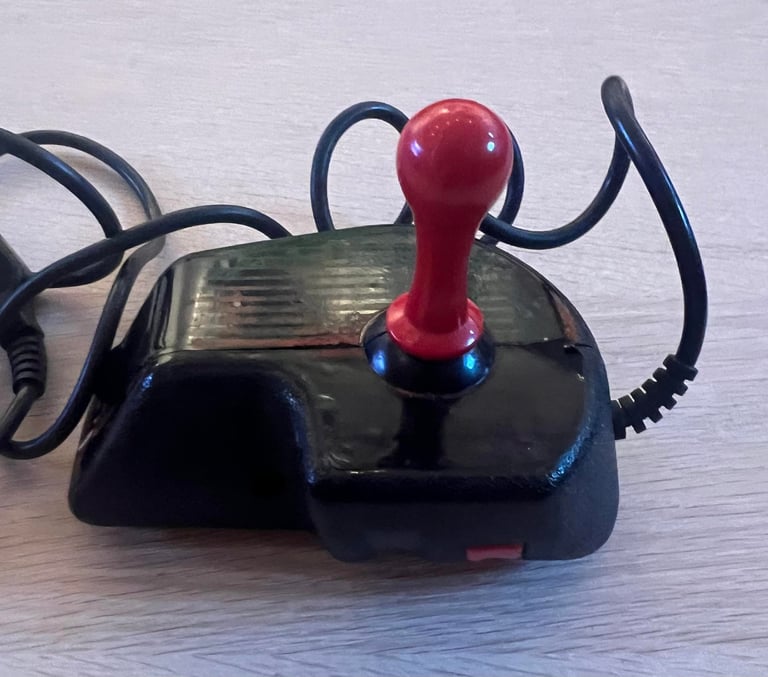
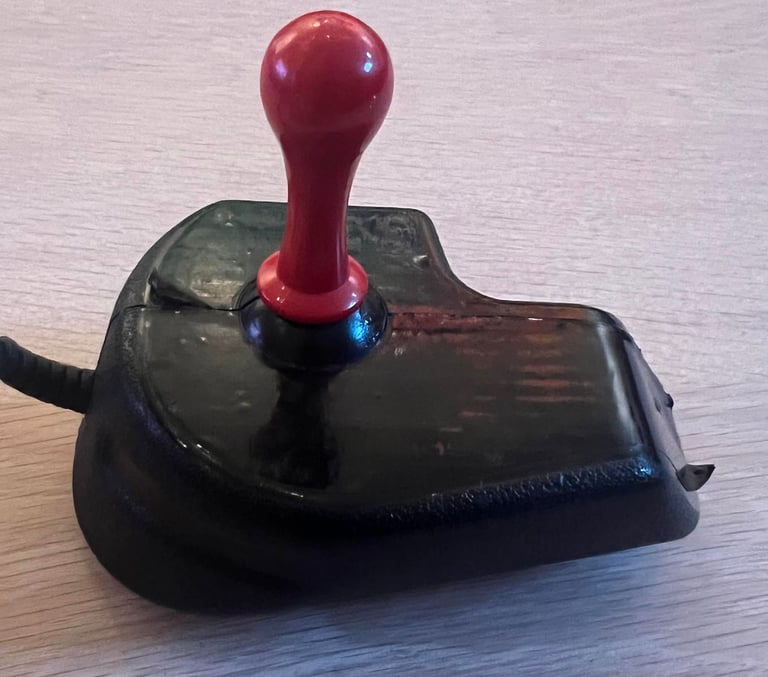
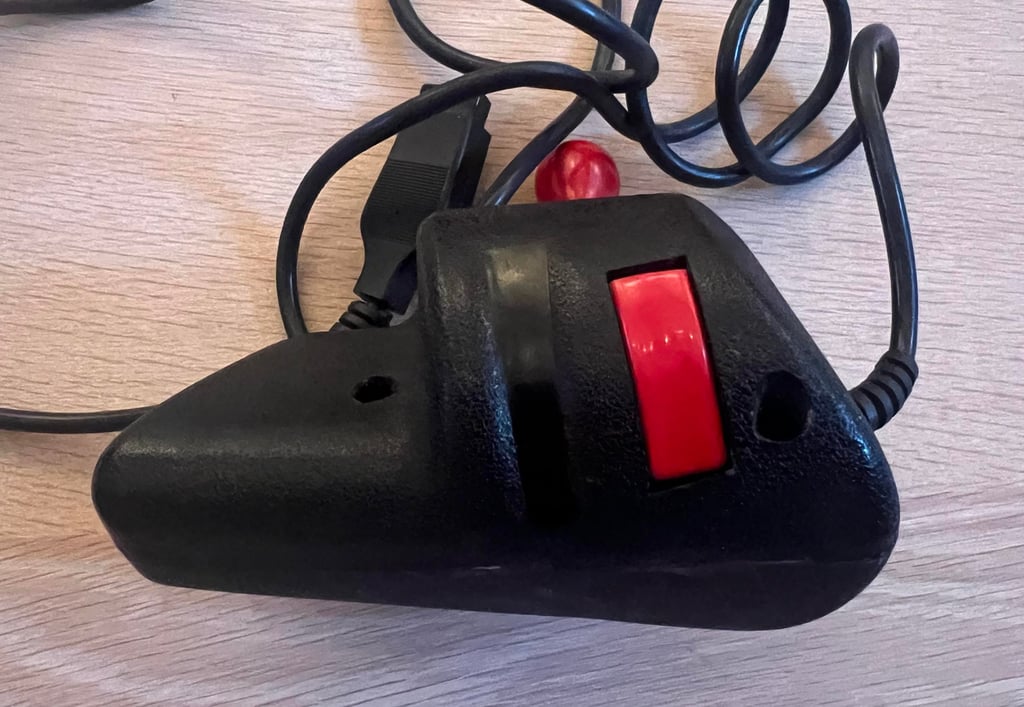
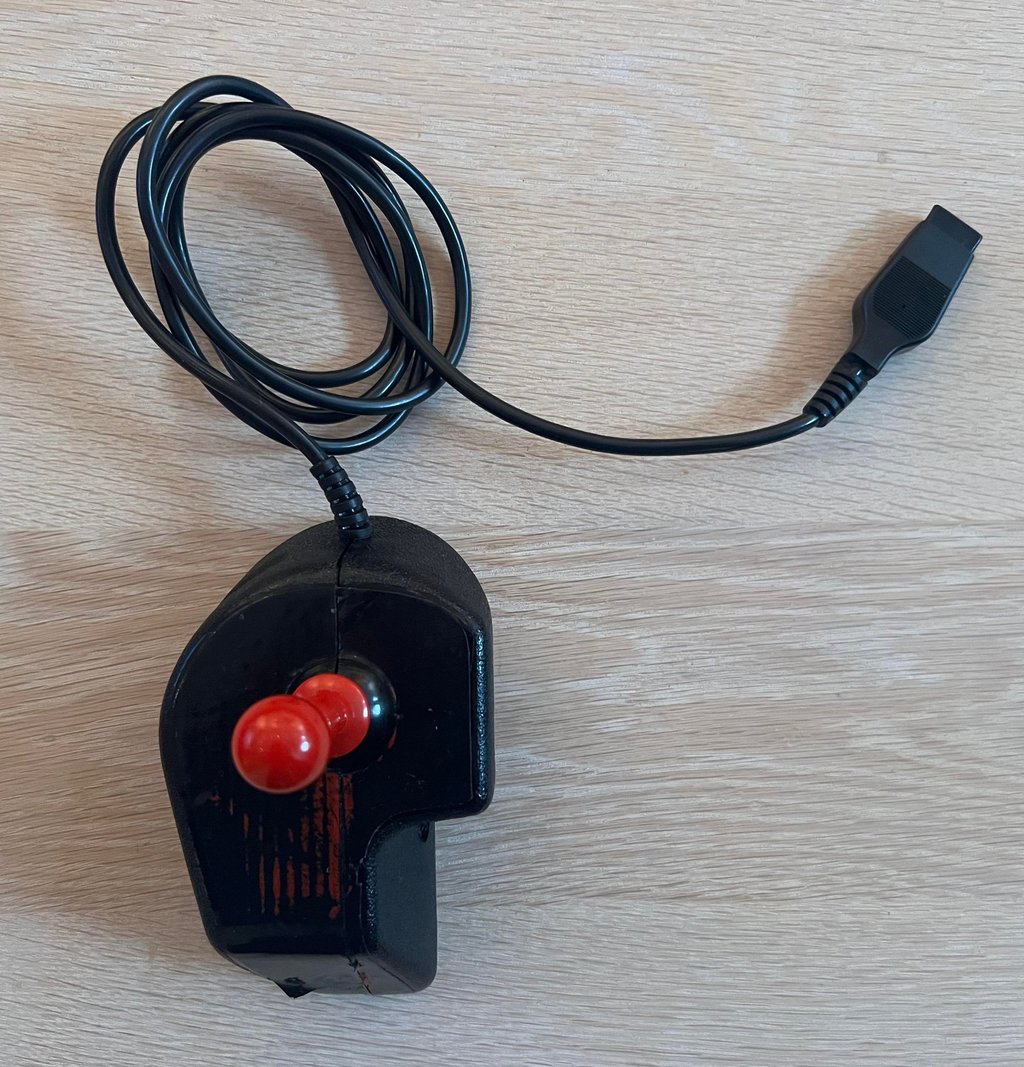
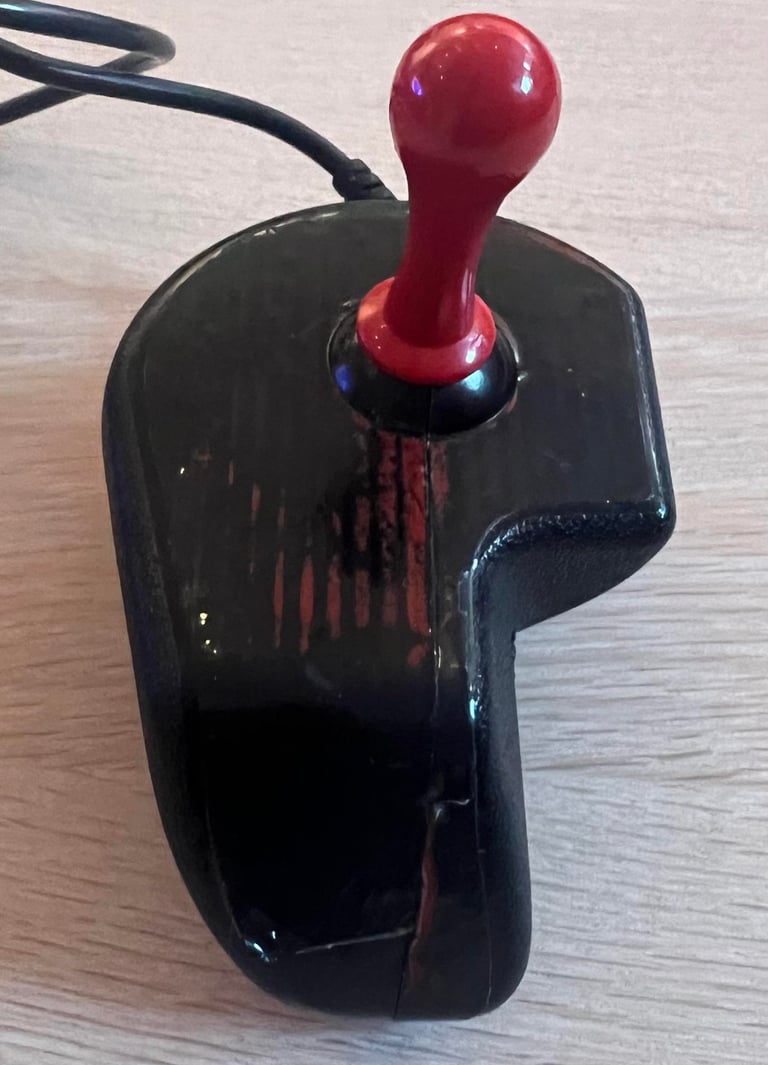
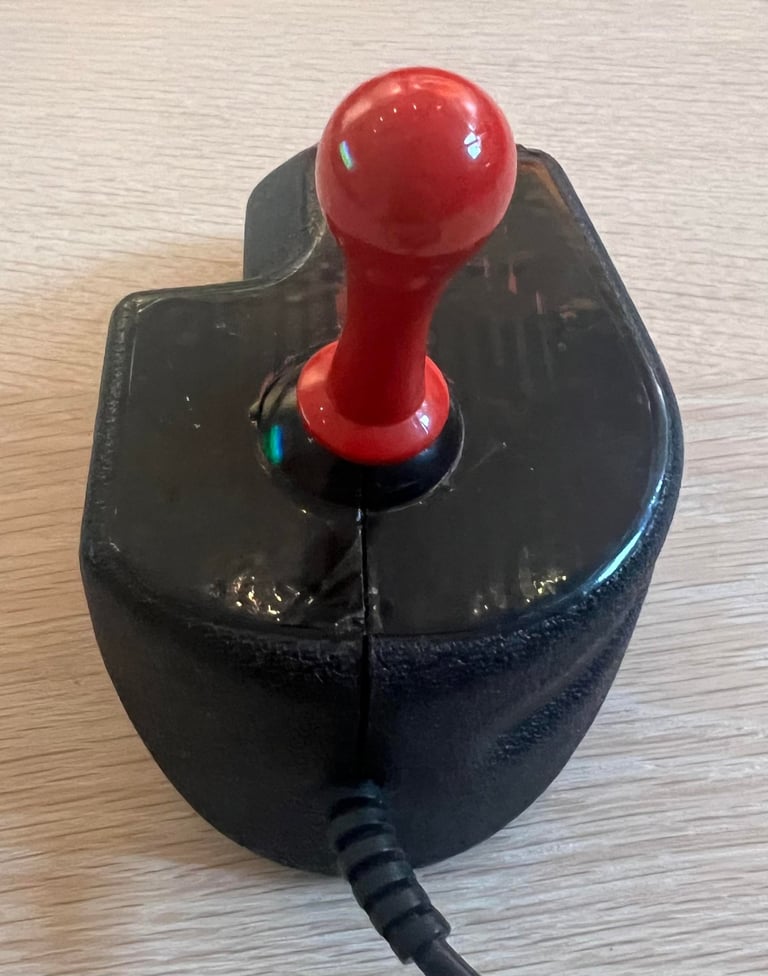
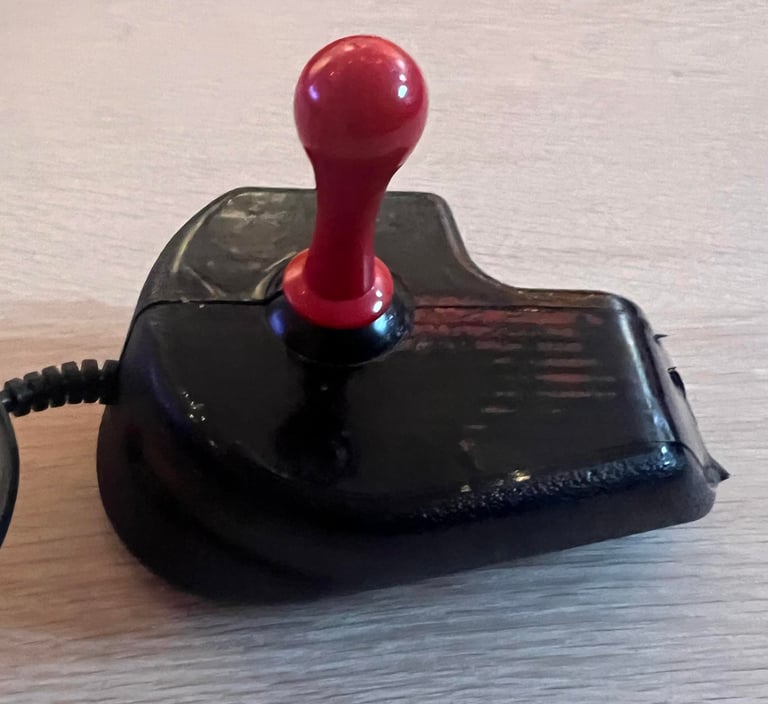
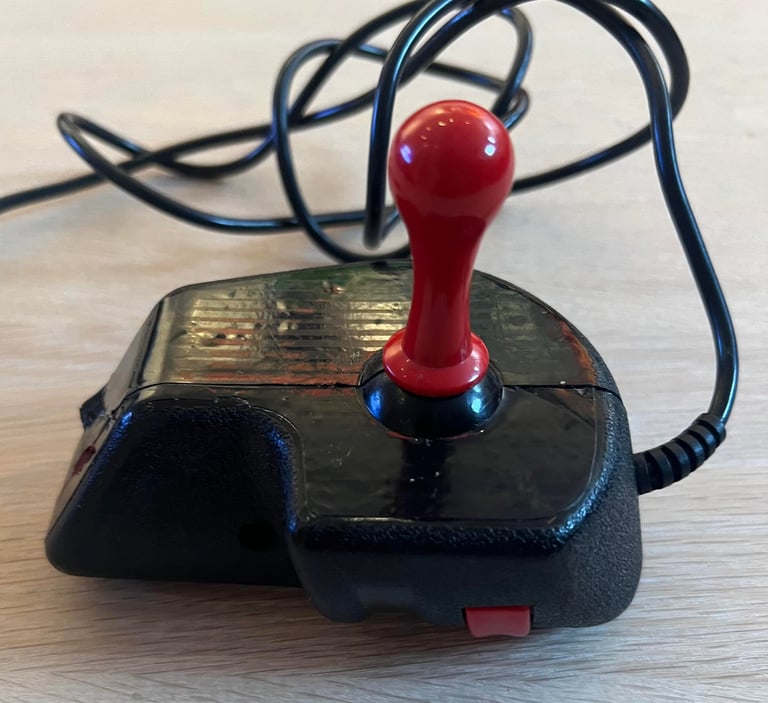
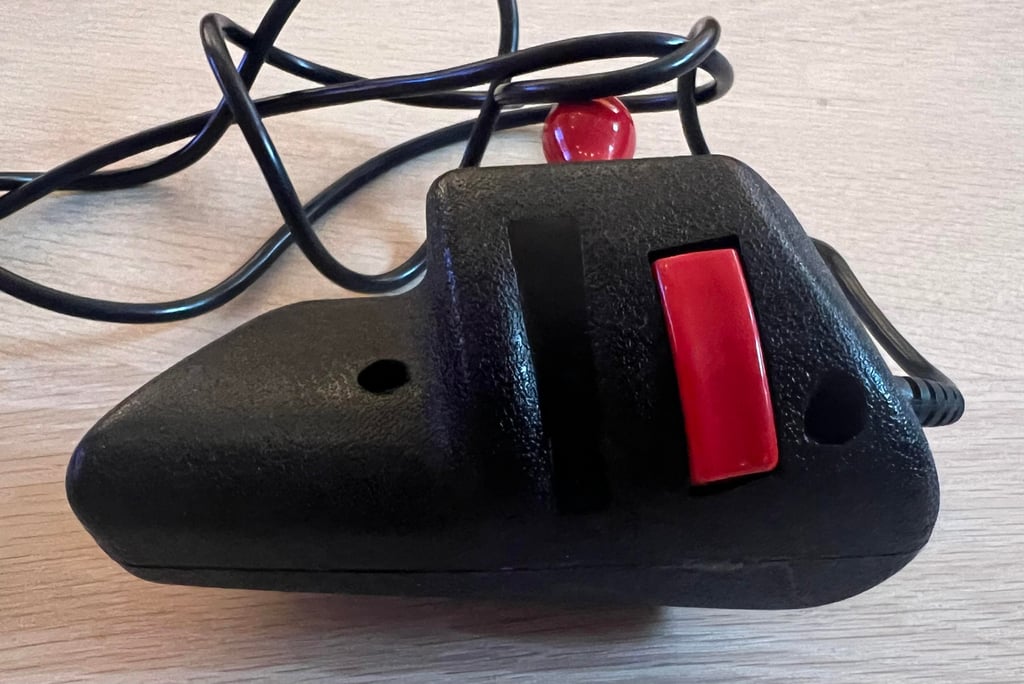
This refurbish is going to be challenging, but an interesting challenge: I am not sure if I am going to succeed with this one. From the outside this Konix Speedking does not look too bad, but at with closer inspection there are some areas which needs special attention:
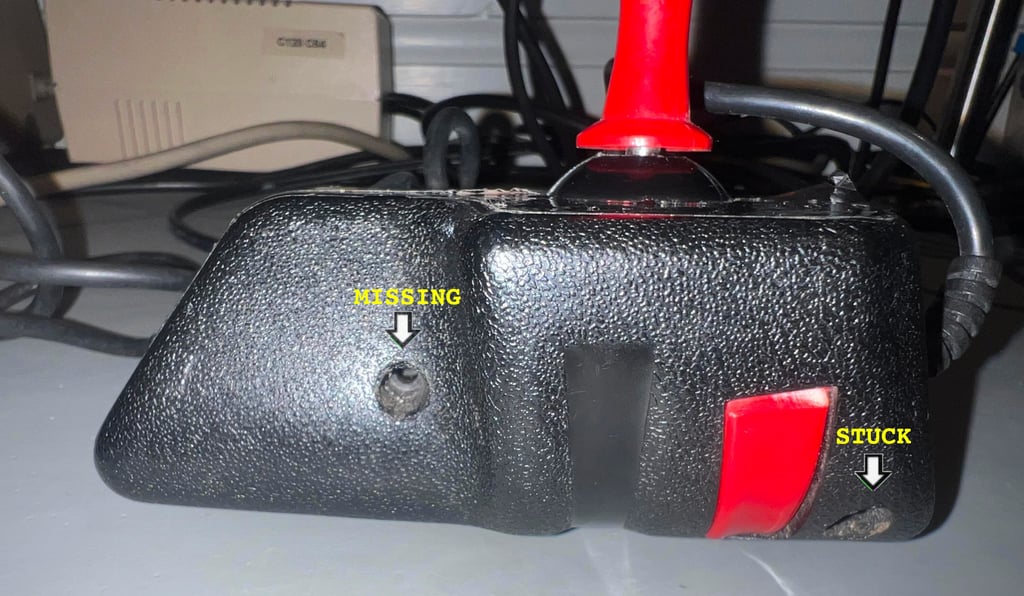
One of the screws are missing. Whether or not the internal plastic standoff is broken I do not now (yet)
The fire button is completely stuck
There are glue residue where the left- and right side of the covers joins
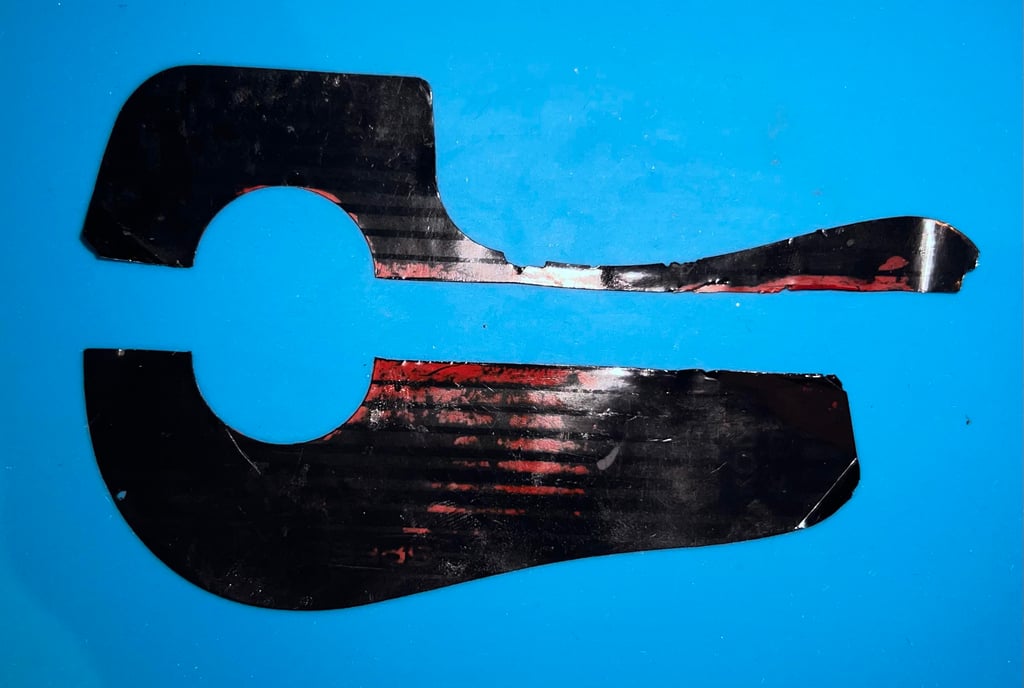
The sticker is cut in half and shows large sign of tear and wear
The joystick shaft can be lifted about 3 mm up/down, but I think that this might be by design. This is the first time I refurbish one of these.
Nevertheless, the Konix Speedking is known as a popular quality joystick. Quite unique in its non-traditional design with the small joystick shaft and fire button located on the side of the joystick.
Below are some pictures of the joystick before the refurbishment.






Refurbishment plan
To refurbish this joystick the plan is to do this trough the following steps:
- Clean, and remove stains from, chassis and all parts (and repair if required)
- Lubricate moving parts
- Clean and check the microswitches (and repair if required)
- Check connectivity (and repair if required)
- Verify joystick operation by testing
Disassembly
The Speedking joystick consists of a left and right cover - split in the middle of the vertical joystick shaft. First step is to remove the two screws at the right hand side, but as mentioned one of these are missing. It turns out that the remaining screw is stuck - it turns but is does not come out.

As previously mentioned there are signs of glue where the left- and right cover joins. With some care, and a metal spudger, the two parts are separated. I notice that the red fire button appear to be fine, and the same with the fire microswitch (but the switch requires a bit force to be pushed). The four microswitches used for directional motion are glued to the let cover. This is not what I was hoping for. I do not see any possibility of disassembling this unfortunately without damaging the joystick.
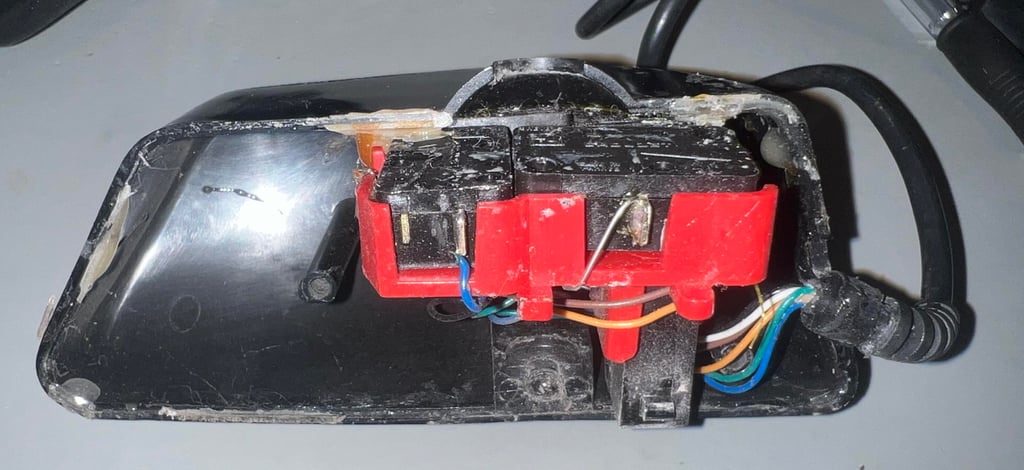

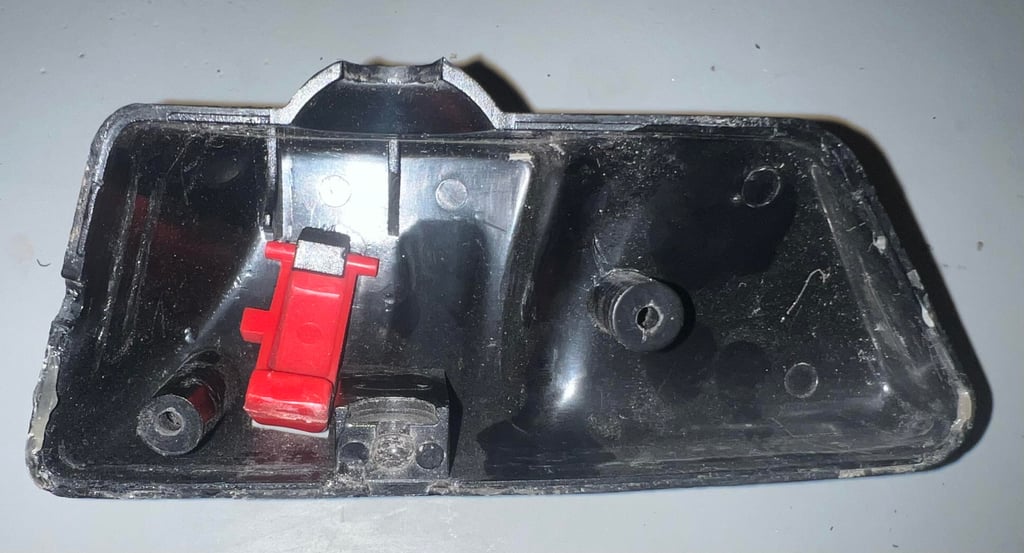

The joystick shaft is easy to remove. It is simply pulled upwards through the bracket holding the four microswitches.
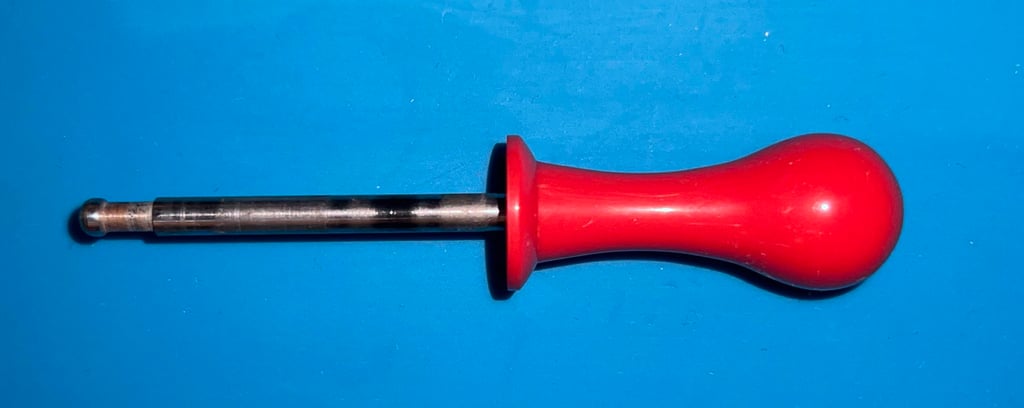

Last part of the disassembly is to remove the stickers. These are in two parts. I assume this splitting was done in an earlier attempt to repair the joystick.

Interior and exterior
This is a quality joystick, but the degree of serviceability is almost zero. Since the parts are glued to the cover I can not disassemble and service each part individually as normal. Nevertheless, I will try to service and repair it as much as possible.
Repairing the cracked bracket
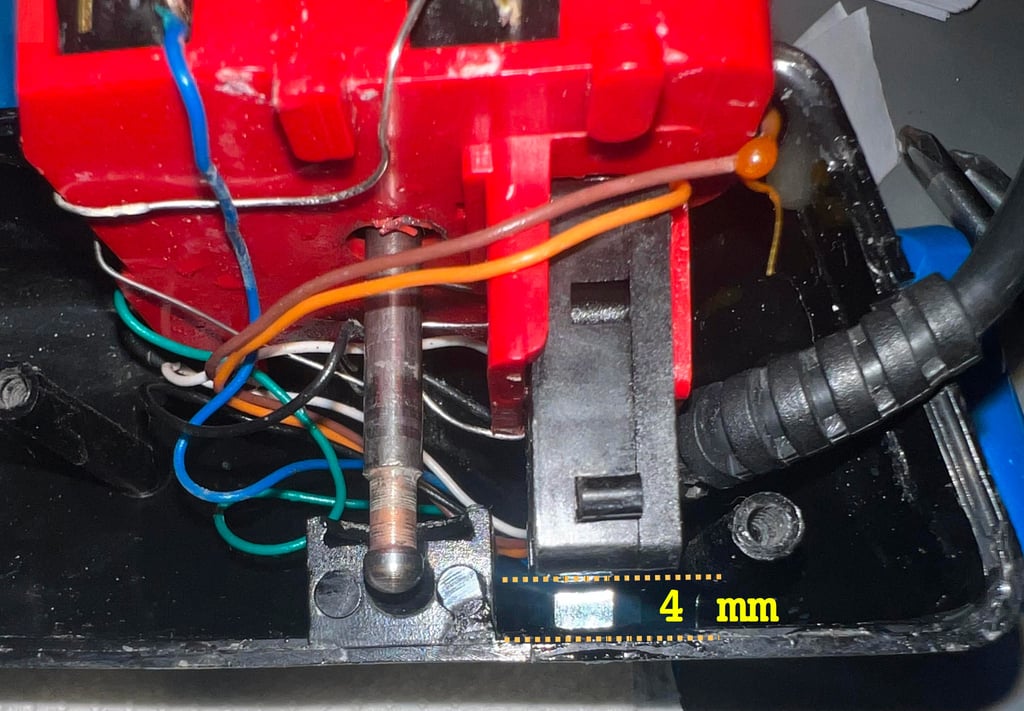
With closer inspection I notice that the plastic bracket holding the four directional microswitches is broken. There is a crack in the plastic making the bracket unable to stabilise and support the microswitches. See picture below.
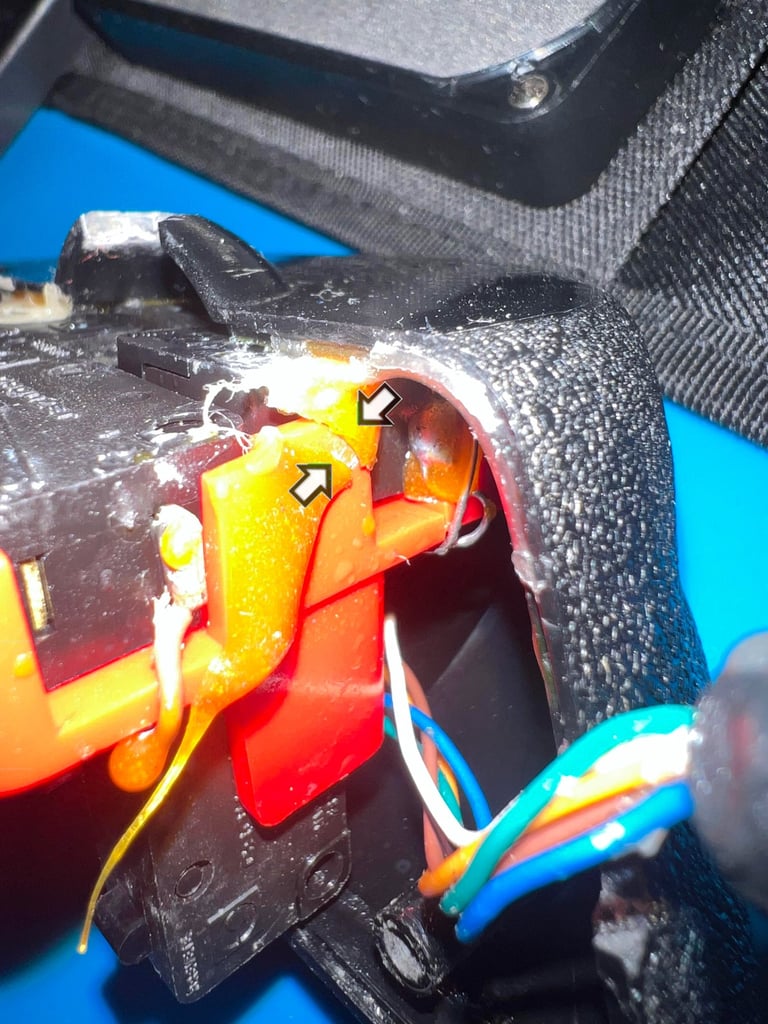

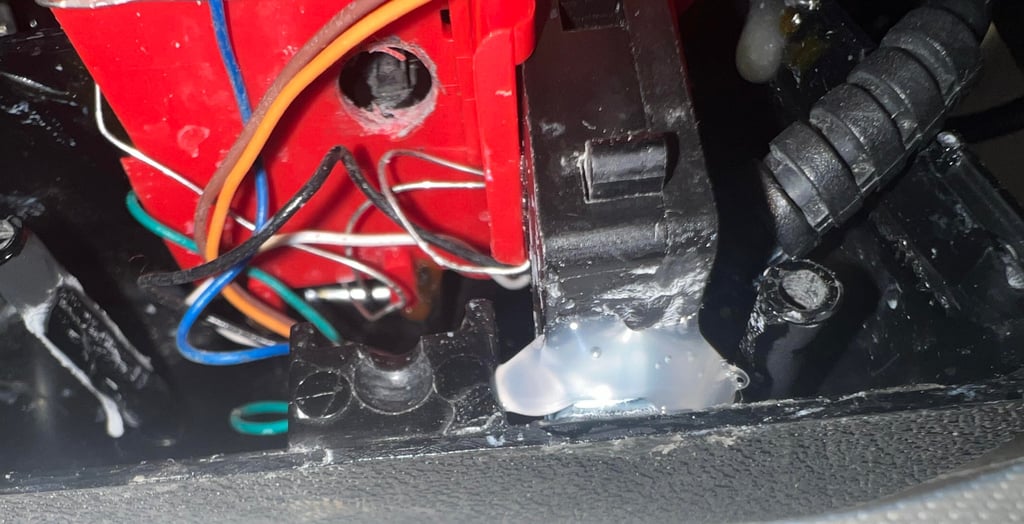
The crack needs to be repaired indirectly. To to this a 4 mm metal nut is placed between the fire button microswitch and the bottom of the right cover. The metal is glued with some super glue and left to harden for 24 hours. This should "fix" the crack regarding vertical motion (in regards of where the microswitch would move). For the the horizontal motion of the microswitch I can not anything else then have faith that the existing plastic would still support this. As I can not remove the whole plastic bracket there is no way to fix the horizontal support (but it does look to be still intact). Below is a picture of the metal but glued in place.

Finally the metal nut is covered with some hot glue. This will both help the nut in place but also "fill some of the void" - potentially prevent the microswitch from moving.

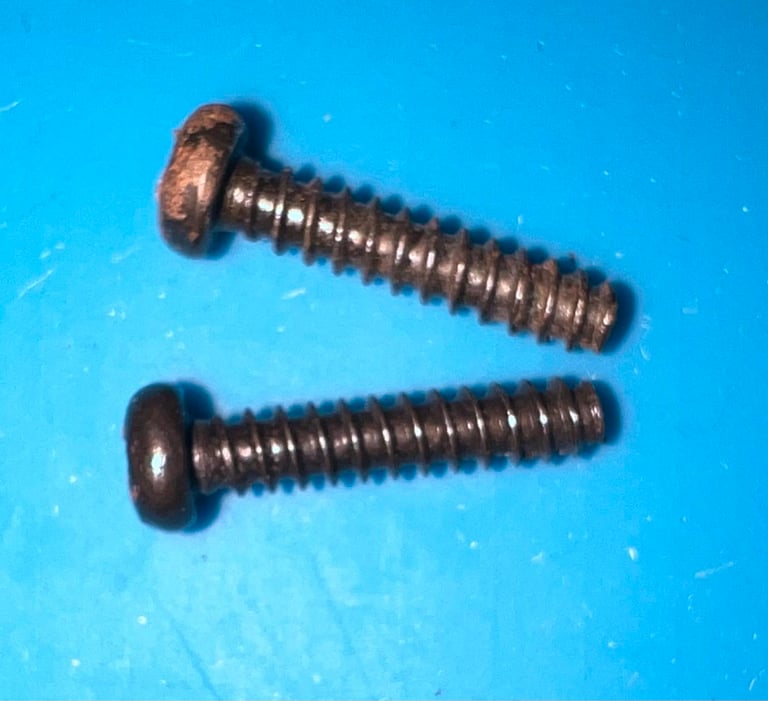
Since it is not possible to disassemble the parts the joystick is cleaned as good as possible with isopropanol. The stickers are placed on some double sided tape and put back on the left- and right covers. Two new screws are also put back into the joystick.

Testing
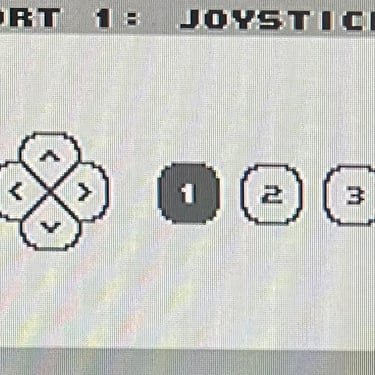
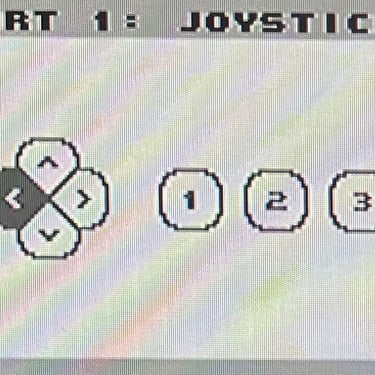
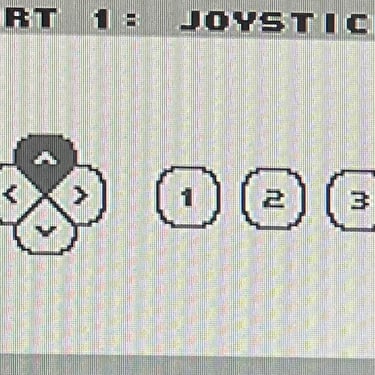
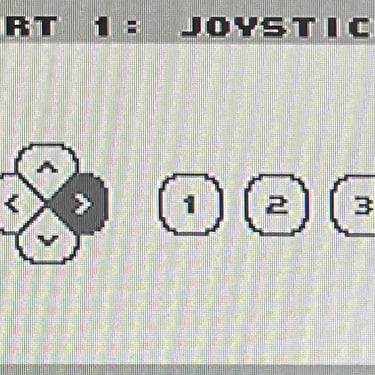
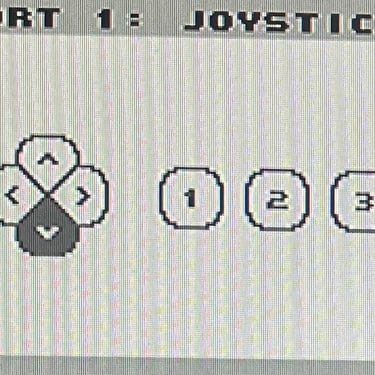
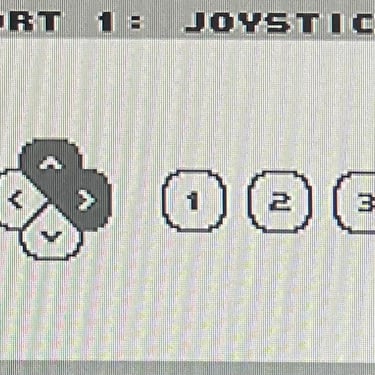
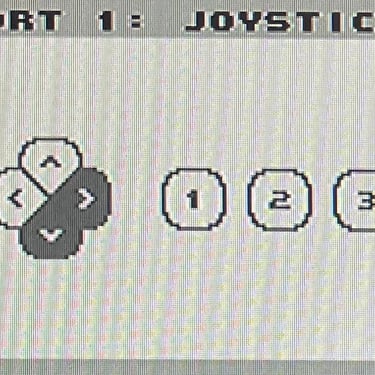
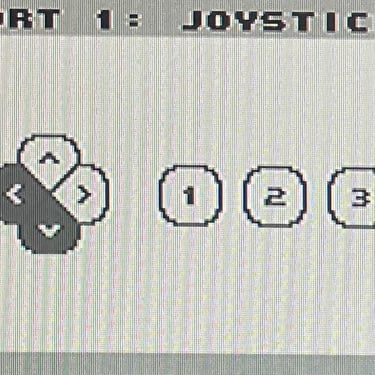
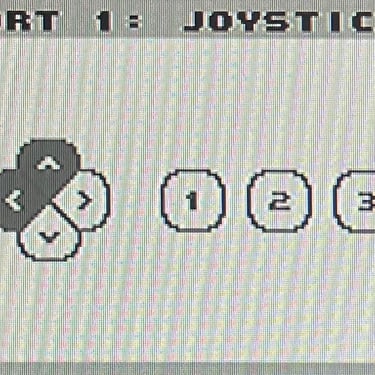
To verify that the joystick work as it should I check it with the Joyride software. Result is that all directions and fire buttons works fine works as expected. All tests pass, but there are two important thing to notice:
The joystick connector is quite loose when plugged into the Commodore 64. It is not really possible to repair this as it would require access to all the microswitches which again would require a full disassembly (not possible).
The FIRE button is very hard to push. It does work, but I do not think it is very comfortable - and I am not sure if this will last forever.
CONCLUSION: Even if the test is passed I think this joystick should be saved most for nostalgic use. Yes, it can be used to some extent, but to use this as an everyday joystick I do not this is feasible. It is not very comfortable with the stiff fire button, and I am not sure it will hold with heavy usage.
Final result
"A picture worth a thousand words"
Below is a collection of the final result from the refurbishment of this Konix Speedking joystick. Hope you like it! Click to enlarge!






Banner picture credits: ComputingHistory
