
Amiga Tank Mouse
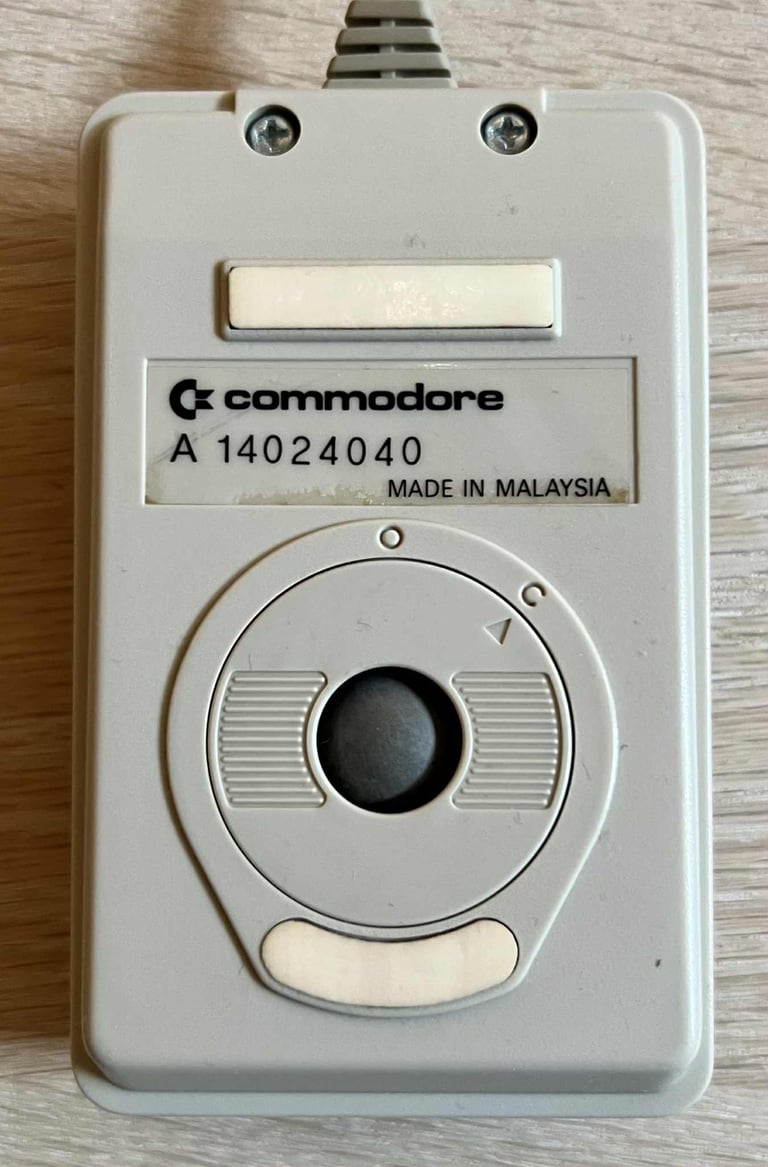
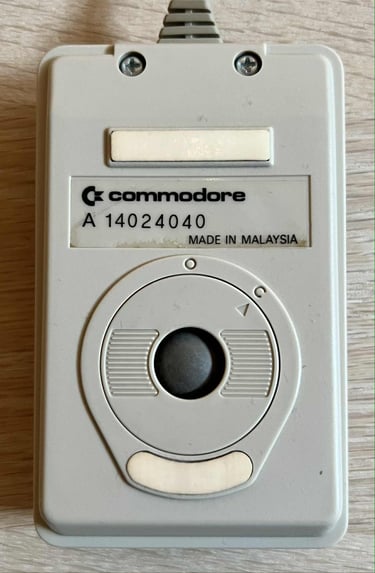
Ser. No. 14024040
Starting point
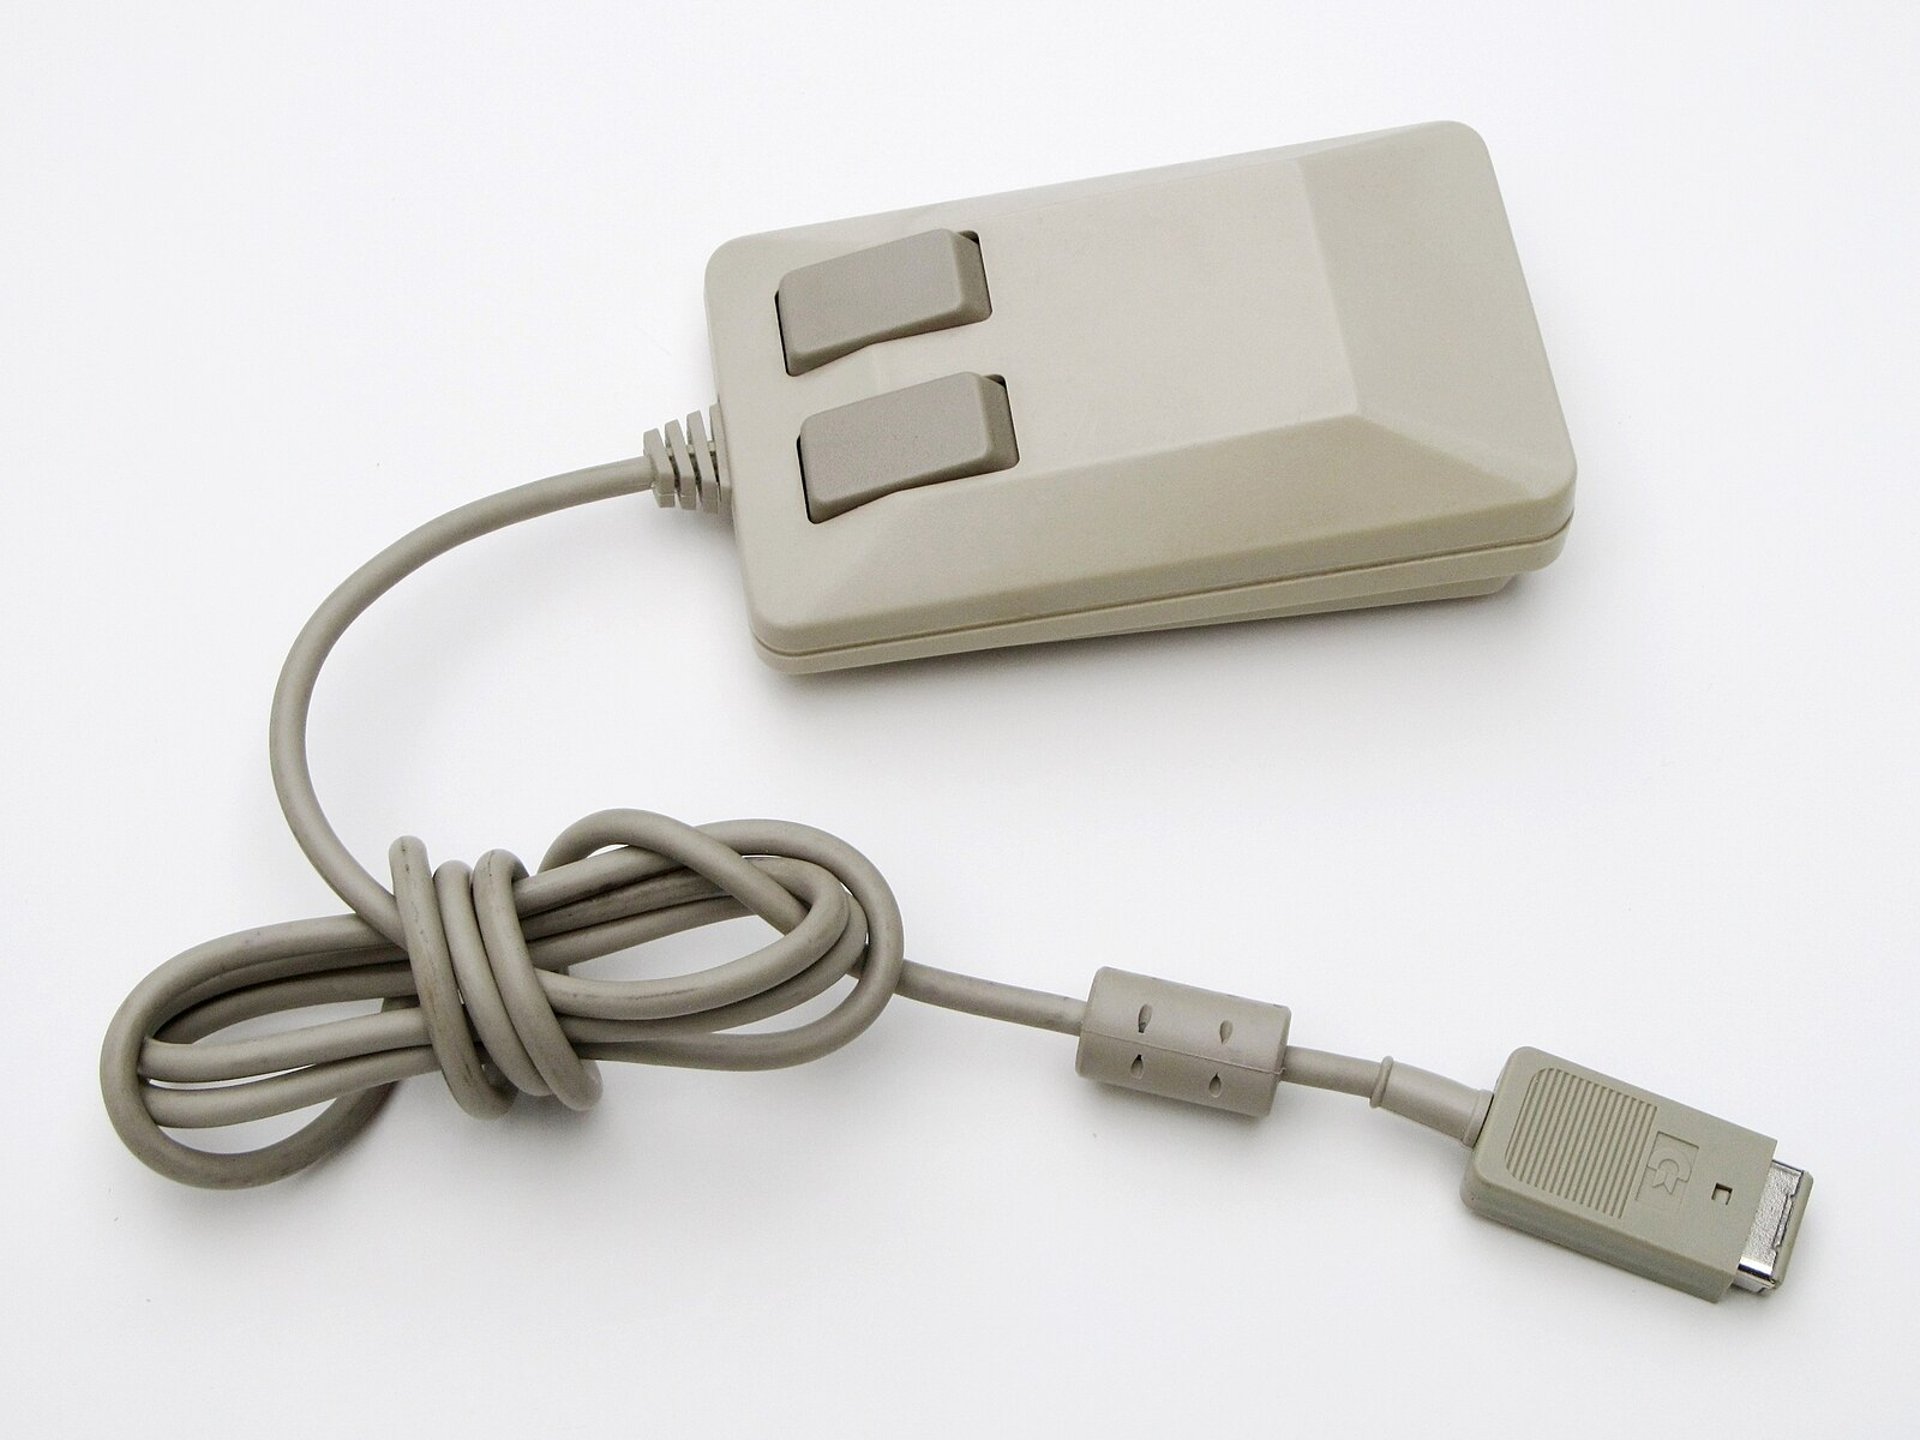
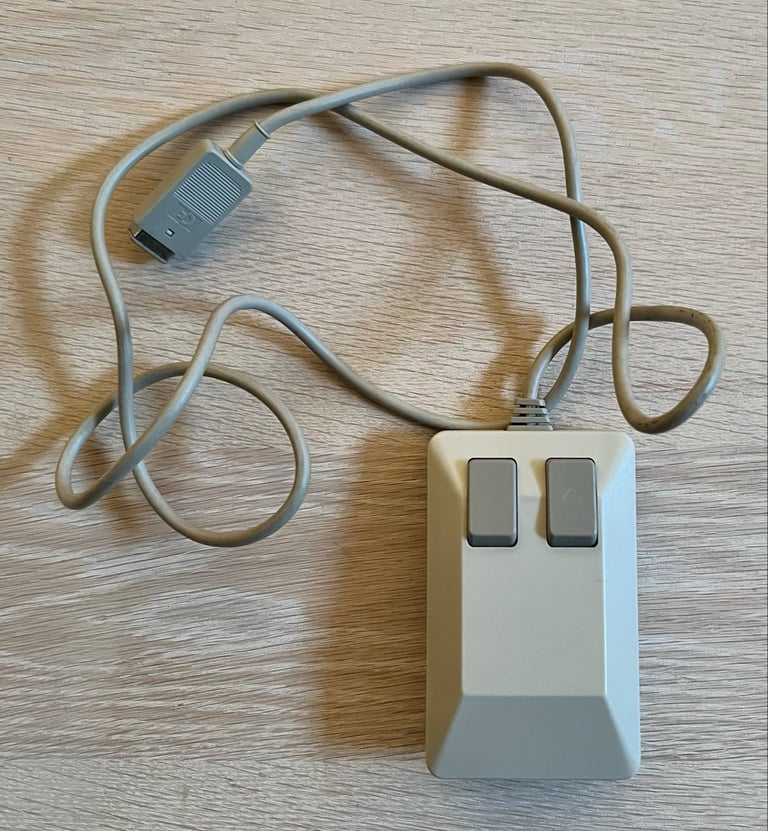
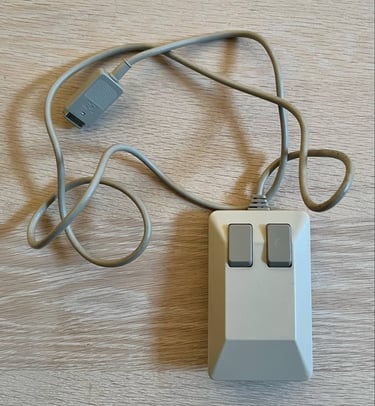
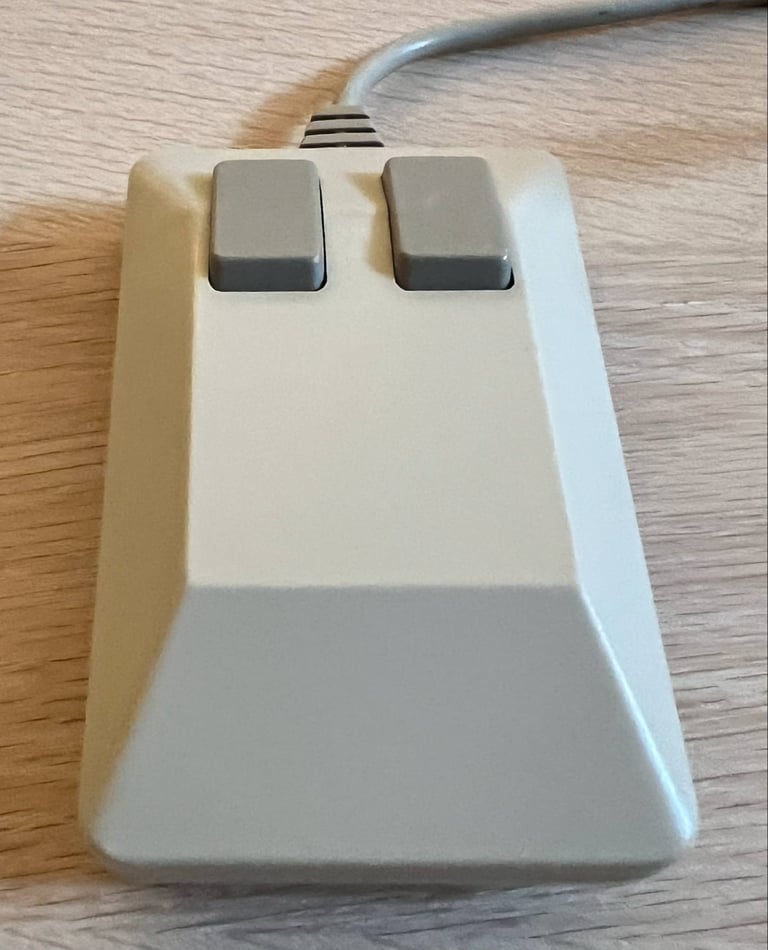
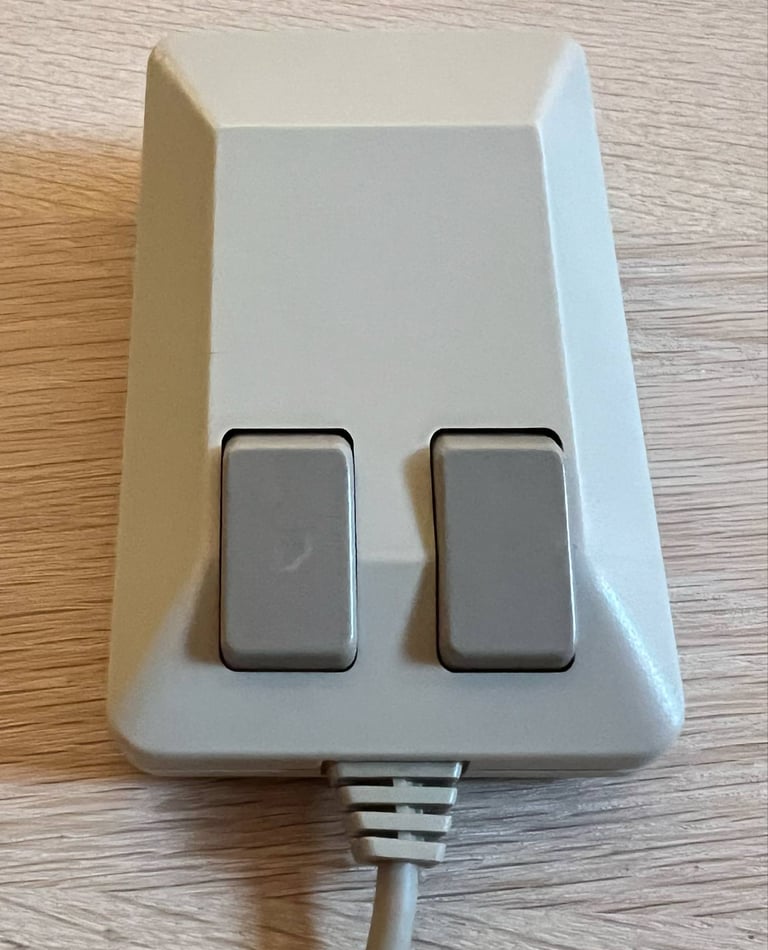
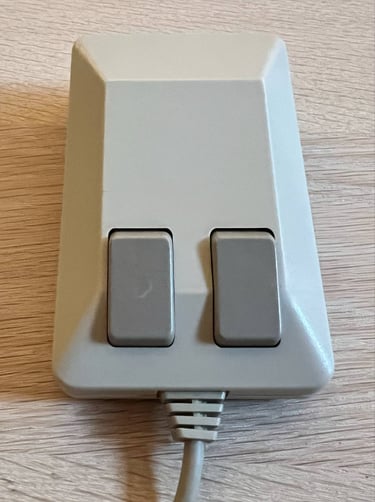
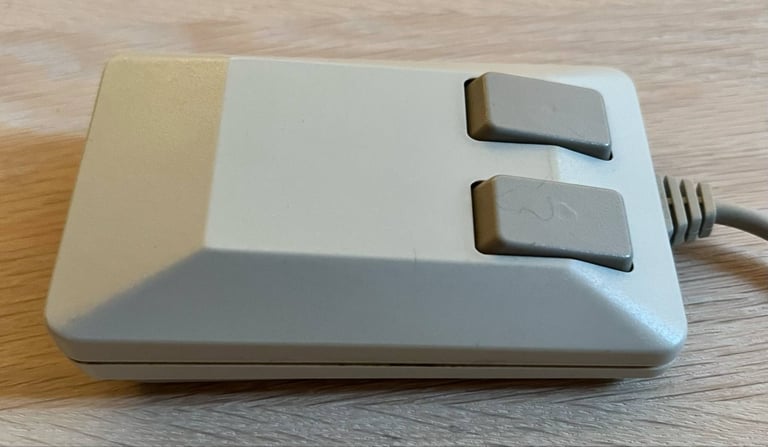
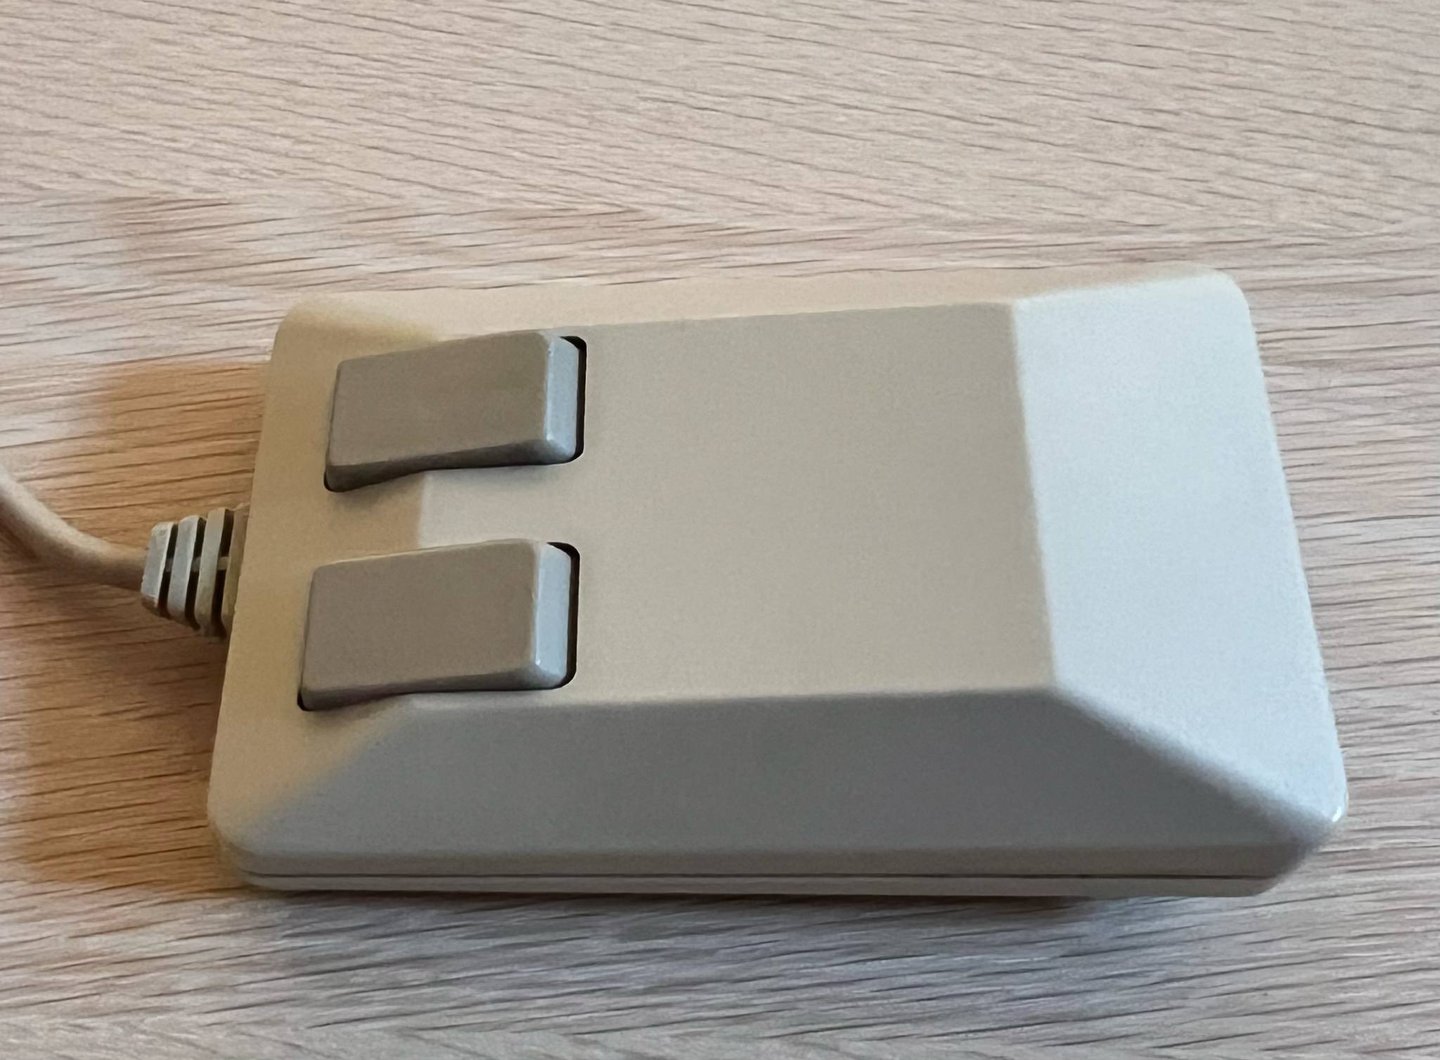
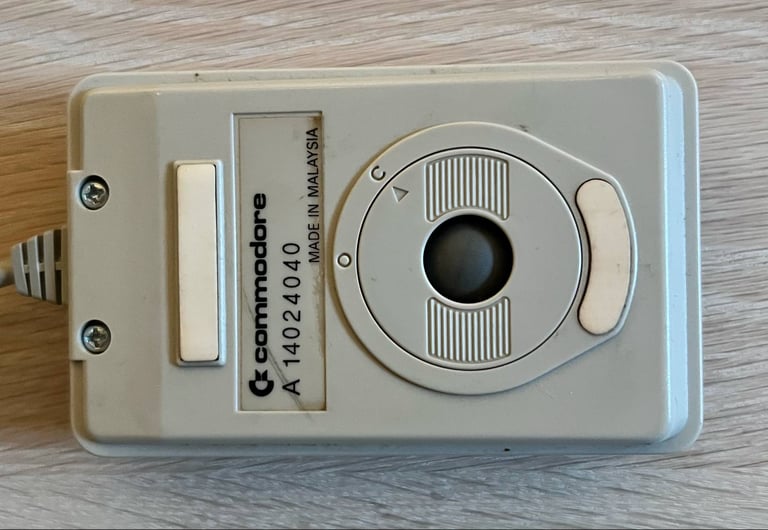
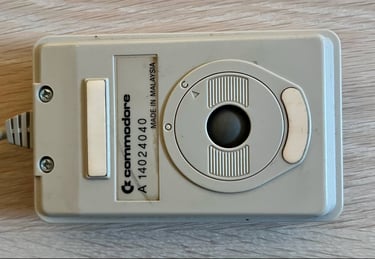
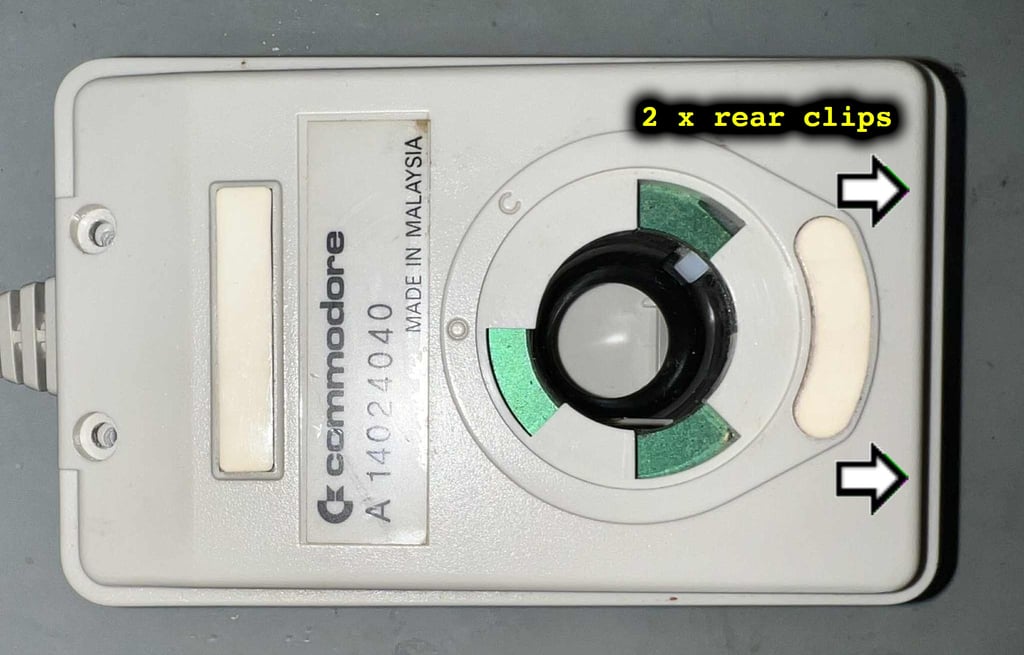
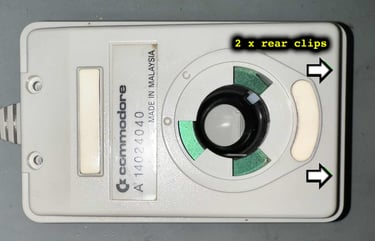
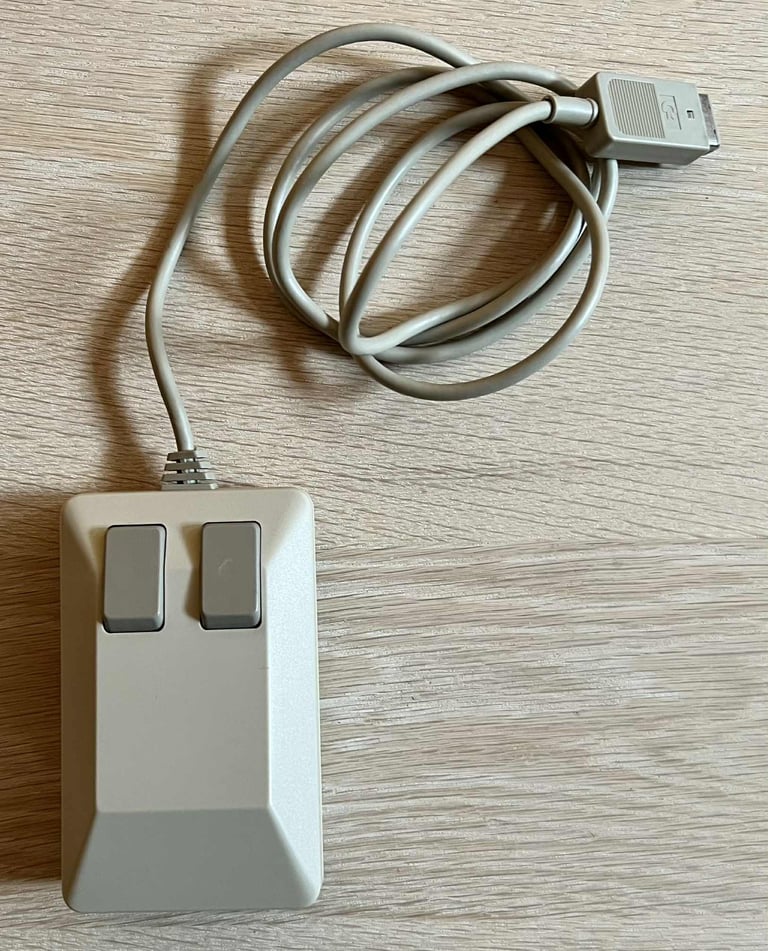
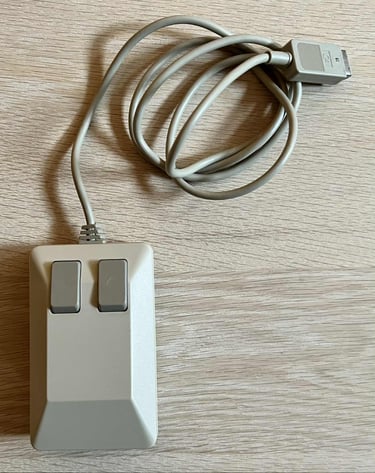
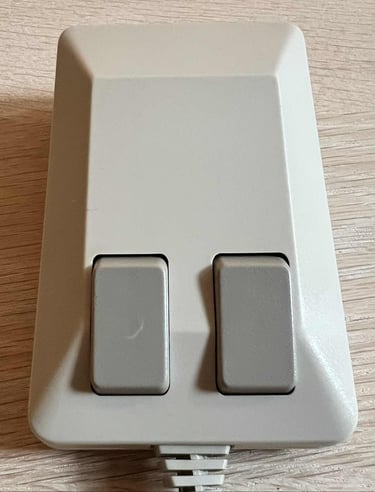
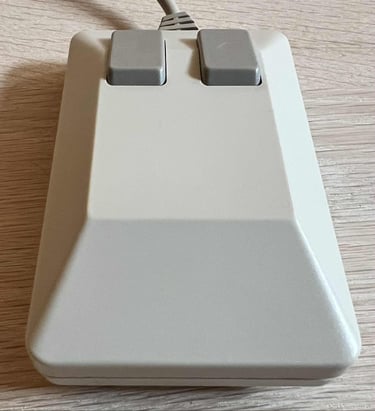
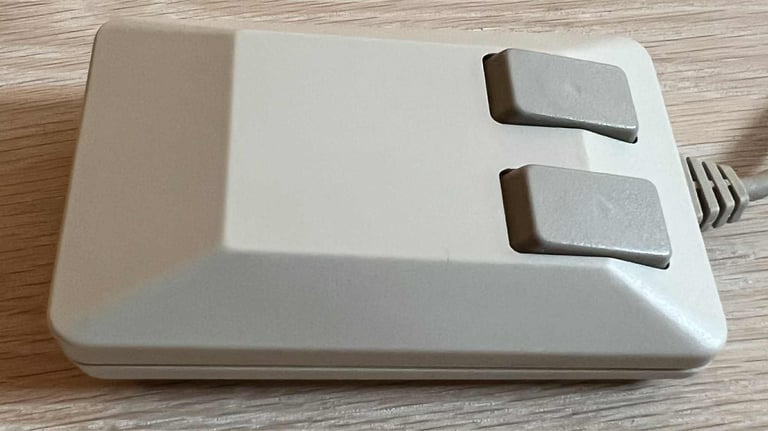
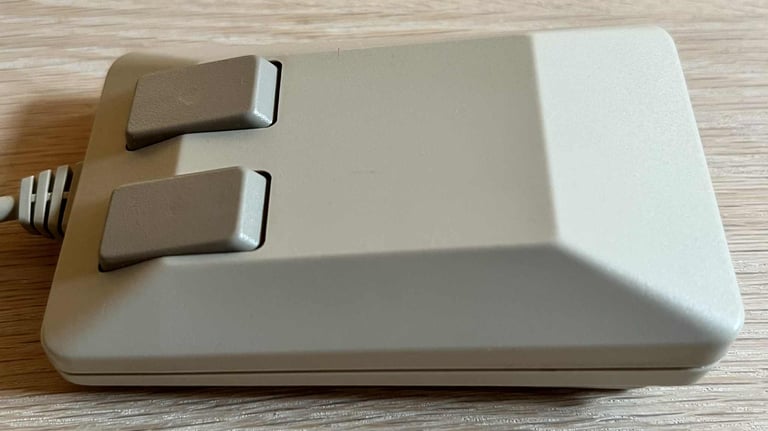
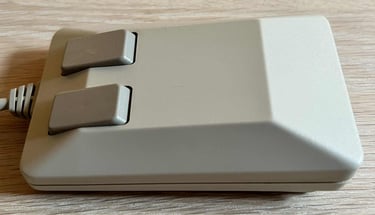
This Amiga Tank Mouse is rather good looking already I think. There are some dust and grime on it - especially the cable is incredible dirty. But otherwise it does seem to be in OK condition. There is a nice feel to the touch (and sound) when clicking the mouse buttons, and there are no obvious signs of damage. There is a small mark on the right button, but it appear only cosmetic. Below are some pictures of Amiga Tank Mouse before refurbishment.


Refurbishment plan
To refurbish this mouse the plan is to do this trough the following steps:
- Clean, and remove stains from, casing and all parts (and repair if required)
- Retrobright casing
- Clean and check the interior electronics (and repair if required)
- Verify joystick operation by testing
Initial testing
Before any refurbishment start the tank mouse is tested with a known working Amiga. And the mouse does seem to be working. All directional motion (LEFT/RIGHT/UP/DOWN) and the buttons (LEFT/RIGHT) is registered OK. See table below.
Disassembly
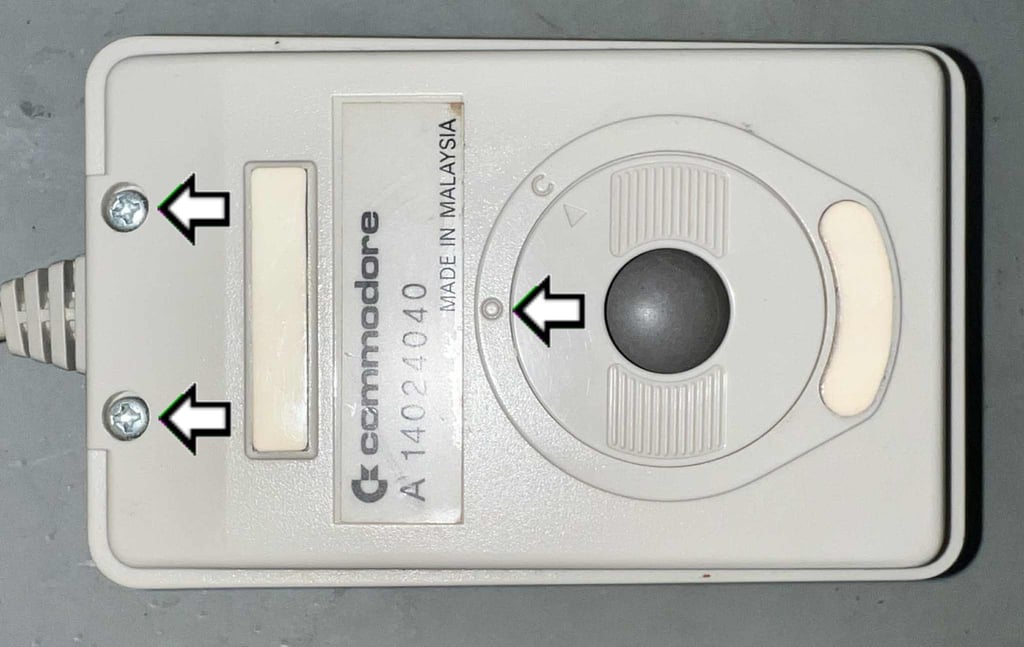
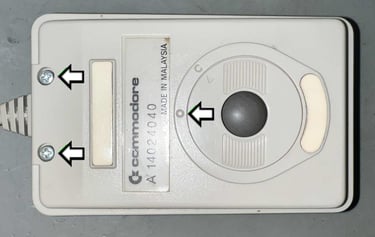
Disassembling the Amiga Tank Mouse is quite straightforward. But it is easy to break the two rear plastic clips if you are not careful. First, the two Phillips 3 x 8 mm screws are removed, and the mouse ball is relieved from its compartment (setting the dial to "O").
With the screws (and ball) out of the way the next action is to carefully pry the covers apart with some prying tools. The two interior clips are not easily available as they are located at the far end. But with some patience and gentle prying the covers can be separated. NOTE: when the top cover is tilted about 30 degrees it can often be a good idea to try to carefully pull the cover towards the front and wiggle it loose.
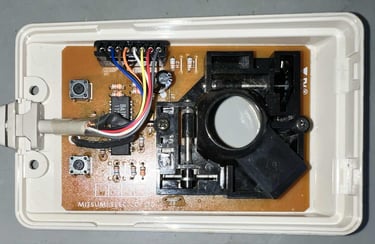
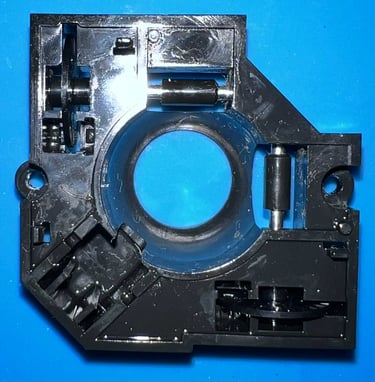
When the top cover is removed the interior is exposed. And what a pleasant surprise! There are not too much of dust and grease inside here. Some dust is accrued along the axles, but not more than suspected. The final part of the disassembly is to remove the two Phillips screws holding the plastic bezel to the bottom cover. See picture below.

Exterior
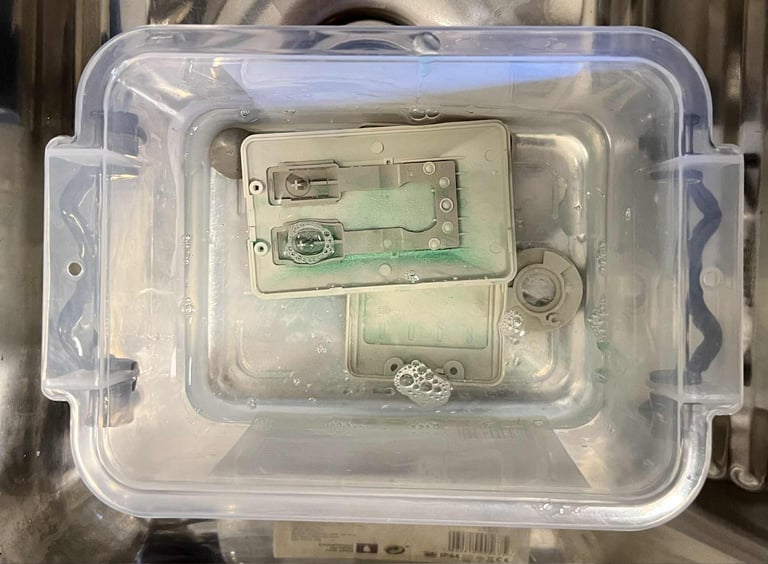
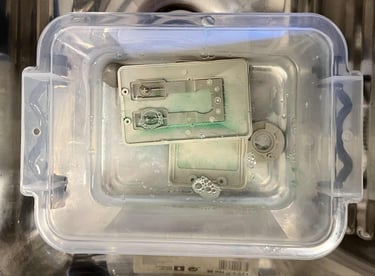
Even if the covers are not too dirty, they would benefit from a good wash. So all the plastic parts (and the mouse ball) is placed in mild soap water for about 12 hours. This will dissolve most of the fat and grease.
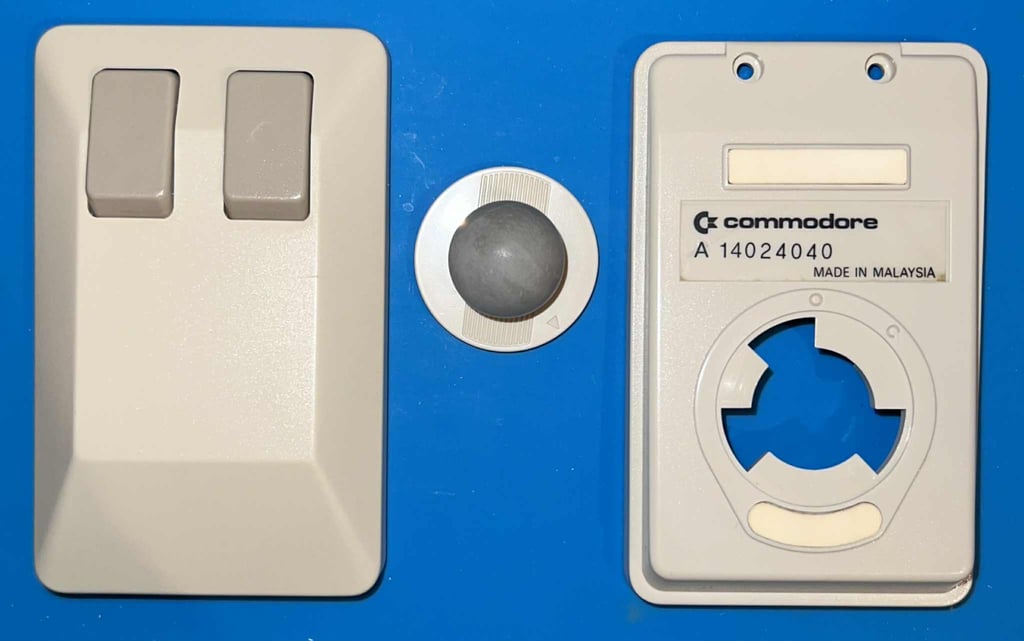
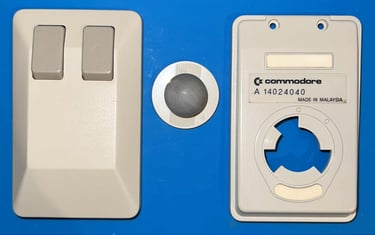
After the long bath the parts looks as new. As previously mentioned, there is a small mark on the right button. But it is very vague.
Interior
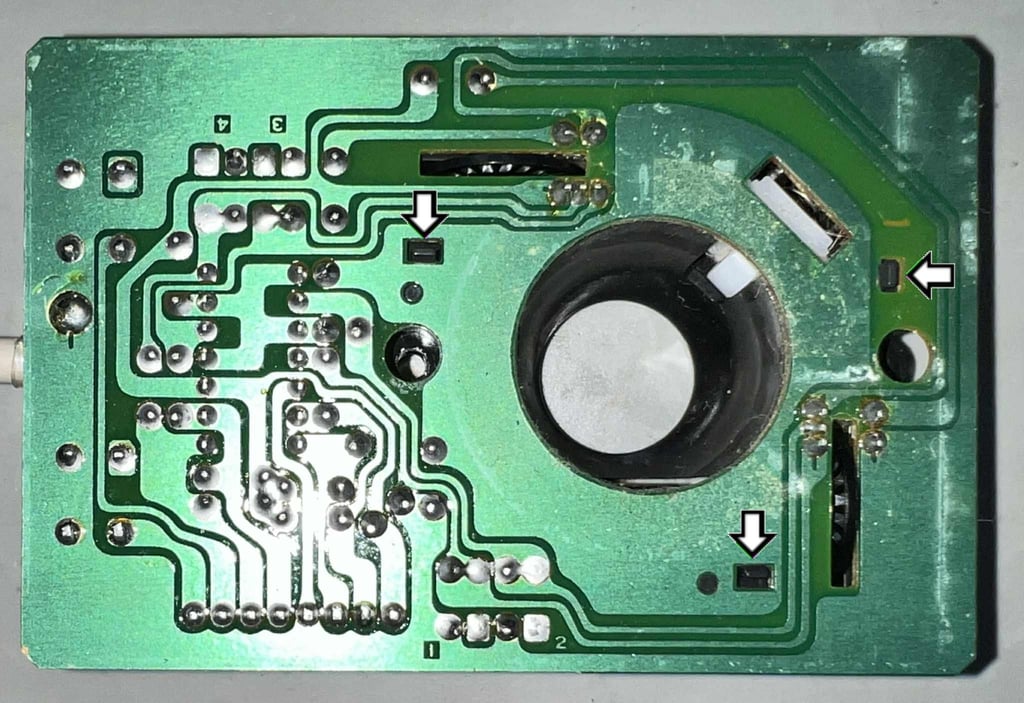
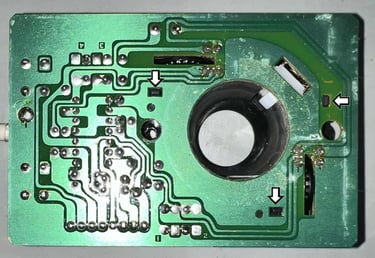
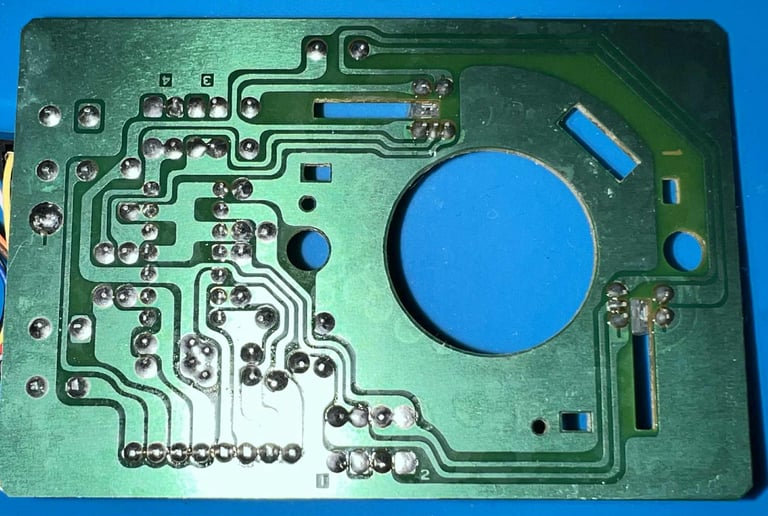
This is a PCB from Mitsumi marked with version CMKS-81X. Starting with the backside of the PCB there are several places with flux residue. This is not a problem, but it is good practice to clean this off with isopropanol. I can not see any signs of broken traces, corrosion or dry solder joints. On the backside there are also three small plastic tabs protruding; these are pushed gently to remove the plastic bracket holding the mouse ball.
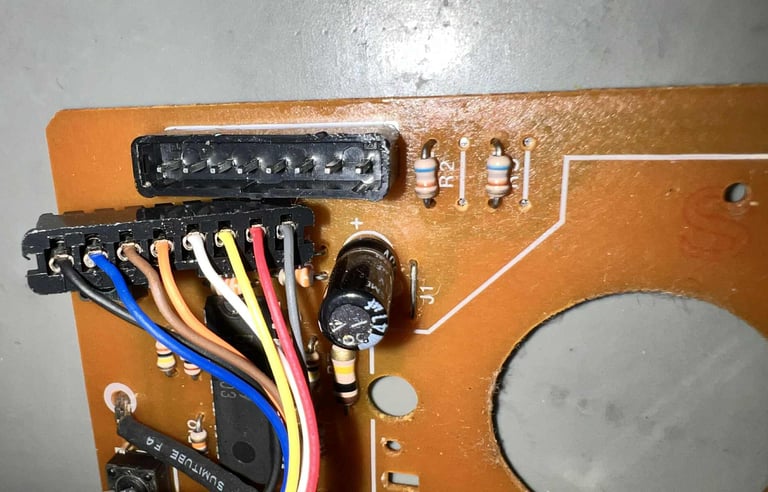

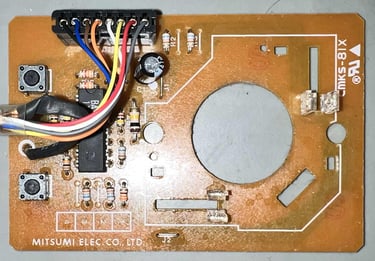
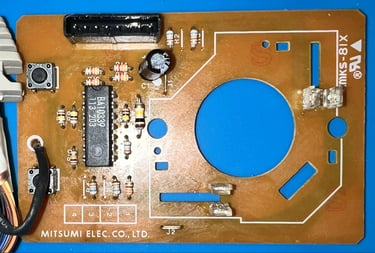
The front side is also in good condition. Only some marginal dust and grease. No bulging capacitors or signs of damage.
Before the PCB and the plastic mouse ball assembly are cleaned, the eight pin connector is removed. Both because it makes cleaning easier, but also it could be that some of the pins are a bit oxidized after all these years.

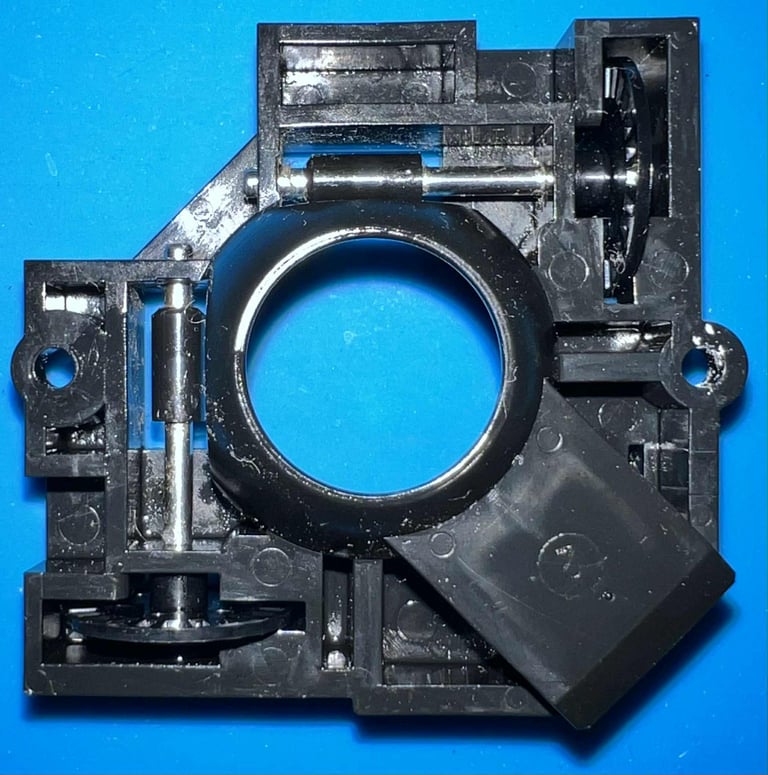
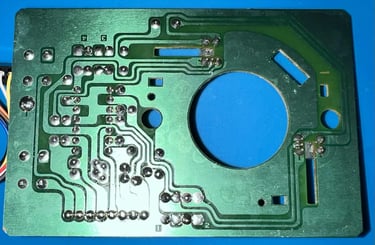
The PCB is cleaned properly with isopropanol and a Q-tip. Also, the ball compartment is cleaned properly - removing all the dust surrounding the axels. Below are some pictures of the PCB and parts after cleaning.


Testing
Proof is in the pudding - does it work?
As the table below shows, the mouse seems to work as it should now - still (!). It can move in all directions, and both buttons works as they should.
Final result
"A picture worth a thousand words"
Below is a collection of the final result from the refurbishment of this Amiga tank mouse. Hope you like it! Click to enlarge!


