

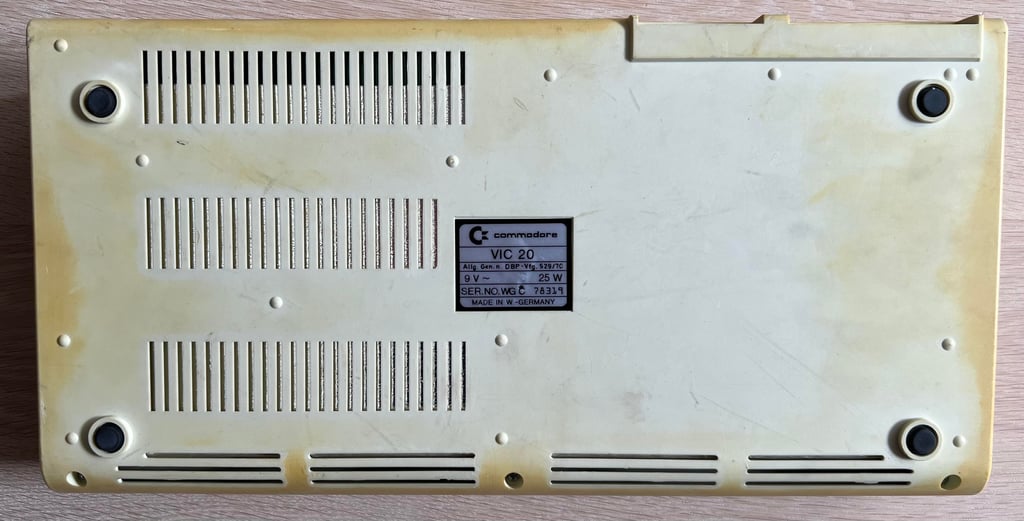
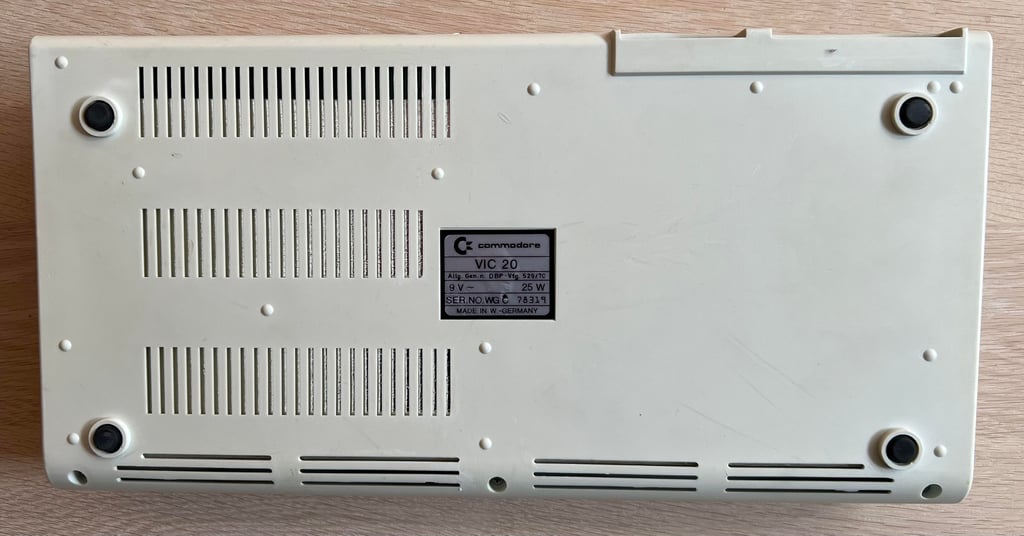
VIC-20 [PAL]
Ser. No. 78319
Assy 250403
Artwork 251040-01 (REV D)
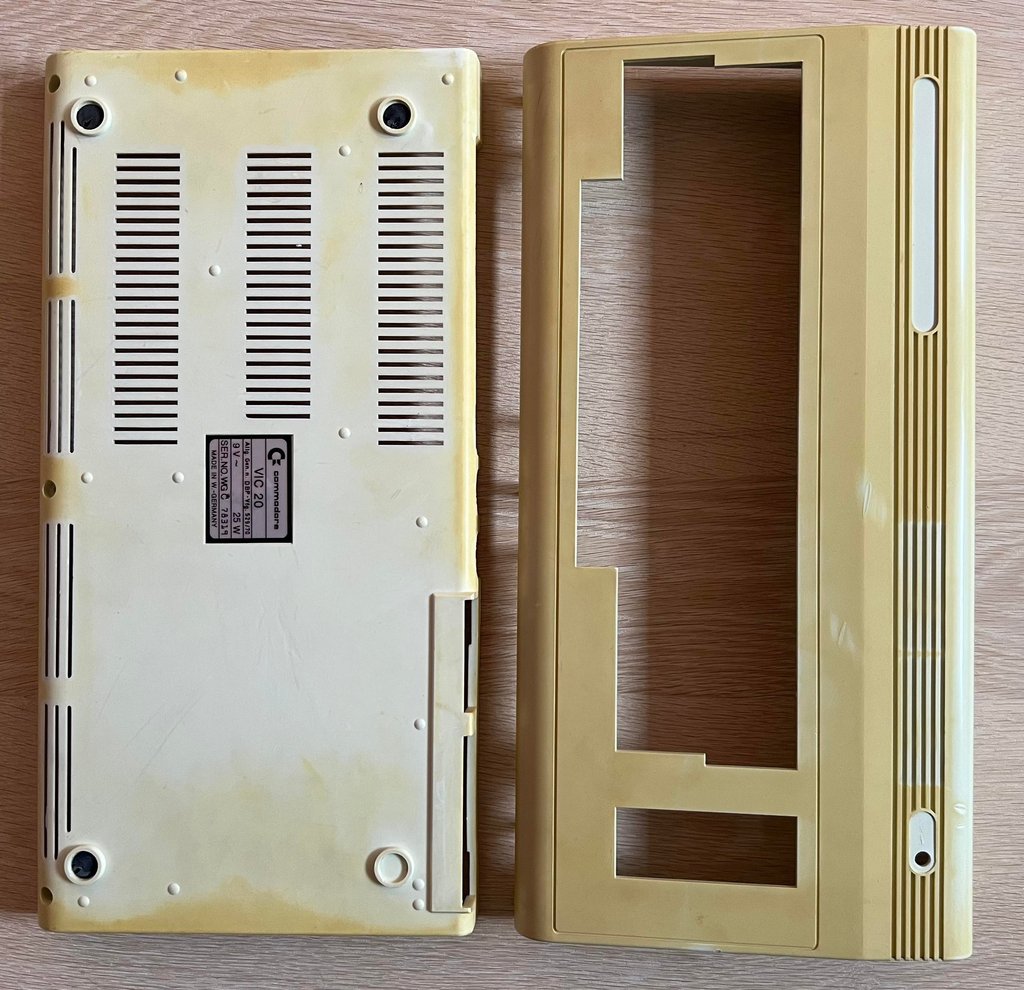
Starting point
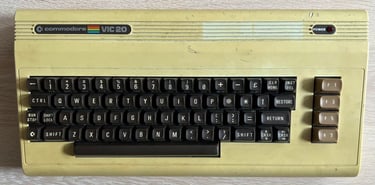
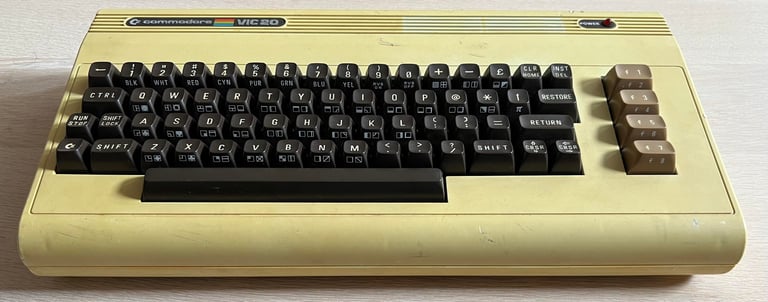
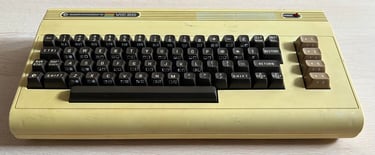
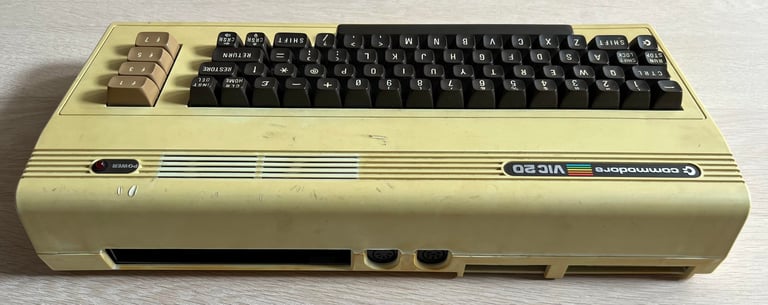
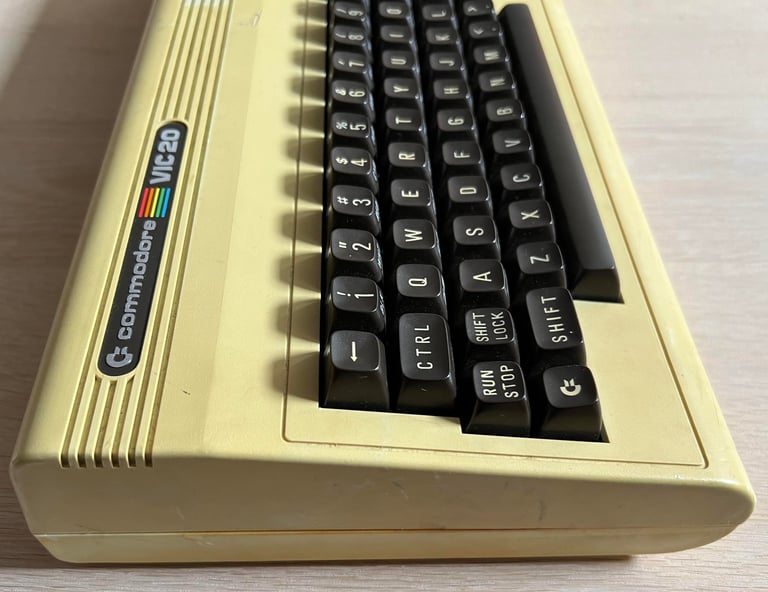
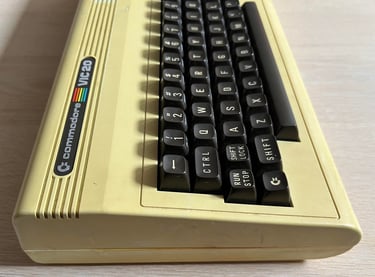
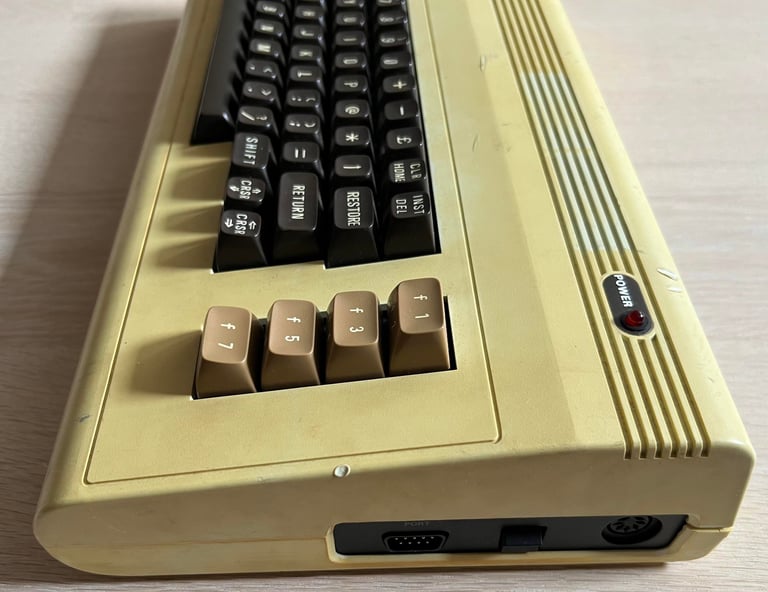
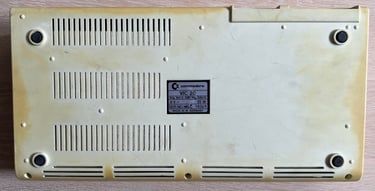
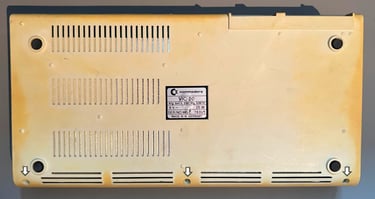
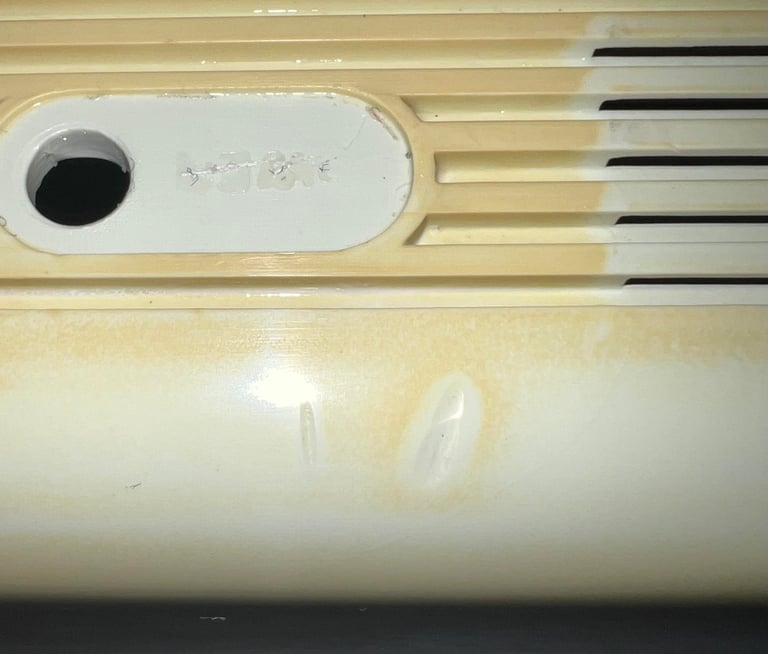
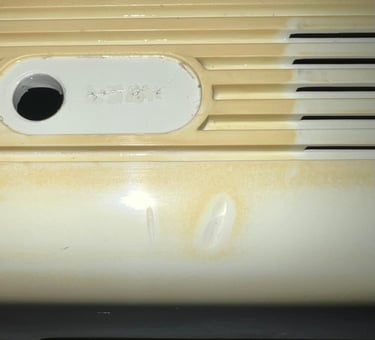
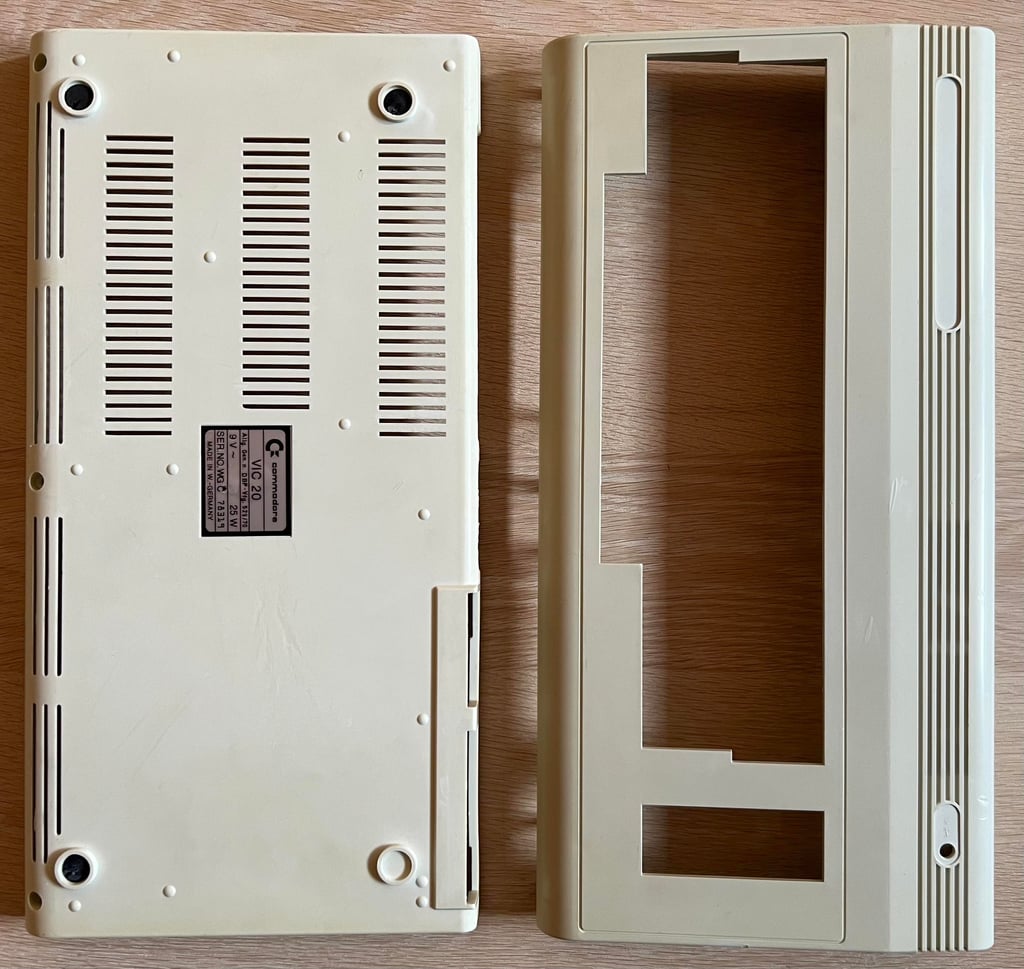
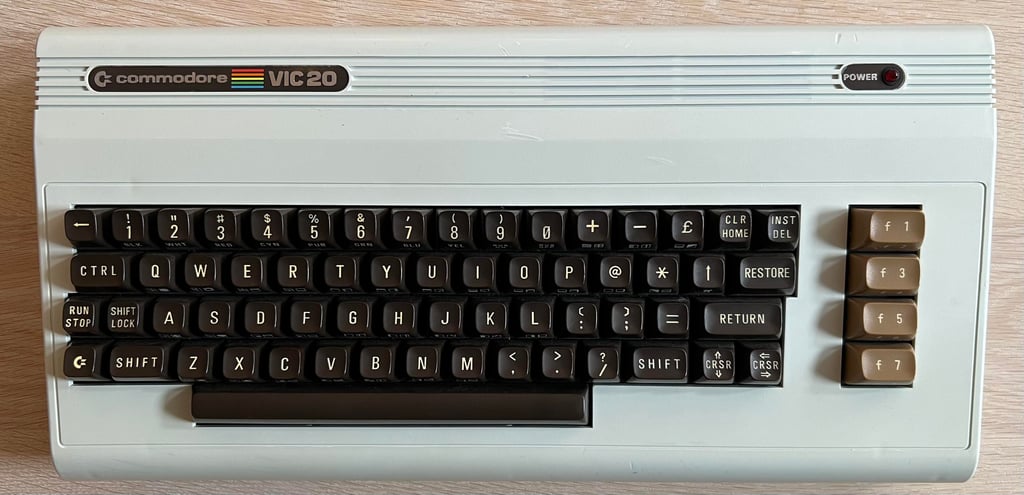
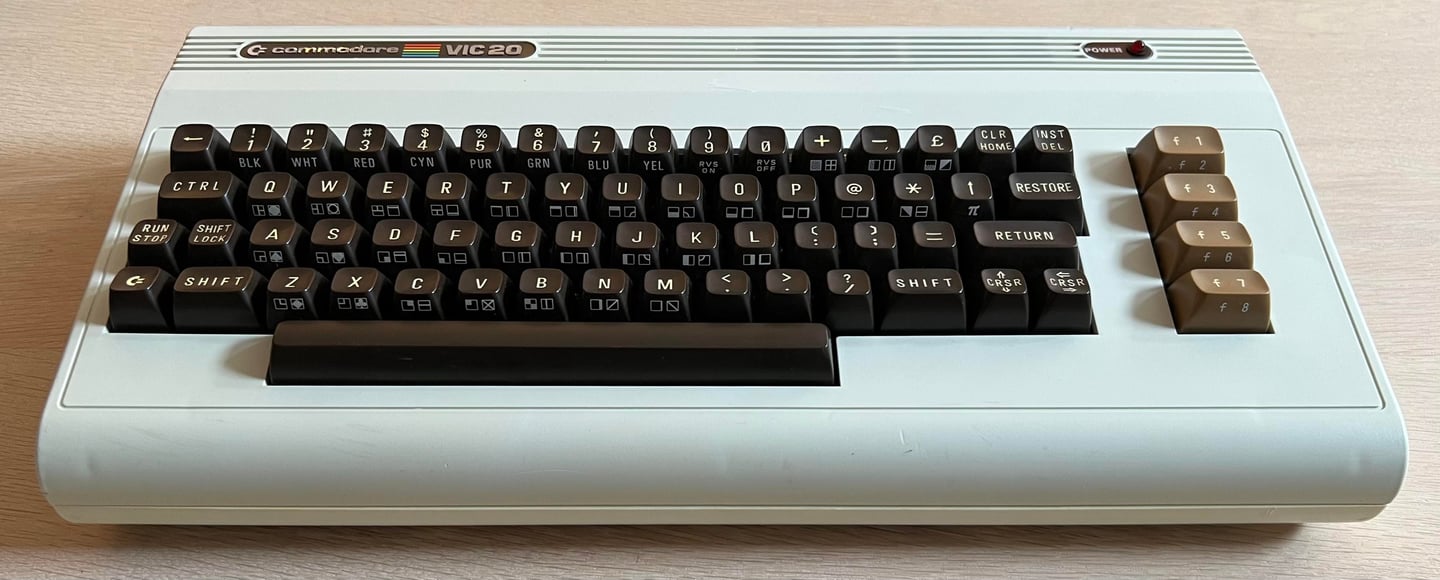
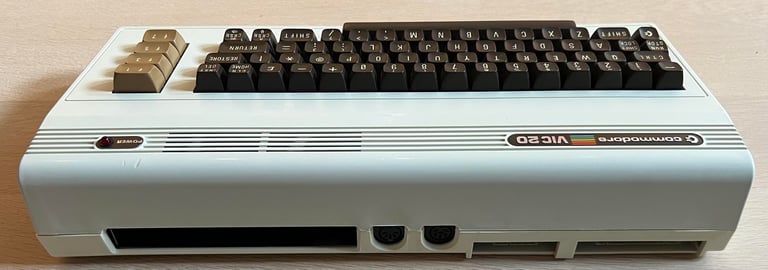
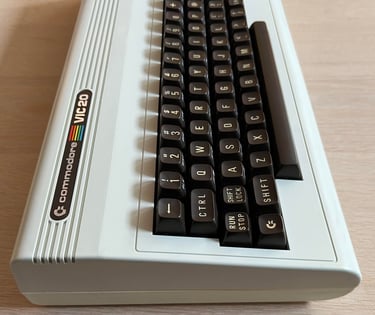
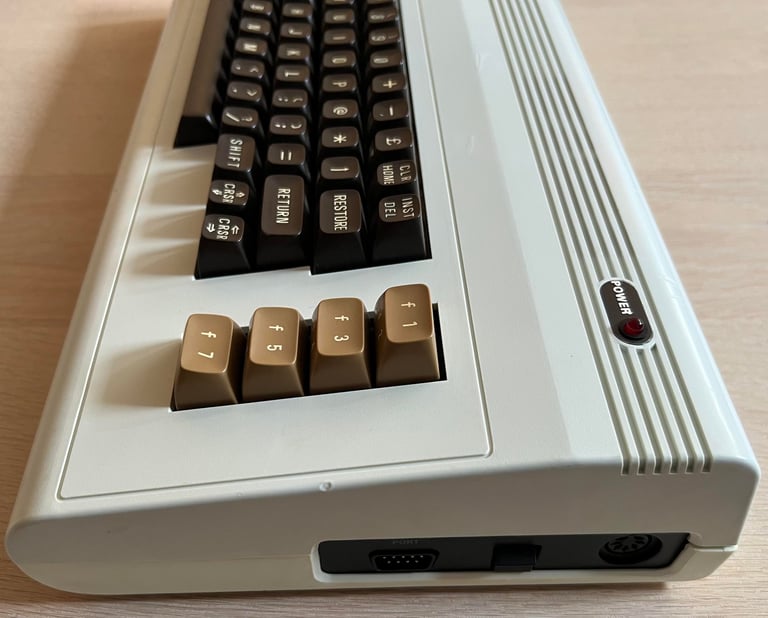
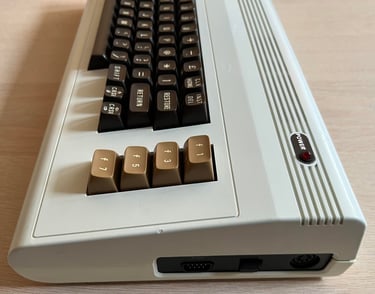
This working Commodore VIC-20 is in for some cleaning and retrobrighting. As can be seen from the pictures below the casing is severely yellowed. There are some quite deep cable burn marks on the top cover. But aside from that, the machine appears to be in quite good condition.


Refurbishment plan
The refurbishment plan for this VIC-20:
- Refurbish the casing (cleaning, repairing and retrobrighting)
The plan can be updated during the refurbishment process. Sometimes I discover areas that needs special attention.
Disassembly
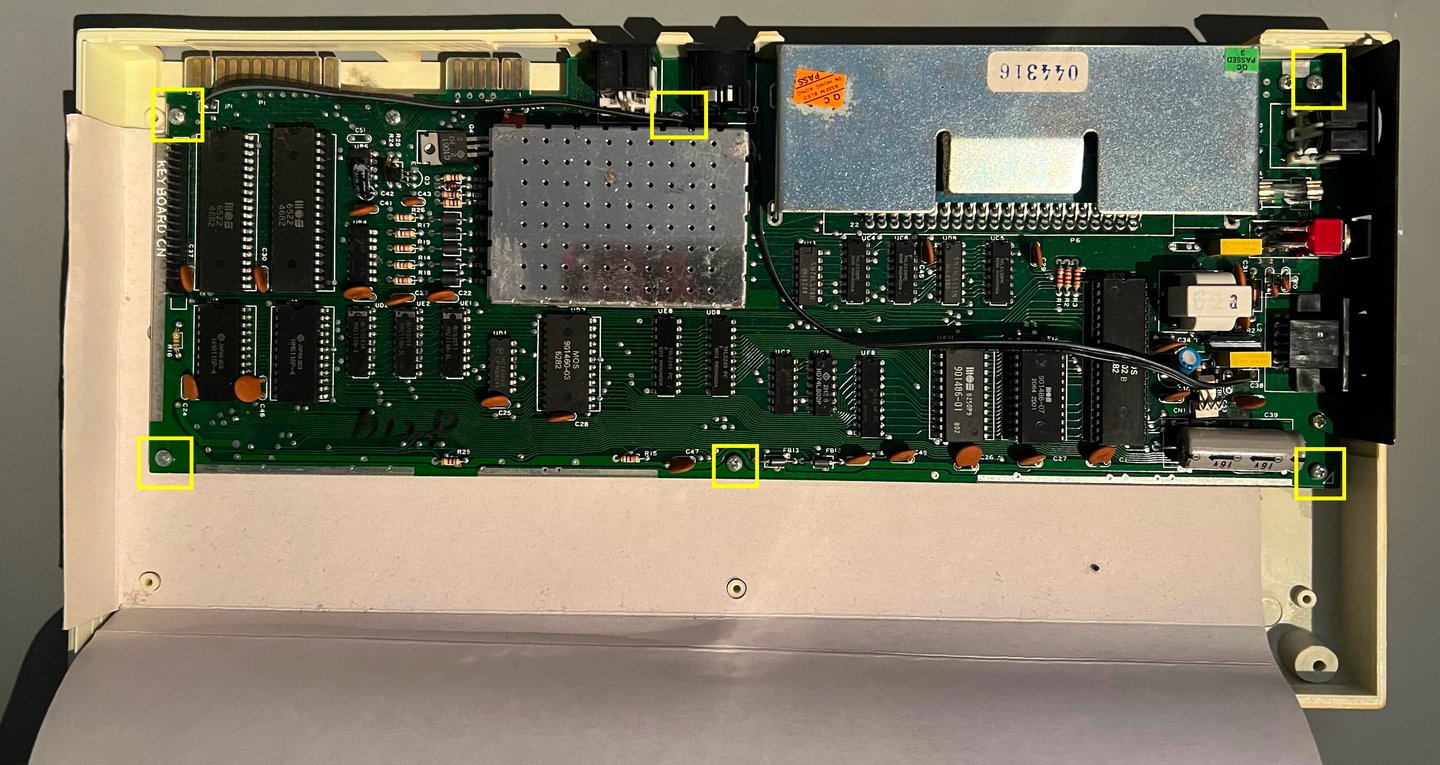
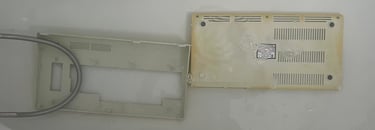
The VIC-20, as it younger brother the C64, consists of a top- and bottom cover. The covers are held together at the rear with a few plastic clips, and fastened by three large screws at the front of the bottom cover (see picture below for the positions).

The top cover is lifted about 30 degrees and then carefully wiggled back and forth until the rear clips are released. When the top cover is lifted completely the interior is revealed. And it looks... pristine. Yes, there is quite some dust and grease inside, but it looks in very good condition. If you check the cardboard RF-shield it looks almost new.
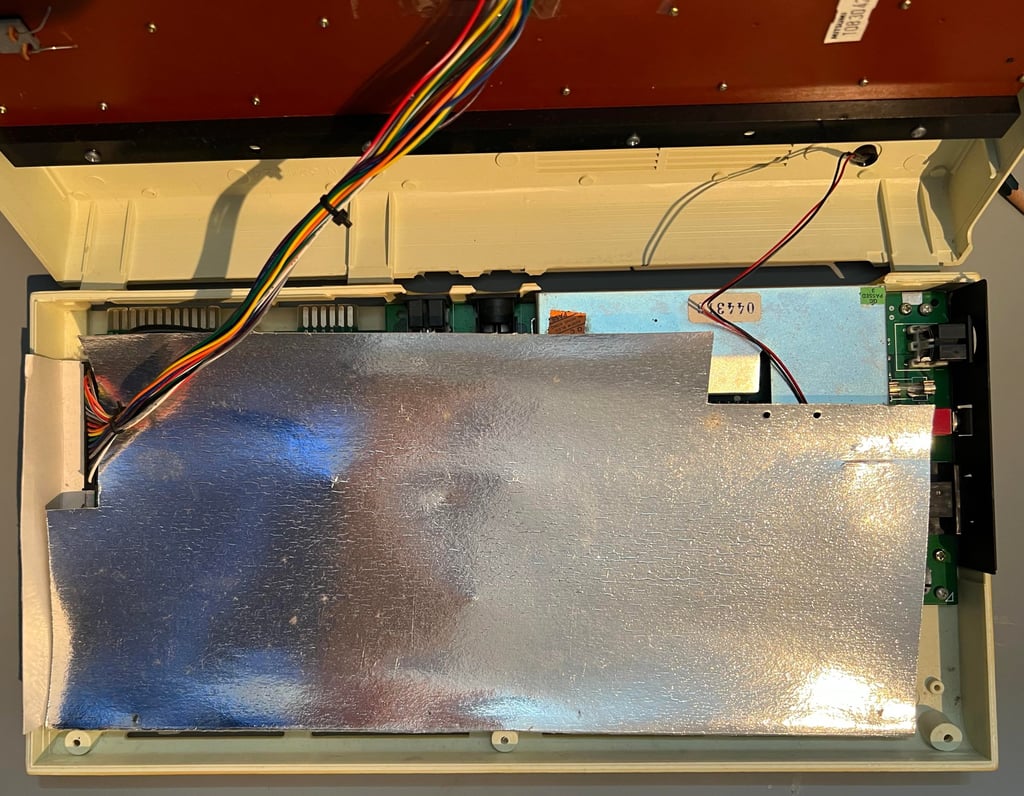
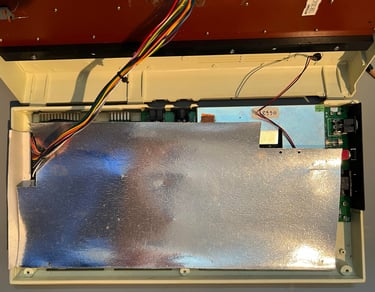
When the RF-shield is removed the PCBA mainboard is exposed. And it looks to be in very good condition. There are some dust and dirt, but otherwise it looks to be complete and undamaged.

Exterior casing
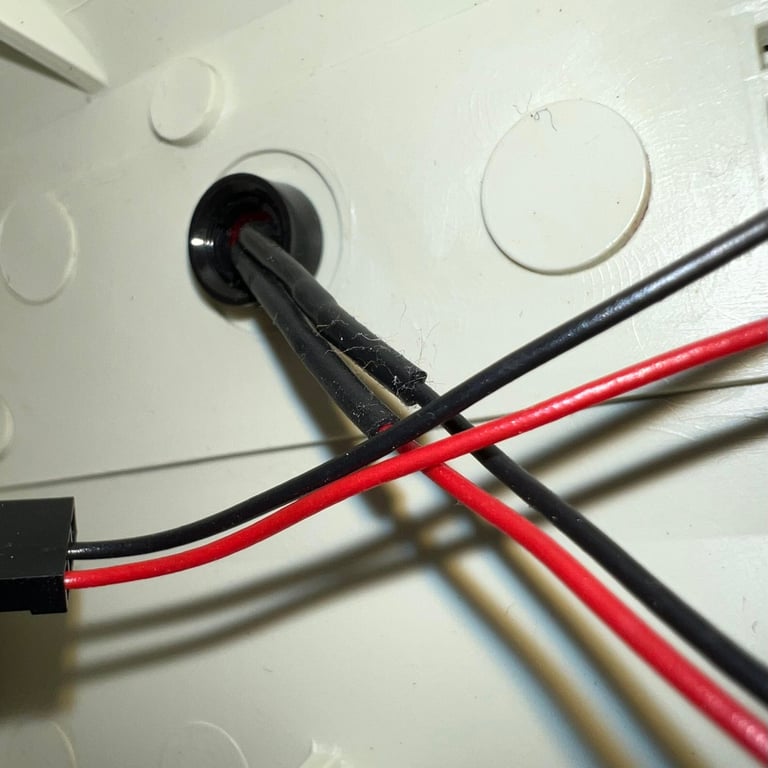
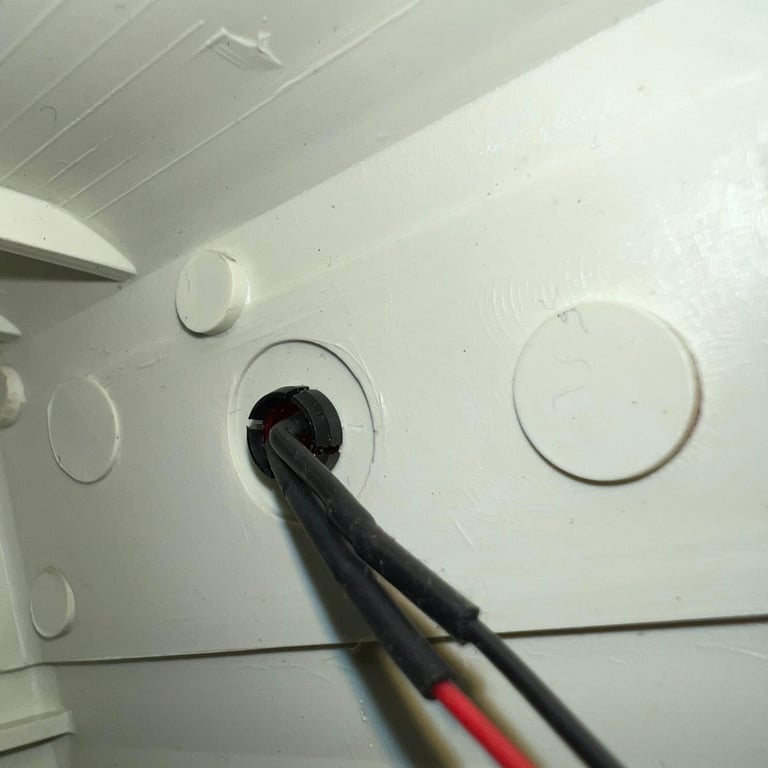
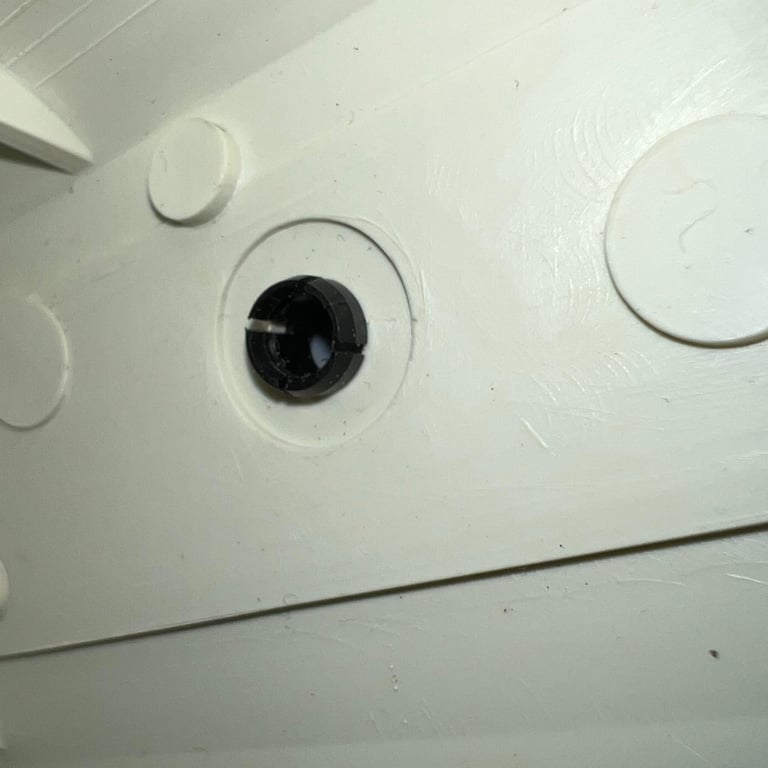
As previously mentioned the casing is very yellowed, dirty and with several cable burn marks. This is going to be a real challenge, but let´s do our best! The first thing to do is to properly clean both the top- and bottom cover. But before I can do that the LED is removed. This is done by first removing the circular plastic clip, then pushing firmly the LED from the outside towards the inside of the cover until til LED pops out and then finally pushing the plastic clip forward and out of the cover. See little picture gallery below.
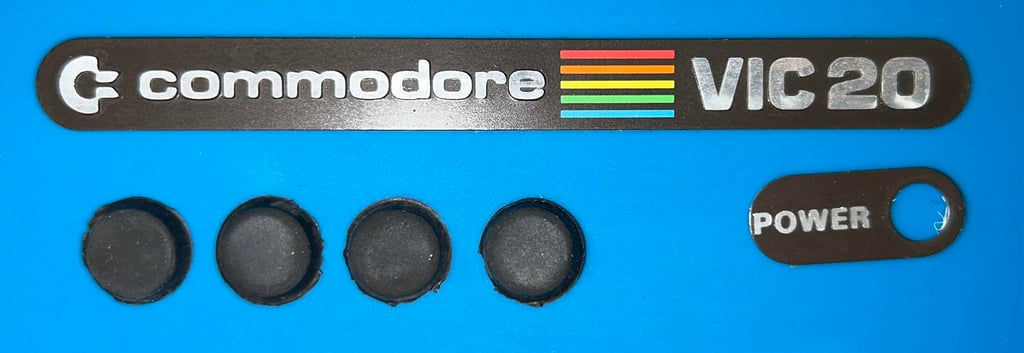
The metal badges "COMMODORE 64" and "POWER" are removed before cleaning. To remove the metal badges some hot air from a hairdryer is used while I use a scalpel to gently lift the badges off the casing. Both badges are removed without any damage. Also, the four rubber feets are removed before cleaning and retrobrighting. If these are not removed before retrobright the rubber feets might end up being "sticky".
Both top- and bottom cover are placed in mild soap water for about 48 hours. This will remove most of the grease and dust. The covers needs to be properly cleaned if the retrobrightin is to be successful.

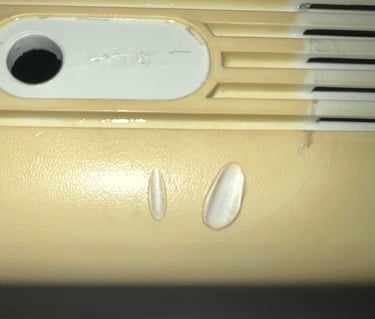
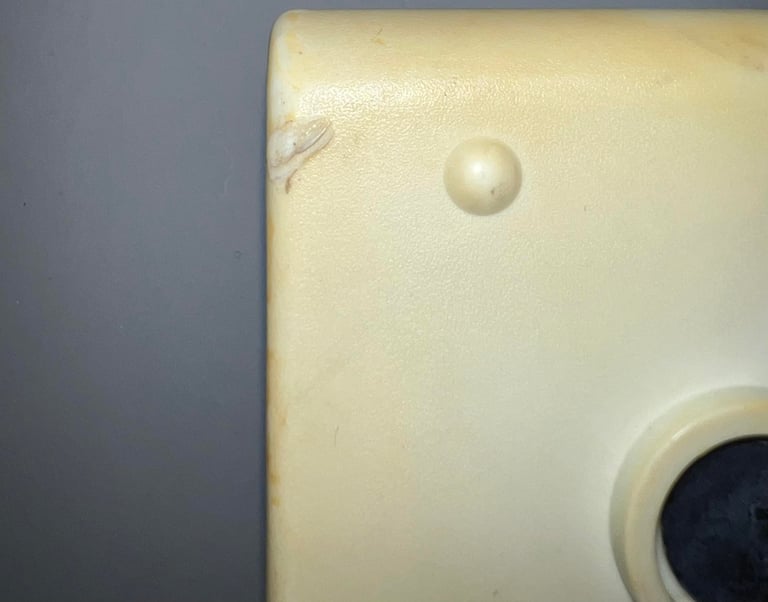
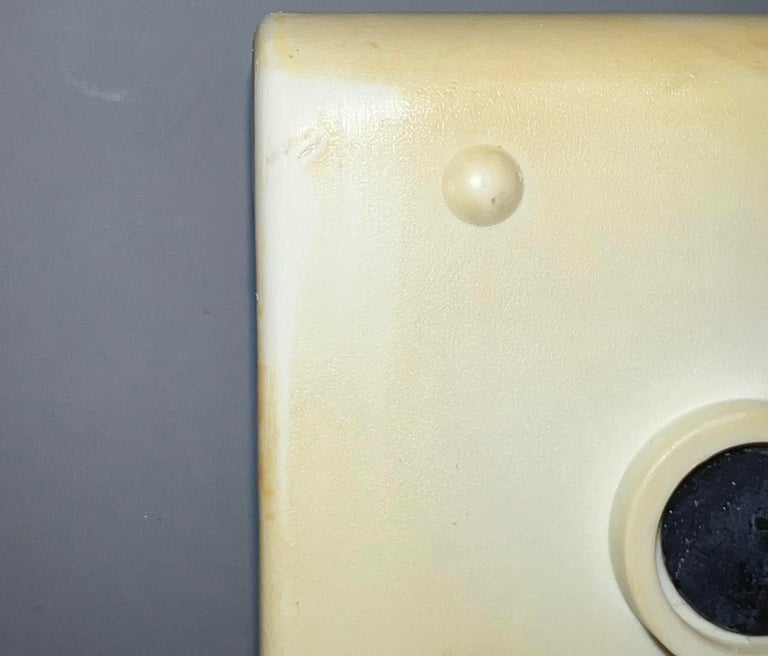
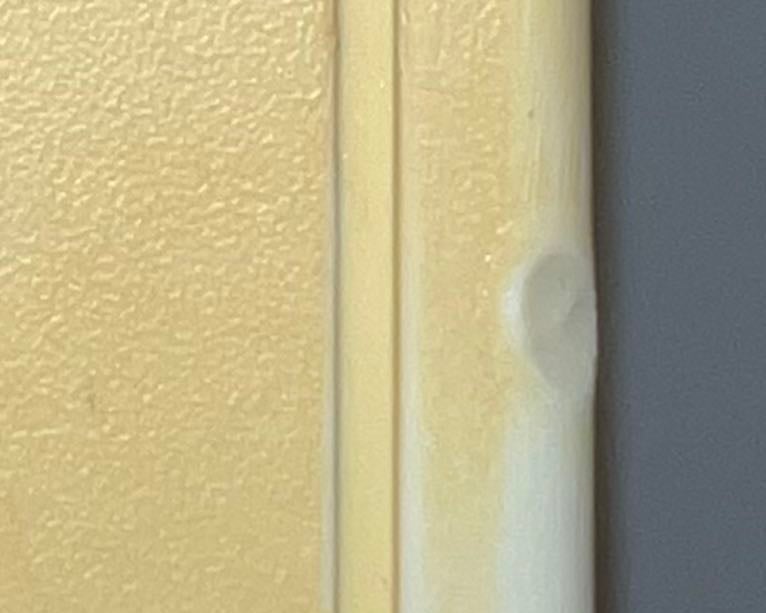
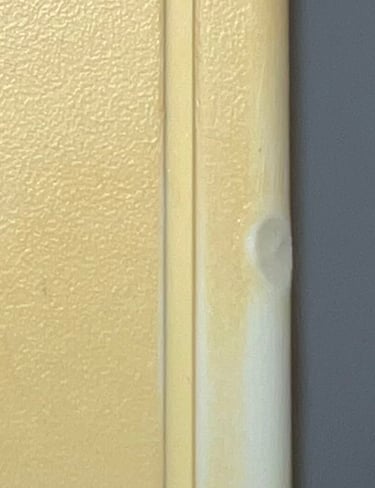
Cable burn marks
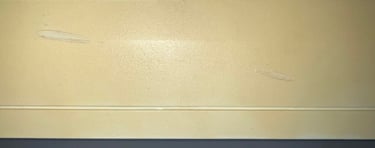
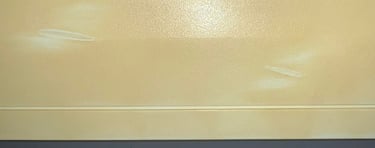
When cables from power supplies, datasettes, joysticks etc. are twisted around the Commodore 64 a chemical reaction will occur. After a long time (years?) the plastic will start to "melt" and leave behind what seems like burn marks from the cables. It is not possible to remove the burn marks completely, and often it is best to just leave them. But it is sometimes ok to carefully sand the plastic first with some normal sanding paper (P180) and then fine polish this with wet sanding paper P1200 which I do on this one.
Nevertheless, there are some burn marks which I leave untouched. I think that the worst marks are now looking better than before, but they are not gone: you will always see them, but they are not too bad. Below are some pictures showing before / after the sanding.


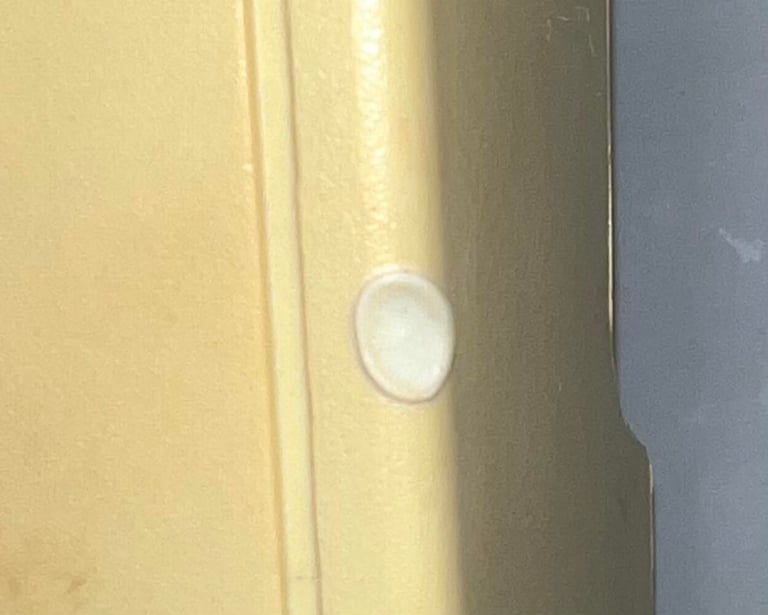
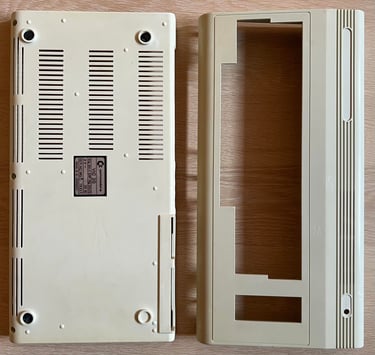
The result after cleaning, sanding and polishing is a top- and bottom cover in a way better state. It is still severely yellowed, but is better!

Both the top- and bottom cover are covered with 12 % hydrogen peroxide cream, wrapped in cling film and exposed for UV light for about 15 hours first. About every our fresh hydrogen peroxide cream is applied on the covers with a soft paint brush.
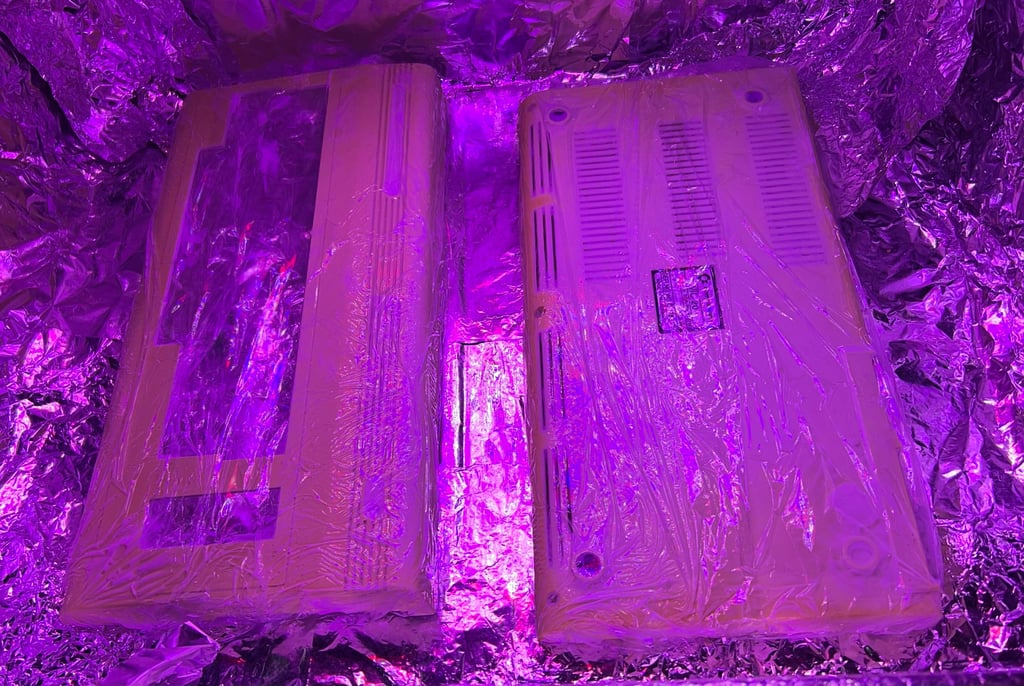
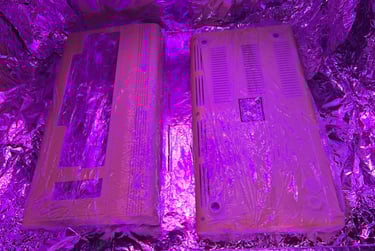
After the first round of retrobrighting the covers looks way better. Most of the yellowing is gone.
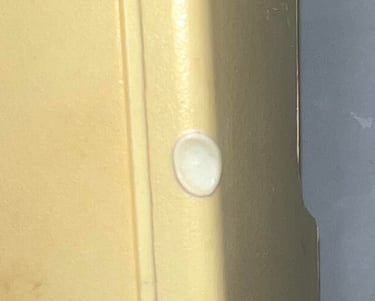
This is probably about 99% as good as it gets. But at Refrubished we don´t stop there. There are some few areas on the side of the bottom cover which I think can be retrobrighted just a tiny bit more. So the plan is to do this the following weekend.
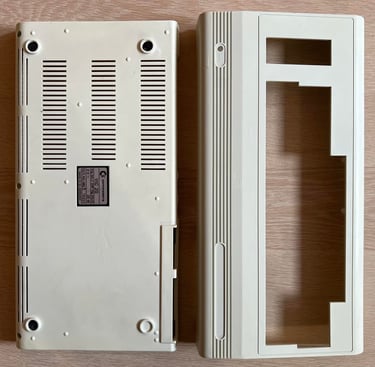
After another round of retrobrighting the result is in fact somewhat better. It is not so easy to see on the picture below (which is from the 2nd round), but I do notice that some areas are now even more close to the original colour than previously. There are still quite some burn marks which will not be gone though, but it looks way better!

Final result
"A picture worth a thousand words"
Below is a collection of the final result from the refurbishment of this VIC-20. Hope you like it! Click to enlarge!


Banner picture credits: Evan-Amos