

Wico
Command control
Starting point
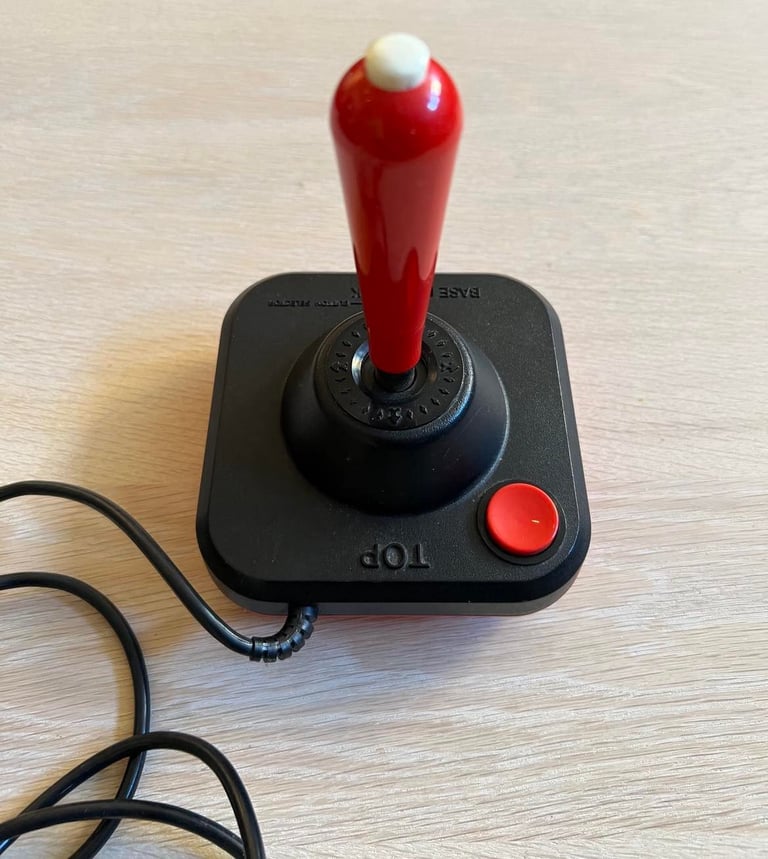
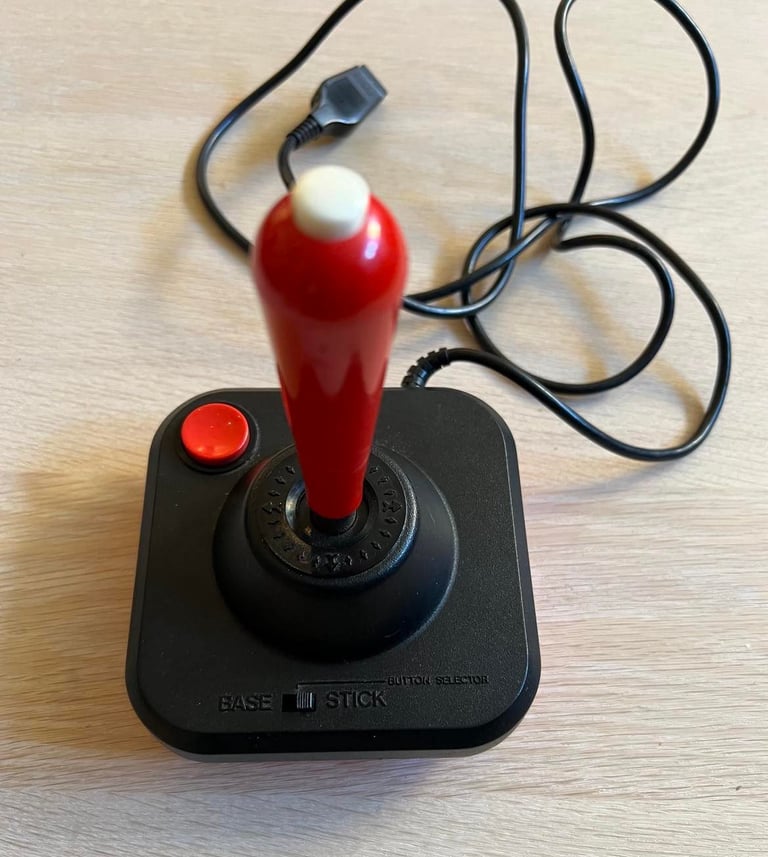
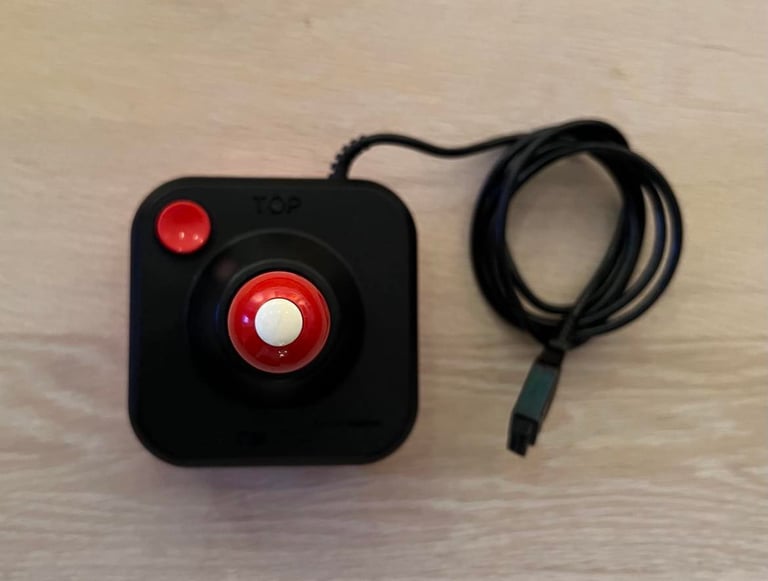
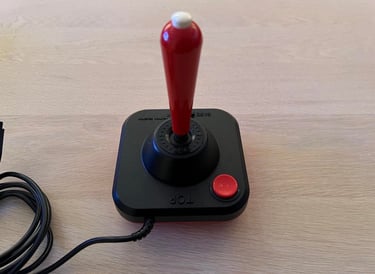
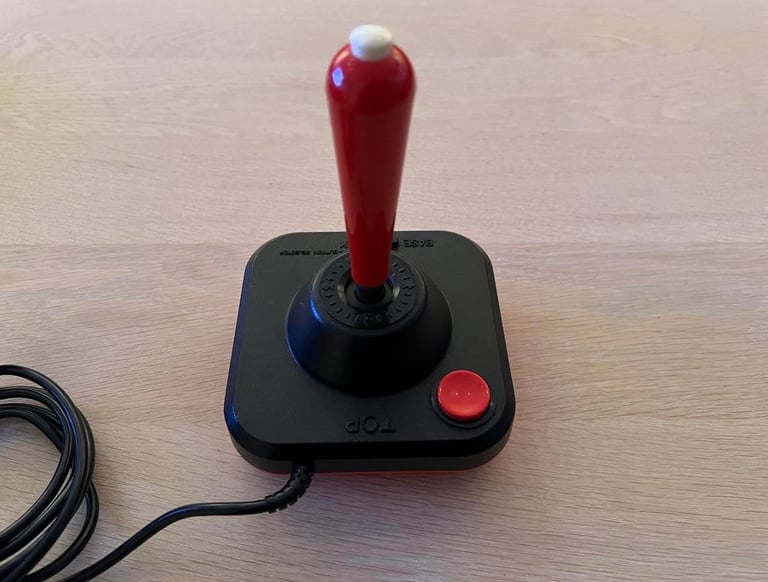
There probably is not anything wrong with this joystick by the looks of it. It is a bit dirty and some creaking noise when moving the shaft, but other than that it both looks and feels ok. All buttons, including the switch used to toggle between the base and stick button, appears to be functioning. I don´t know if they work, but they at least feels ok. So there are good chances that this refurbishment will be swift and successful.


Refurbishment plan
To refurbish this joystick the plan is to do this trough the following steps:
- Clean, and remove stains from, chassis and all parts
- Clean the interior / leaf switches
- Check connectivity
- Verify joystick operation by testing
I also found this site on www which was very interesting: refurbishment of a Wico Command Controller.
Exterior casing
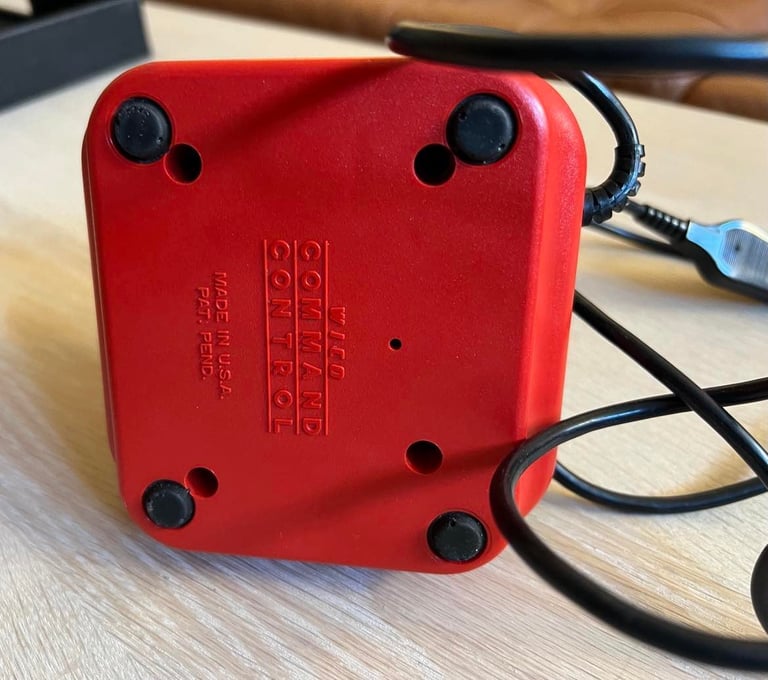
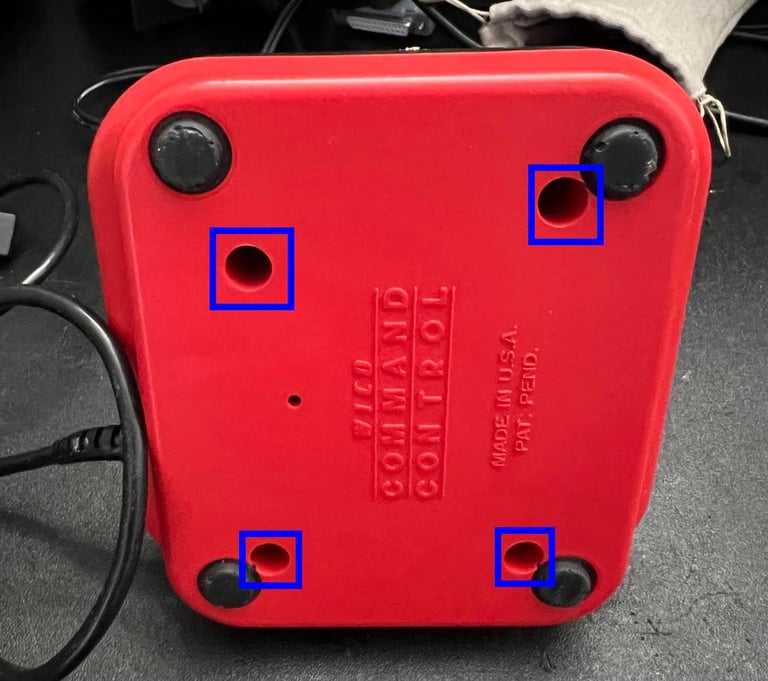
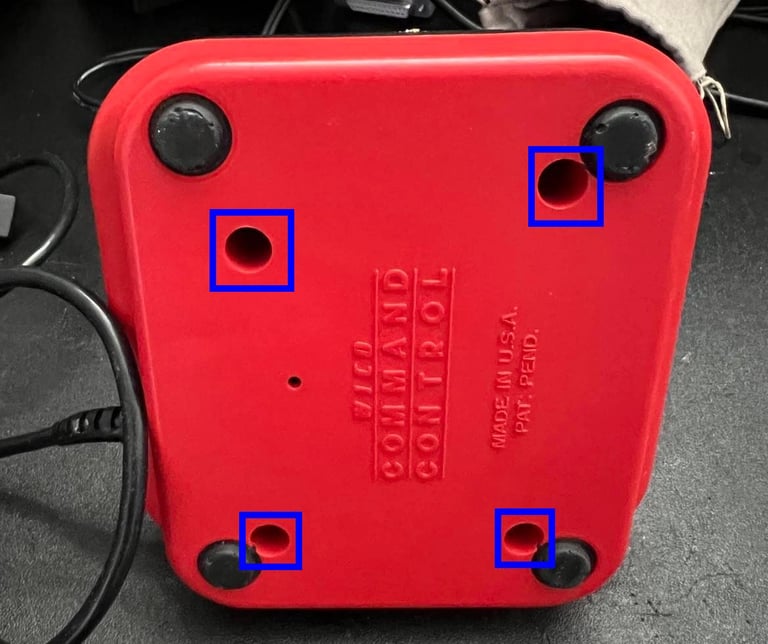
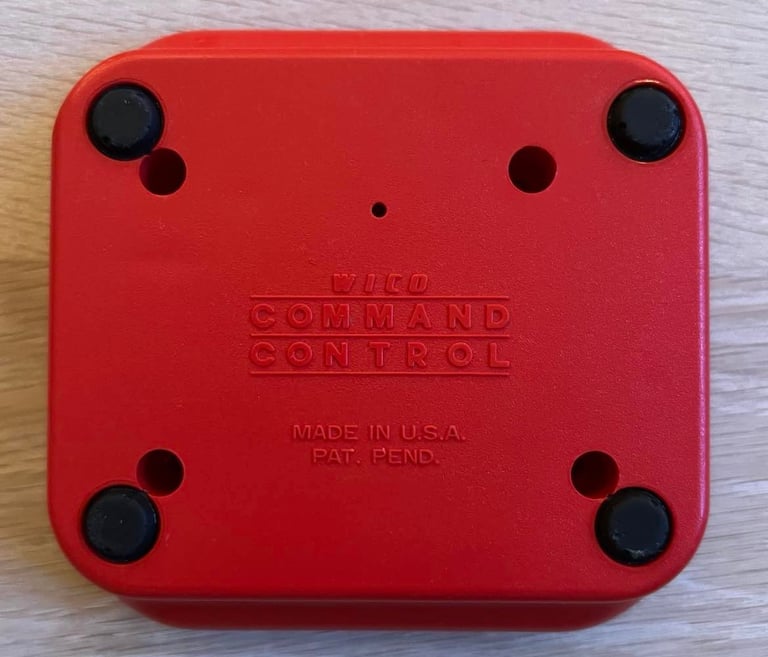
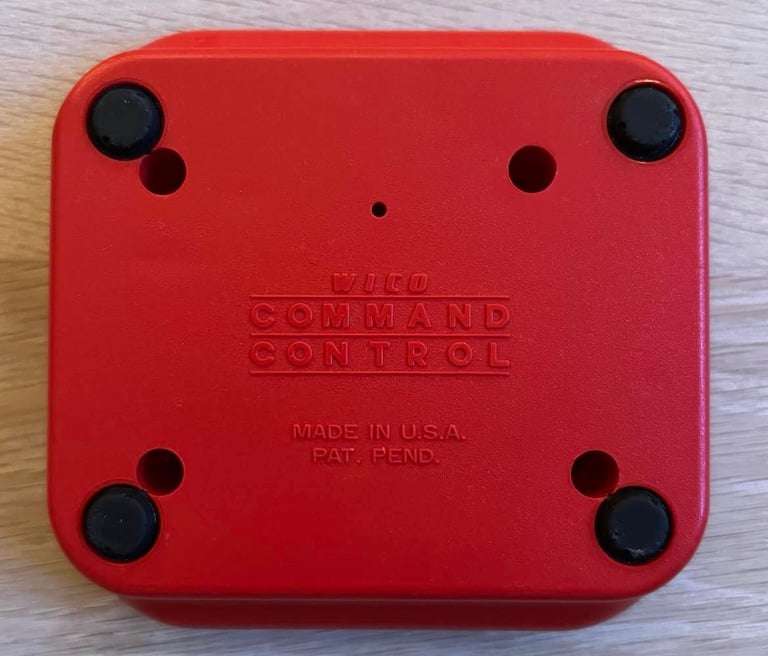
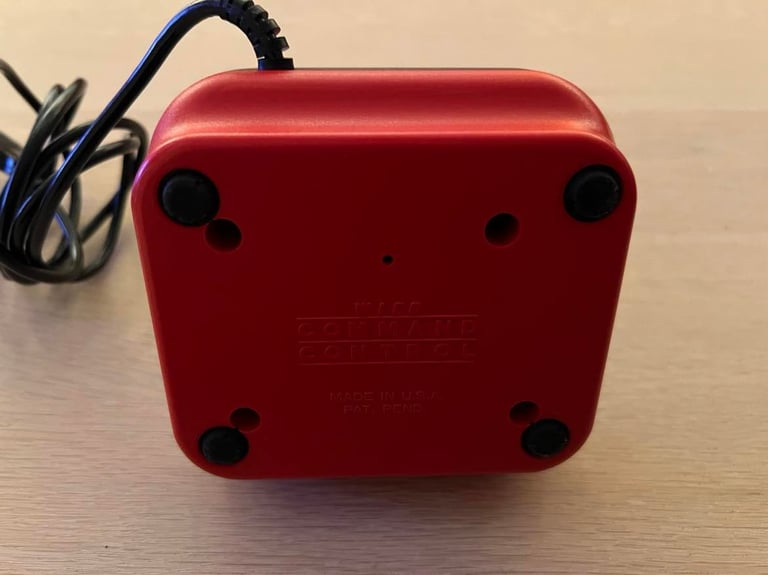
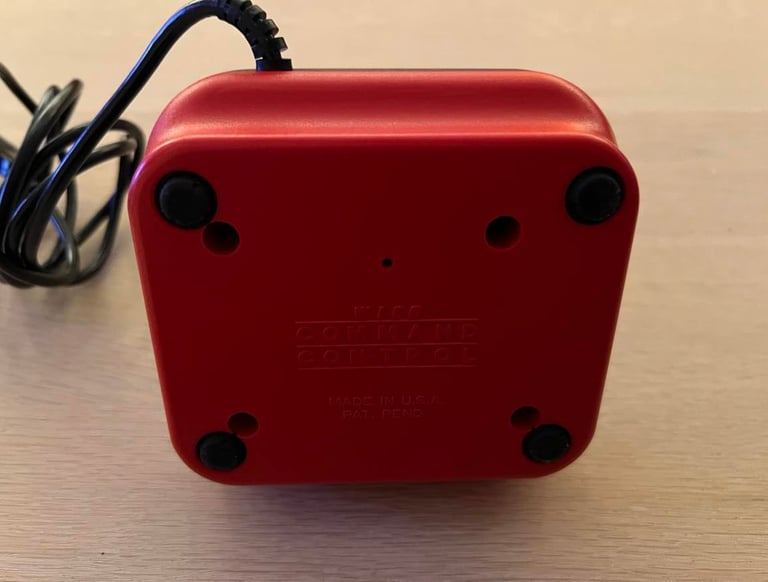
The Wico Commander Control joystick consists of several parts, but the two main building parts are the top- and bottom cover. These two are disassembled by removing the four Phillips screws at the bottom.
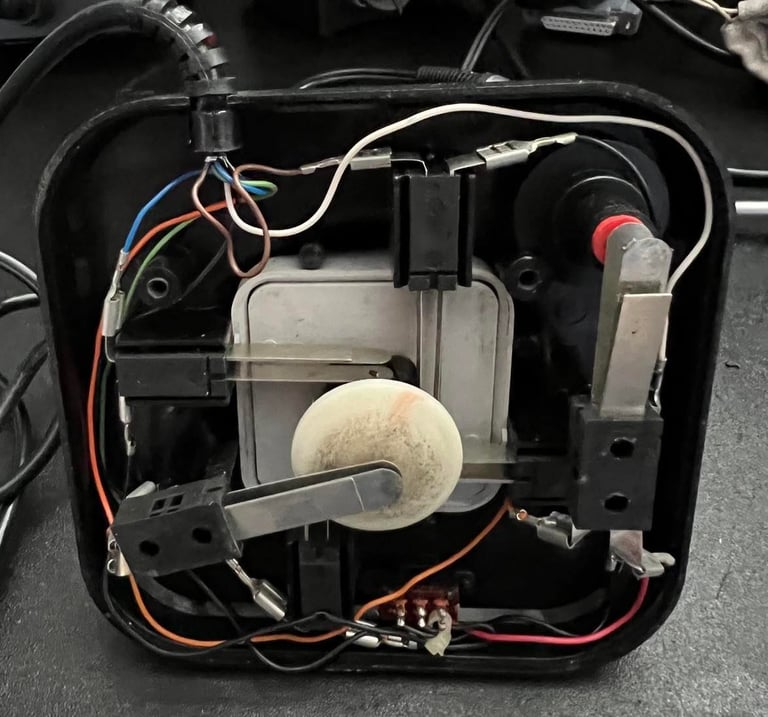
As seen from the pictures below the bottom cover is now separated by removing the screws, but the top cover holds all the electronics and the stick shaft. Also, it become visible that there is quite some dust and grease inside the joystick. The grease on the plastic parts does not affect the operation of the the joystick in any way (but it will be removed), but it is very likely that the leaf switches also are dirty - which could degrade the performance of the the joystick.

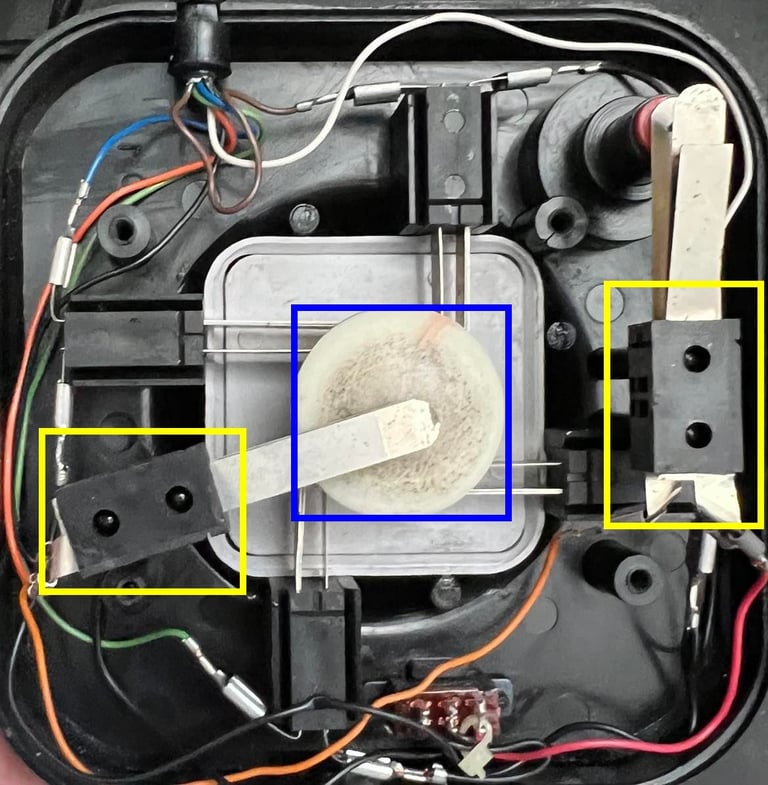
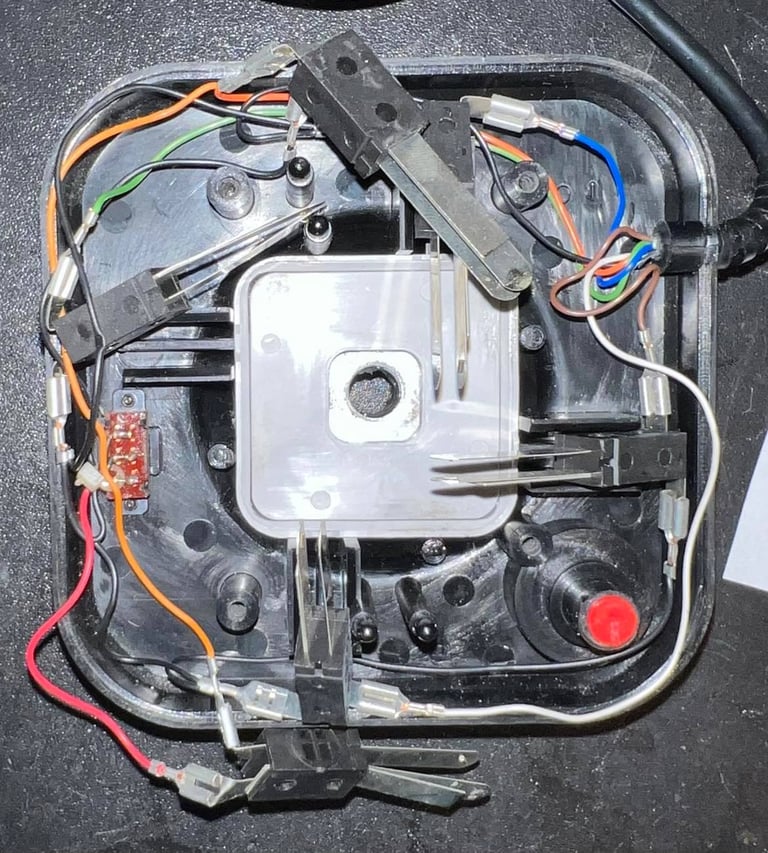
Next stage is to disassemble the stick shaft. First, the two fire button leaf switches are lifted out of the way (see yellow squares in the picture below). Then the bottom plastic "cup" is carefully removed (see blue square).
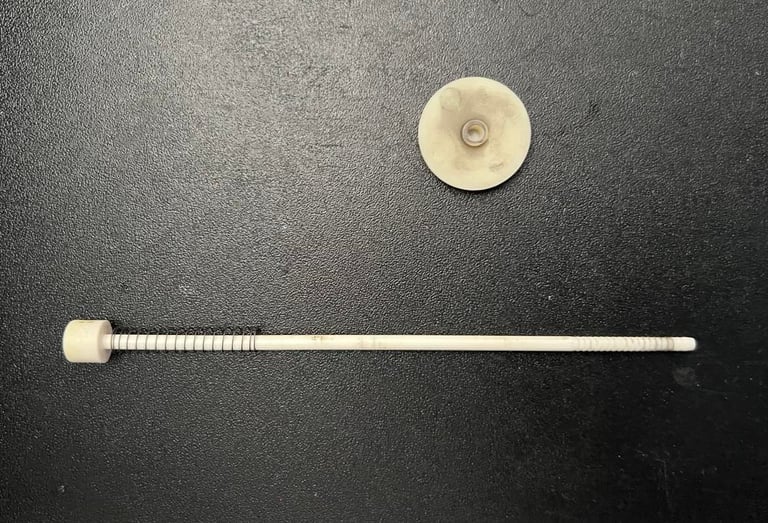
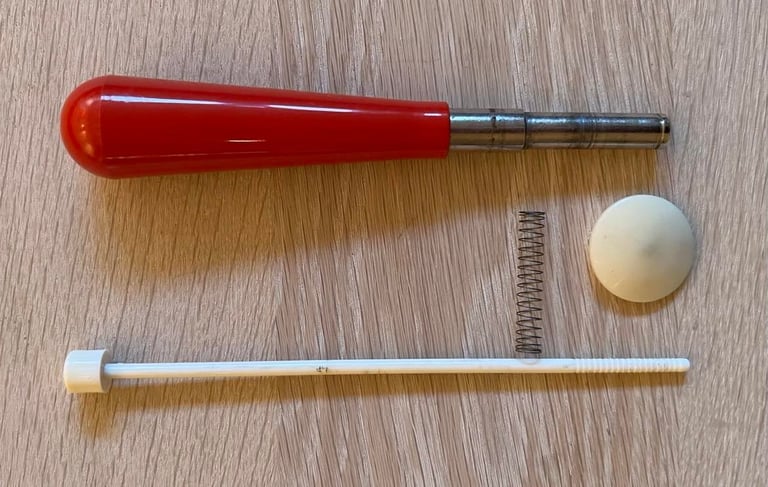
The thin and long white fire button shaft can now be removed out of the red handle. Note that there is also a spring attached to the fire button shaft.
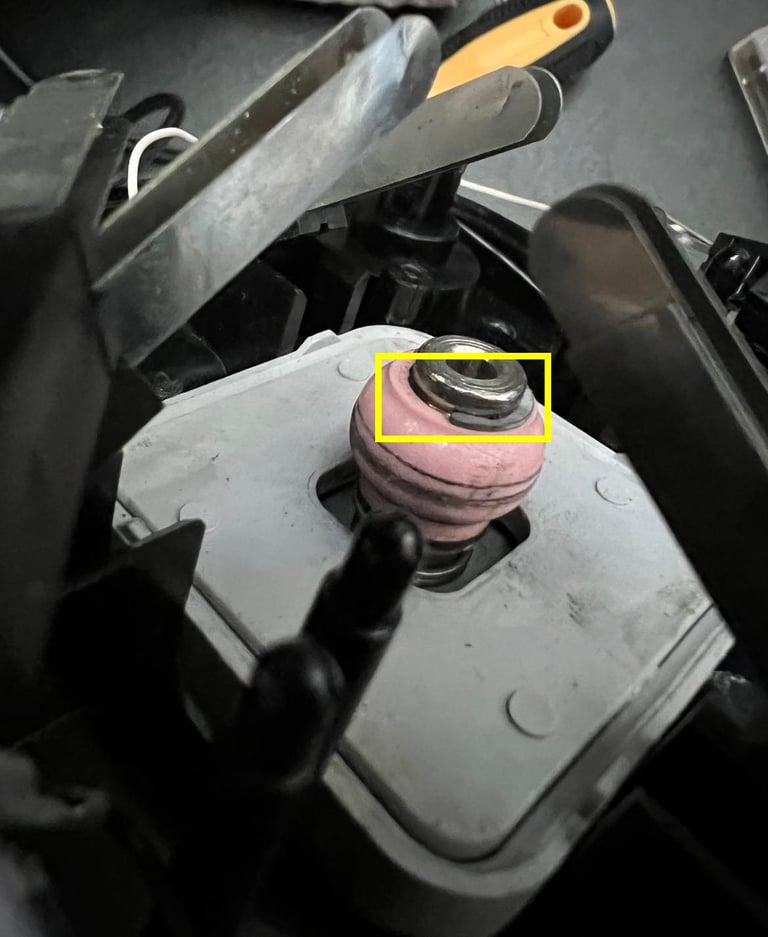
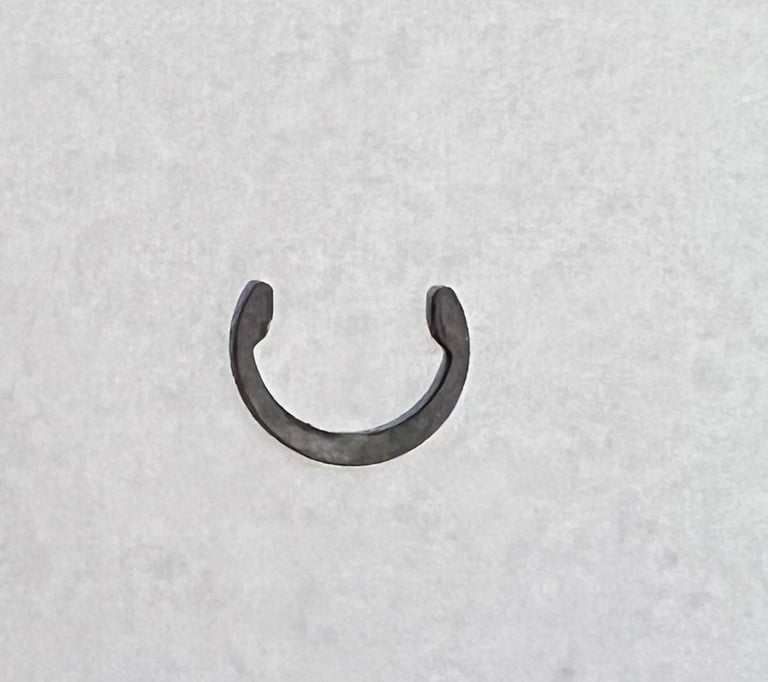
Then the small metal clip is removed from the end of the metal shaft (see yellow square below) and the rubber sylinder is pulled out. Note that also here is a spring beneath the rubber spring surrounding the metal shaft.


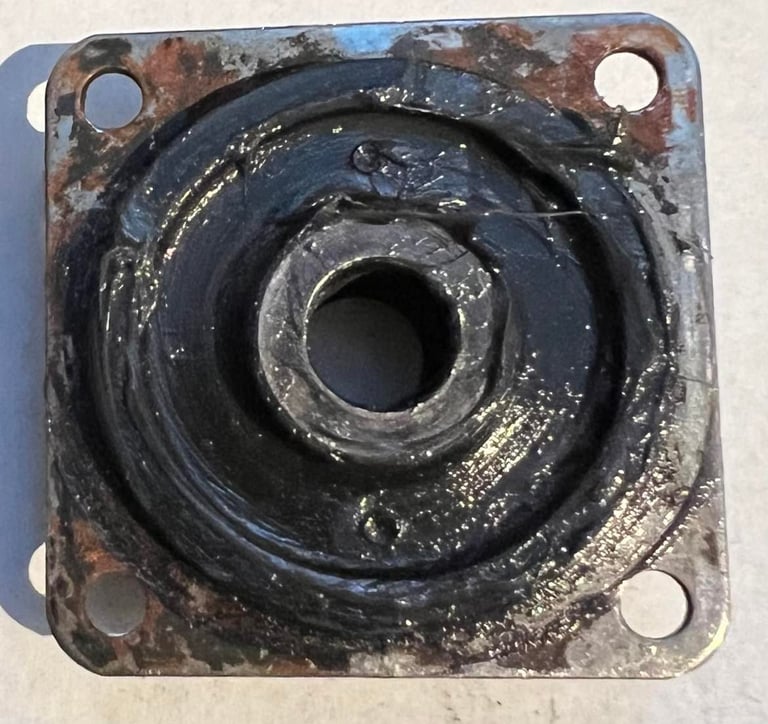
The red shaft is pulled out of the joystick. Next, the large plastic container is carefully pried out of the joystick with a medium sized flat screwdriver (and cleaned a bit with isopropanol since it was very dirty). Note that between the plastic container and the top cover is a small plastic spacer.
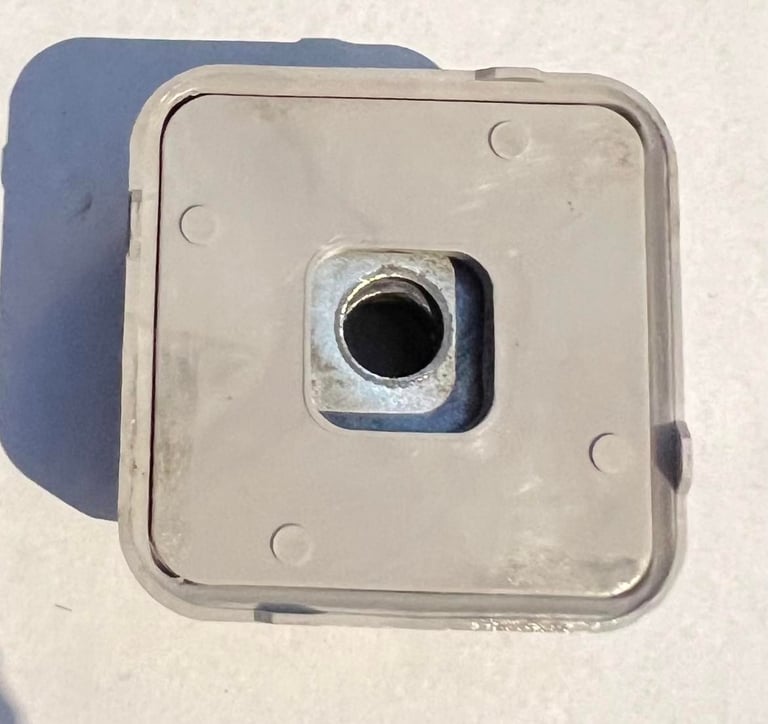
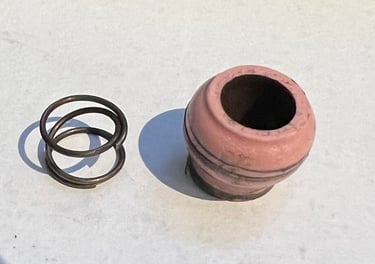
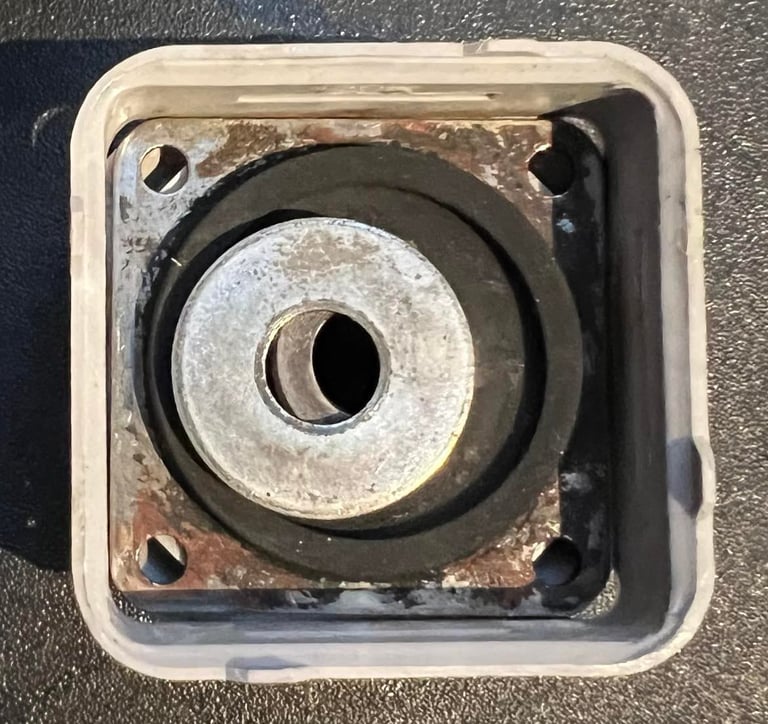
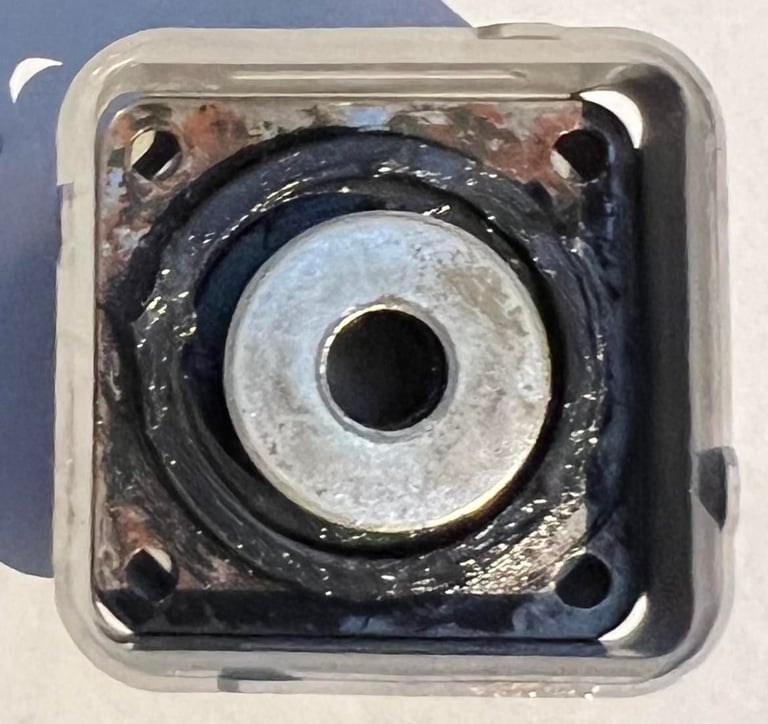
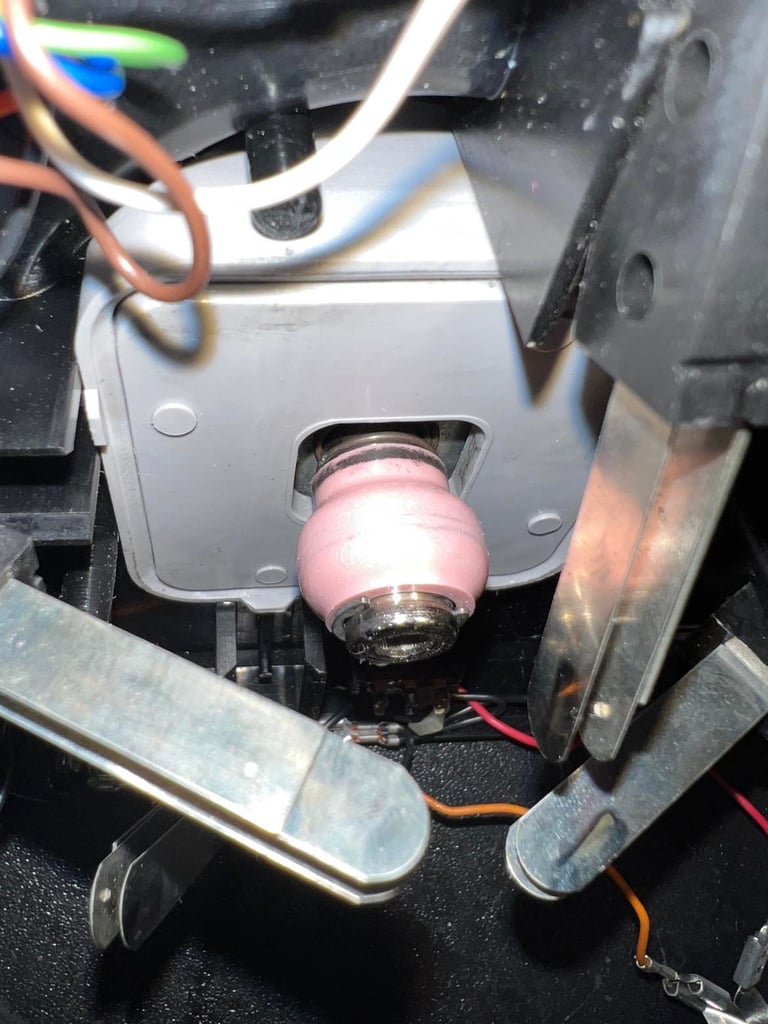
The plastic container is opened by using a small flat screwdriver prying it open from the corners. This reveals the inside consisting of a thick rubber ring (on a metal plate) and a metal spacer.

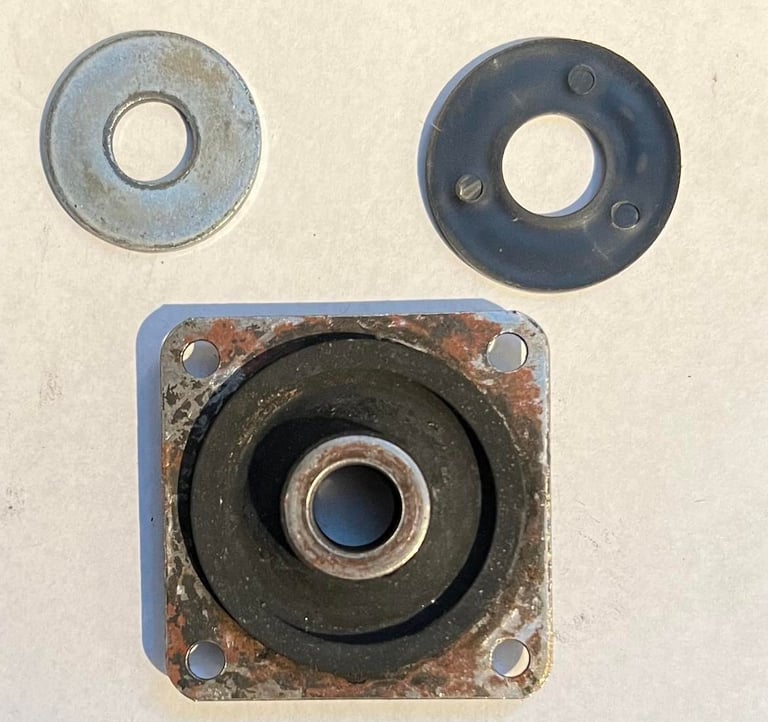
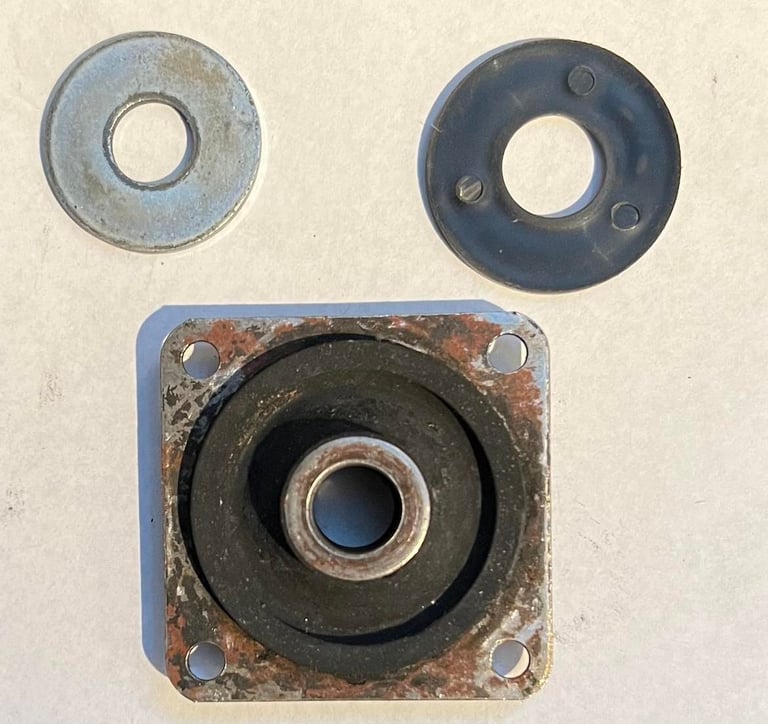
I use MoS2 grease to refurbish the rubber ring. This is probably not the "correct way" according to rubber specialists - but I think it will suffice! And that the creaking sound will disappear. Then the rubber ring and spacer is put back into the plastic container.
I use MoS2 grease to refurbish the rubber ring. This is probably not the "correct way" according to rubber specialists - but I think it will suffice! And that the creaking sound will disappear. Then the rubber ring and spacer is put back into the plastic container.
All parts are cleaned with luke warm soap water (and some isopropanol).
Interior and connectivity
In the Wico Commander Control there are no PCB. Instead, there are six leaf switches for the directions plus fire buttons - and a switch for selecting between the base and stick fire button. The leaf switches looks ok, but there are signs of oxidation. So, all switches are cleaned as good as possible with a combination of isopropanol and a glass fibre pen.
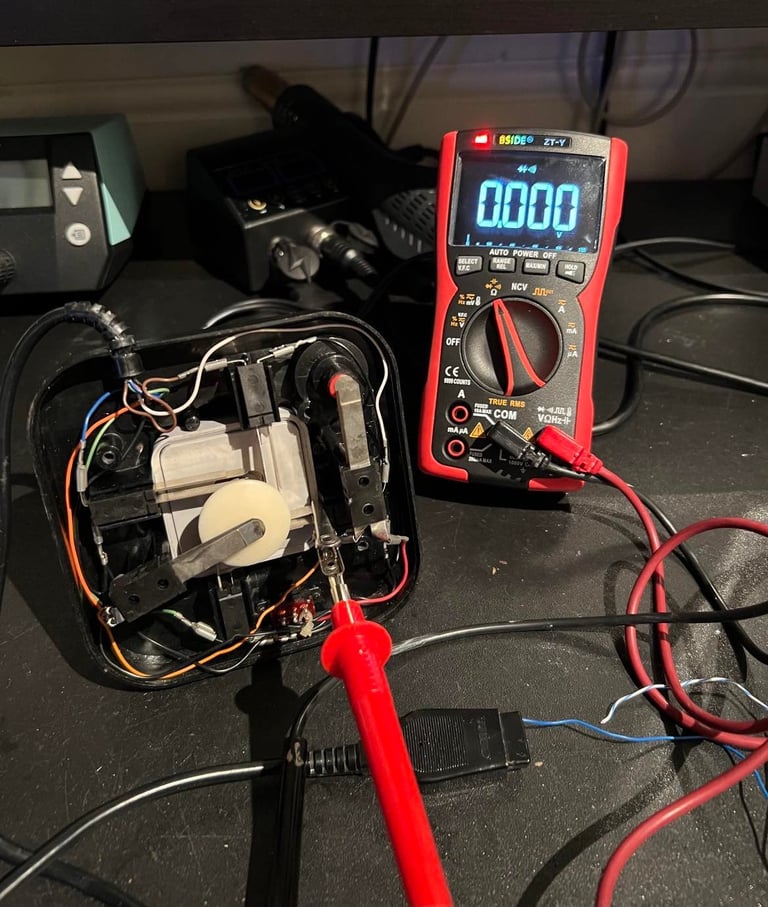
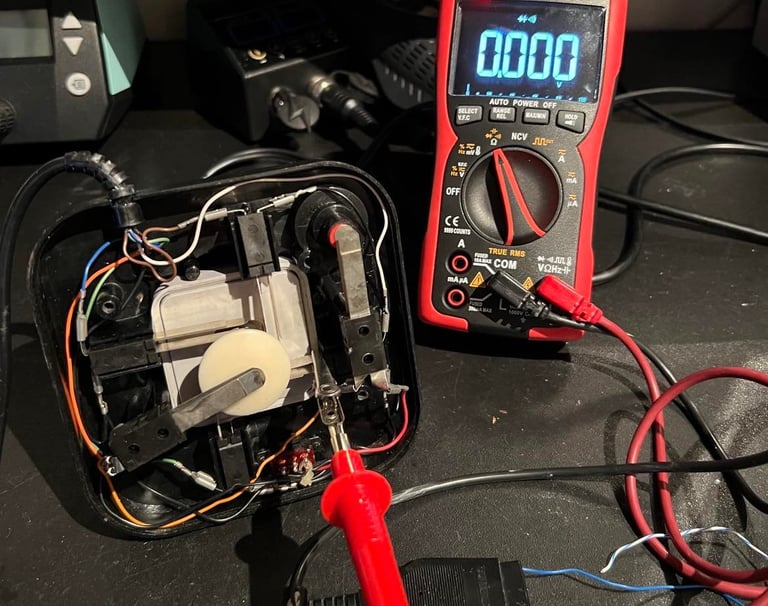
The cable and connector is checked for connectivity. Each wire in the cable is tested with a multimeter - it is wise to check that all wires are ok in regards of connectivity. In this joystick there are six wires in use; UP/DOWN/RIGHT/LEFT/FIRE/GROUND. All of them are tested ok with multimeter while the cable is twisted and turned. Also, the switch for selecting between the BASE/STICK is also functioning as it should. This button works by connecting the GROUND to either the BASE og STICK fire button.
Below is a picture of the joystick pinout (seen from the C64 side - so it needs s to be mirrored if you see it from the connector side).

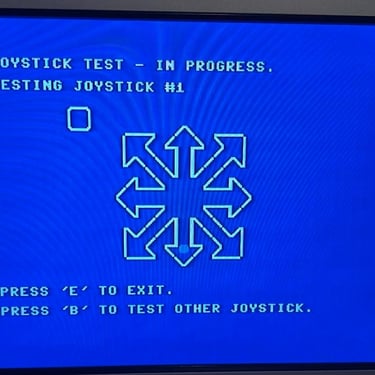
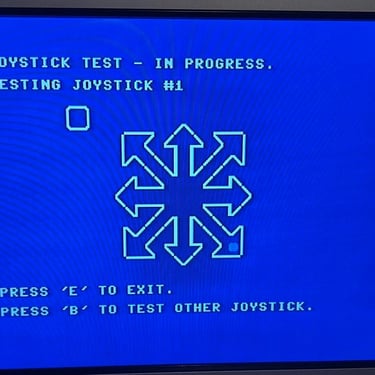
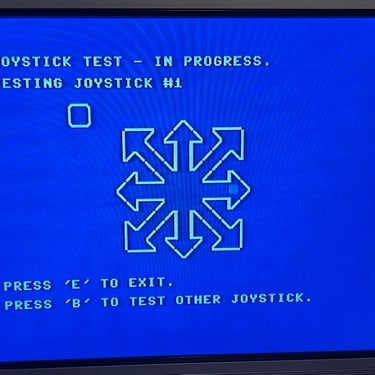
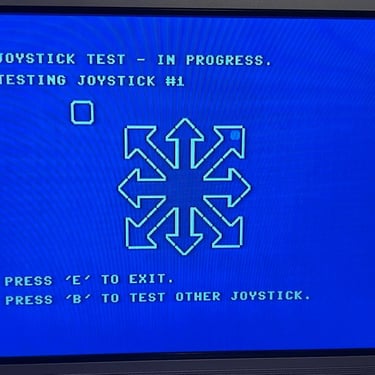
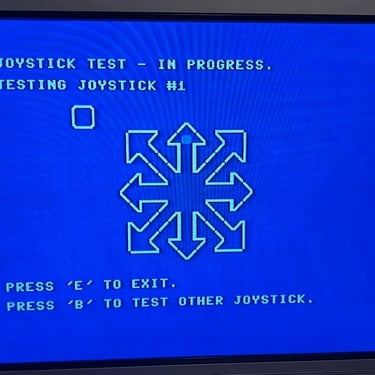
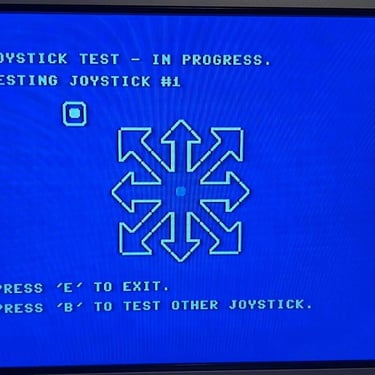
A picture from the testing below.
Testing
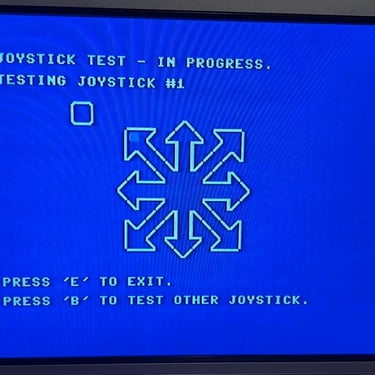
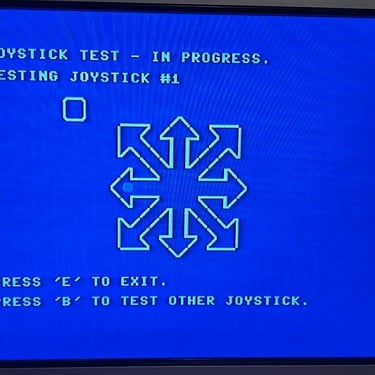
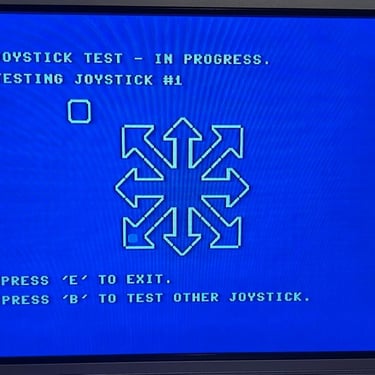
To verify that the joystick works as it should the 64 Doctor software running on a Commodore 64 is used. This software is good because it is very easy to verify that all directions (including combined directions such as UP/RIGHT) are checked. And also the fire button(s) are checked and verified. Below is a gallery of pictures from the testing showing that all directions works as they should.
Final result
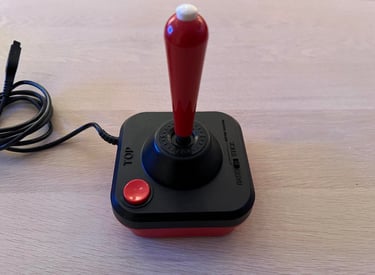
"A picture worth a thousand words"
Below is a collection of the final result from the refurbishment of this Wico Commander Control joystick. Hope you like it! Click to enlarge!


Banner picture credits: bLAZER76