

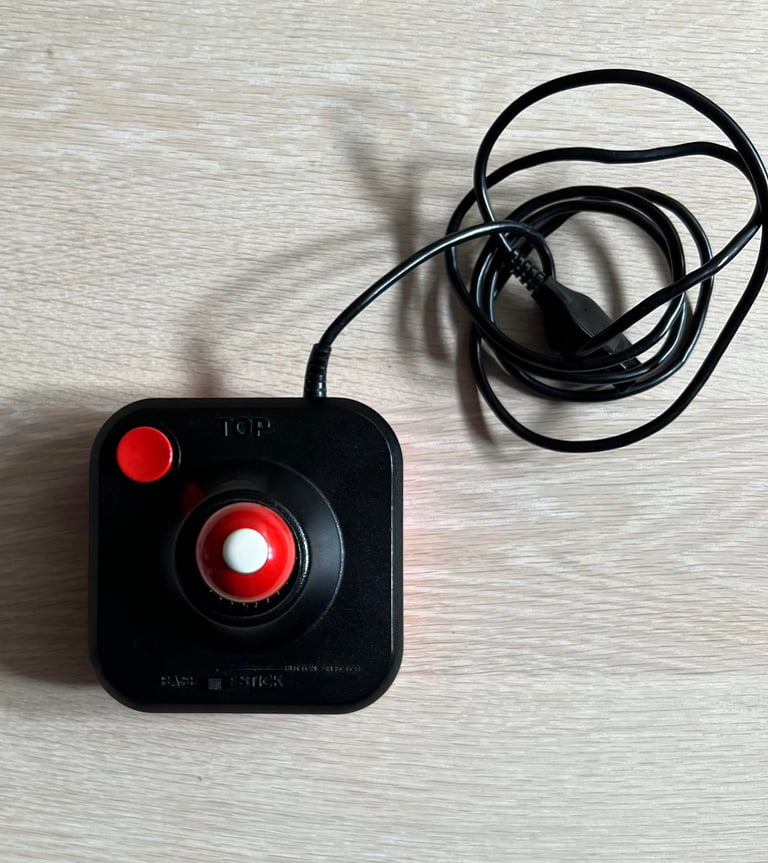
Wico
Command control
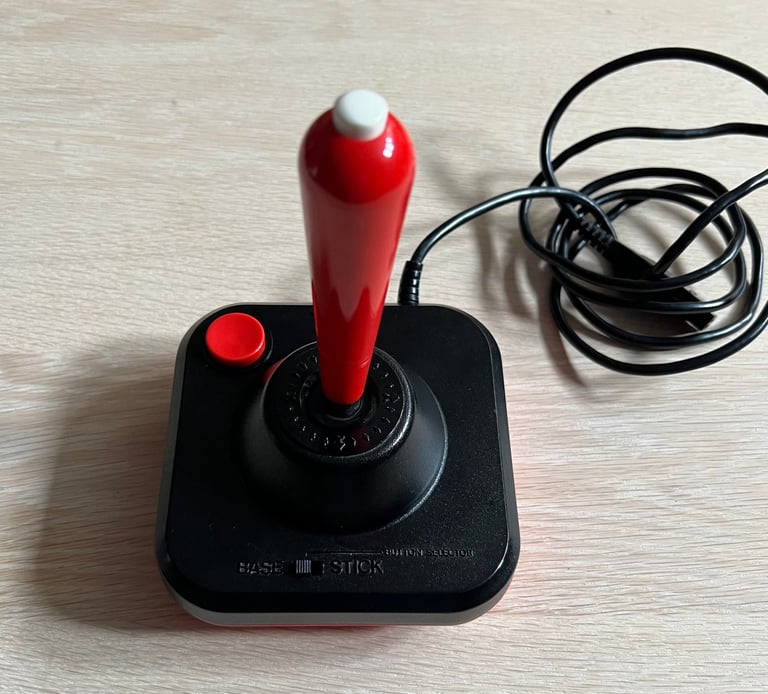
Starting point
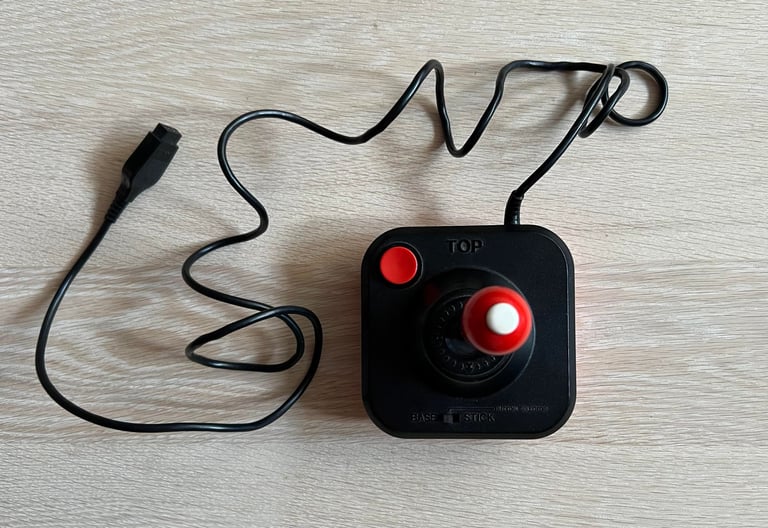
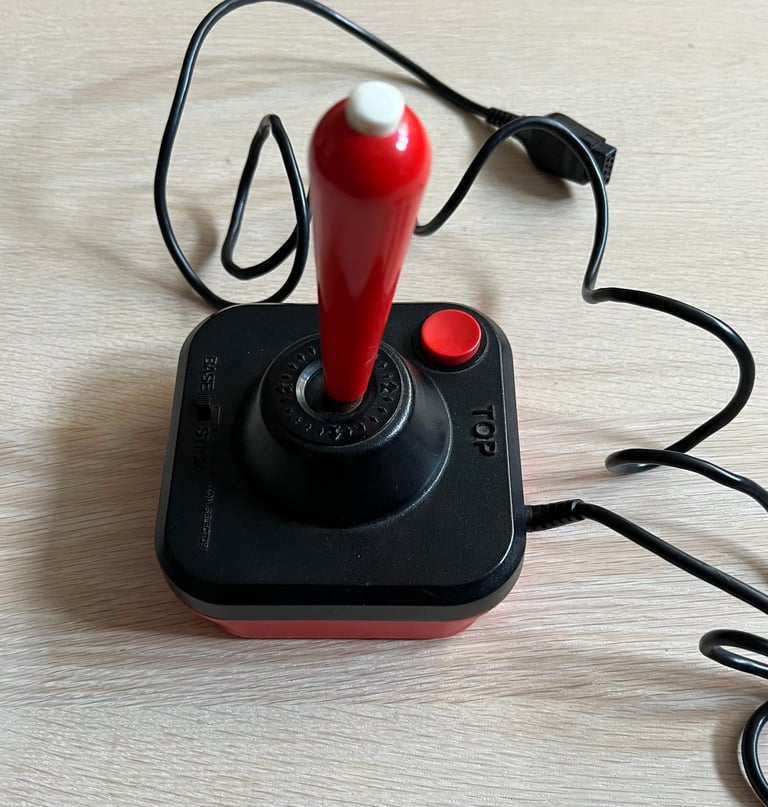
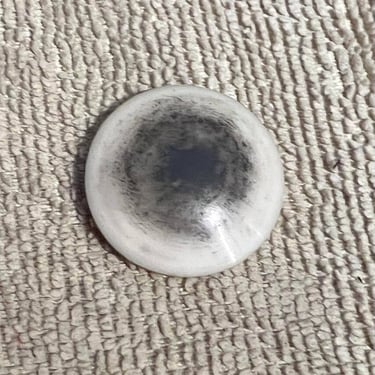
This is a "classic" Wico Command control joystick. Not in the sense that it is a good quality joystick, but the joystick handle/shaft is not in an upright position. This happens quite often on these joysticks. I guess the reason is that the joystick is stored away in a box for years and that the joystick is not stored in an upright position. The rubber gasket/grommet inside the joystick dry out while the shaft is in a non-upright position. But lets see how severe it is and maybe it can be fixed (or improved).
Further on, there is a rattling noise inside it (?) and the shaft seems to be stuck. So something weird is happening inside this joystick.
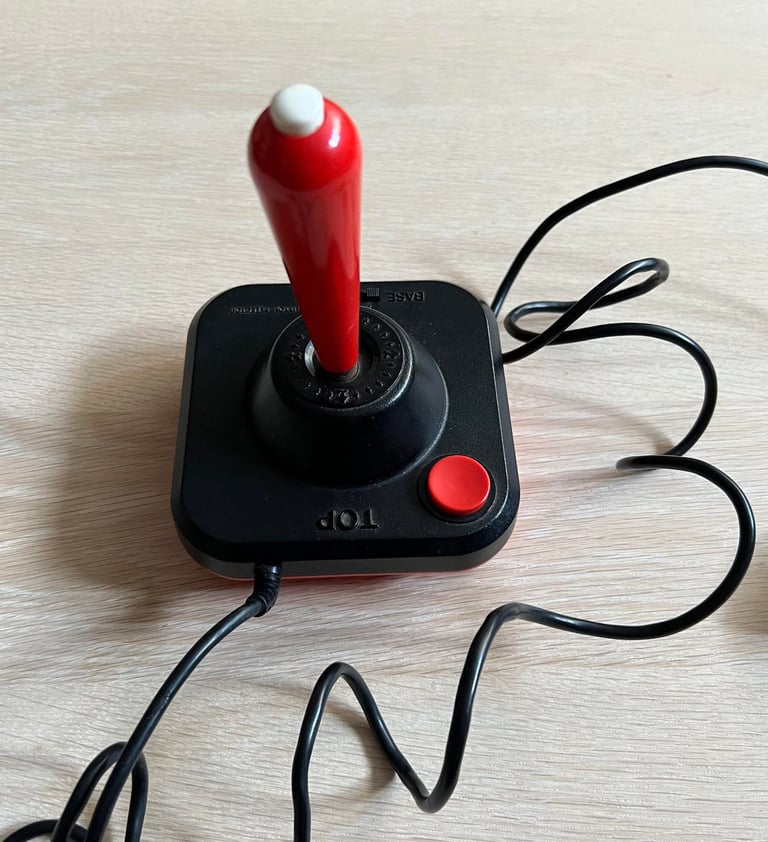
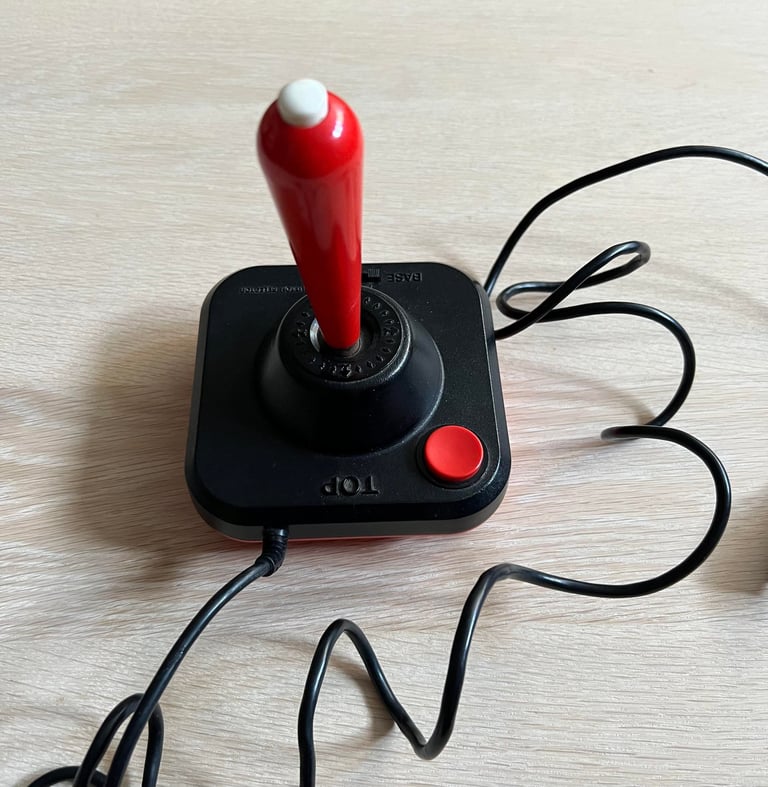
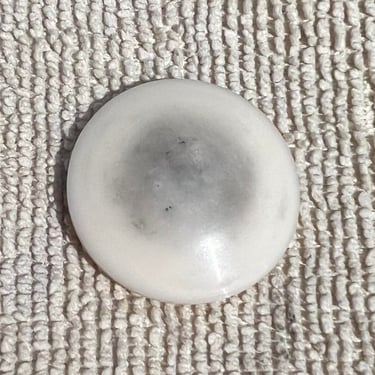
From the outside the joystick looks to be in very good condition. I can not see any damage to it - only dirt and grease.

Refurbishment plan
To refurbish this joystick the plan is to do this trough the following steps:
- Clean, and remove stains from, chassis and all parts
- Try to repair the rubber gasket/grommet - if not try to order a new one
- Clean the interior / leaf switches
- Check connectivity
- Verify joystick operation by testing
I also found this site on www which was very interesting: refurbishment of a Wico Command Controller.
Exterior casing and internal mechanical parts
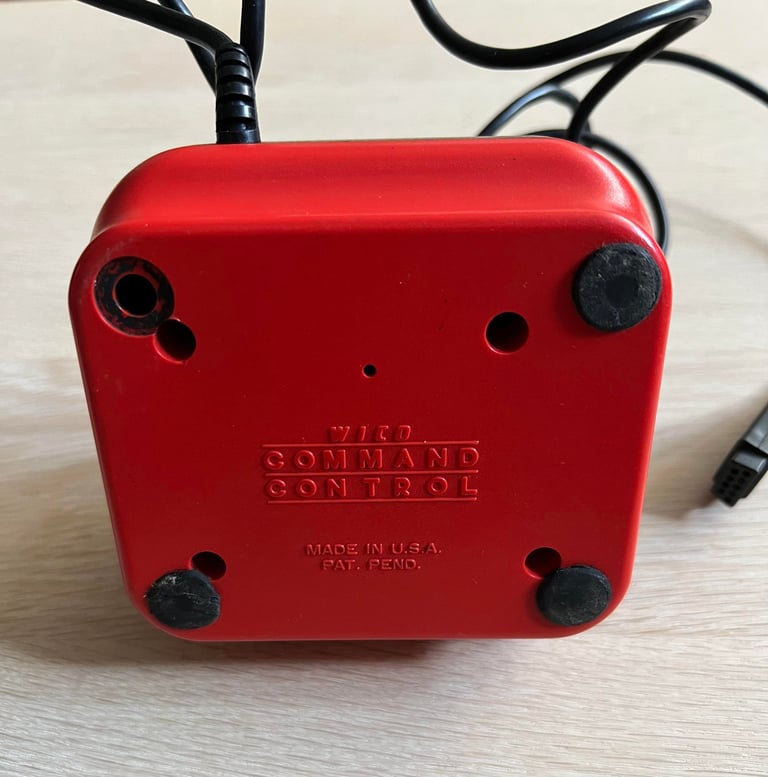
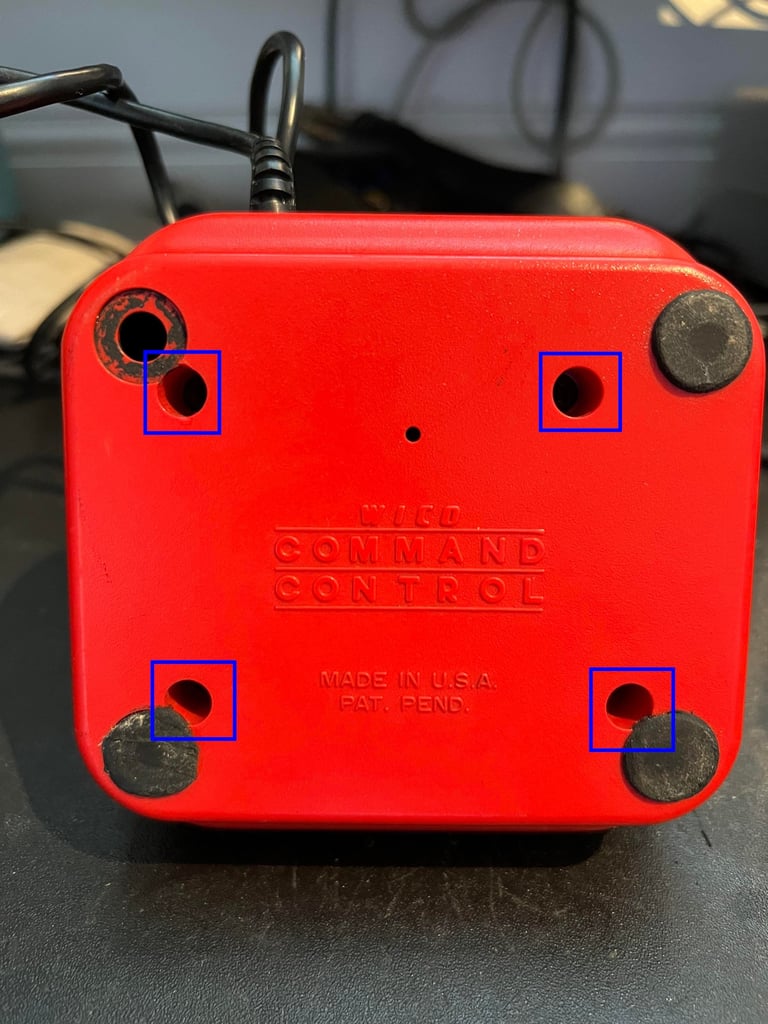
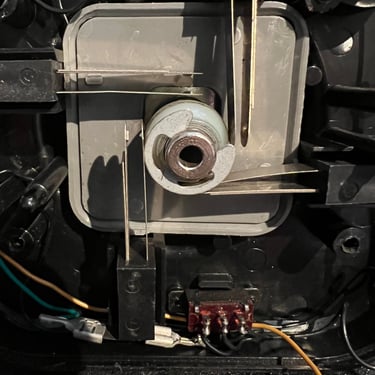
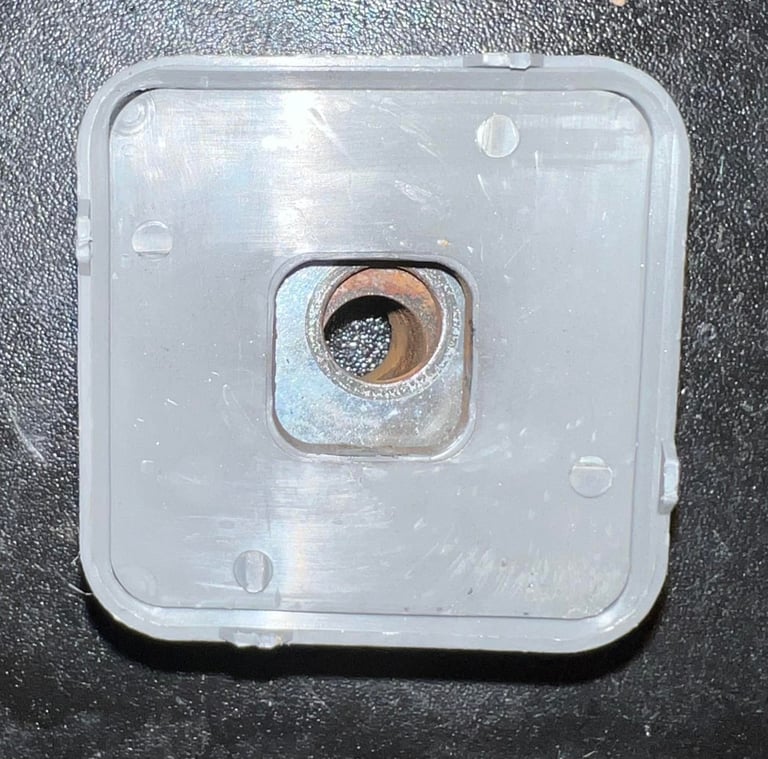
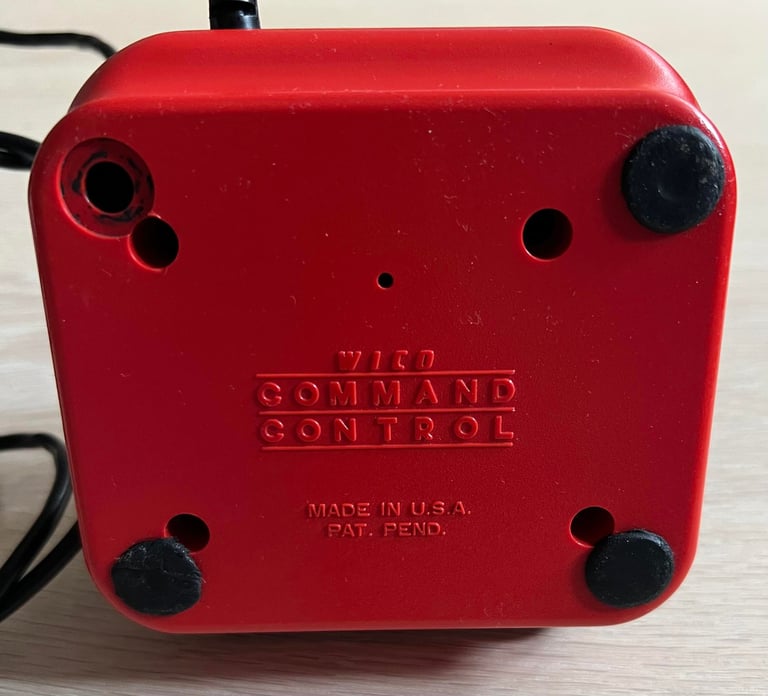
The Wico Command control consists of several parts - but the main body consists of a top and bottom cover. So to disassemble these first the four screws at the bottom are removed (blue squares). Now I notice that on of the rubber feets are missing... I wonder if this could be related to the rattling sound...
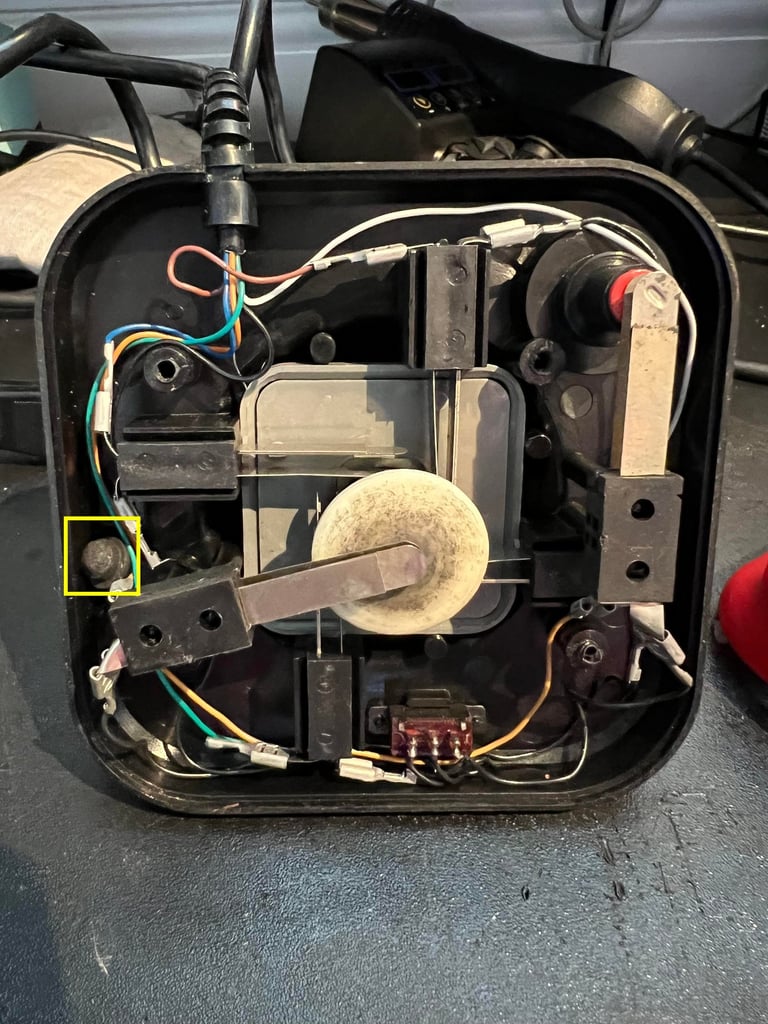
This reveals the inside of the joystick. With the exception of the worn out grommet it looks to be in ok condition. There is some dirt, and the leaf switches looks a bit oxidized. But all-in-all quite good. And I find the culprit who made the rattling sound - a part of the old rubber feed is stuck inside (yellow square).
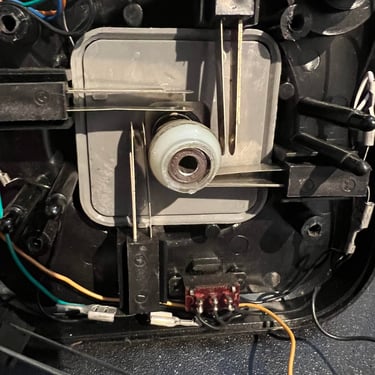
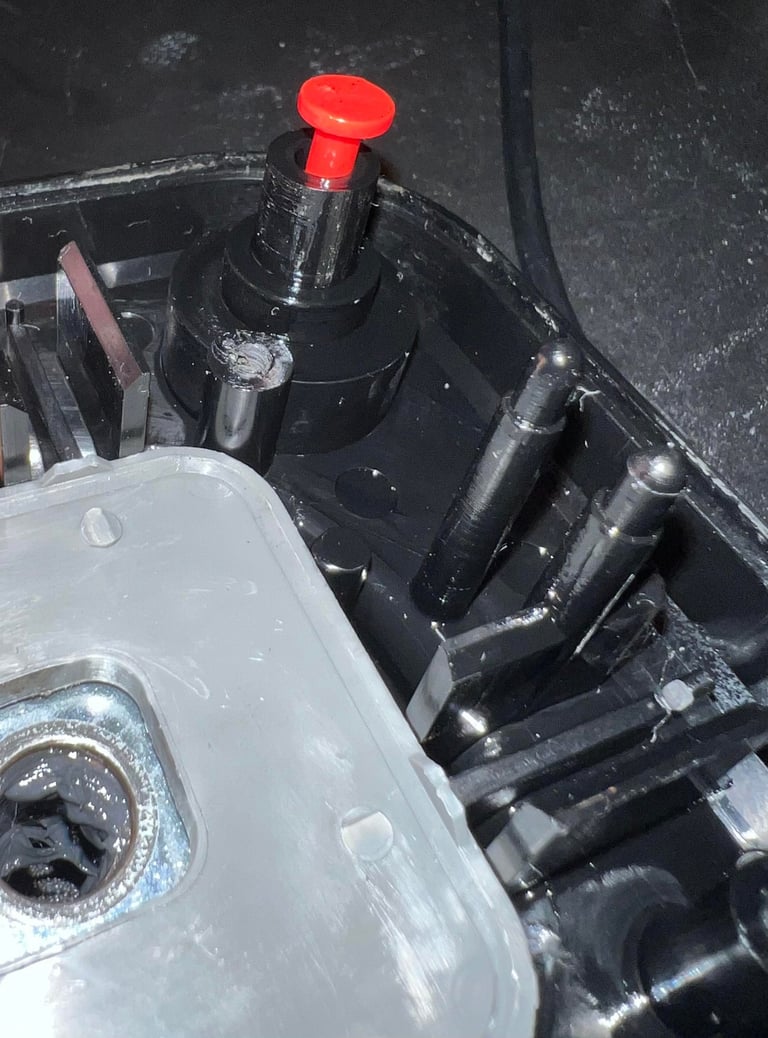
Next step is to remove the two fire button leaf switches. By carefully wiggling these they will come off (note that the plastic is pushing 40 years so it can be brittle).
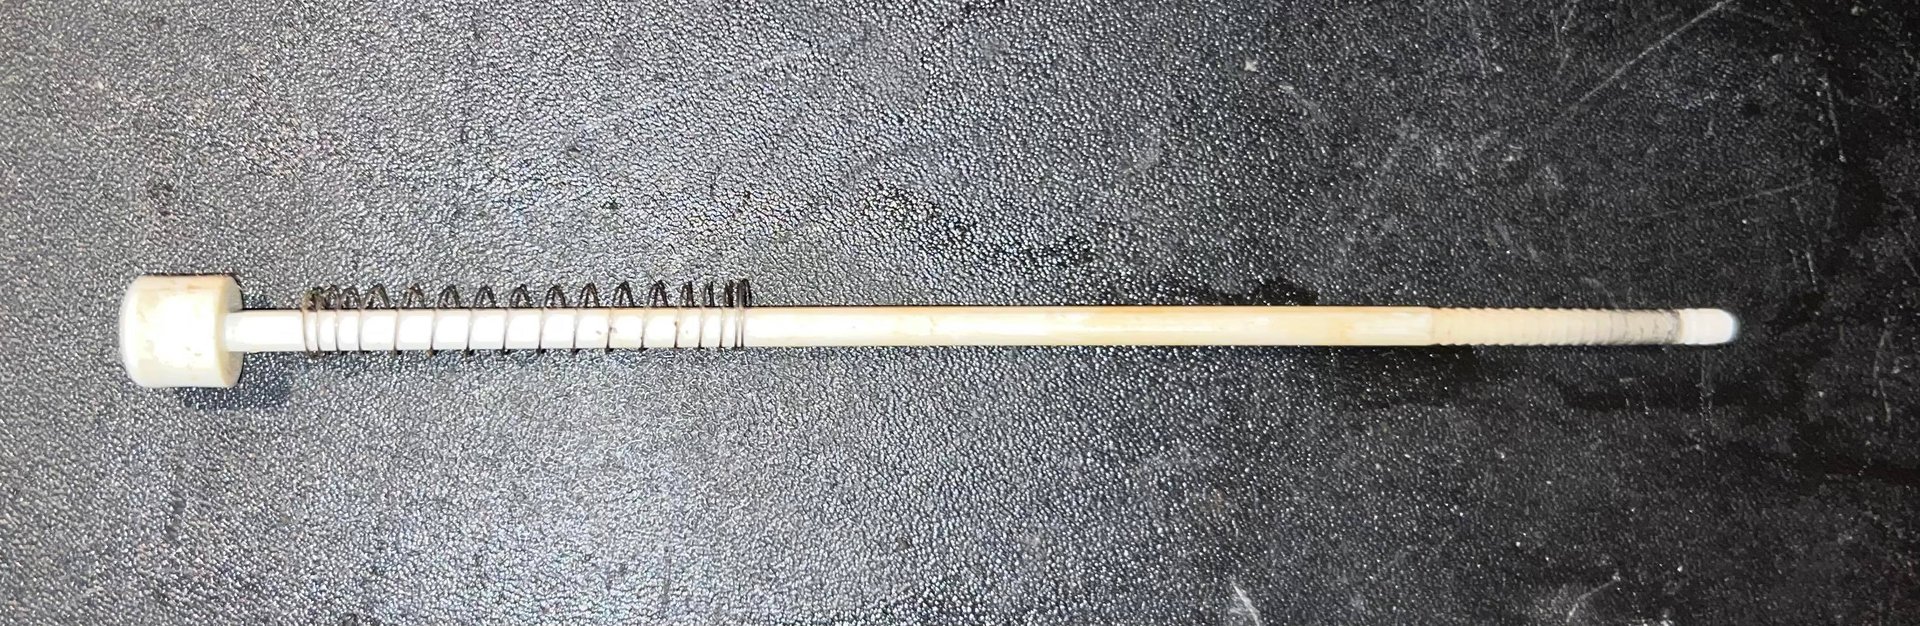
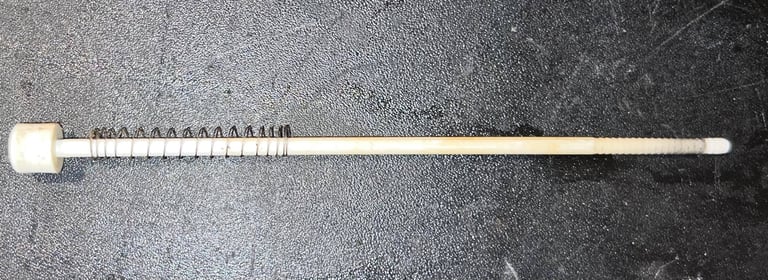
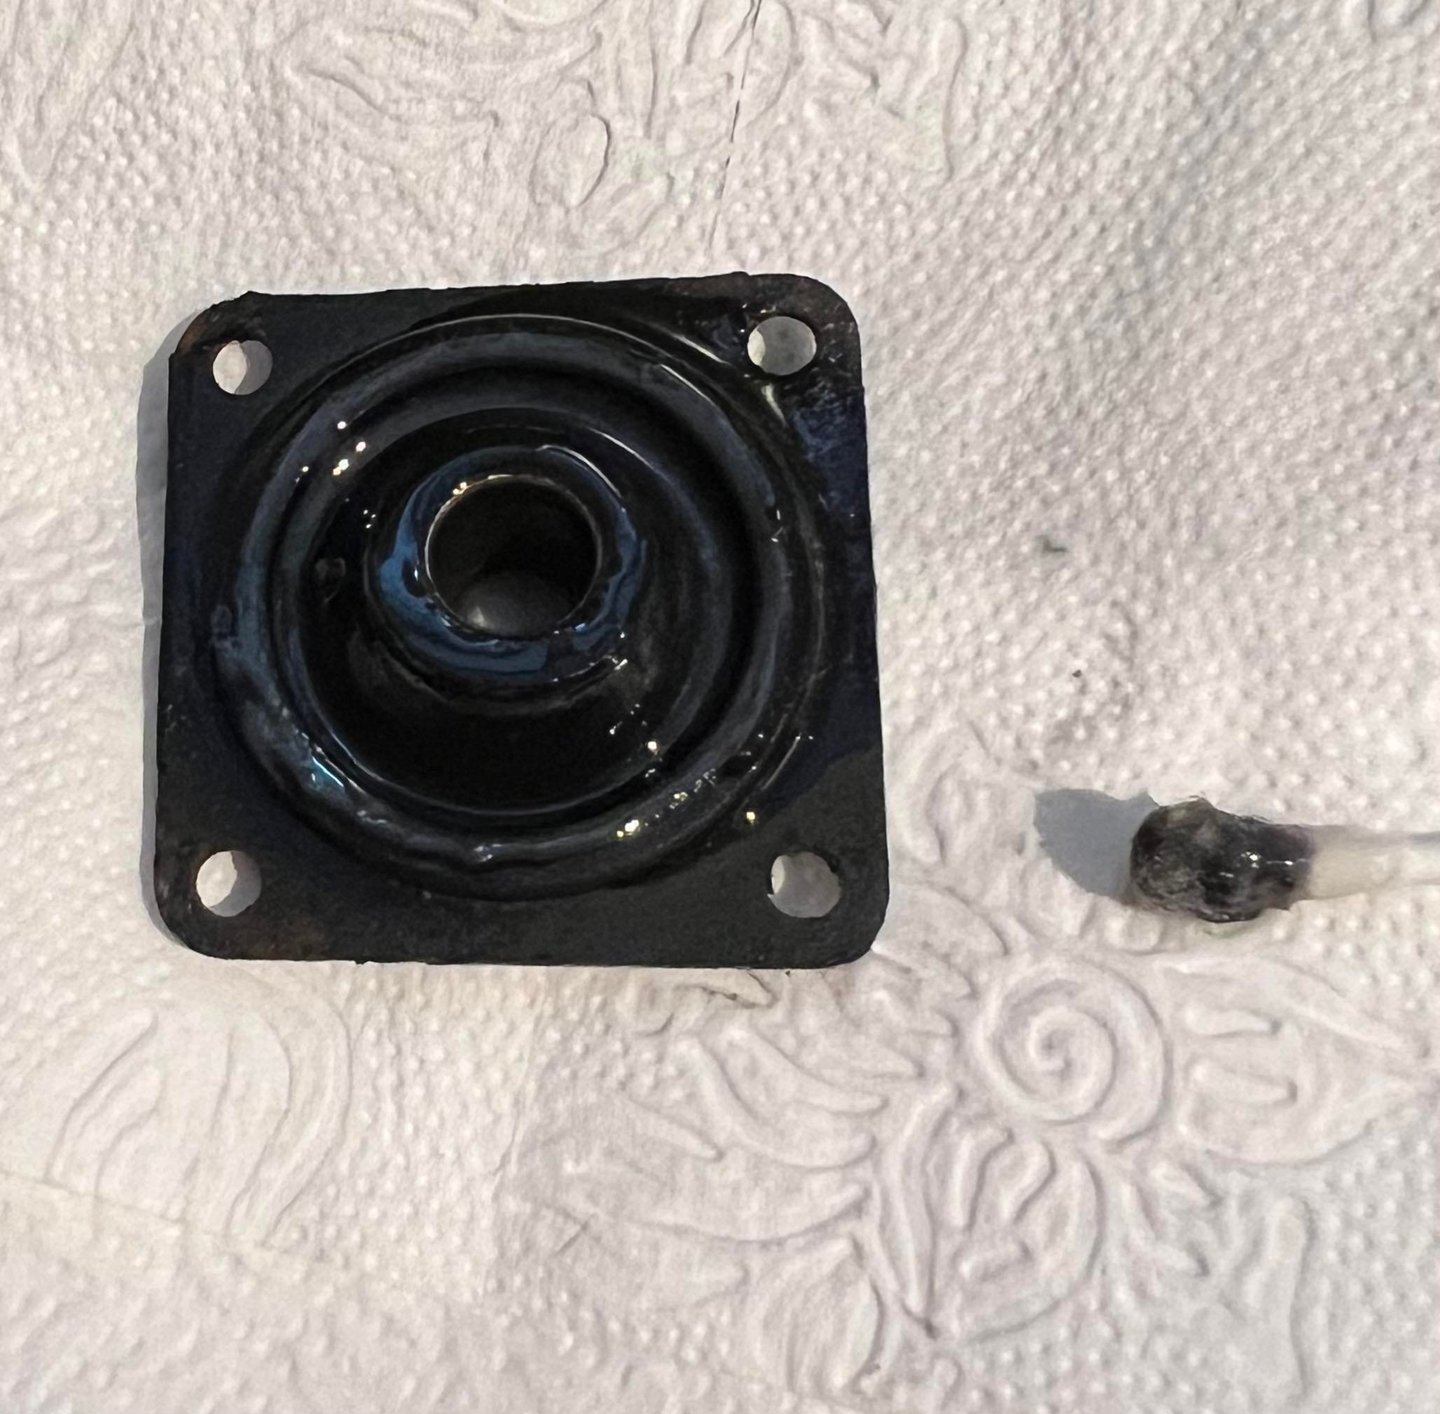
The large (circular coned) plastic plate is removed. Note that this can be quite stuck so you need to be careful not to brake the thin plastic shaft which it is connected to. When the plastic plate is removed the e-clip, spacer and spring is removed. See picture gallery below.
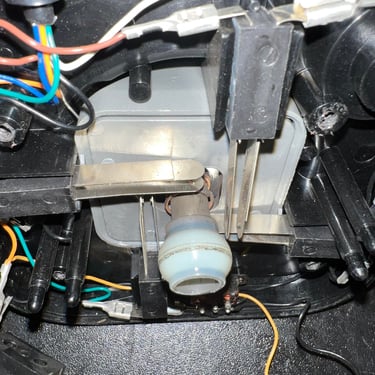
Joystick shaft can now be removed by gently twisting and turning it out of the grey box.

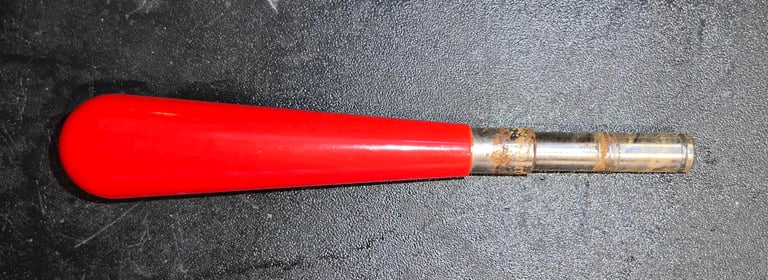
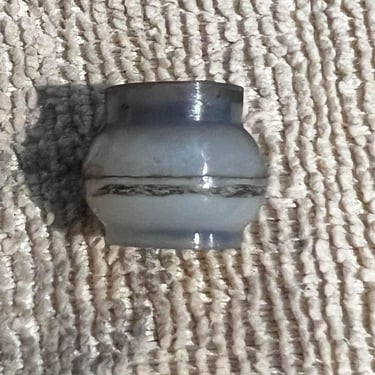
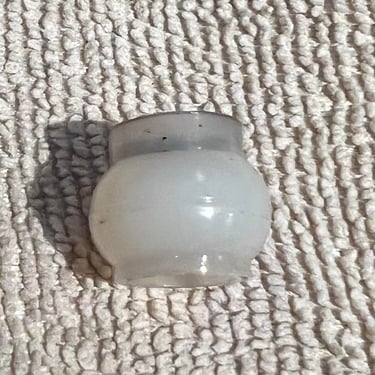
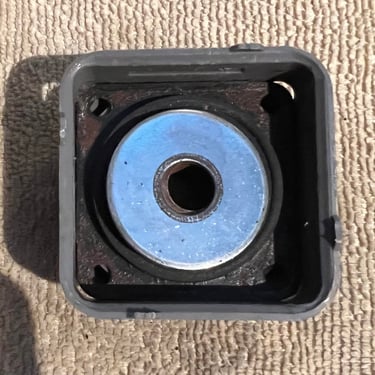
The box which contains the grommet/gasket is pulled out (the directional leaf switches are removed first).

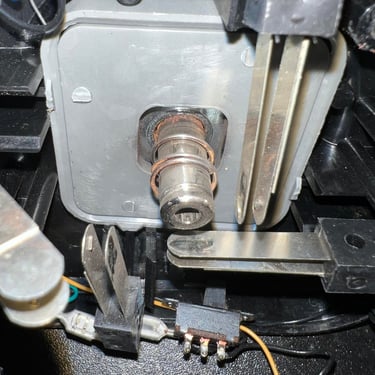
All parts are cleaned individually with isopropanol. The rubber gasket/grommet is lubricated with some MoS2 grease and silicon spray also. There is a small rip in the rubber gasket which would imply that the joystick shaft will probably not be well-centered without a new grommet. These new grommets can be hard to obtain, but I will check that later. It could be that the old grommet suffices. Below is a small gallery from cleaning some of the parts.
A new grommet would be the best. But, unfortunately these are hard to obtain. I did find a US webshop which had replacements at a reasonable price (about $10), but they did not ship to Europe without a shipment partner. Even if it is free to register for some of these, the cost of shipment would be around $20 or more. And a total cost of $30 for a grommet? Hm, I don´t think its worth it. So I will try to stick with the old grommet and see if I can make the best of it.
I choose to try the method of:
Lubricate the rubber with a good coctail of MoS2 grease and silicon spray
When the joystick is re-assembled for the position of the shaft in a fixed upright postion for a week
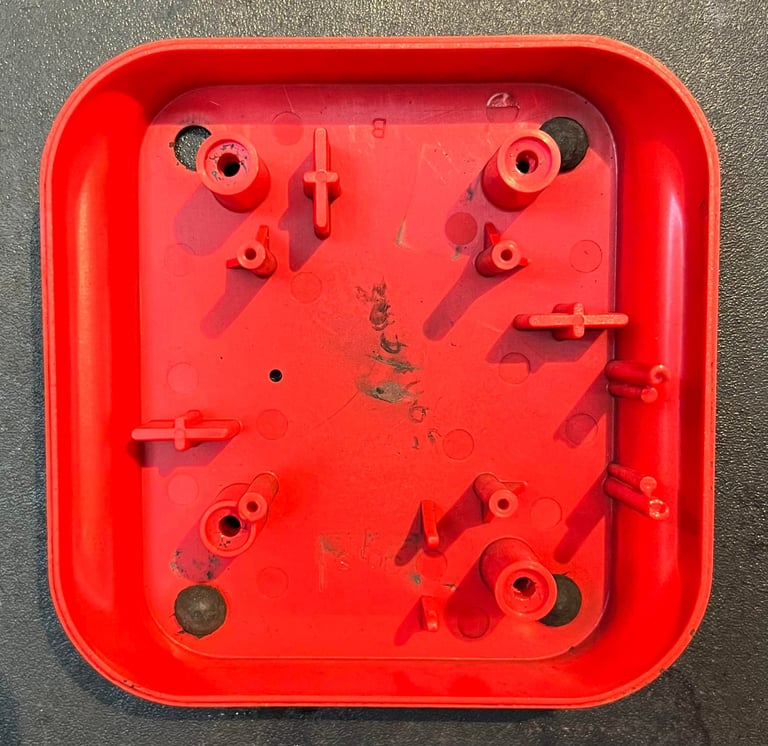
The top- and bottom cover looks very good after cleaning. Almost like brand new. One of the rubber feets are missing, but that is something that can be fixed later.


Also the fire button is lubricated by using some silicon spray - holding the button while spraying into the hole.

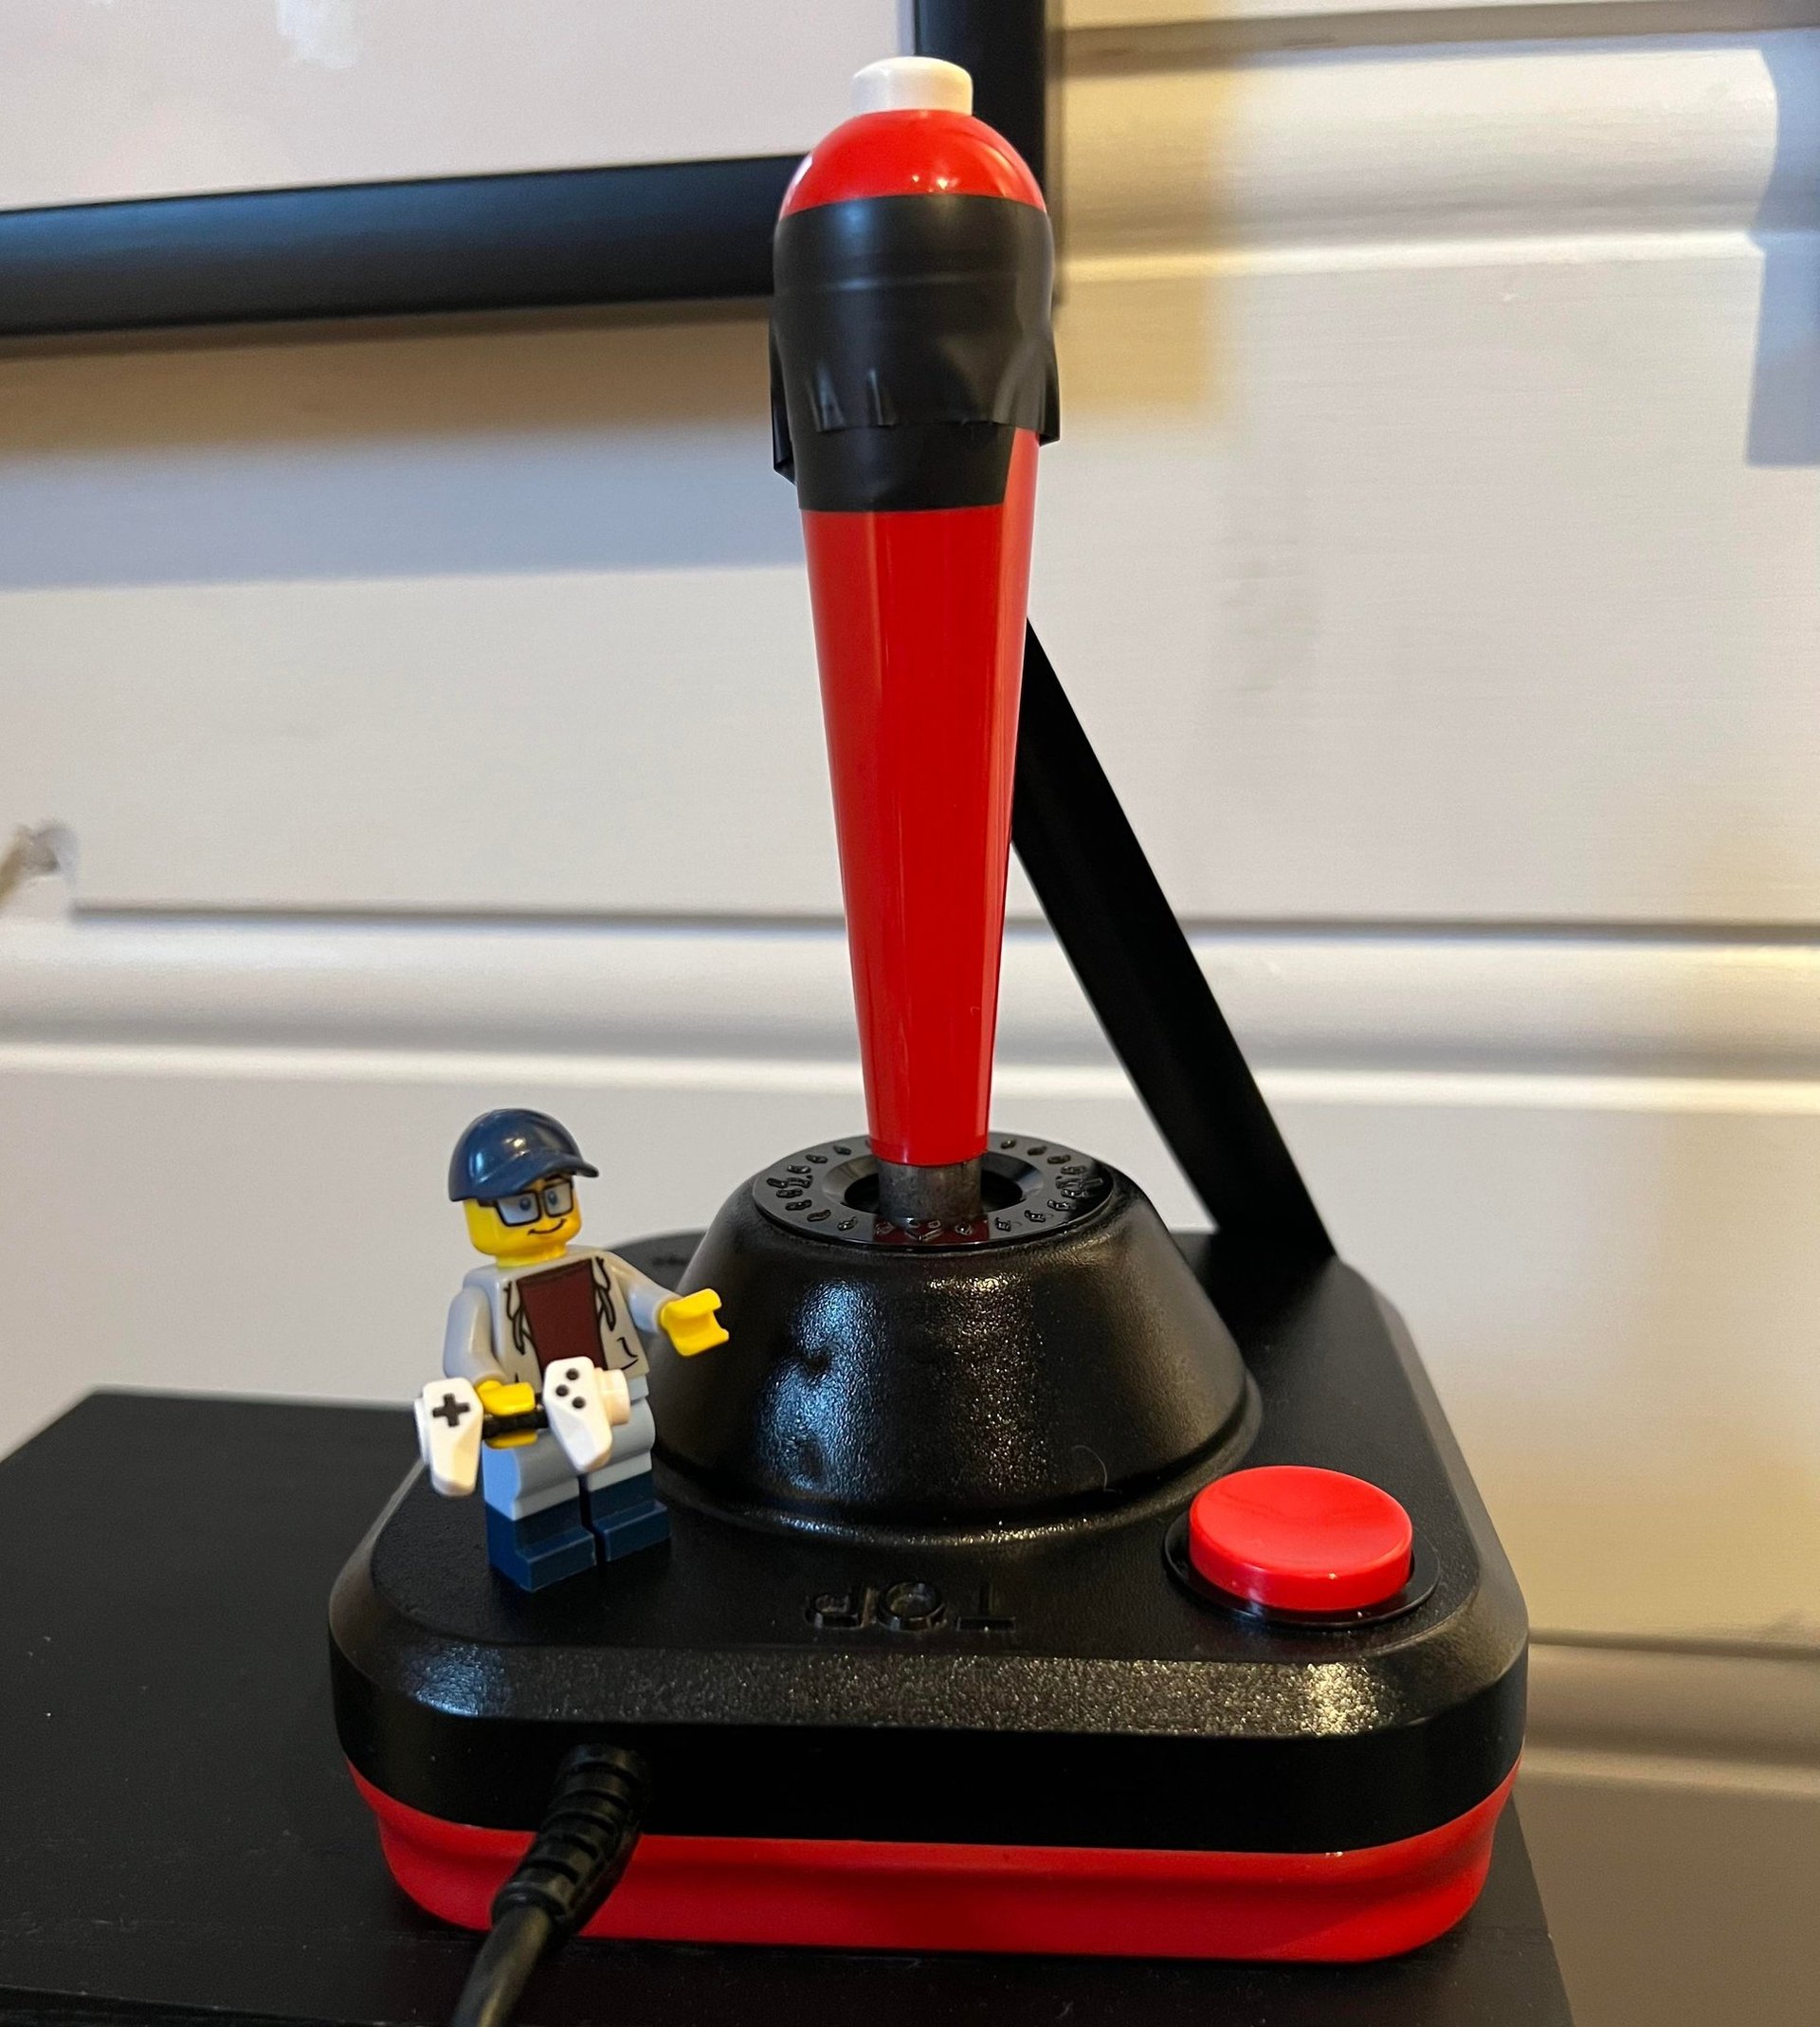
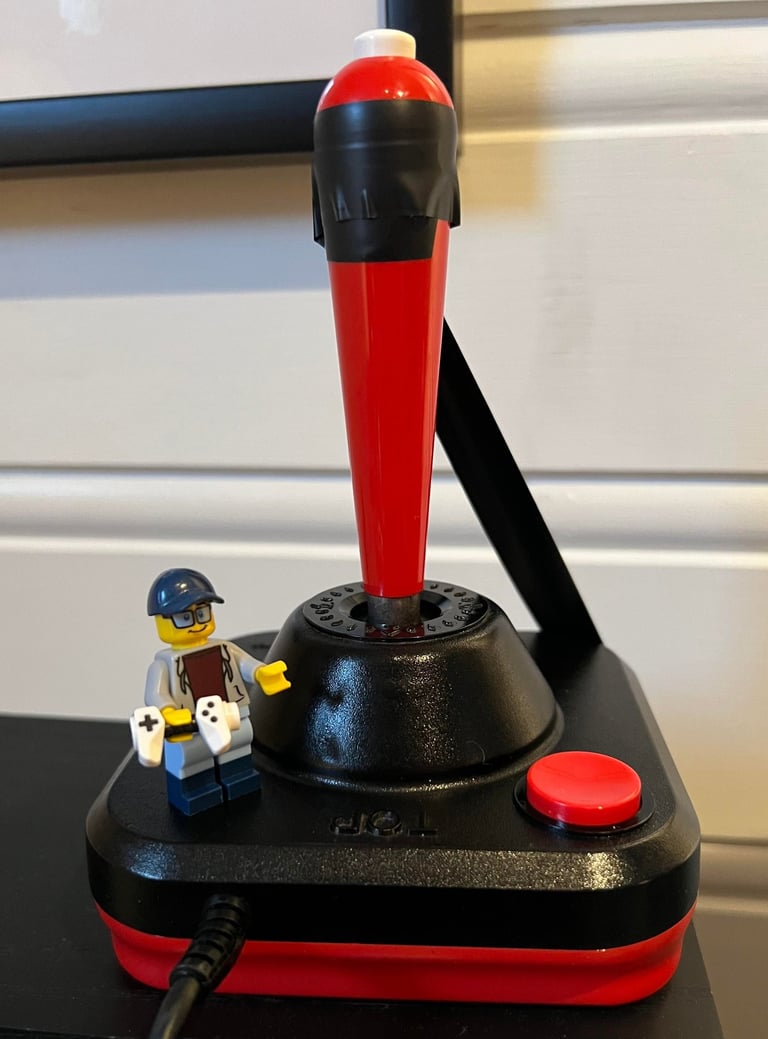
After cleaning (and checking the interior electronics - see next chapter) the joystick is assembled and the shaft is fixed in an upright position for a week or so. The small LEGO figure will watch over it!
Interior - electrical
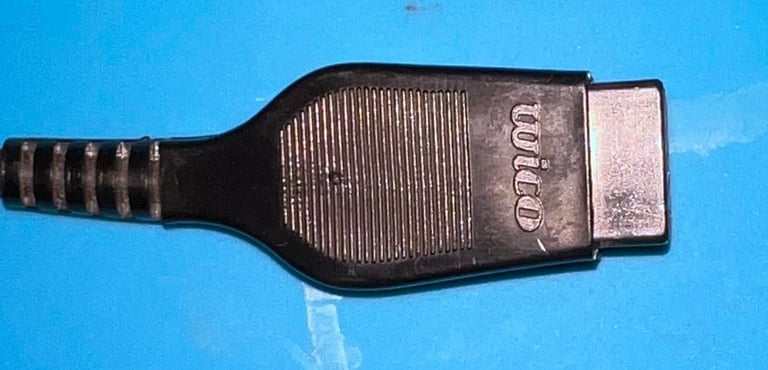
Before I check the interior, from an electrical perspective, I notice that the joystick connector has a "WICO" logo etched into the plastic. Supercool!
Wico Command Control joystick use only leaf switches - no microswitches. Leaf switches are easy to maintain and can last a lifetime if taken care of. Maintenance is done by removing oxidation/corrosion (e.g. by glassfibre pen and contact cleaner). And if they are bent they sometimes needs minor adjustment.
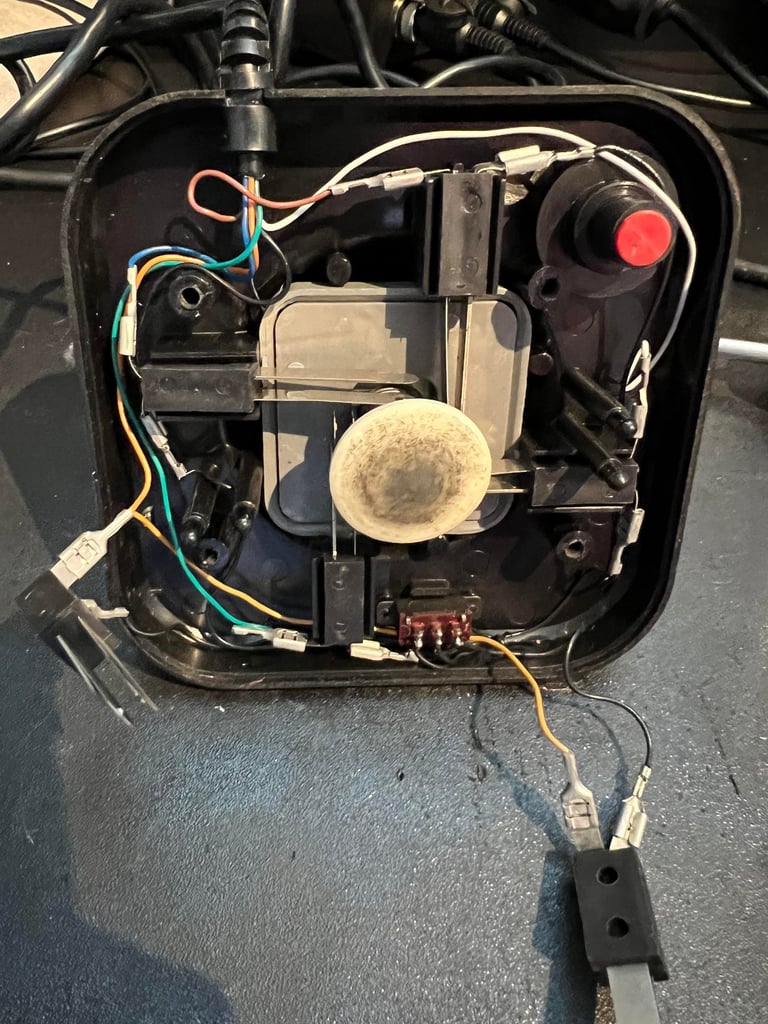
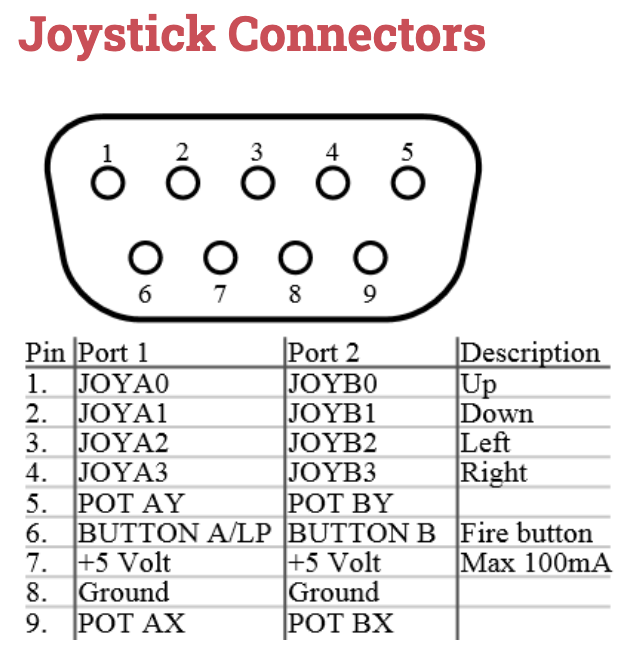
In this joystick all the leaf switches are in good condition. They are cleaned with electro cleaner anyhow. Then the connectivity is checked for all the six wires used in the joystick (UP/DOWN/RIGHT/LEFT/FIRE/GND). In the schematics below the pinout is shown (seen from the Commodore 64).
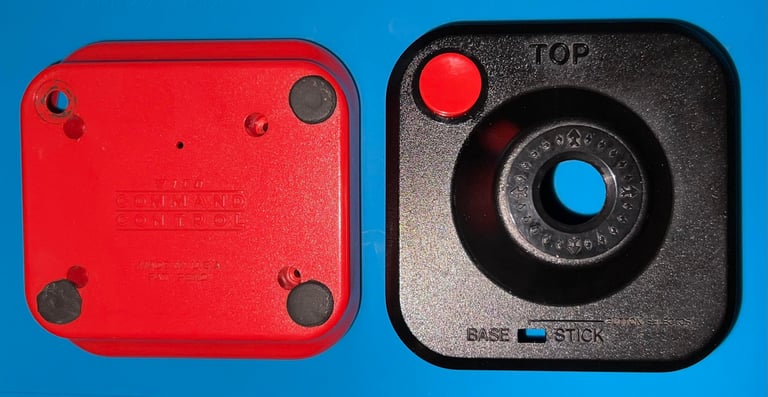
There is a also a small switch on this joystick to select between BASE and STICK. Internally this is done by connecting/disconnecting the ground (GND) to either the base- or stick firebutton.
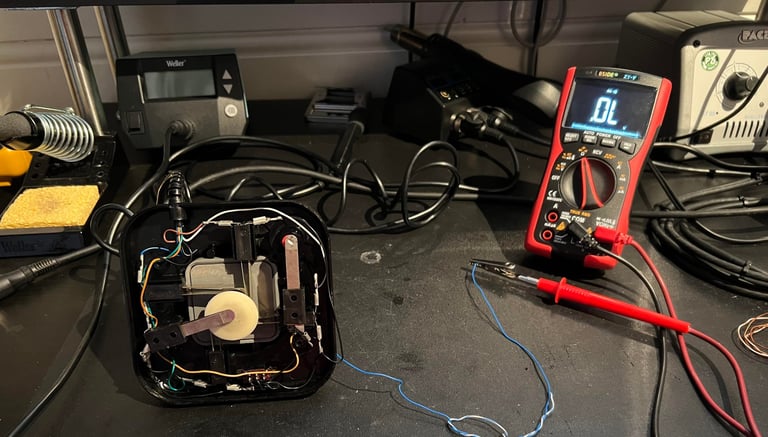
Testing the interior shows that all connections works just fine. Below is a picture from the testing.


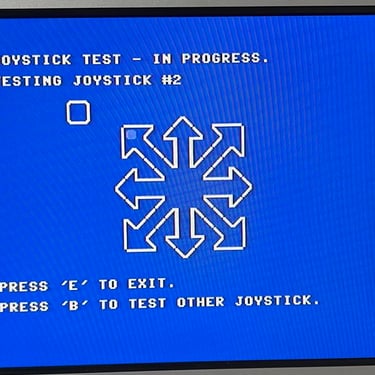
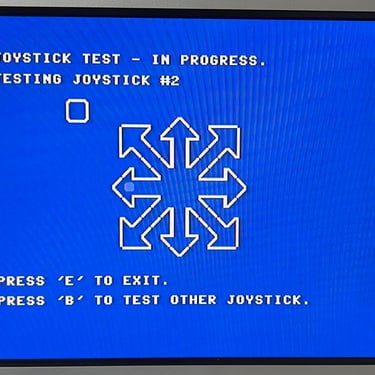
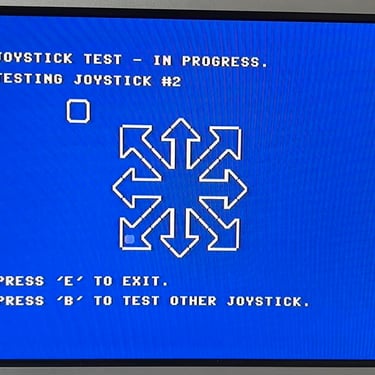
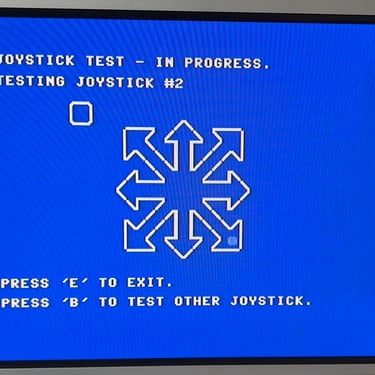
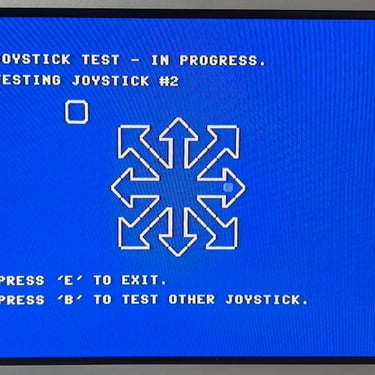
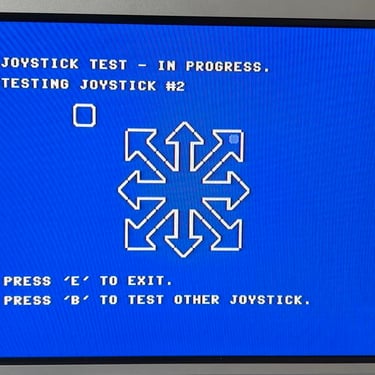
Testing
To verify that the joystick works as it should the 64 Doctor software running on a Commodore 64 is used. This software is good because it is very easy to verify that all directions (including combined directions such as UP/RIGHT) are checked. And also the fire button(s) are checked and verified. Below is a gallery of pictures from the testing showing that all directions works as they should.


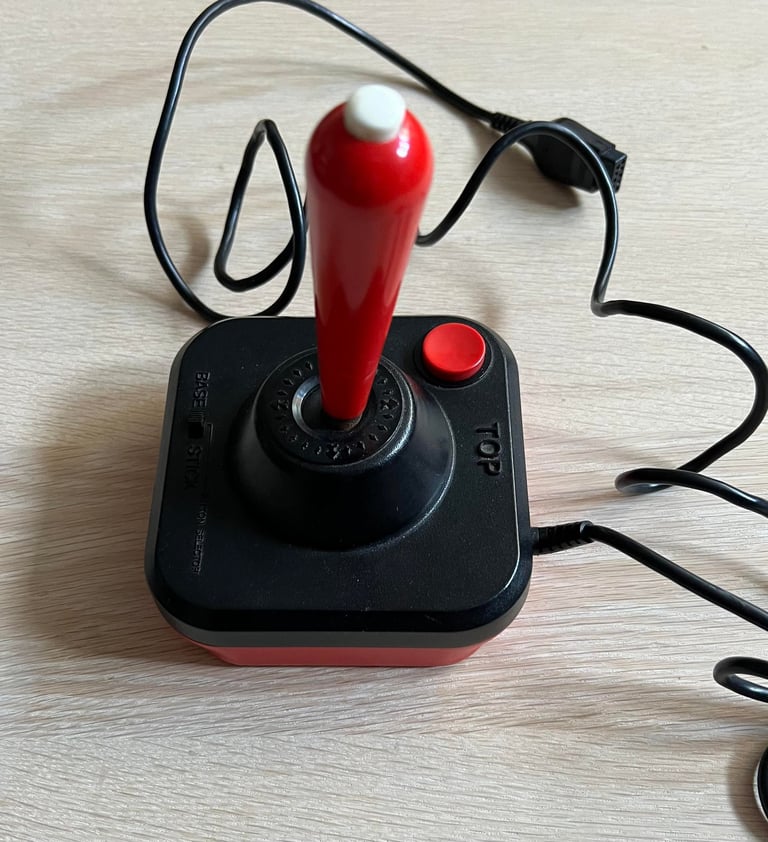
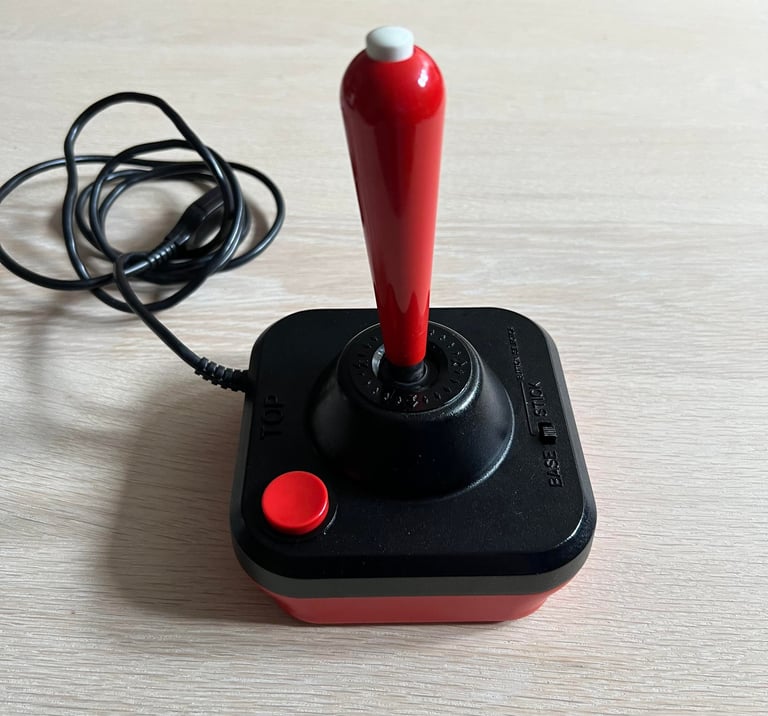
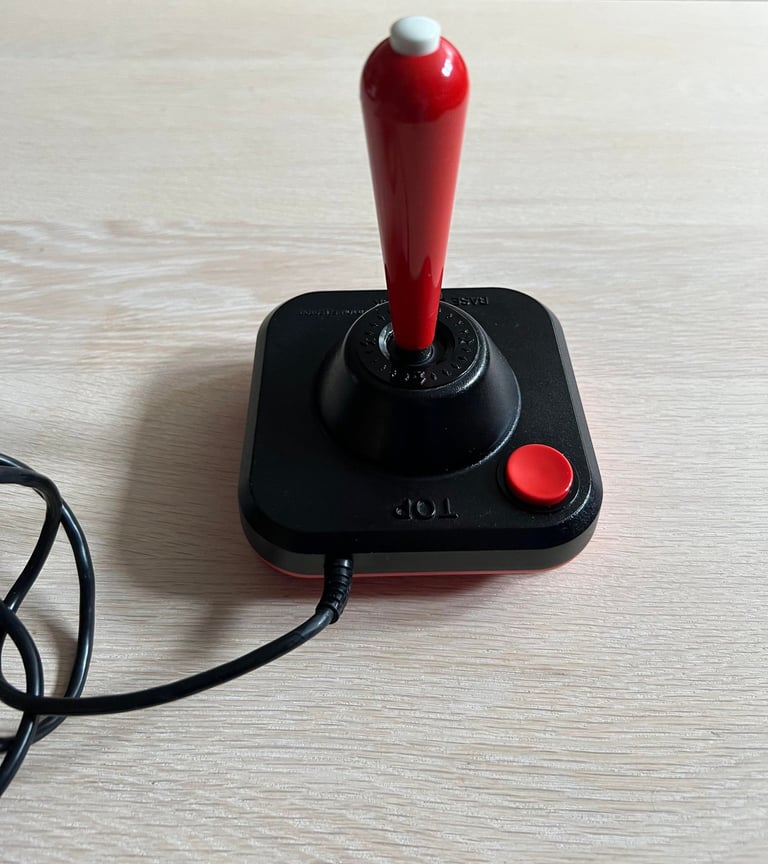
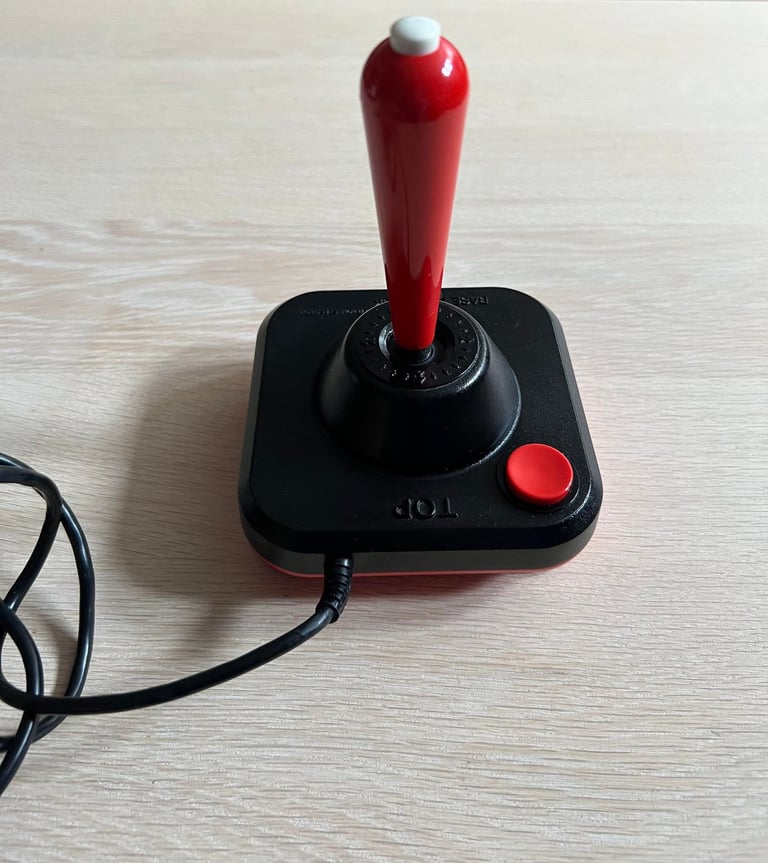
Final result
"A picture worth a thousand words"
Below is a collection of the final result from the refurbishment of this Wico Commander Control joystick. Hope you like it! Click to enlarge!


Banner picture credits: bLAZER76