
Wico
Computer Command
Starting point
Wico was a U.S. company, probably most known from the pinball- and arcade area as a parts supplier. But they also made a range of quality joysticks for the 8-bit era, and as far as I know they are famous for using a very rugged rubber grommet (holding the shaft in place) and leaf switches.
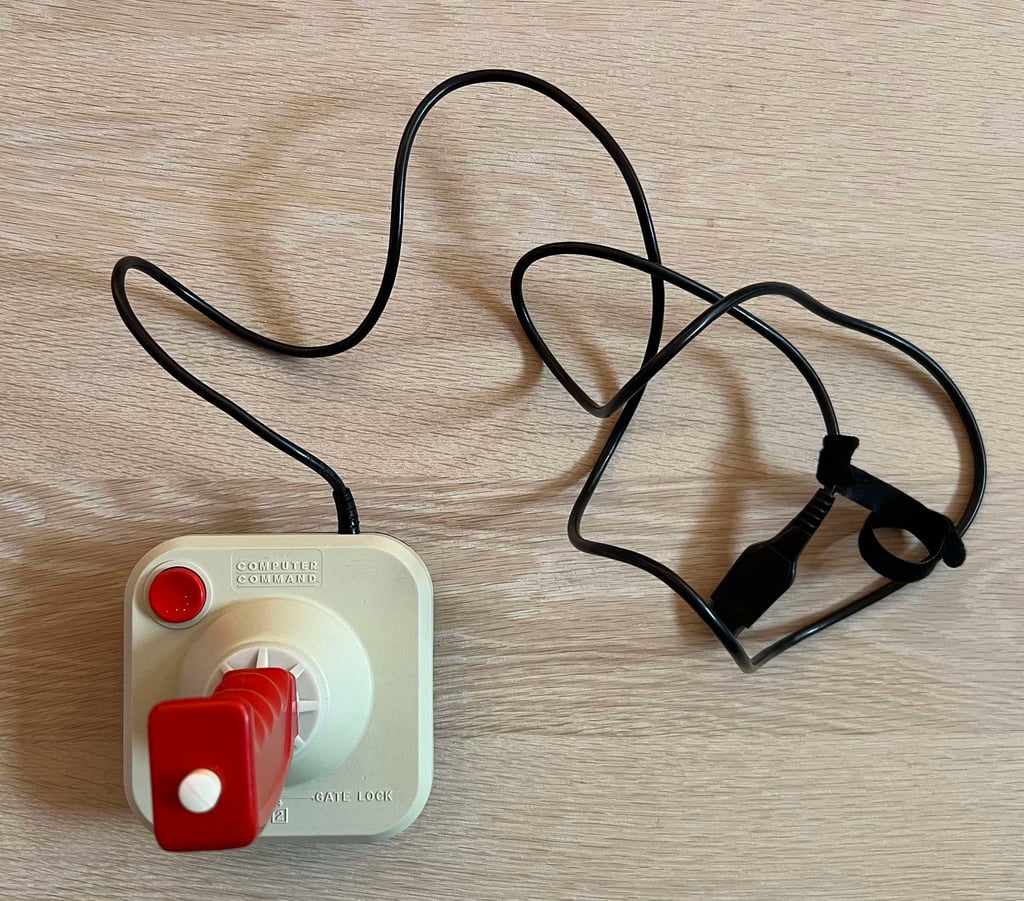
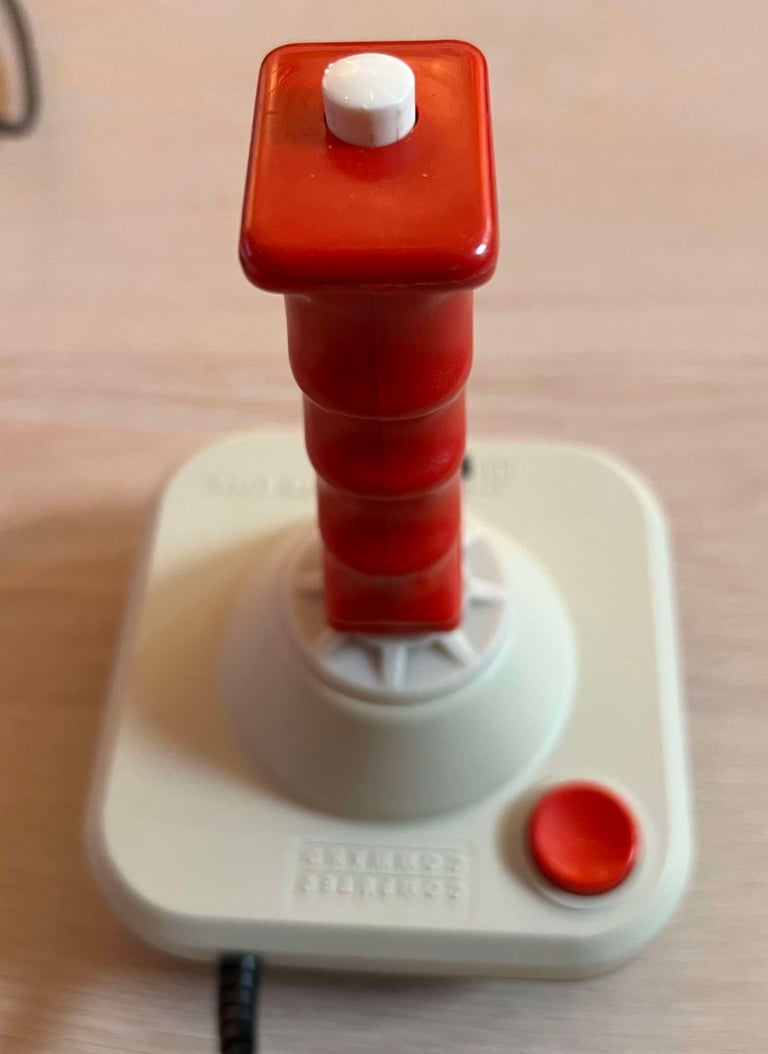
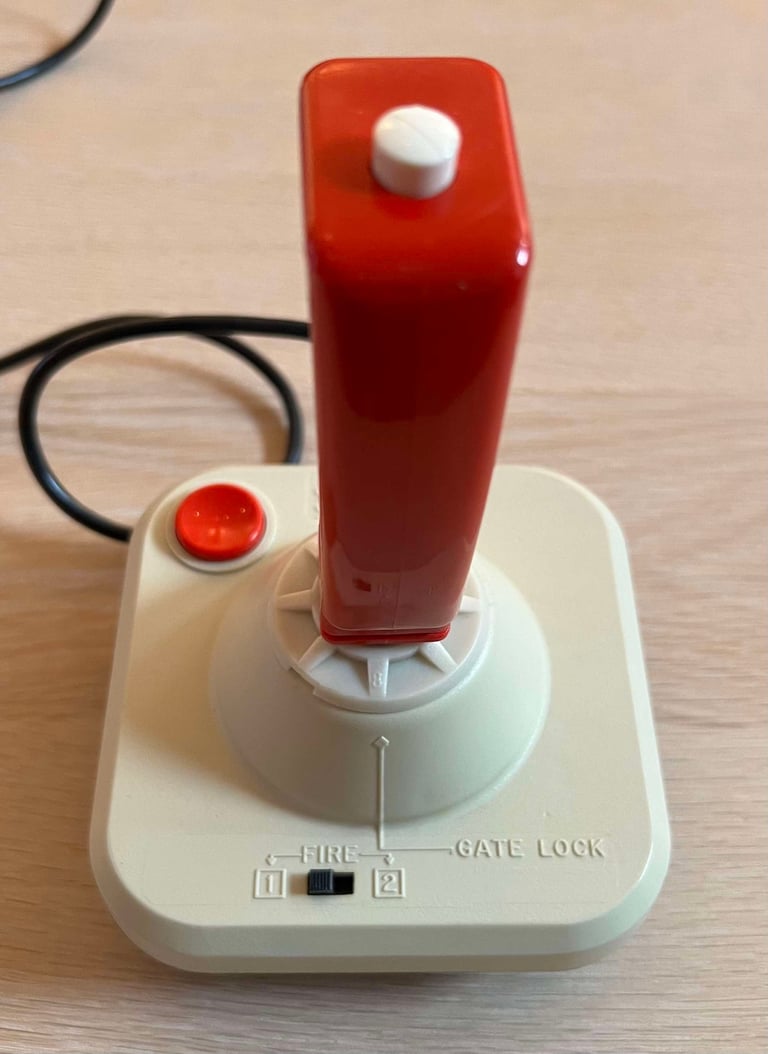
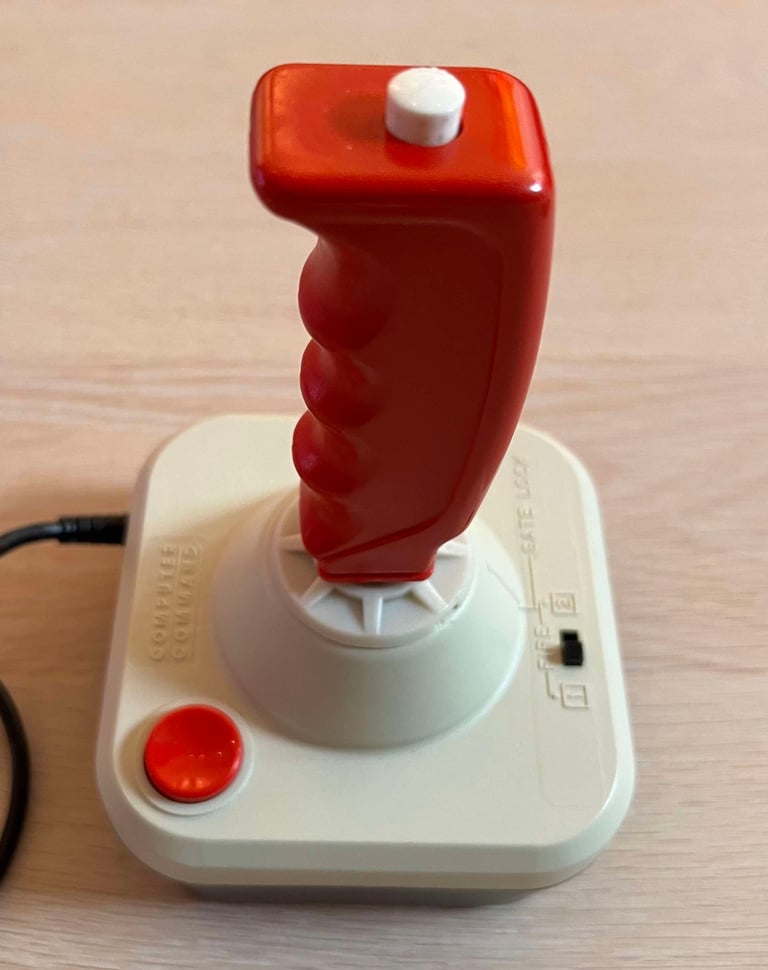
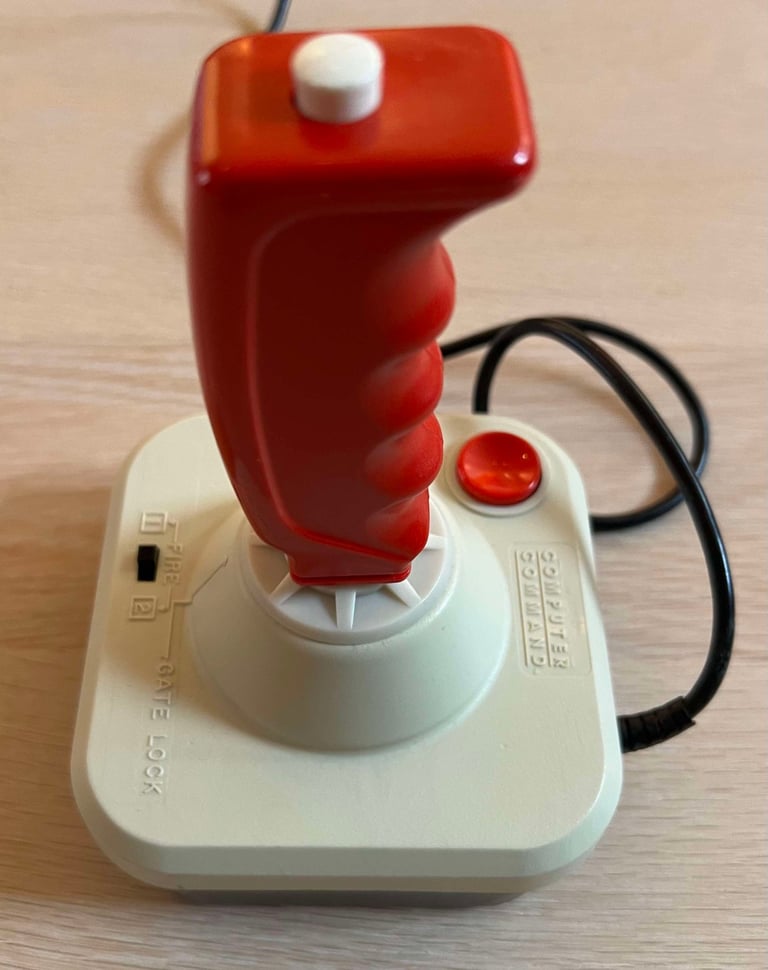
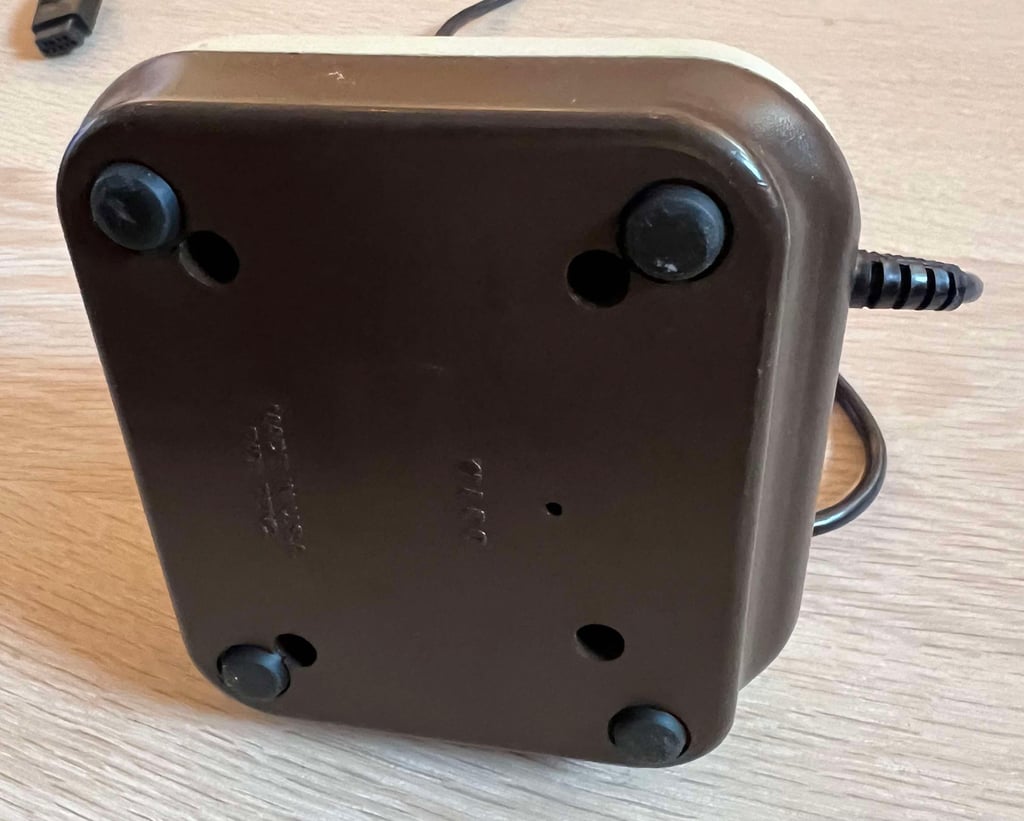
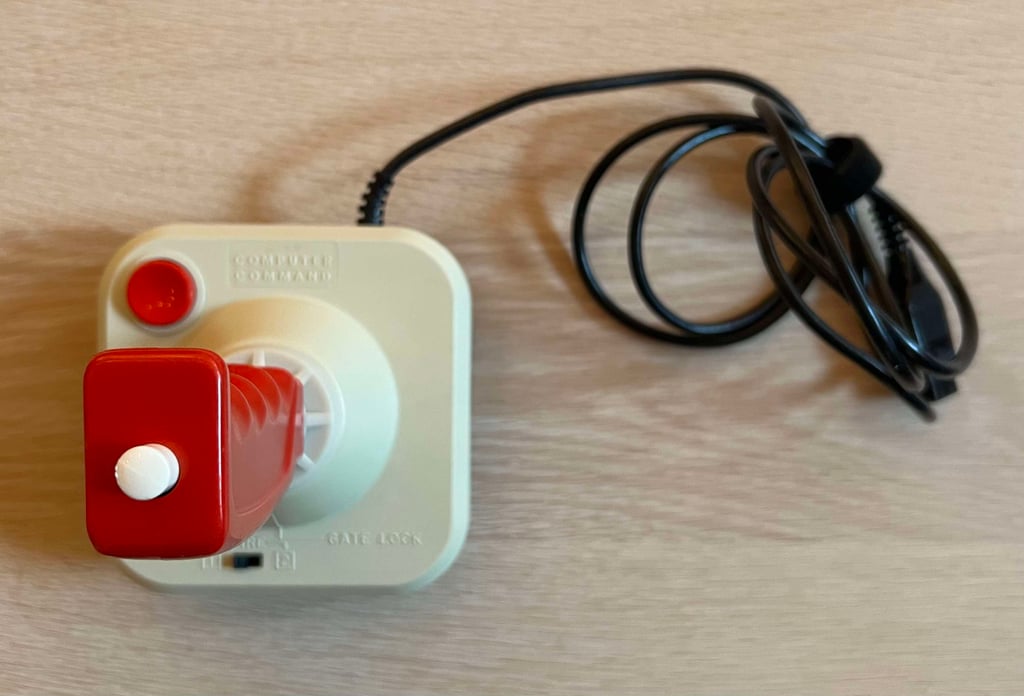
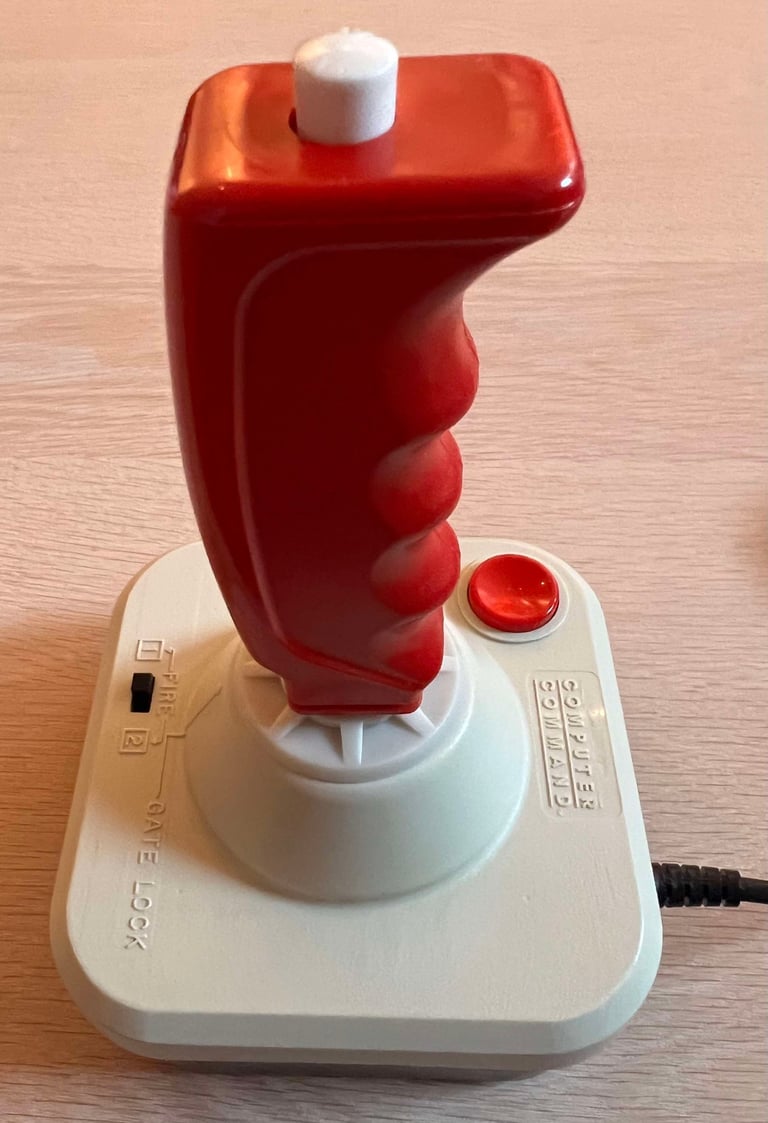
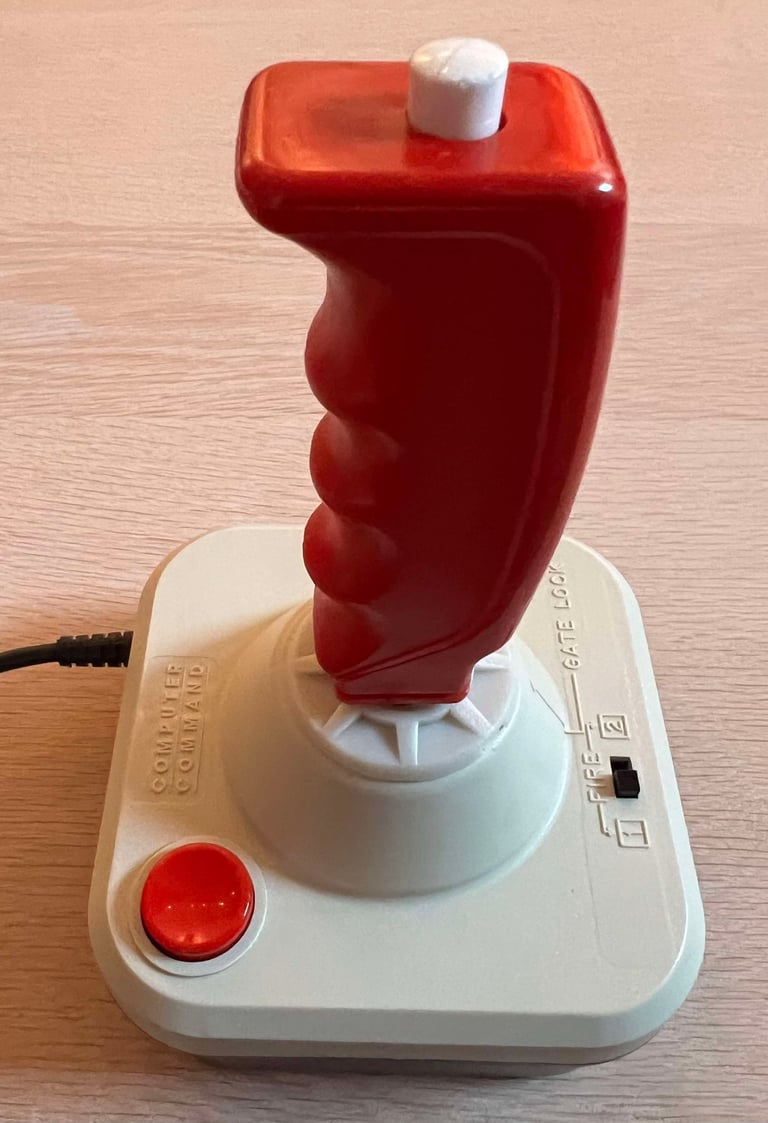
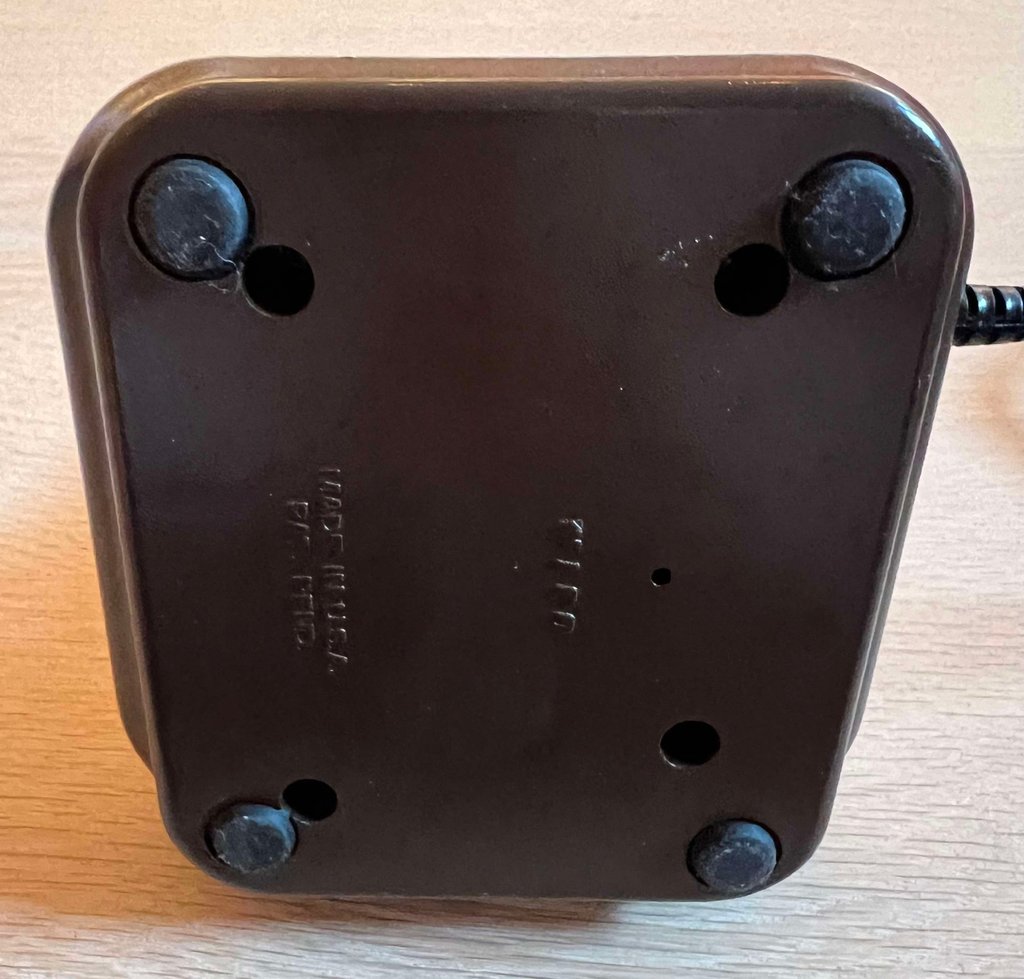
This Wico joystick is branded as "Computer Command". It looks to be in quite good condition from the outside. Note that the pictures does not do it justice; it is way dirtier than the pictures show. But otherwise it appears to be in fine condition. The fire buttons feels ok, and the the shaft can move in all directions. The cable and connector also appear to be fine. Even the four rubber feet are in place. I do not know if it works nevertheless....
Below are some pictures of the Wico joystick before refurbishment.






Refurbishment plan
To refurbish this joystick the plan is to do this trough the following steps:
- Clean, and remove stains from, chassis and all parts
- Clean the interior / leaf switches / lubricate rubber parts
- Check connectivity
- Verify joystick operation by testing
Disassembly
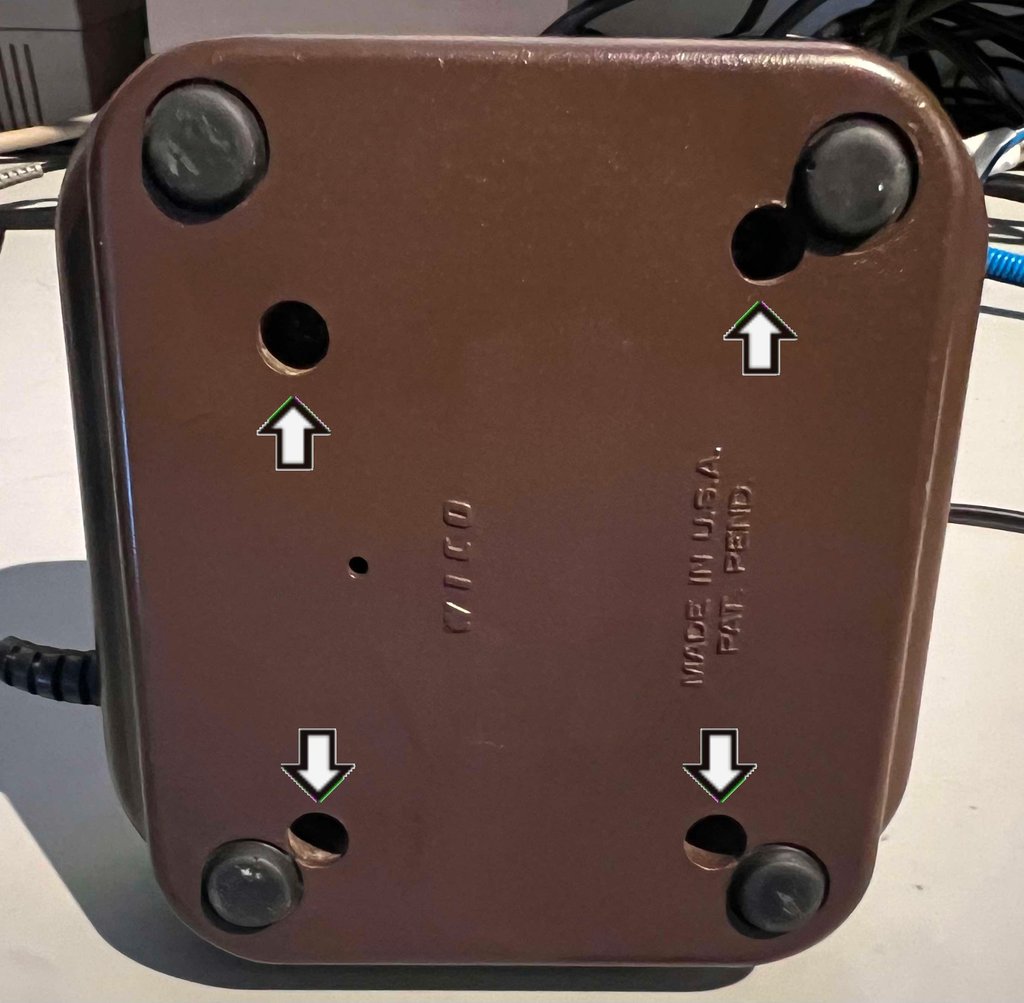
To start the disassembly the four large screws at the bottom are removed. Notice that the positions of the screws are asymmetrical which is important to know when you re-assemble the bottom cover (to avoid damaging the interior). These are quite large screws: 18 mm x 3.5 mm.

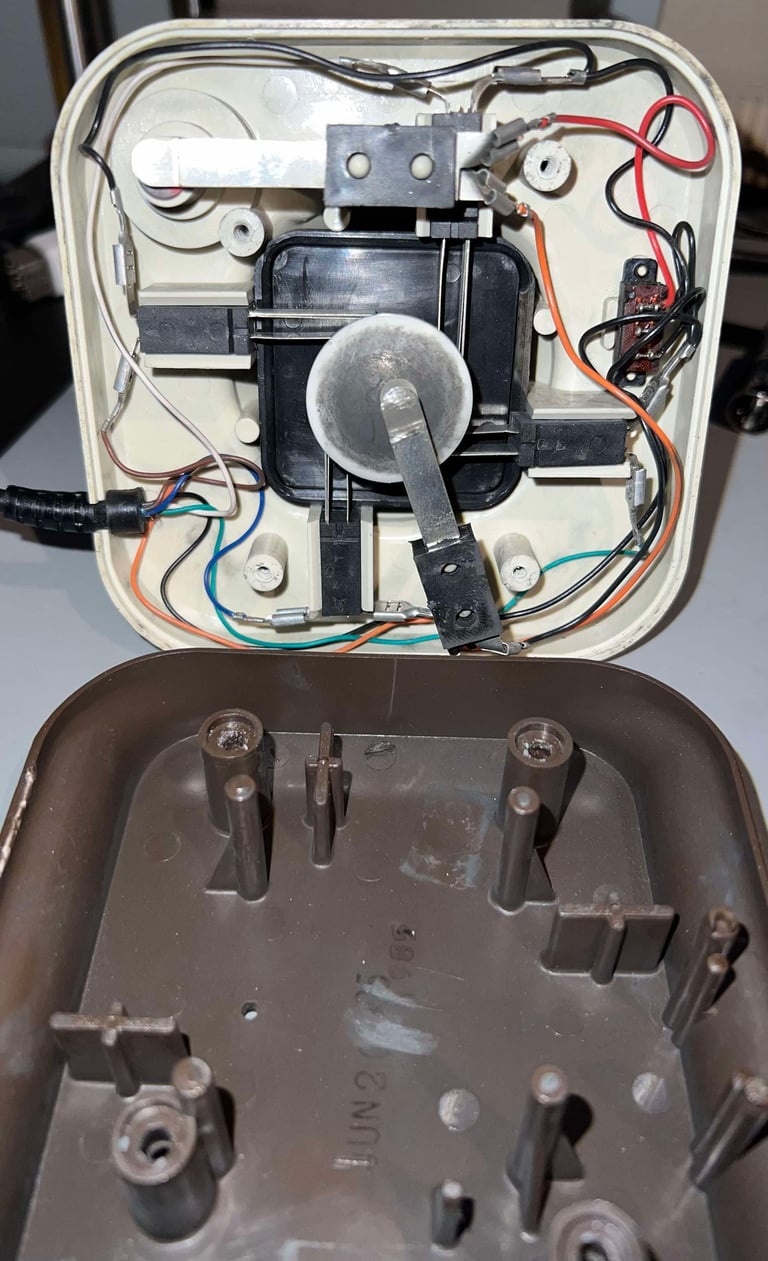
The bottom cover is carefully detached from the top cover and the interior is revealed. There is a significant amount of fine dust particles inside - they are not easy to notice in the picture, but you can clearly see how these dust particles has gathered on the center plastic dome. There is also quite a lot of dust and grease inside the leaf switches. With so much dirt and grease I think that chances are that the connectivity would be very low...

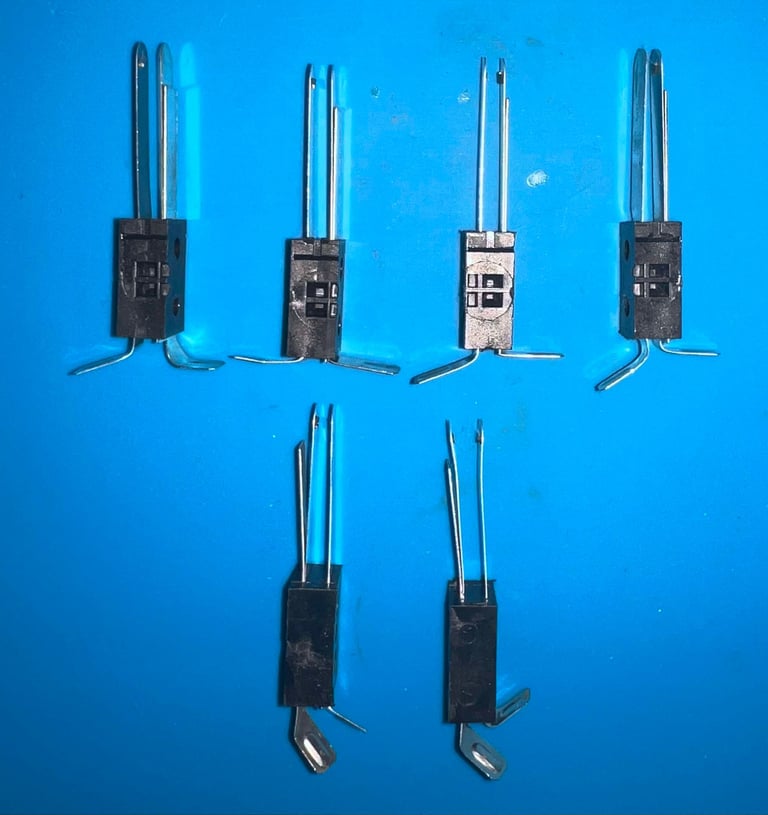
All of the leaf switches are removed. This is very straightforward as the switches can be just lifted out of their brackets. NOTE: the leaf switches used for the two fire buttons are slightly different from the four switches used for the UP/DOWN/LEFT/RIGHT direction. So it is good practice to keep these in separate bags when doing refurbish.
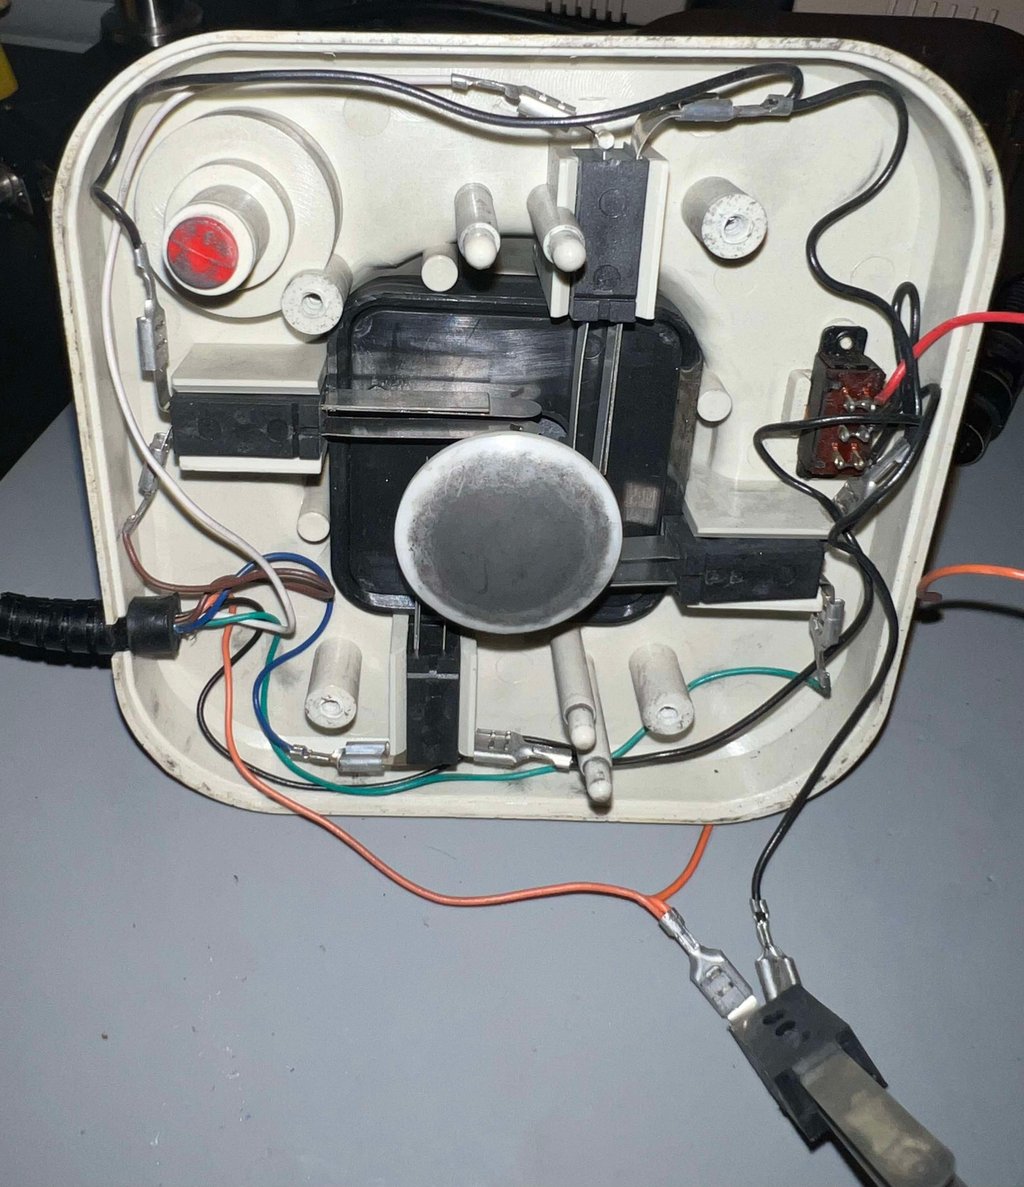

Next step is to remove the large (dirty) plastic dome which is attached to the end of the shaft spindle. Notice that this plastic part can be quite stuck after several years, but with some careful pulling it will come loose. When the plastic dome is removed the spindle can be pulled out of the shaft from the top.


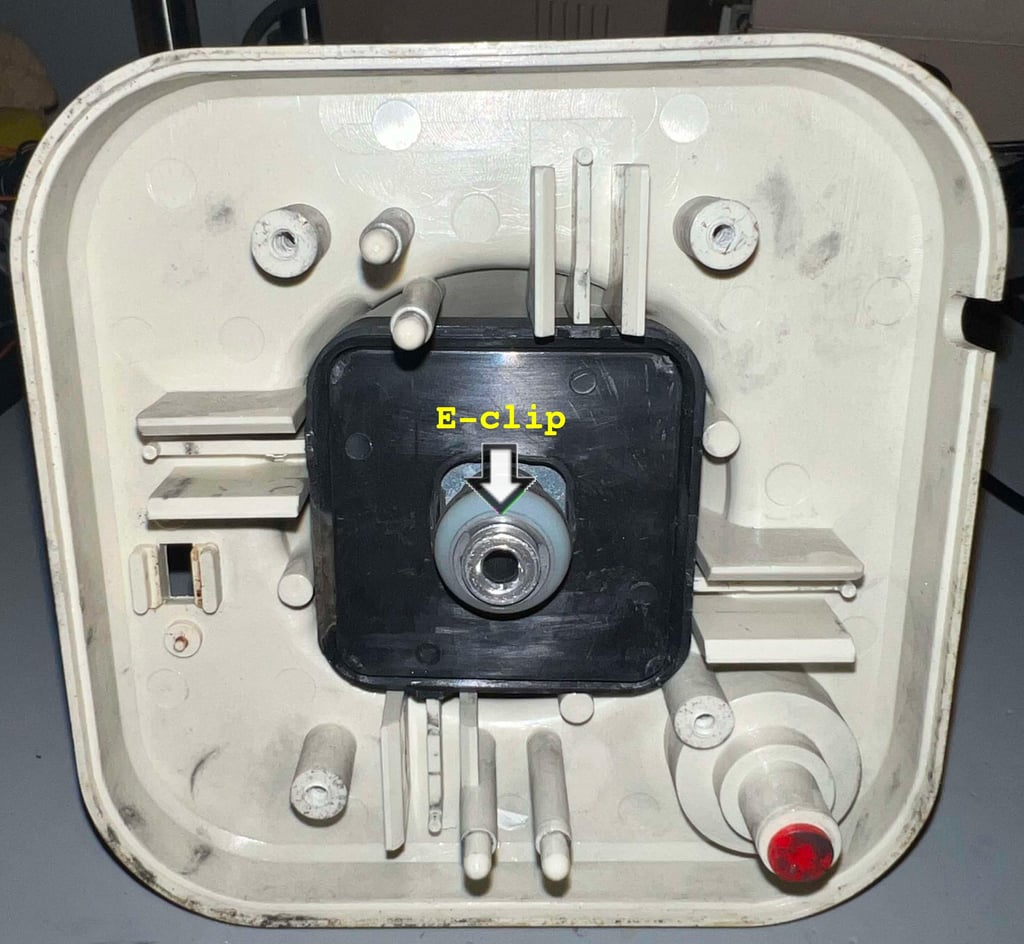
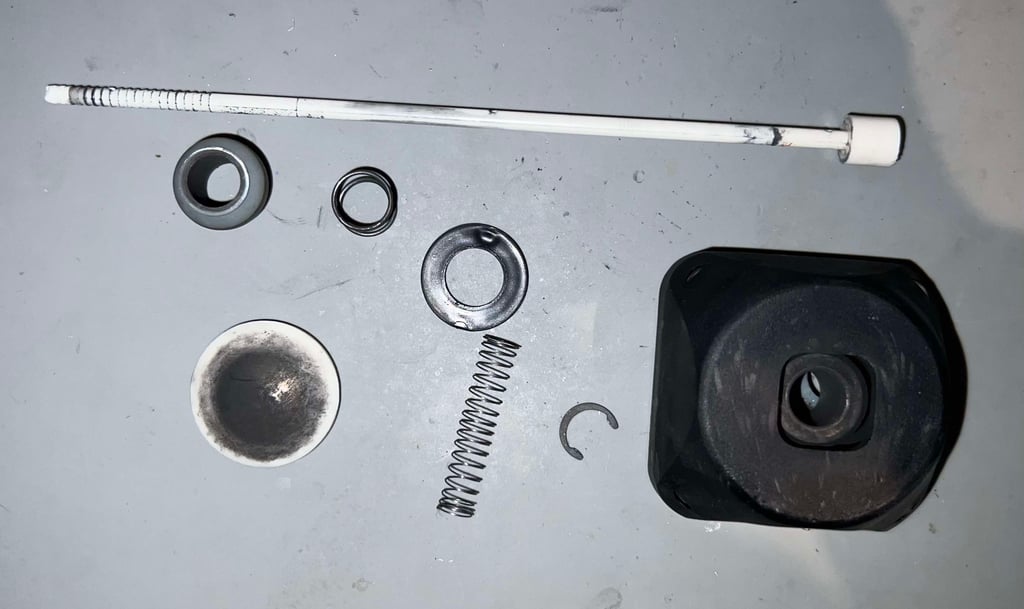
With the plastic dome out of the way the rest of the disassembly can continue. There is an E-clip holding the metal shaft in place. By using a small flat screwdriver the E-clip is removed and the remaining parts can be pulled out.


Exterior casing and plastic parts
All the plastics parts are in quite good condition. Of course, there are some marks from tear and wear, but not more than to expect after 40 years. But the parts are very dirty. So all parts are placed in a box filled with mild soap water for about 48 hours.
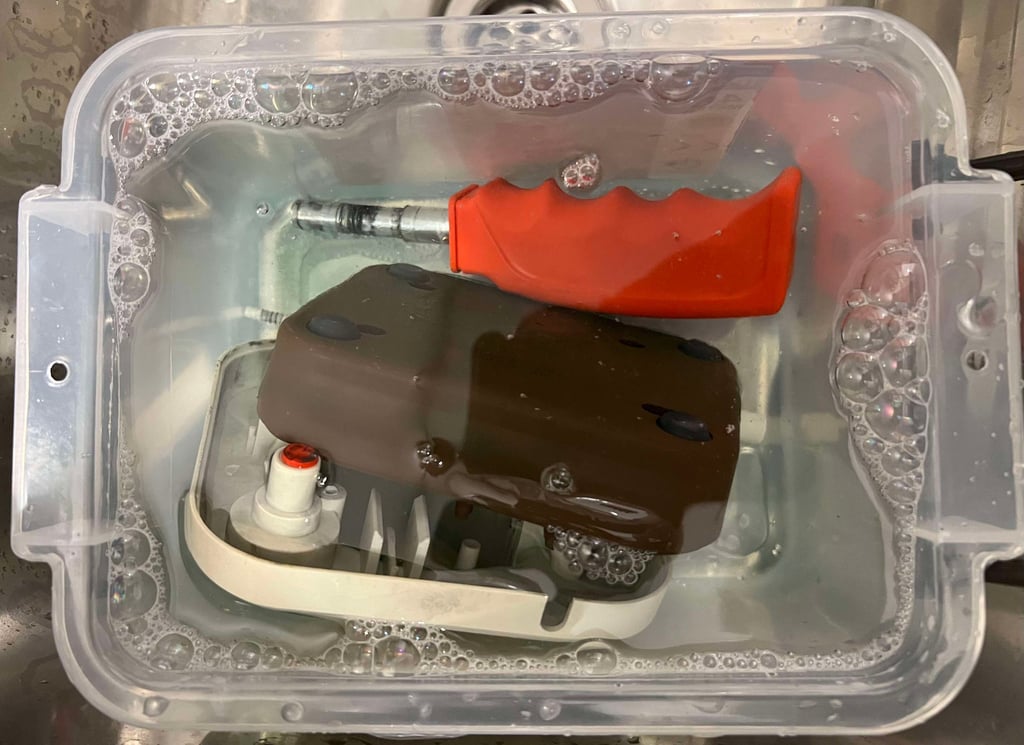

While the plastic parts are having a bath the rubber grommet (and the container) are cleaned individually. The main thing here is to lubricate the rubber grommet with some multi purpose grease. After 40 years this rubber is very often dry and stiff (and if you are unlucky the joystick has been stored on the side resulting in a deformed rubber grommet). Below is a picture of the cleaned parts and the lubricated rubber grommet.
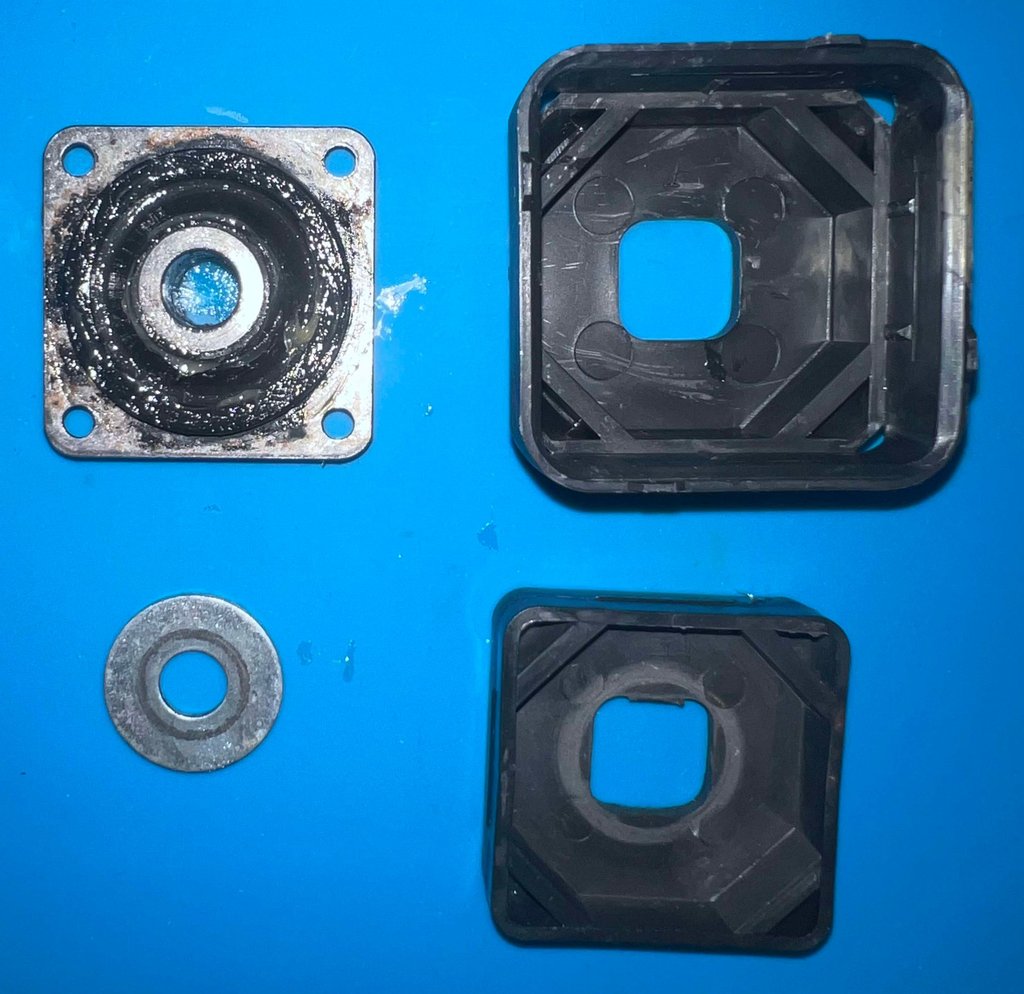

After 48 hours of bathing the plastic parts looks fine. With a final touch of glass cleaning spray (and some isopropanol).
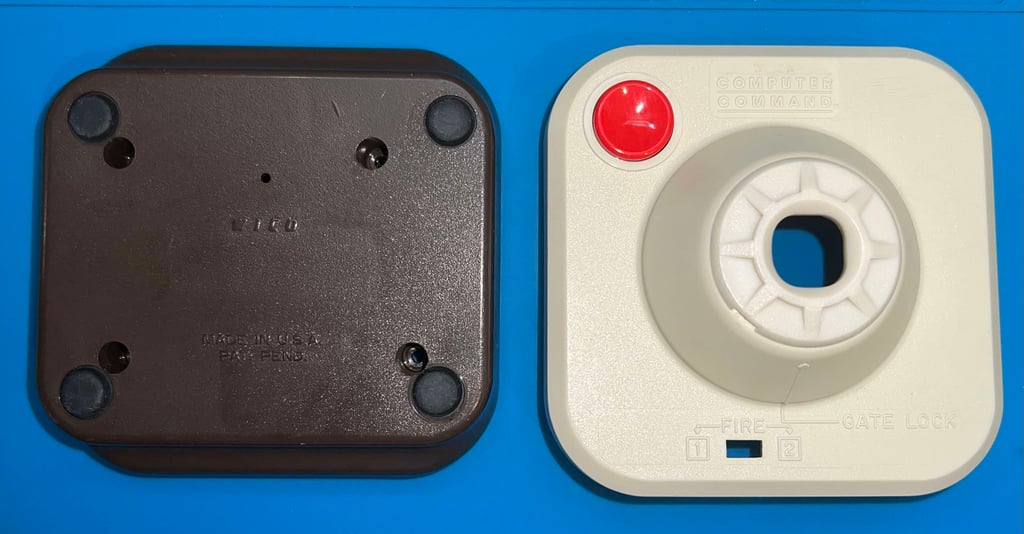

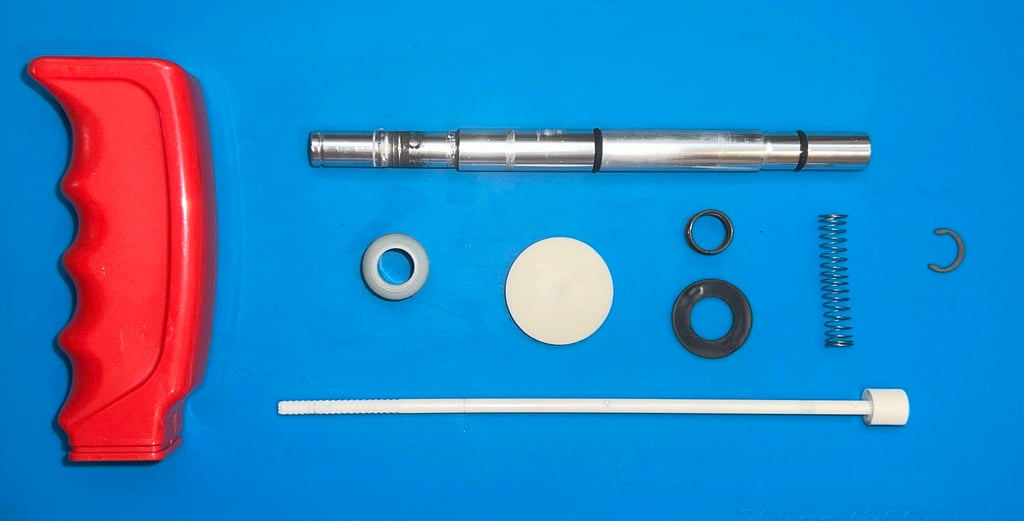

Electronics and leafswitches
All the leaf switches looks to be in good condition - expect that they are full of a thin layer of dust. But there is something wrong, the ground cable is missing from the switch which toggles which fire button is used. Well, it is not missing, but it is detached from the switch. It is not so easy to see from the picture below, but the black center cable is not attached to the switch as it should (arrow pointing at the switch).
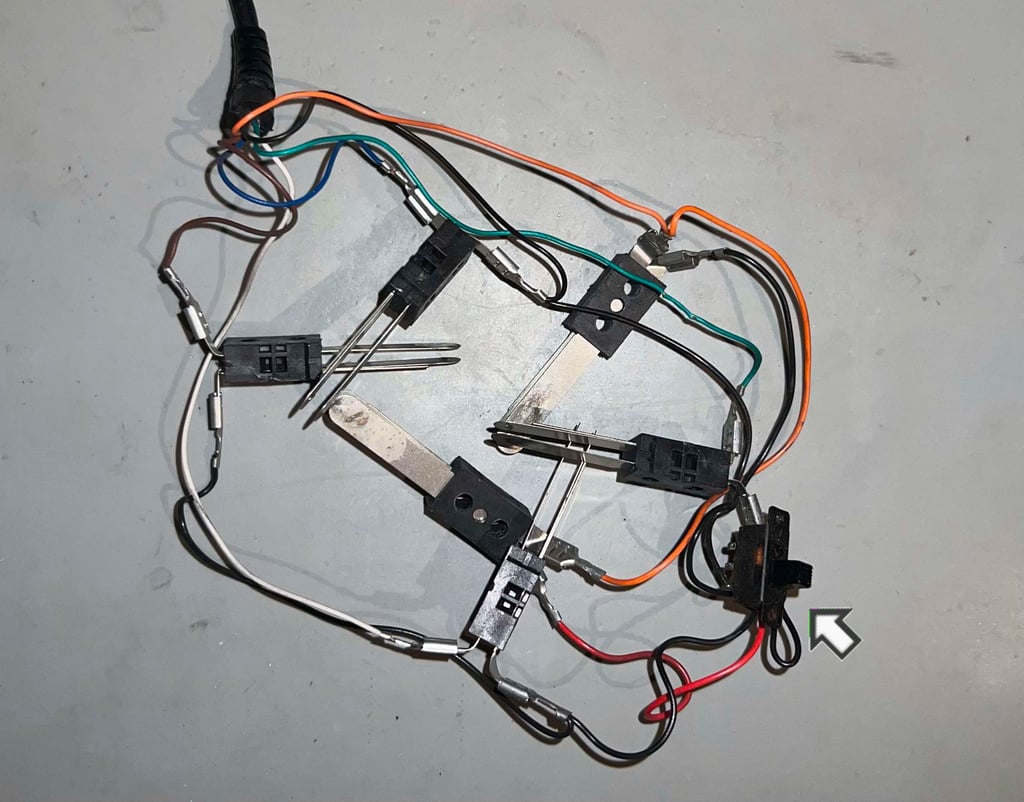

All the leaf switches are disassembled from the cable shoes and placed in a jar filled with isopropanol for about 24 hours. This is a very effective way to remove the surface dust and grease which have accumulated on the leaves.
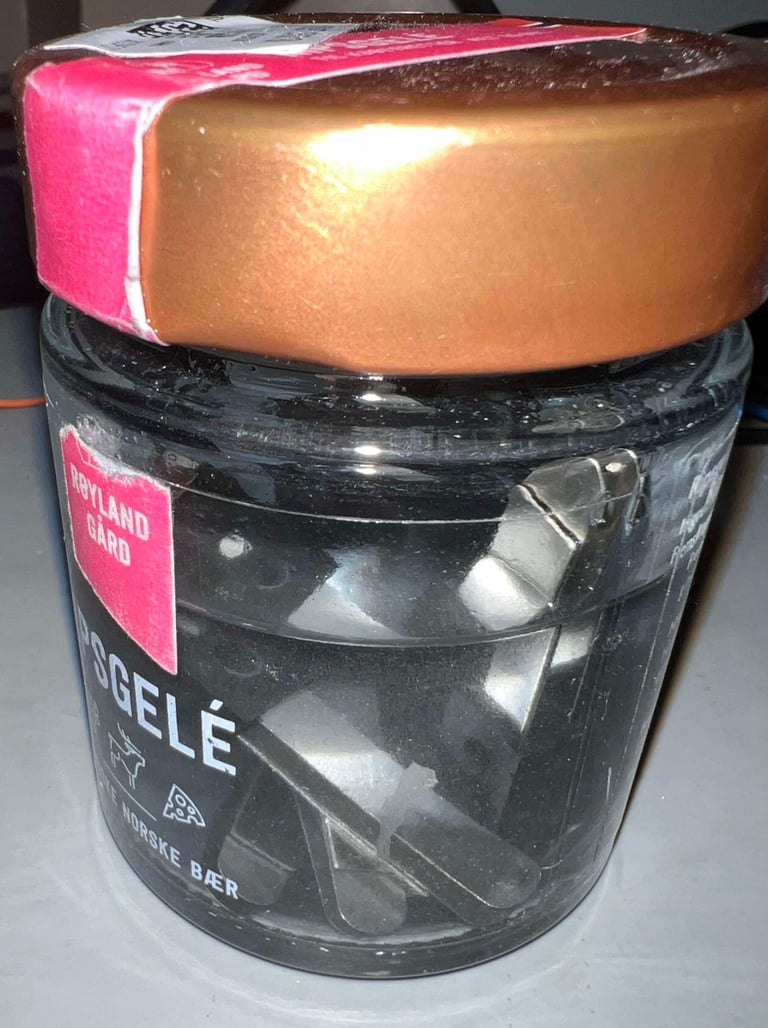

After cleaning the leaf switches look good as new.

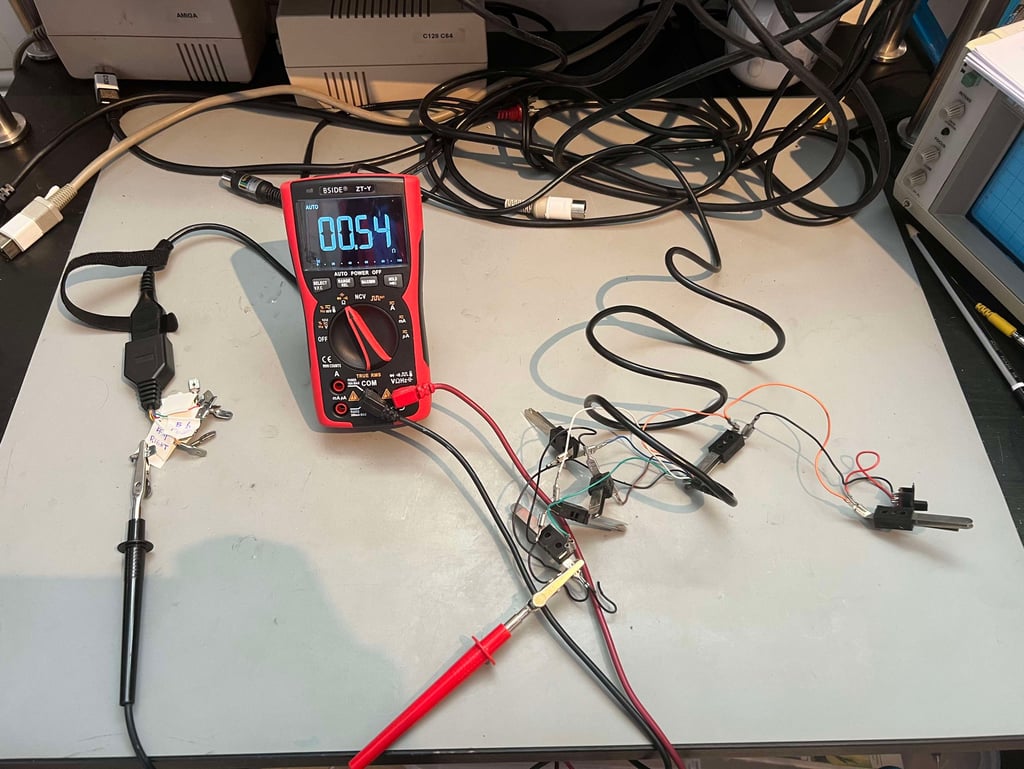
Finally the detached ground wire is soldered back on the switch and all connections are checked thoroghly.

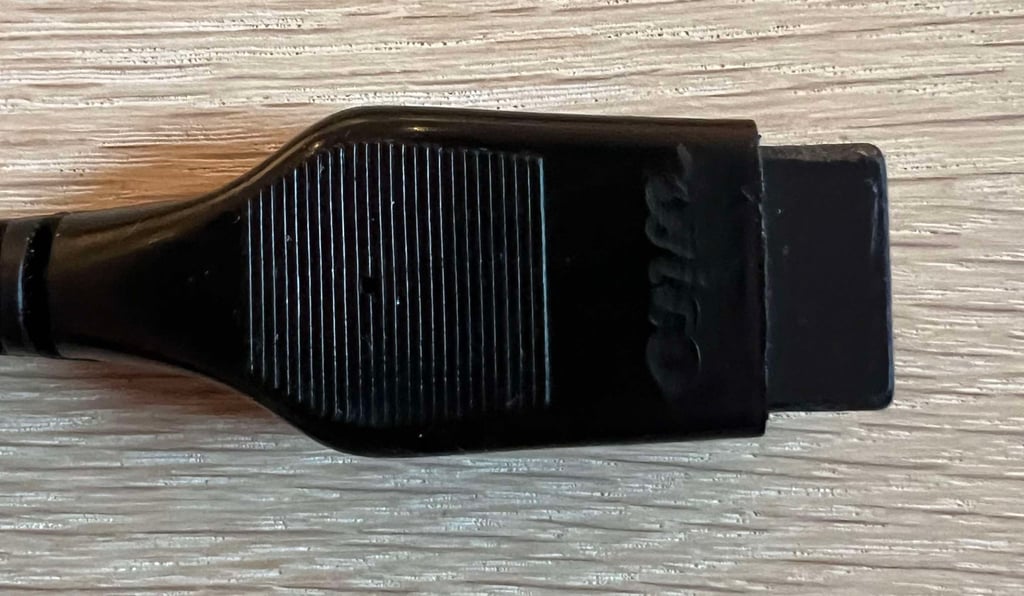
A nice feature with the Wico joystick is that they have branded the joystick cable also! How cool is that?! It´s not so easy to see in the picture maybe, but there is a "WICO" label engraved in the connector.

Testing
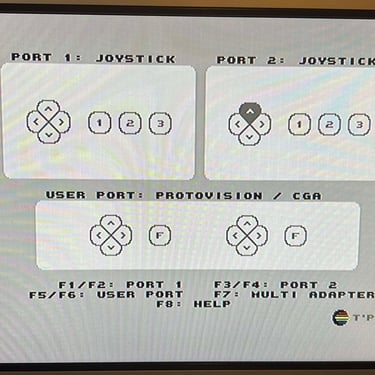
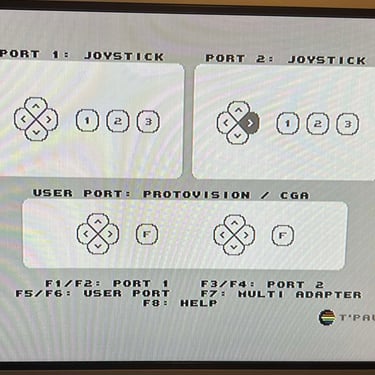
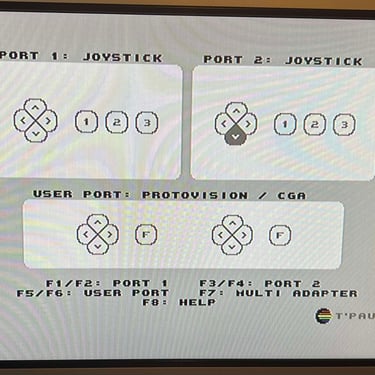
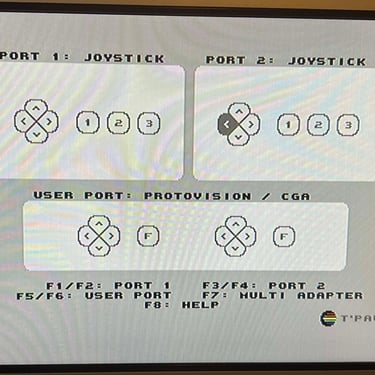
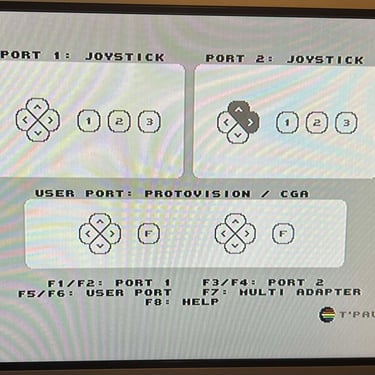
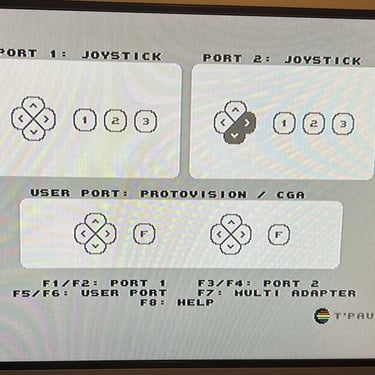
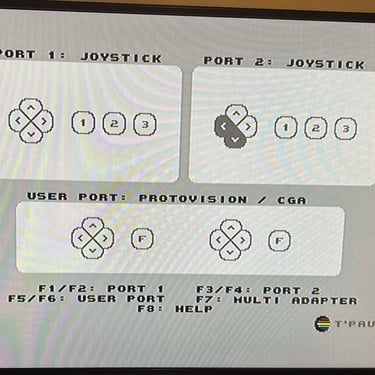
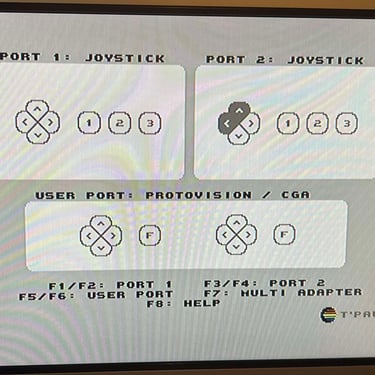
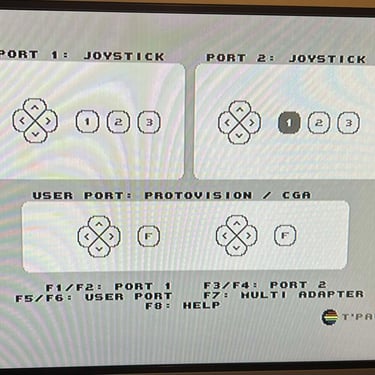
To verify that the joystick work as it should I check it with the Joyride software. Result is that all directions and fire buttons works fine works as expected. All tests pass.
Final result
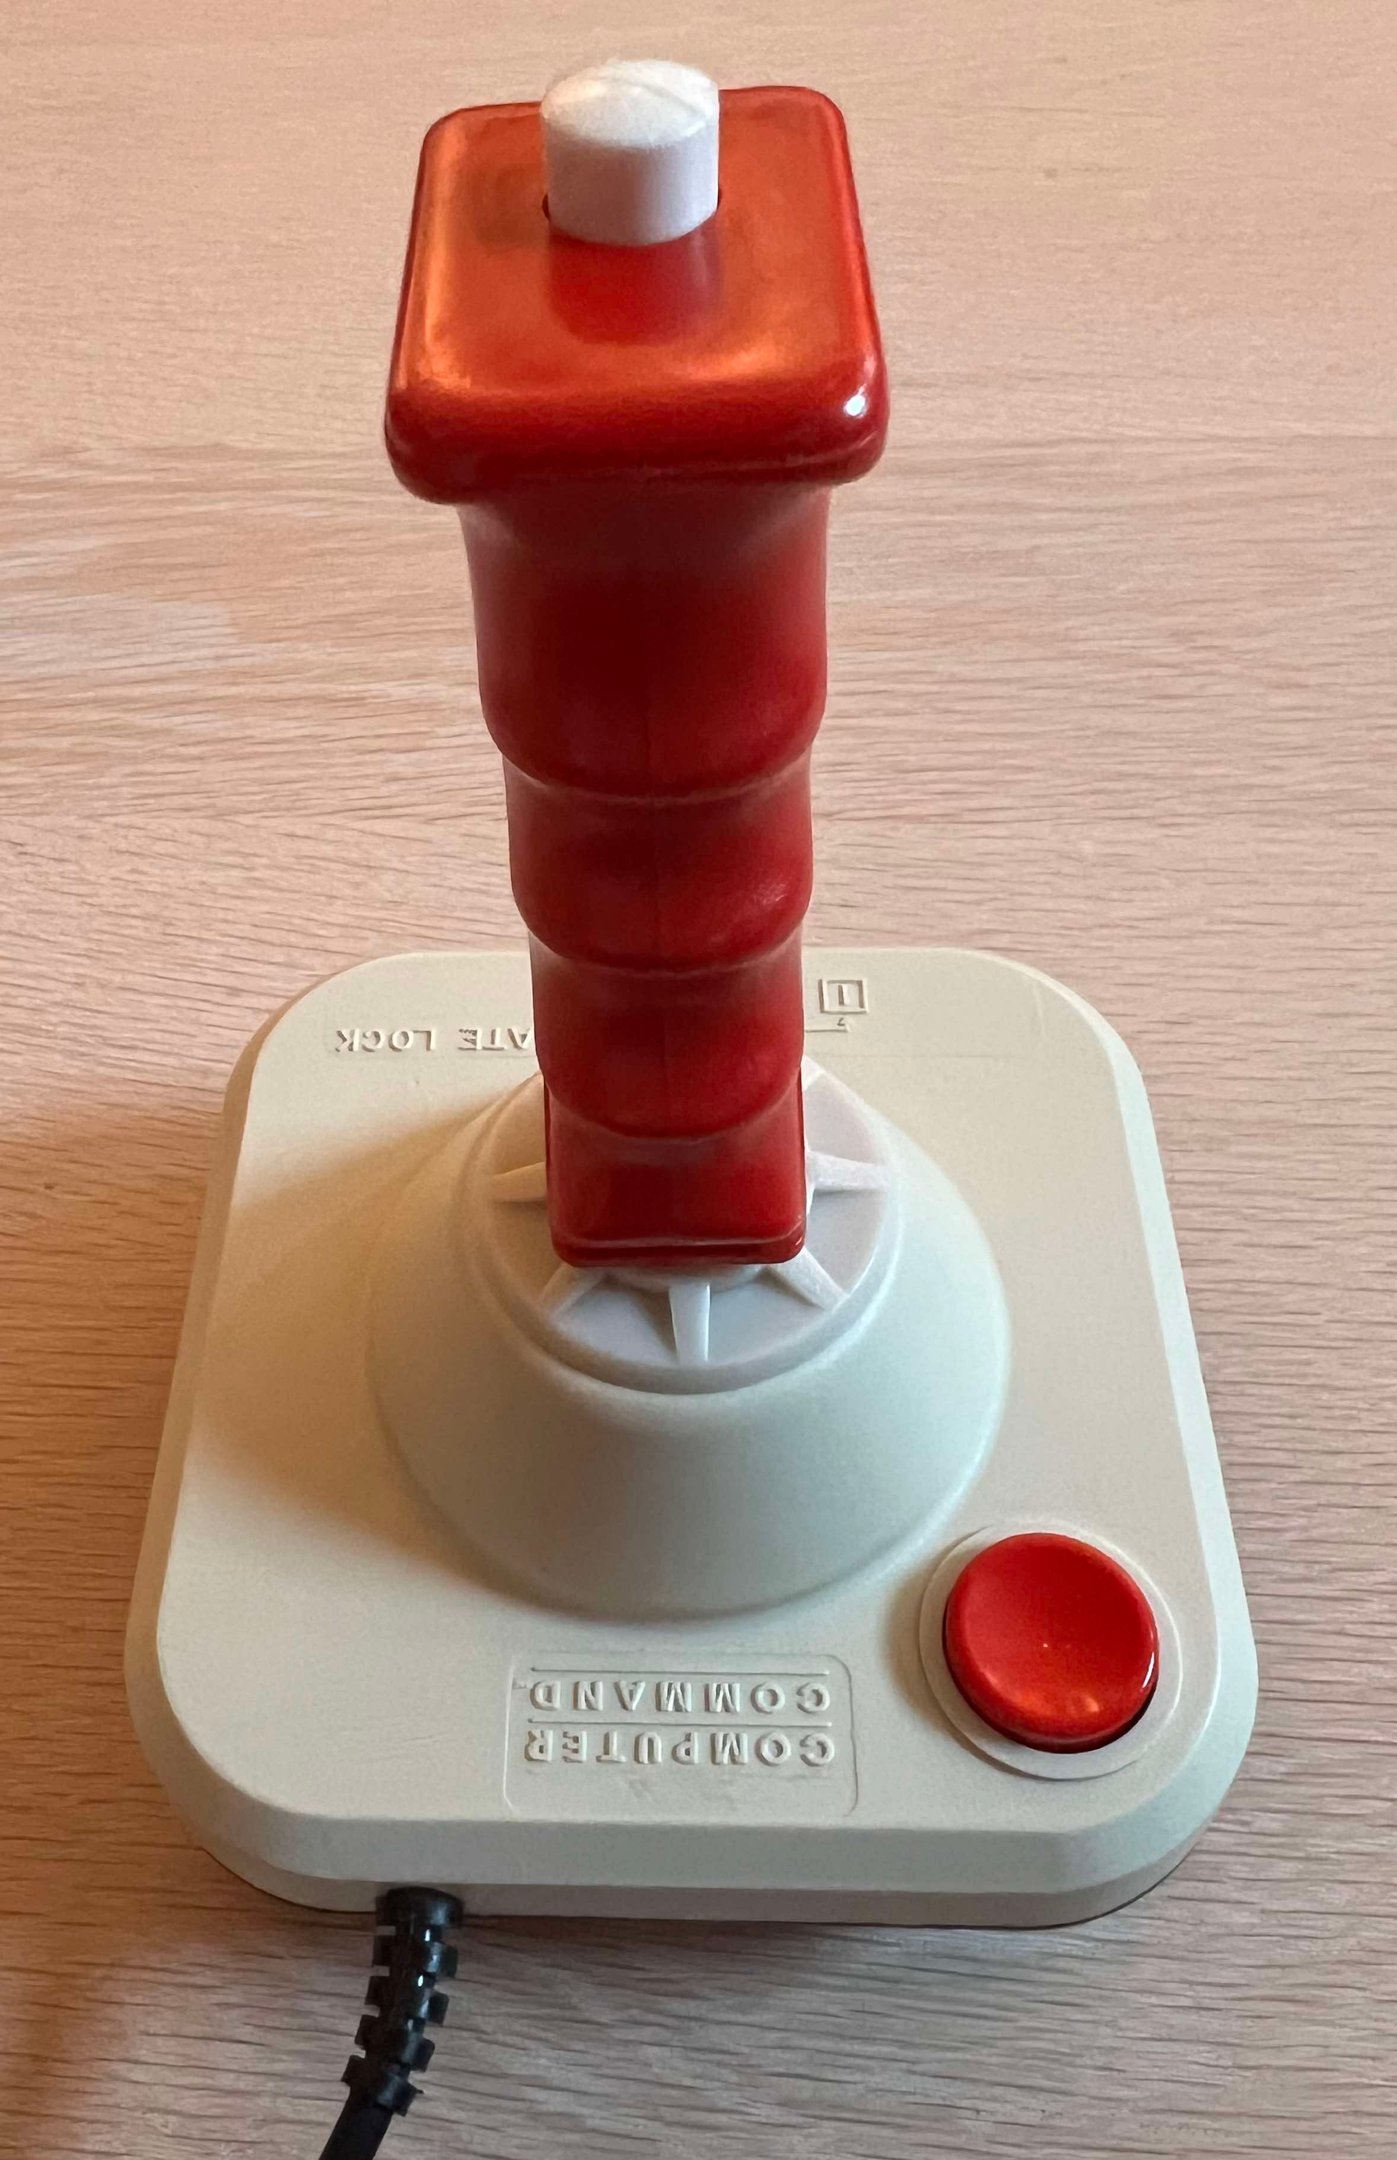
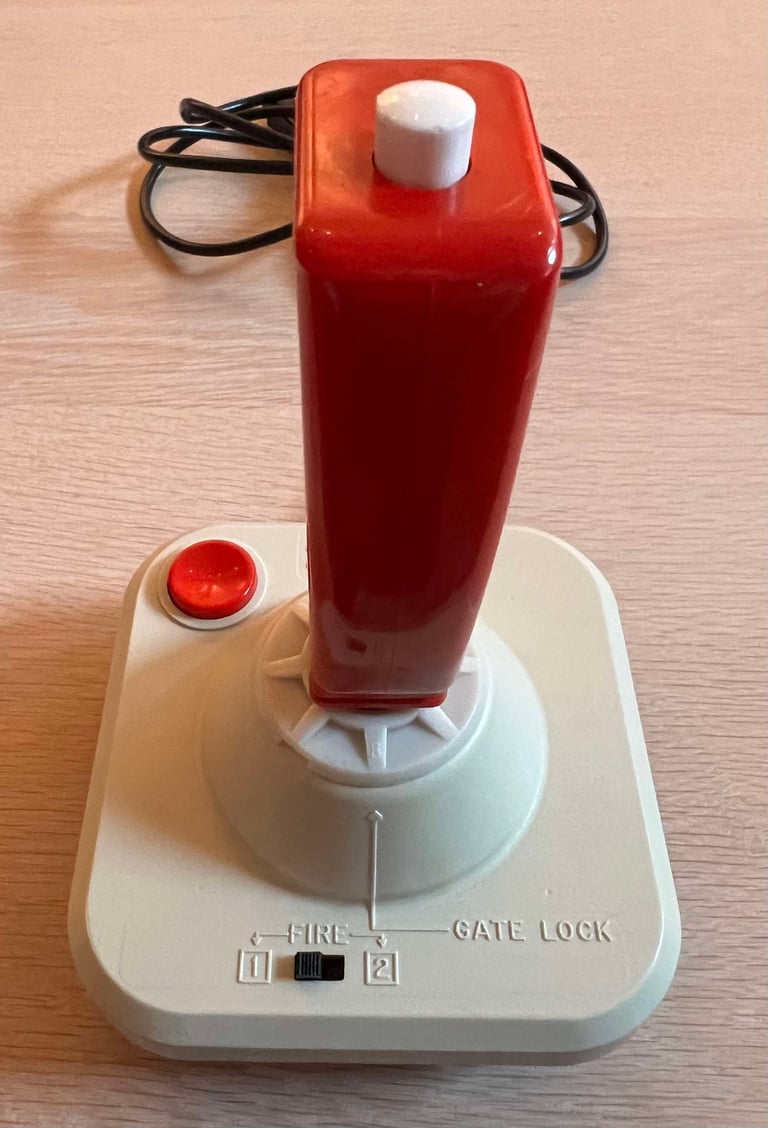
A picture worth a thousand words"
Below is a collection of the final result from the refurbishment of this Wico Computer Command joystick. Hope you like it! Click to enlarge!






Banner picture credits: bLAZER76
