

ZipStik
Refurbishment plan
To refurbish this joystick the plan is to do this trough the following steps:
- Clean, and remove stains from, chassis and all parts
- Clean the PCB
- Check connectivity
- Verify joystick operation by testing
Chassis
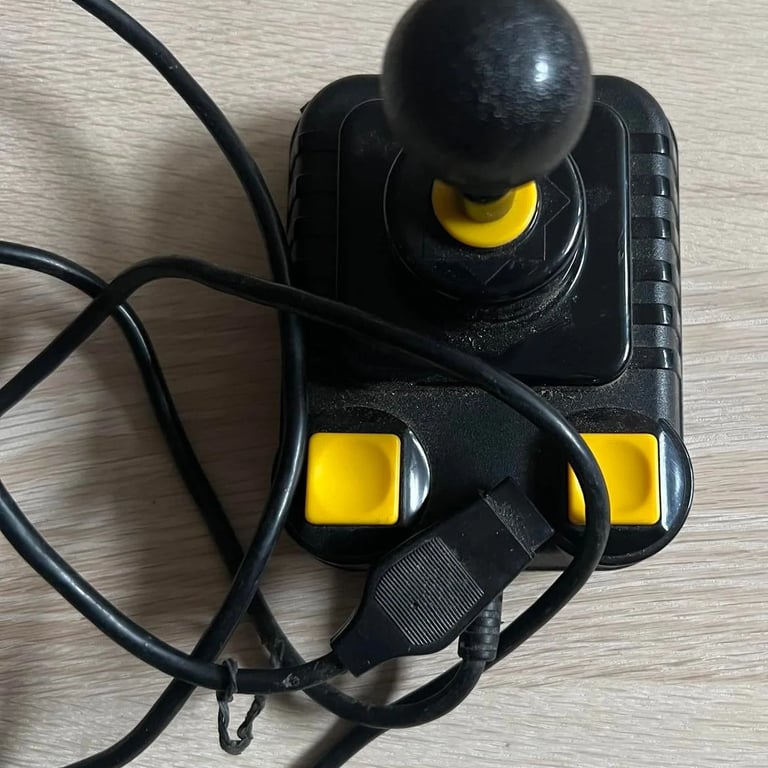
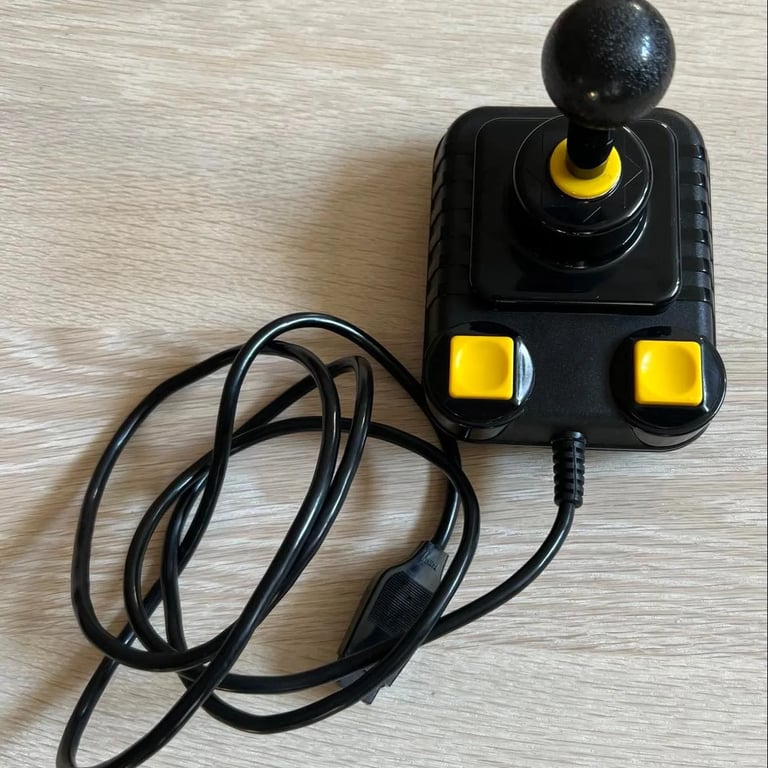
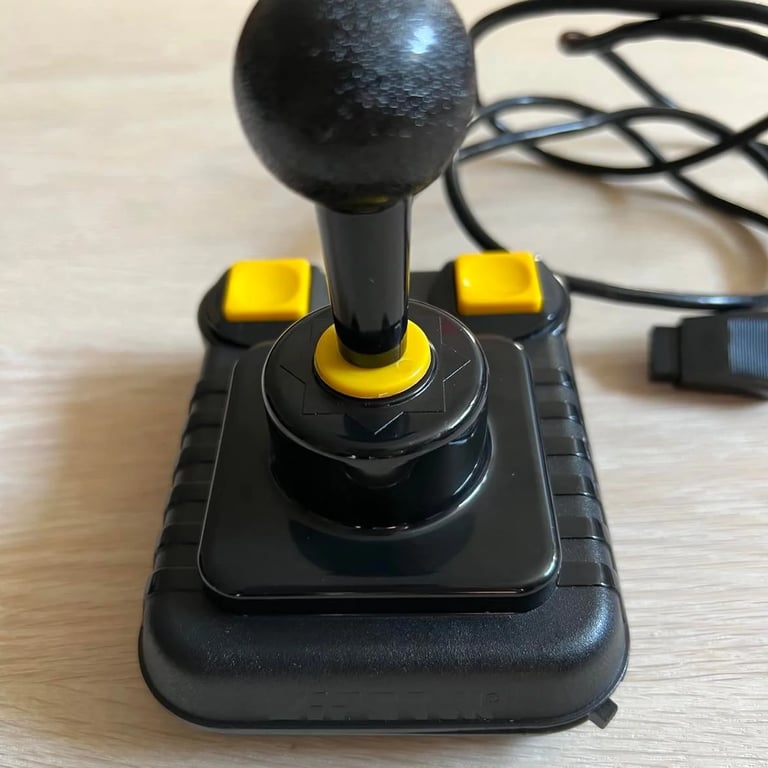
This joystick looks promising! Yes, it's dirty - but I can't see any major scratches or cracks. The ZipStick is one of my favourite joystick. A high quality joystick with micro switches, and this also have the autofire feature which is a nice addition. Anyway, this needs to be cleaned and checked!
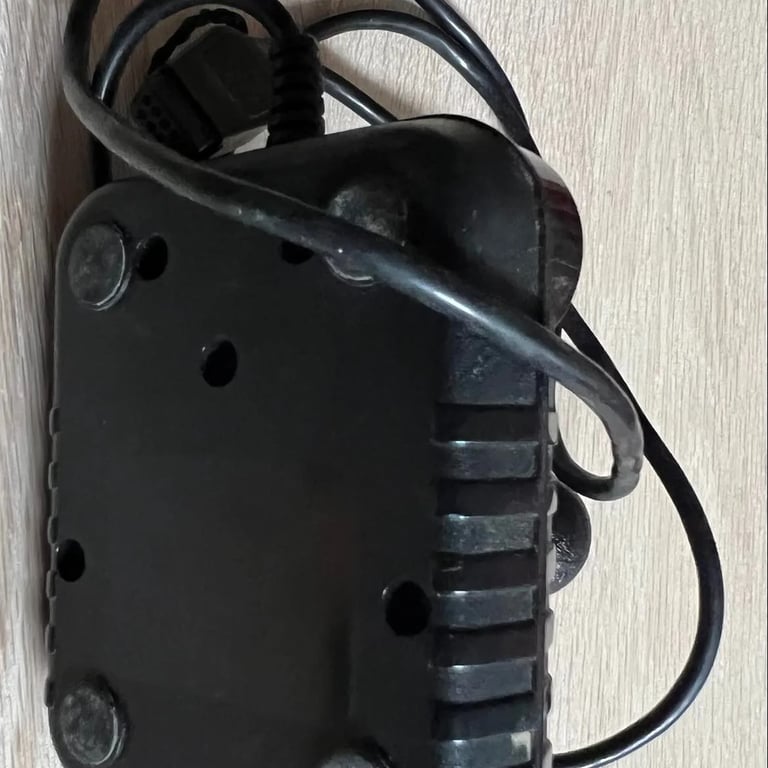
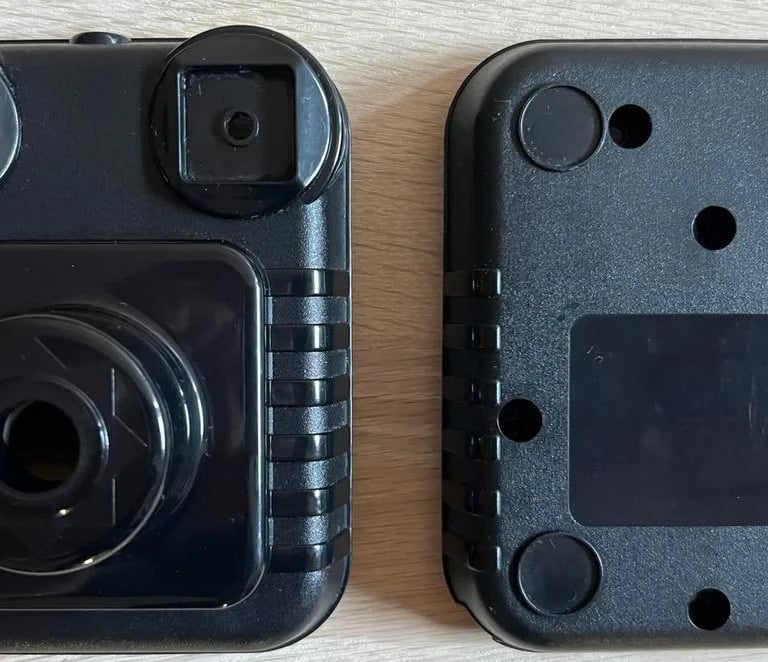
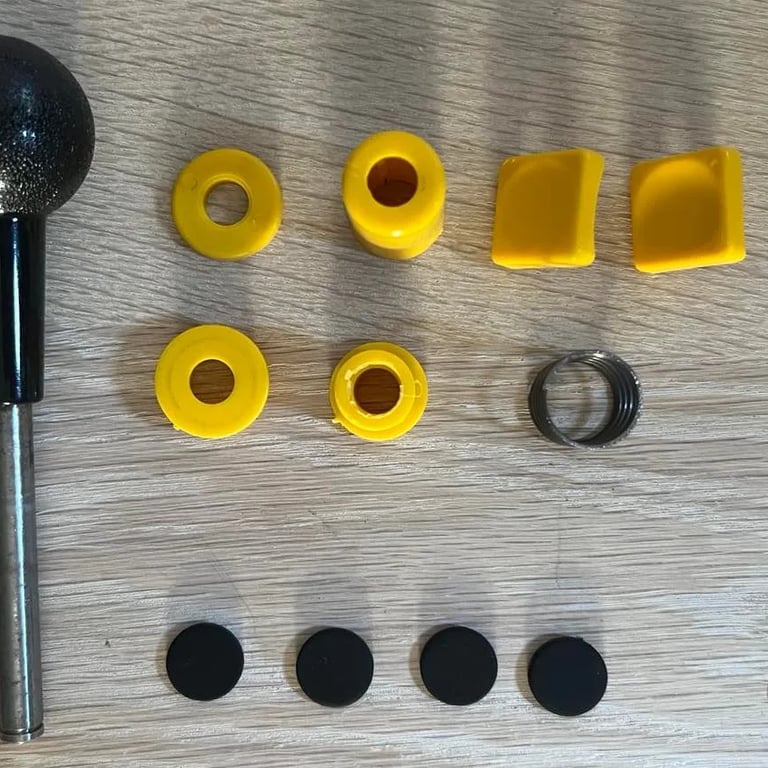
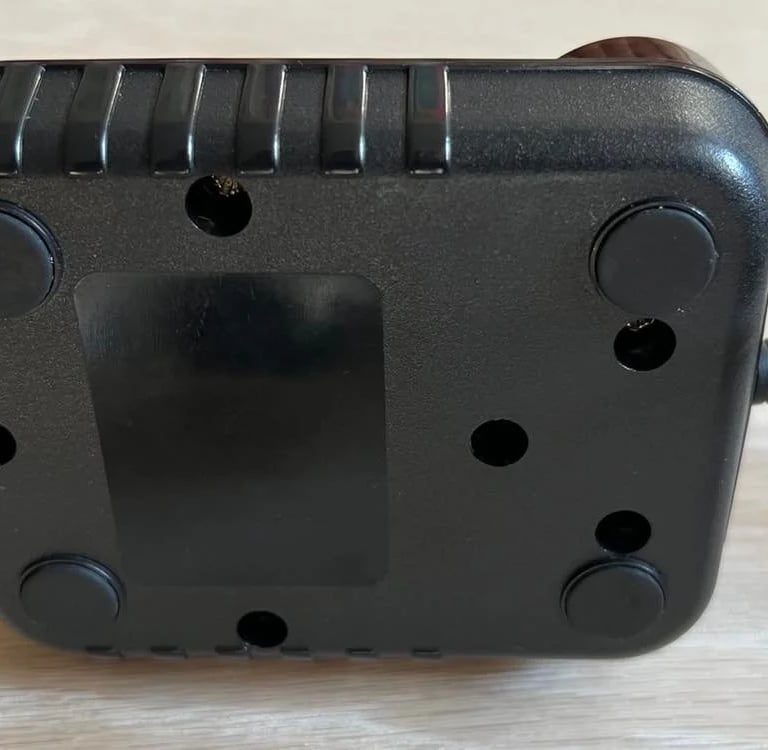
I disassemble the joystick by removing the five screws at the bottom cover. I notice that one of the screws (middle / bottom) is a bit shorter than the other four. I'm not sure if this is from factory or if the screw was cut at some time. I also disassemble every part of the top cover; all buttons, spring, clips and the joystick shaft. The four rubber feets are gently removed with a sharp knife.
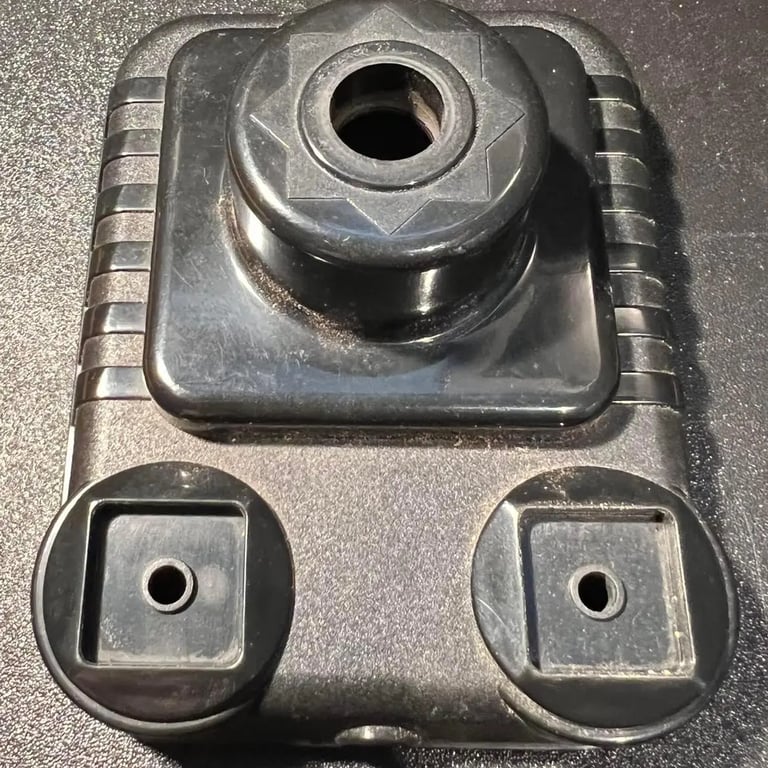
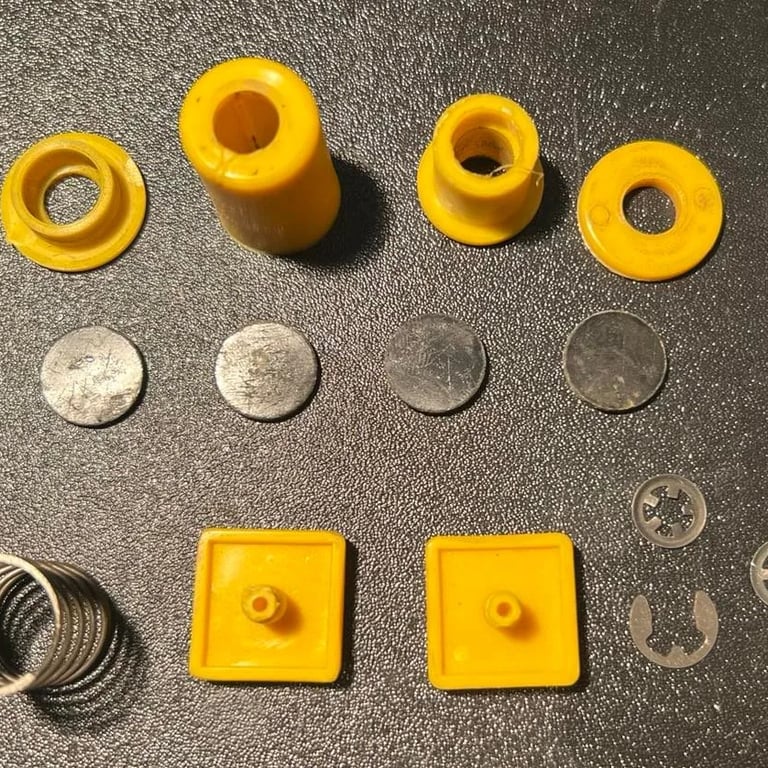
All parts (except metal parts) are put in luke warm water with mild dishwasher soap for a few hours. Then all parts are washed gently with a paint brush to remove all residue grease and dirt. Finally all plastic parts are cleaned with glass spray. I'm very pleased with the result:
PCB Cleaning
The interior of this joystick is absolutely wonderful; I can't beleive that this joystick is probably over 30 years old. It looks brand new!

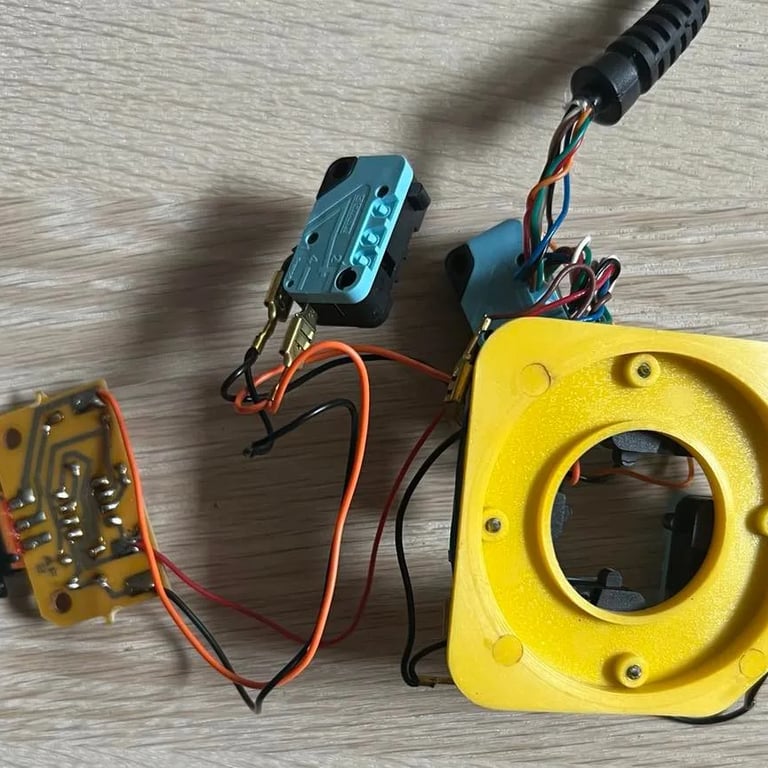
Nevertheless the autofire PCB are cleaned with isopropanol, all all microswitches are rinsed with contact cleaner. Also, all the switches are "massaged" to make sure the contact cleaner is distributed within the switches. All clamp contacts are also cleaned with contact cleaner.
Cable and connectivity
Although quite dirty the cable looks in good shape. My guess is that this joystick have been either used very carefully or not used much at all... I clean the cable with some glass cleaner spray and all the 9-pin holes are sprayed with plenty of contact cleaner.
I check the connectivity of the seven wires in use (4 directions, fire, ground and +5V) and all are verified ok. So now the only thing left is to assemble the joystick and do some serious testing!
Testing
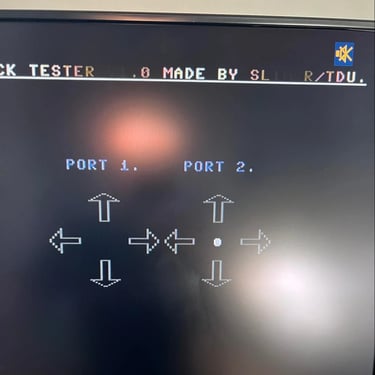
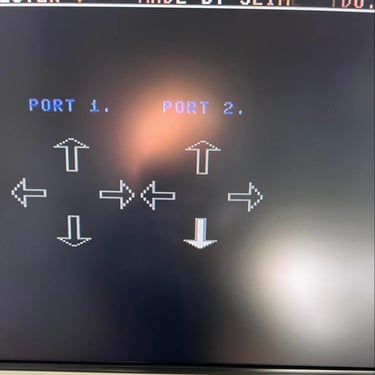
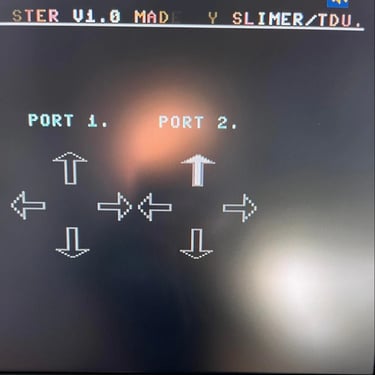
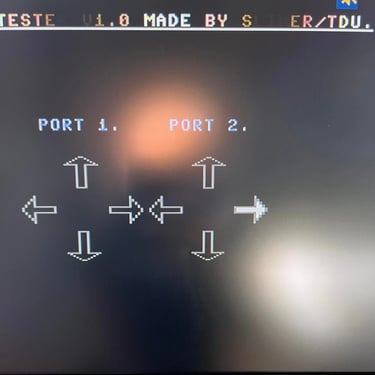
I test joystick in two stages. First I test the joystick with a special software on my C64C. This is to verify that all four directions work as expected, and also that the fire buttons (both of them) works. Also this test can show the autofire to some degree, but it's a bit hard to verify autofire operation with that tool.
The next stage in the testing is to use some C64 games. I play Commando, BlueMax, 1942 and Turrican II. As far as I can see everything works fine, and the autofire also works fine.

Final result
This was quite an easy refurbish - but that was because this joystick have been taken good care of by previous owners which I appreciate a lot.I think the pictures speak for itself for the final results:
Banner picture credits: unknown