

ZipStik
Starting point
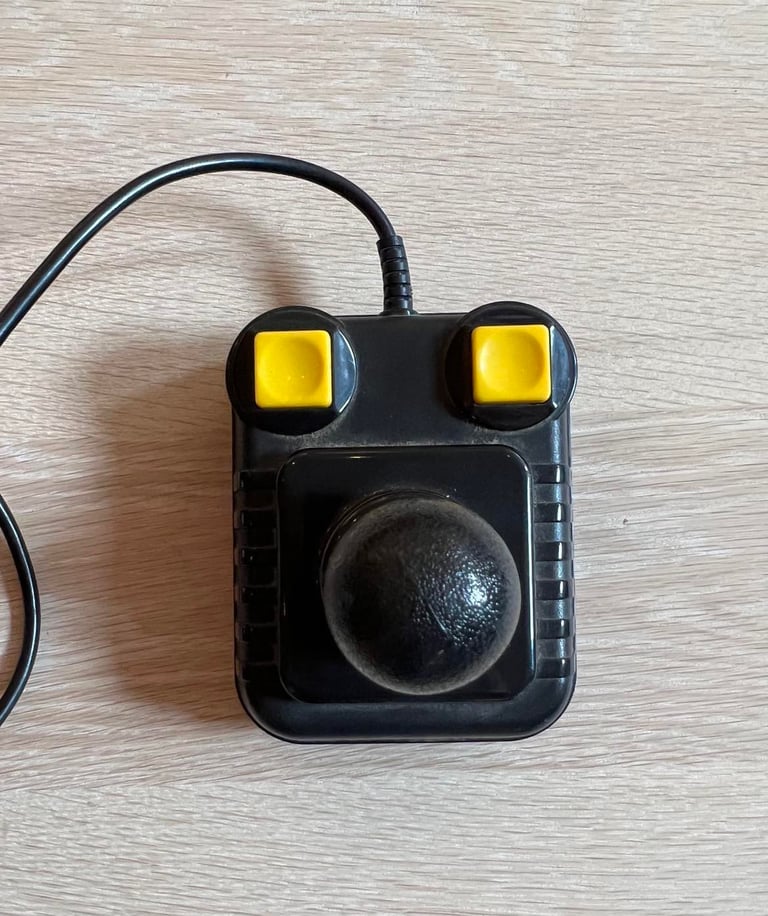
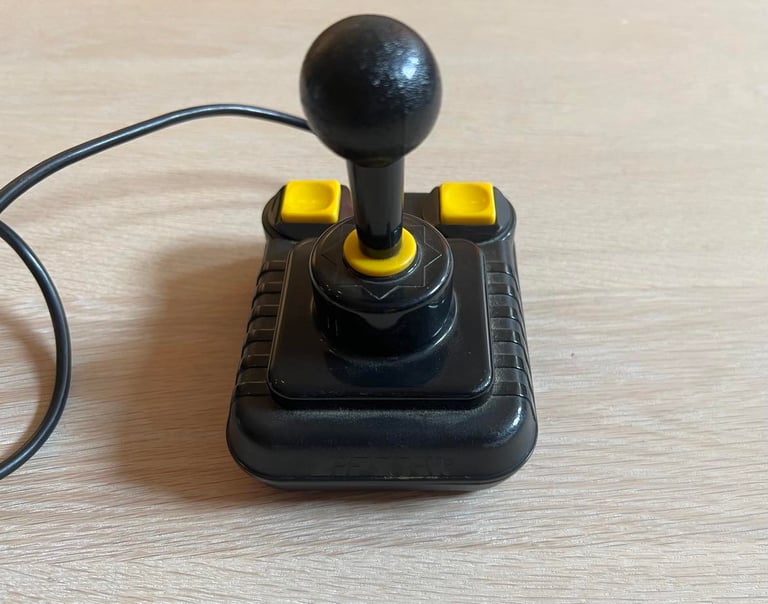
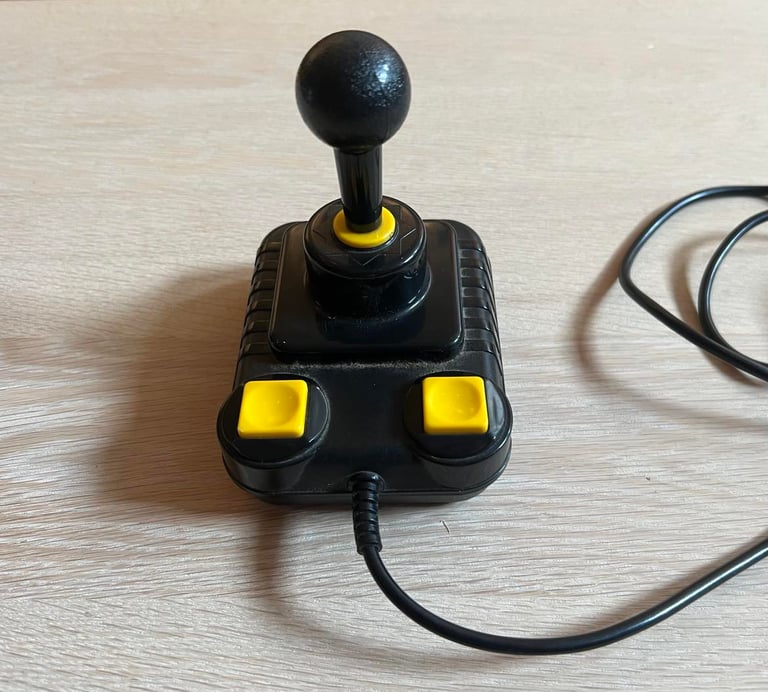
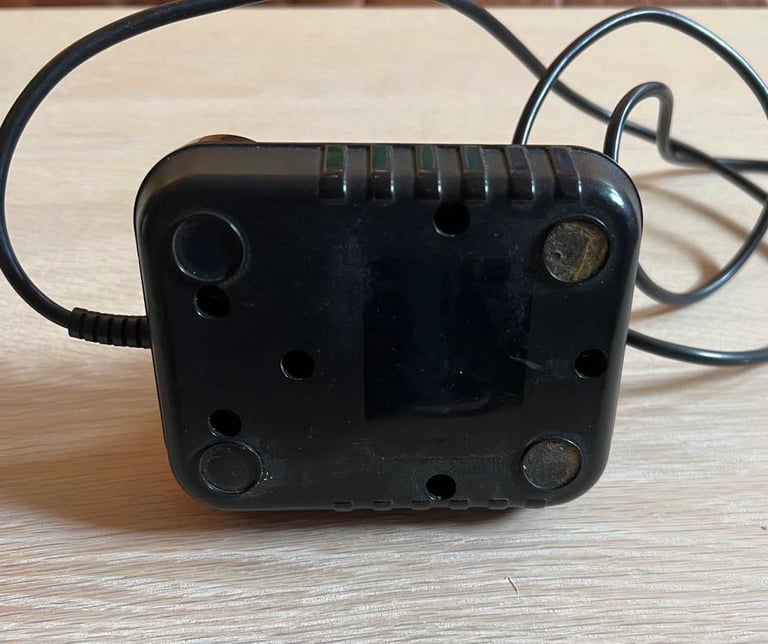
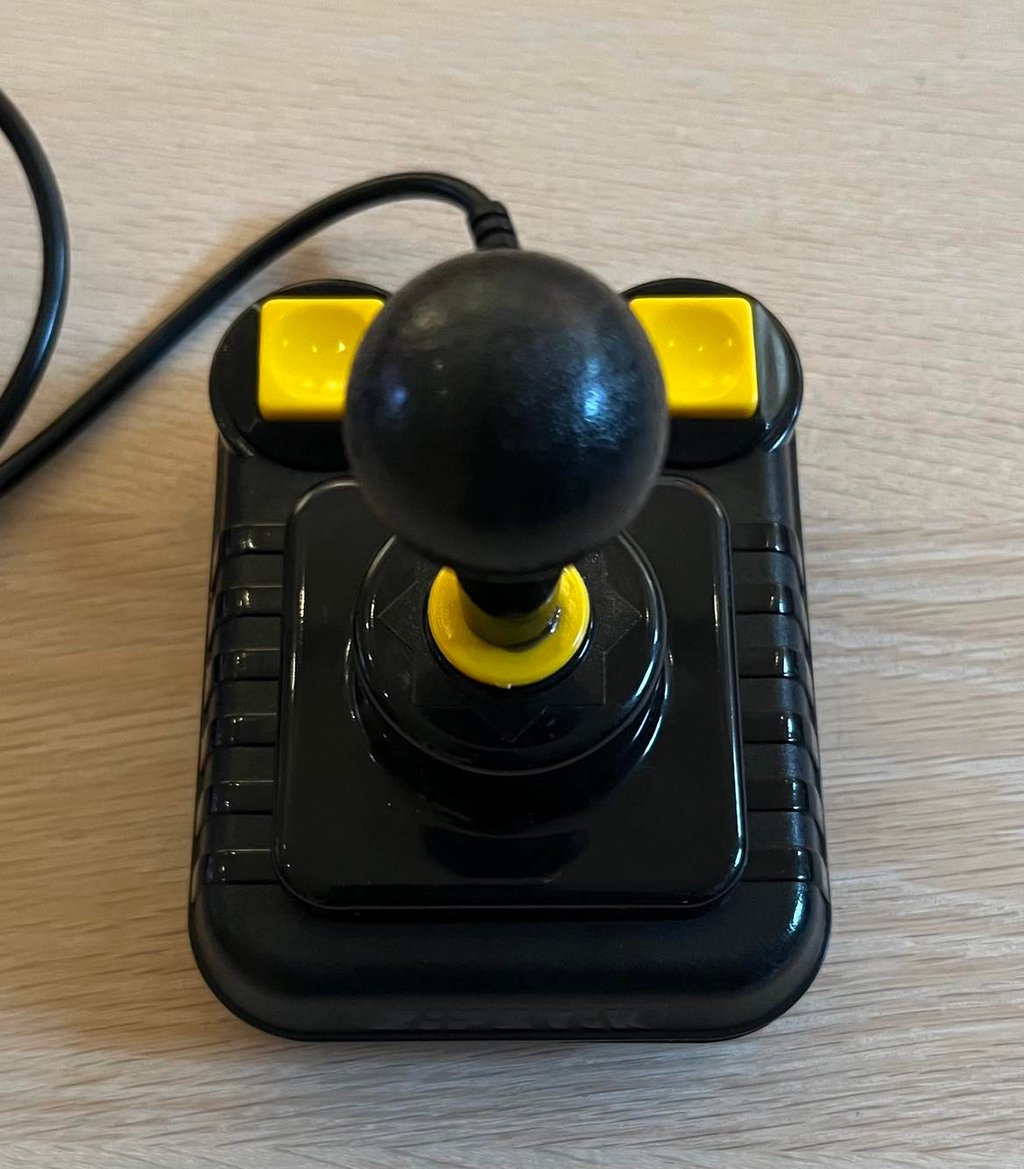
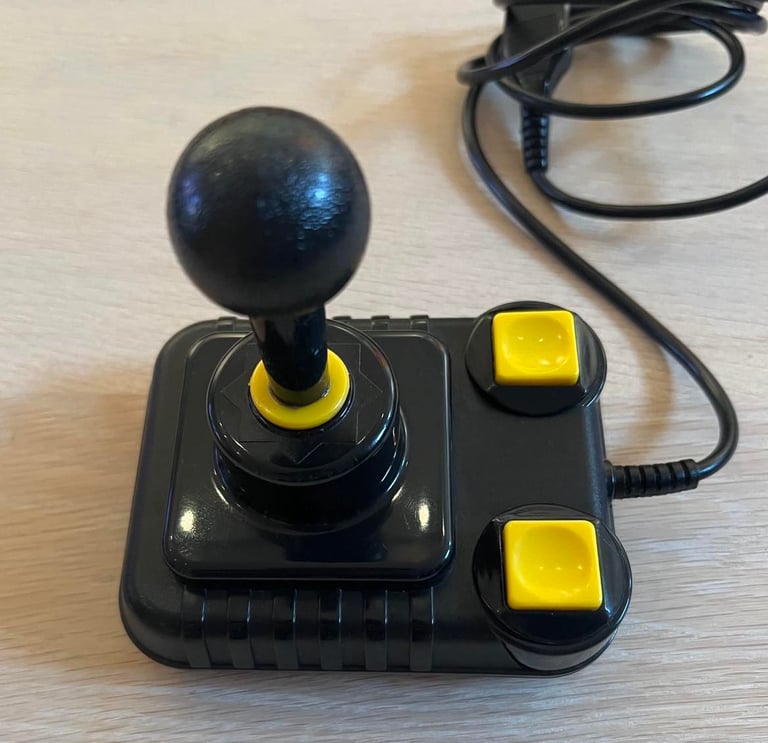
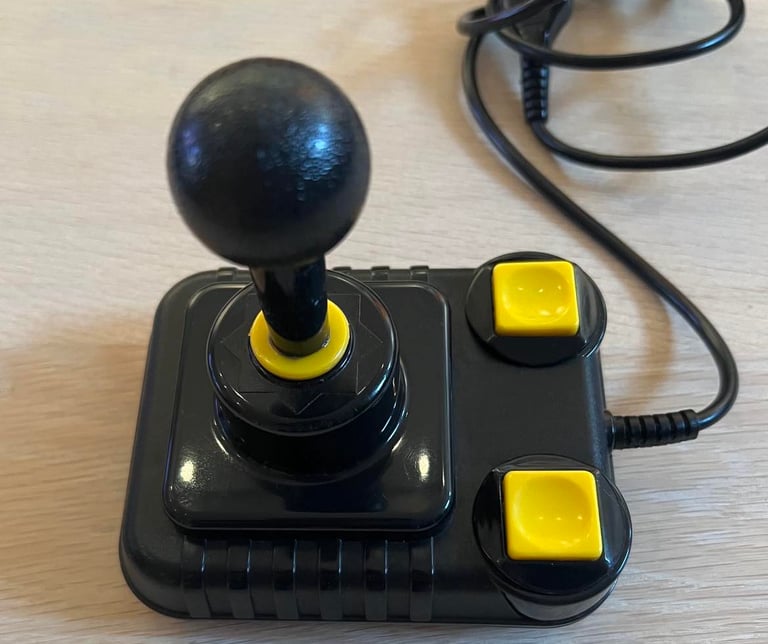
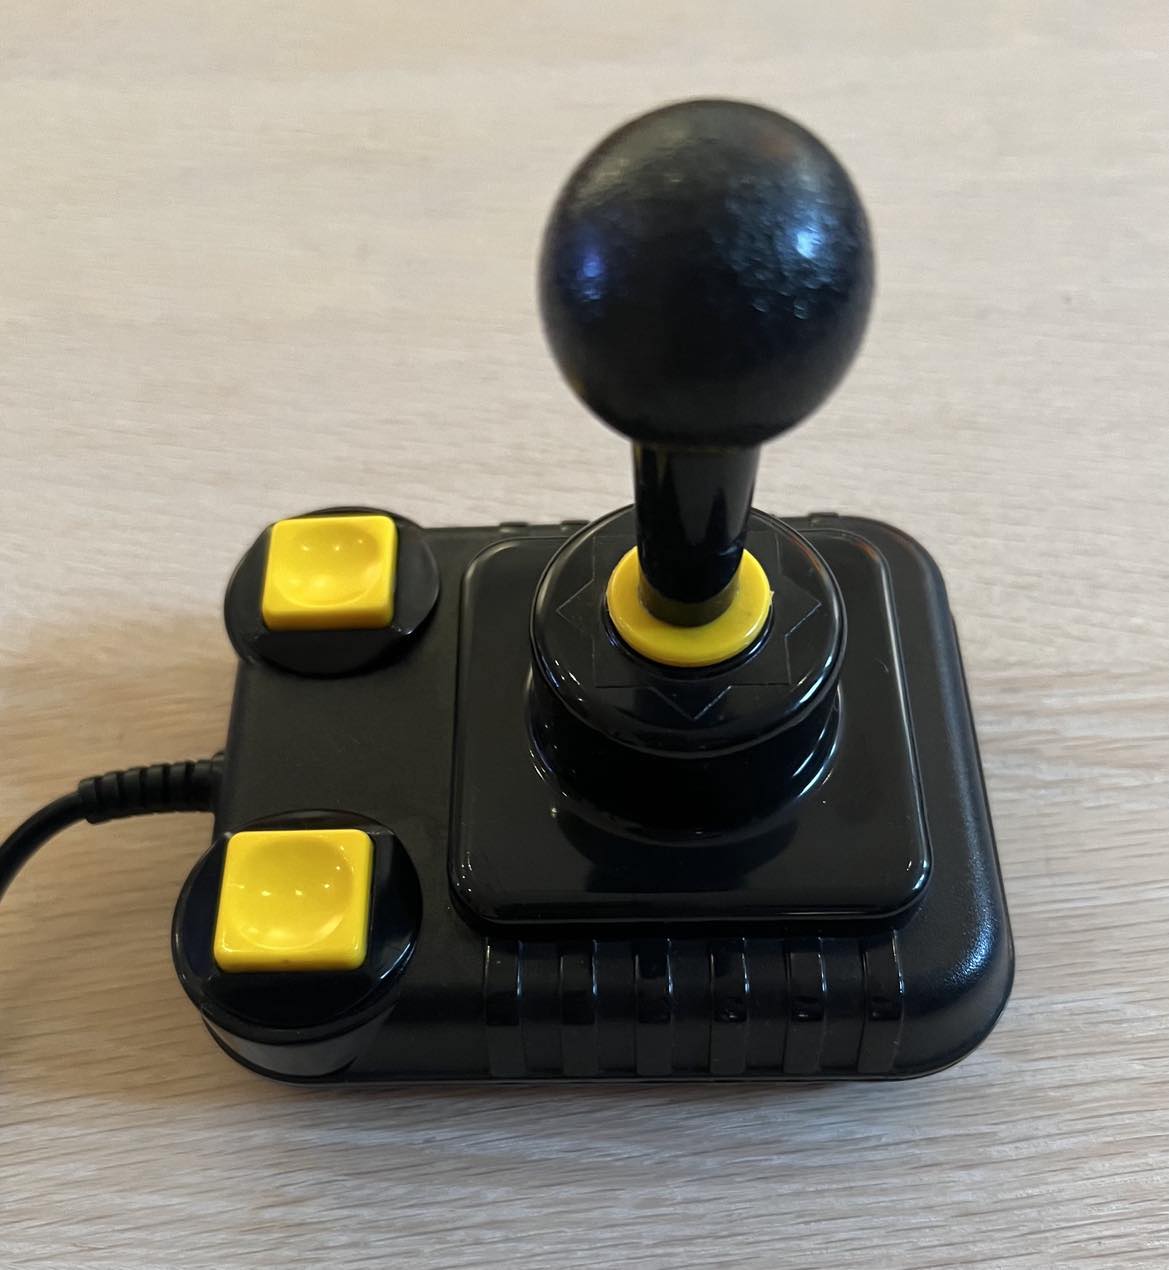
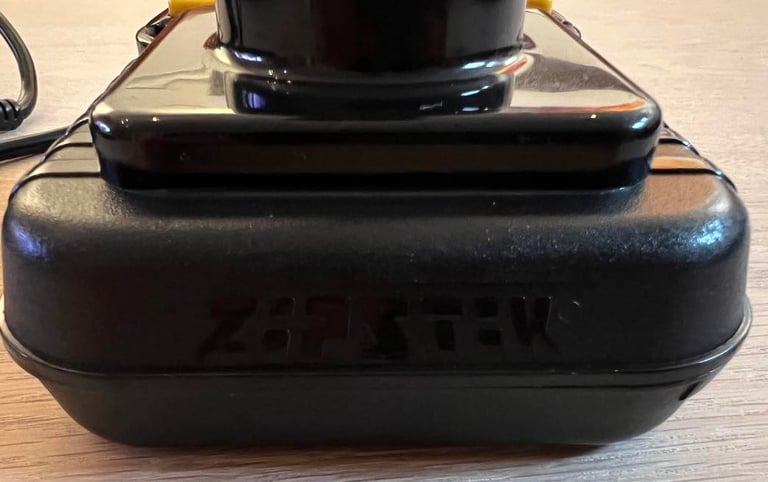
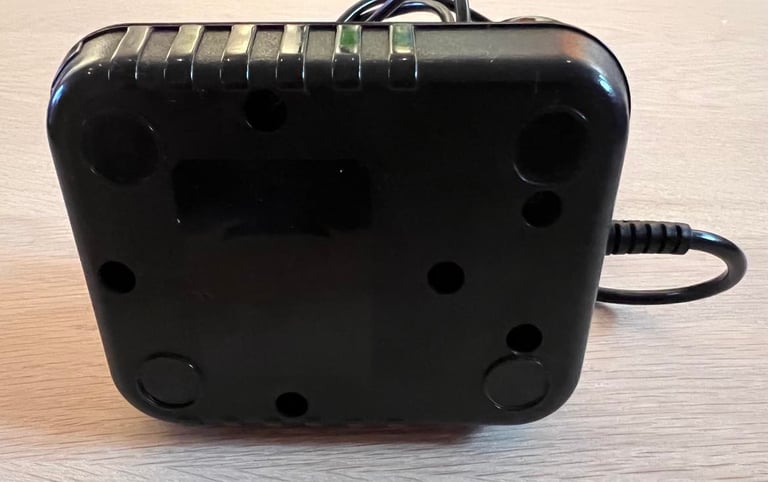
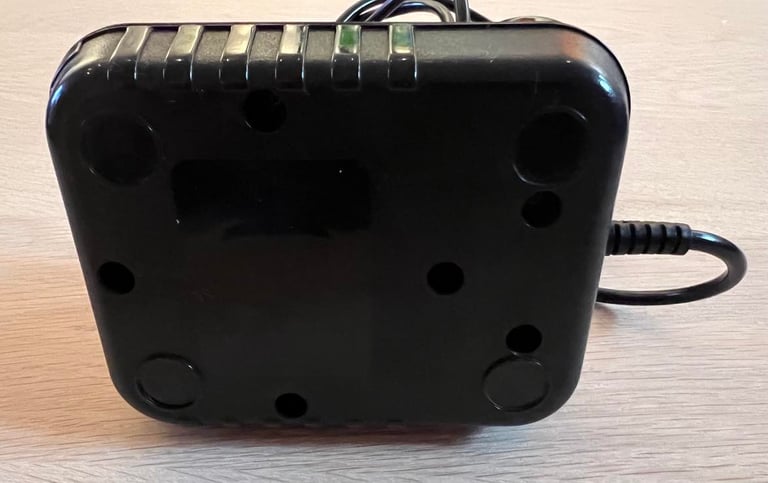
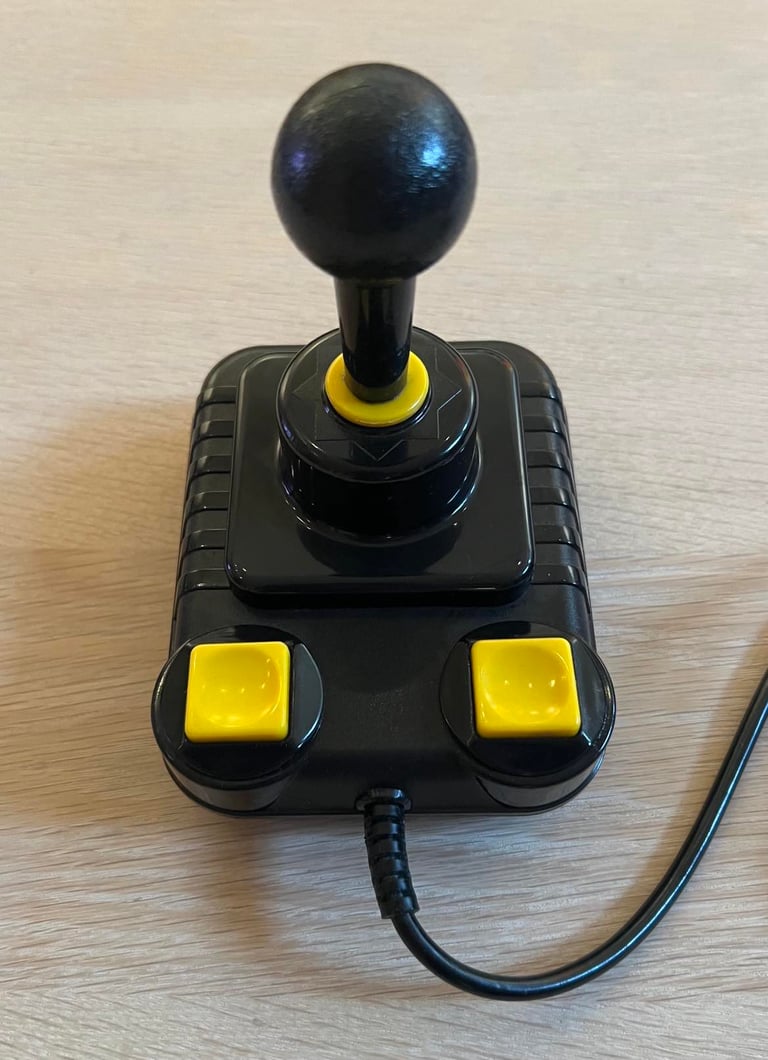
Zipstik - my favorite joystick! That is probably a very good starting point. Nevertheless, the joystick is very dirty. It is full of grease and dirt, but it looks to be undamaged. The two fire buttons needs some lubrication, but seems to be ok otherwise. The cable also looks to be intact, but as the chassis - very dirty. There are no rubber feets on the bottom cover of the joystick, only some glue residue (?).
Below are some pictures of the joystick before refurbishment.


Refurbishment plan
To refurbish this joystick the plan is to do this trough the following steps:
- Clean, and remove stains from, chassis and all parts
- Clean and check the microswitches (and repair if required)
- Check connectivity (and repair if required)
- Verify joystick operation by testing
Opening it up...
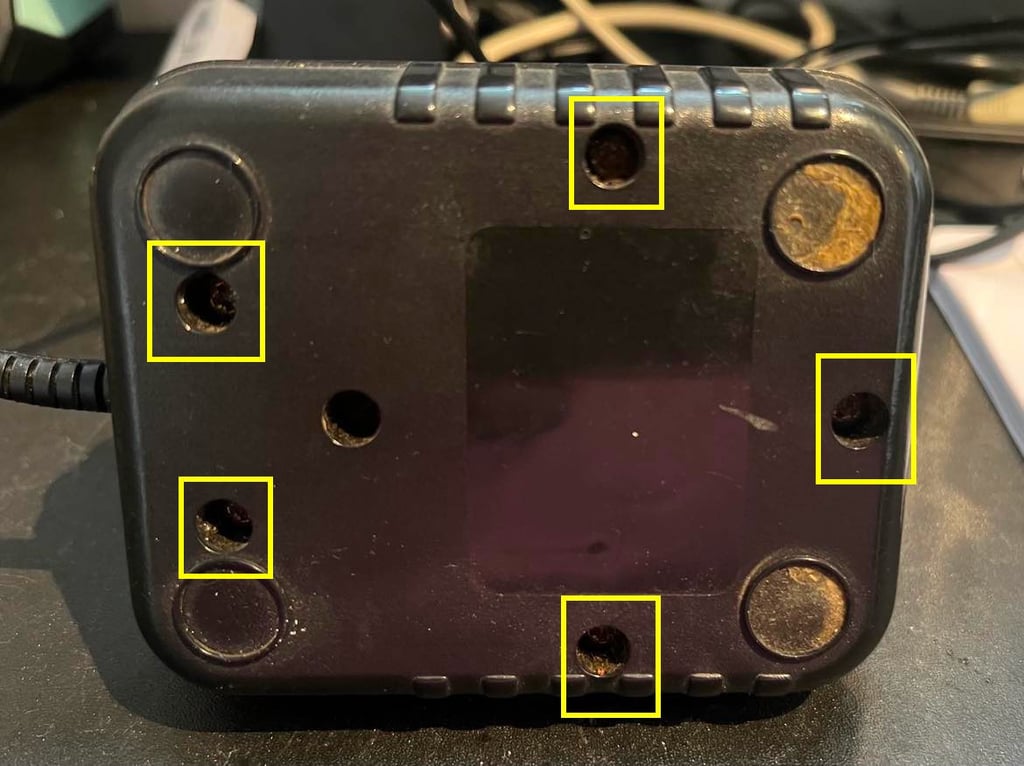
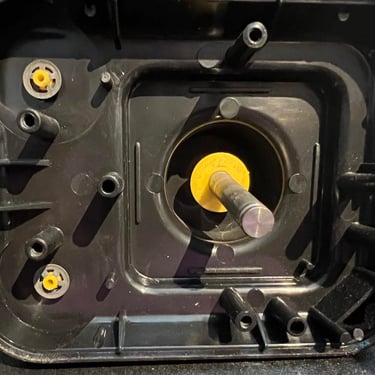
To disassemble the joystick the five screws in the bottom cover are removed (yellow squares).

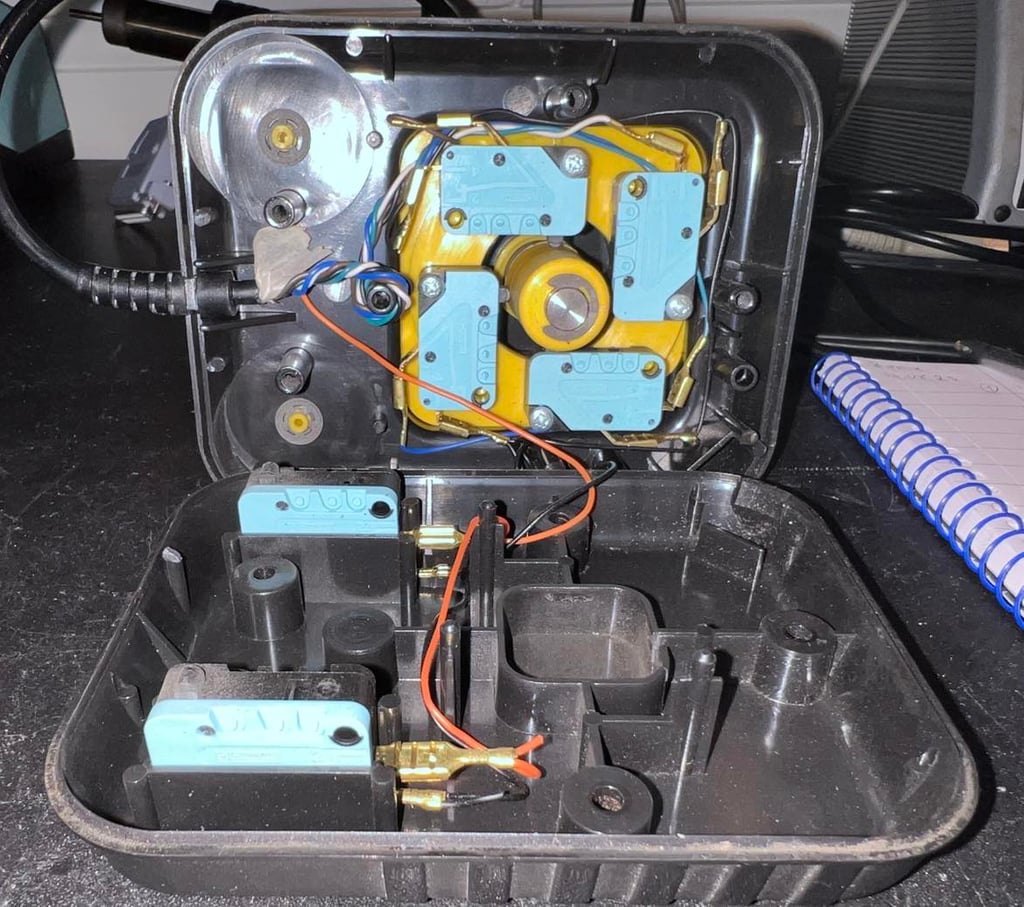
The top cover is carefully lifted away from the bottom cover. This reveals the interior of the joystick - it looks to be intact, but it is very dirty. As can be seen from the picture below even the top of the microswitches below the "FIRE" buttons are full of dust. Nevertheless, the microswitches feels very good! A real "clicking" sound and responsive when pushing the levers. Nice!

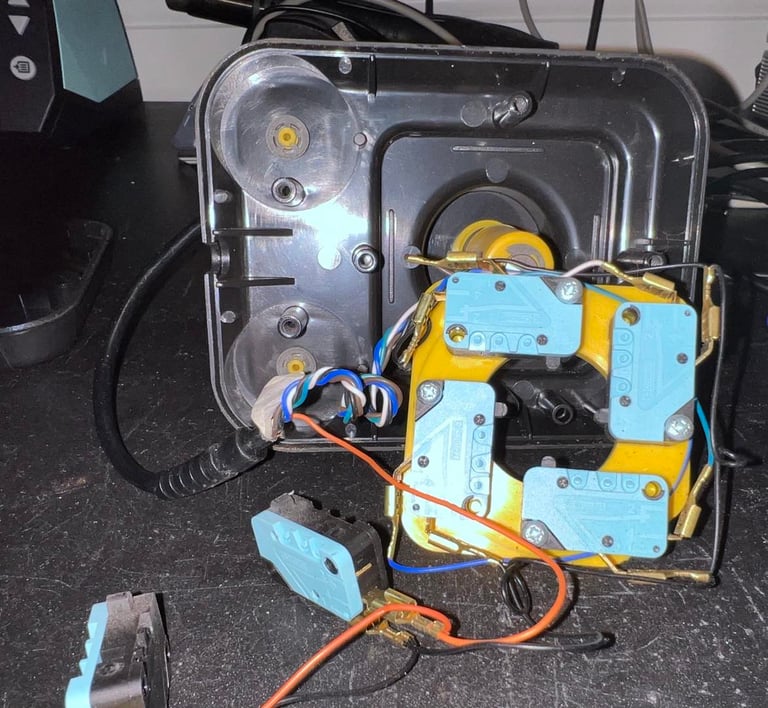
Both microswitches are removed from the bottom cover. From the top cover both the cable strain relief and the yellow plastic bracket with the rest of the microswitches are lifted out.

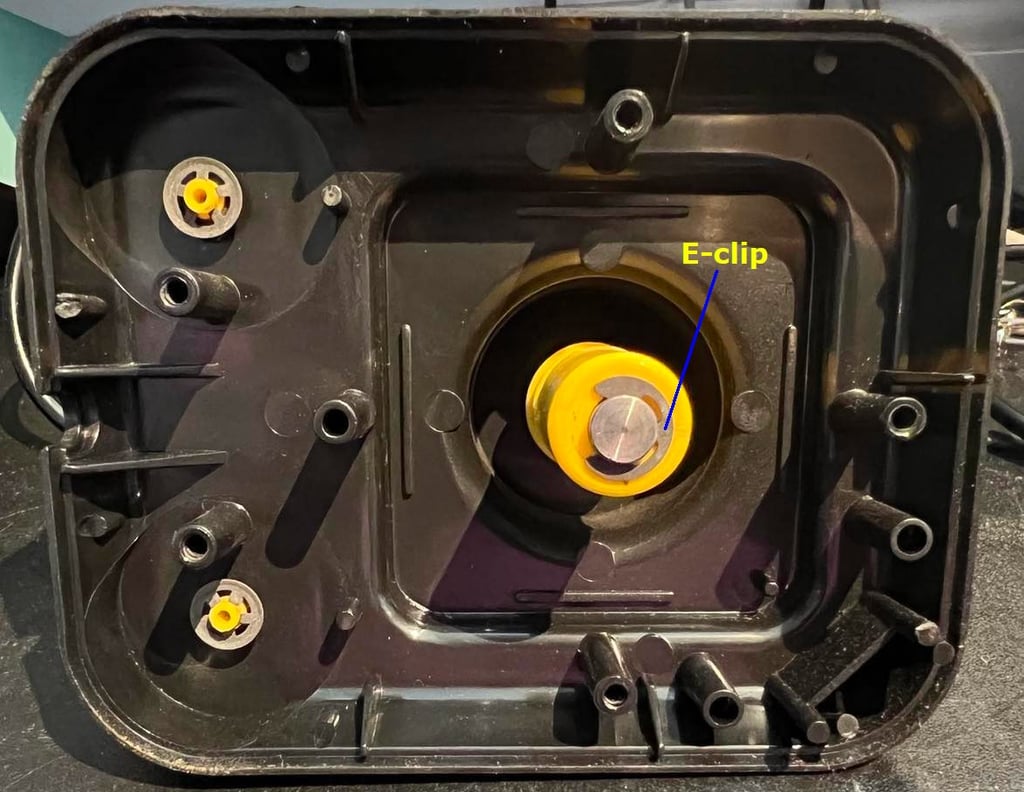
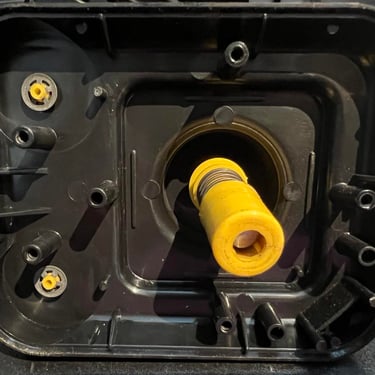
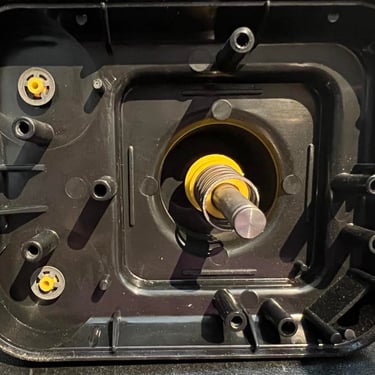
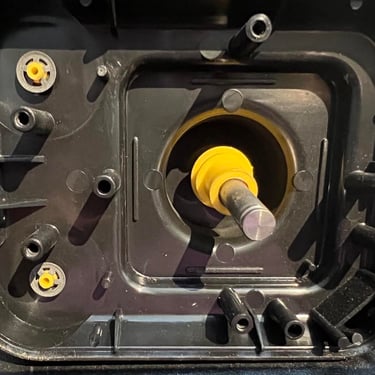
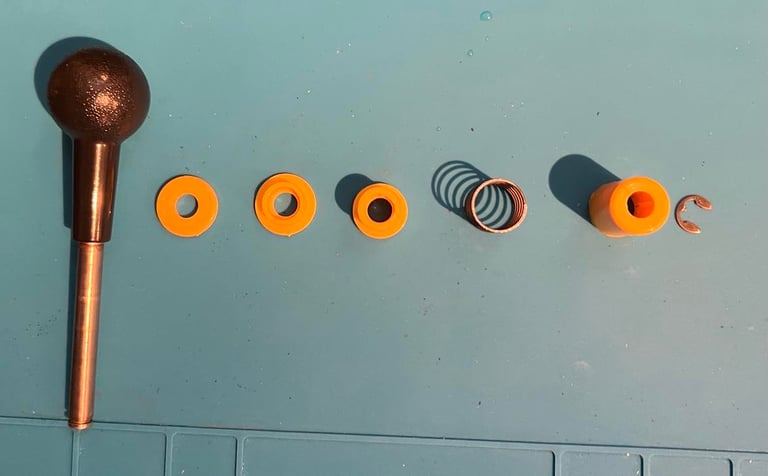
The joystick shaft is disassembled by first removing the E-clip with a small flat screwdriver at the end of the shaft. When the E-clip is removed all the remaining parts are removed. See pictures below.


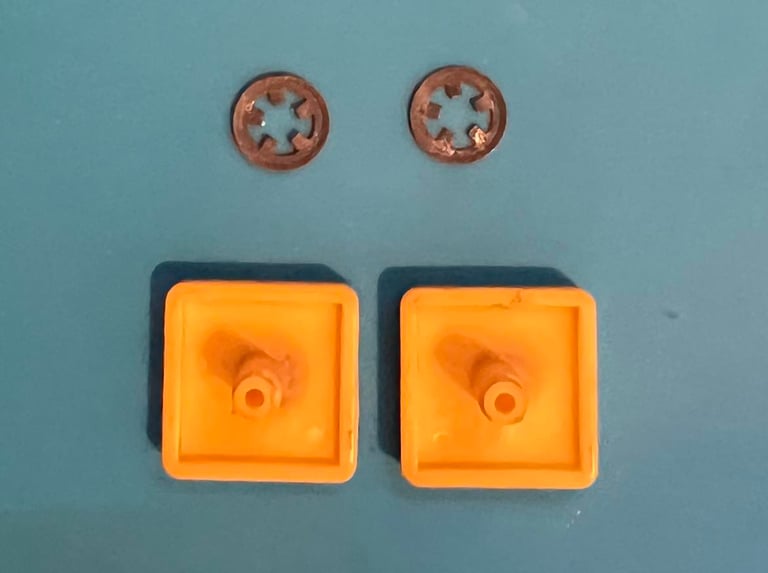
To remove the FIRE buttons the two metal clips are removed. With a pair of needlenose pliers these clips are pried off the yellow FIRE button plastic shaft. Take care not to break either clip or plastic shaft doing this.


Exterior casing
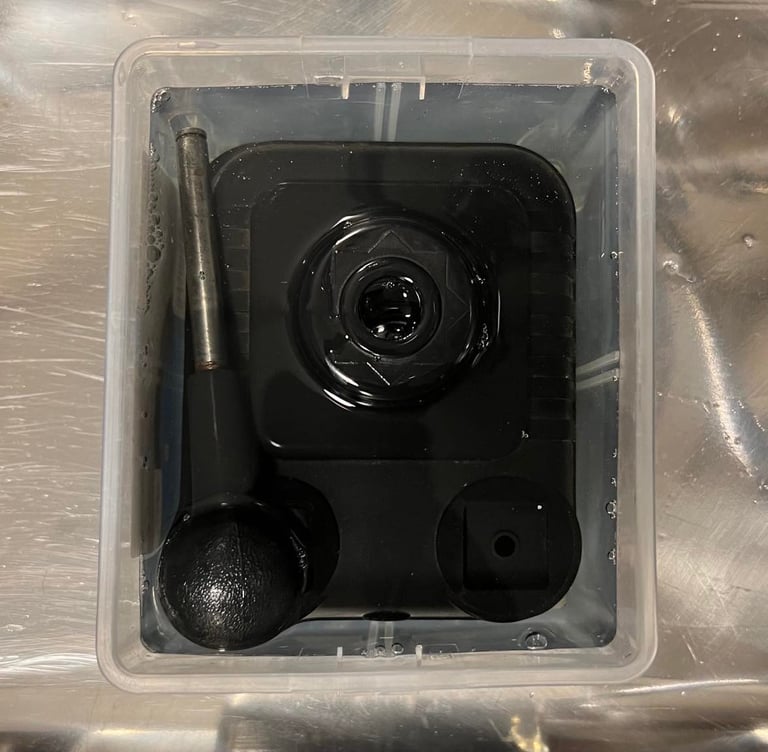
The top- and bottom cover - and the rest of the parts- are placed in a box of mild soap water for about 5 hours. Then they are cleaned individually with a soft paint brush. Finally all parts are cleaned with isopropanol and glass cleaning spray to make sure all marks are gone. The result is very good.


The fire buttons are lubricated with some MoS2 grease and silicone spray. It become way better - but it needs to be "massaged" from time to time to work 100 %. Should not be a problem, but could possible require a bit more silicone spray and "massage" later.
Interior
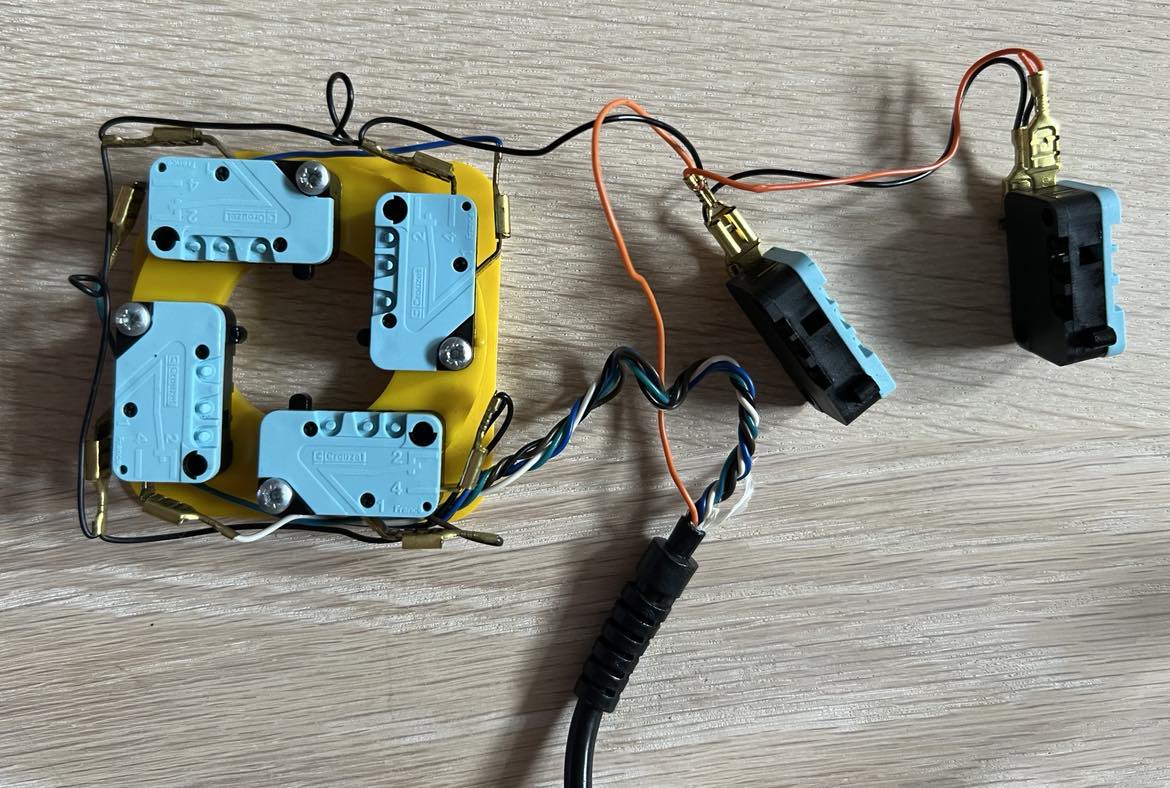
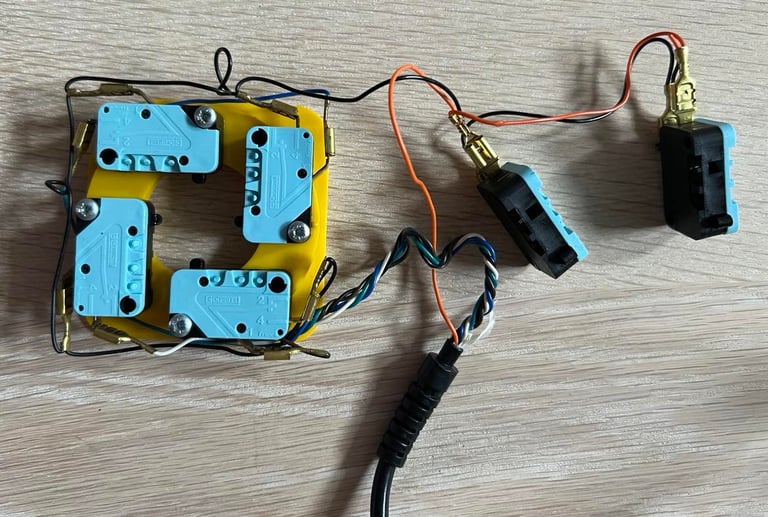
There are no PCB in a Zipstik joystick. Instead there are six quality microswitches directly connected to the joystick cable. In this joystick all the microswitches are of the brand "Crouzet" (Made in France).
All the microswitches are checked and cleaned properly - with both isopropanol and contact cleaner.
Connectivity
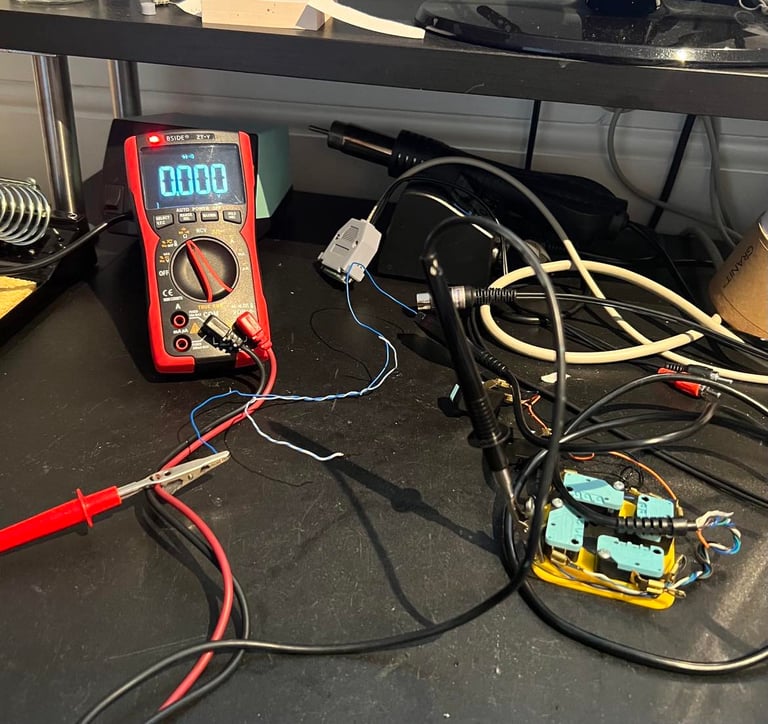
To make sure the joystick operates as it should connectivity is checked from the microswitches, trough the cable and out on the connector. You could argue that this could be done without a multimeter, but I find it good practice to use a multimeter. With the multimeter in "beep" mode I can quickly detect if one of the wires in the cables are marginal while twisting and bending it.
The pinout can be found in Connectors Commodore 64 from the My Old Computer website - and for ease of use this pinout is also reproduced below. Note that this pinout is from the Commodore 64 side - mirror it if you see if from the joystick connector side.
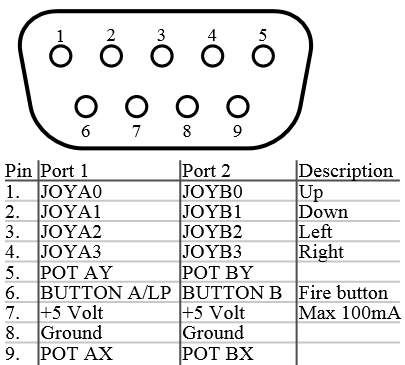

There are no AUTO-FIRE feature on this joystick so the +5V (pin #7) is not connected. UP/DOWN/LEFT/RIGHT/FIRE/GND are all tested properly and show good connectivity. Below is a picture from the test setup.

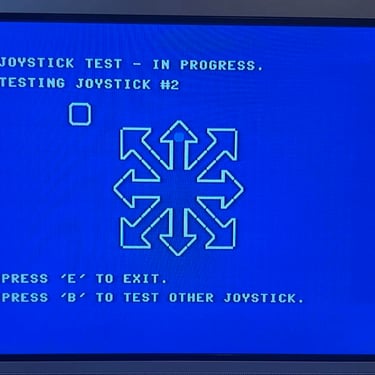
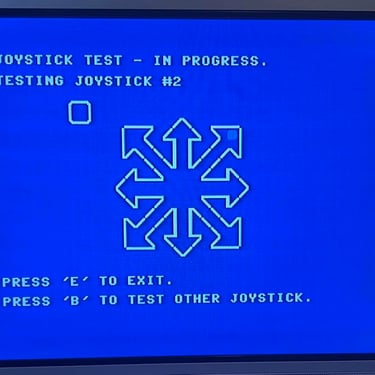
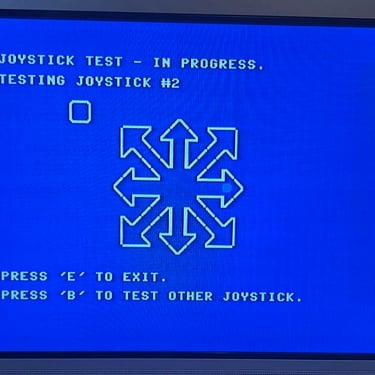
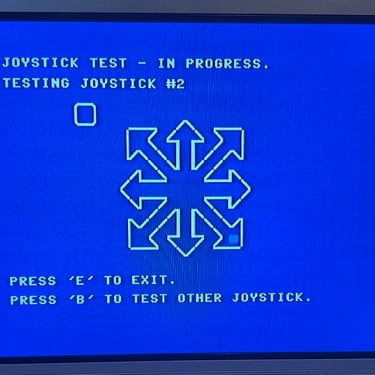
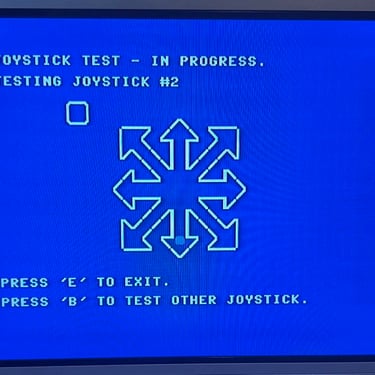
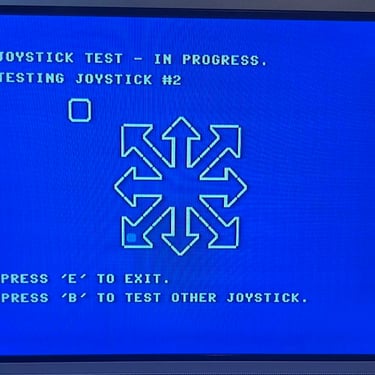
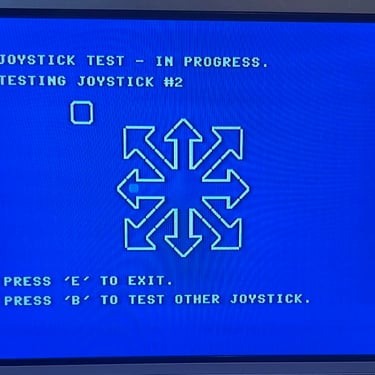
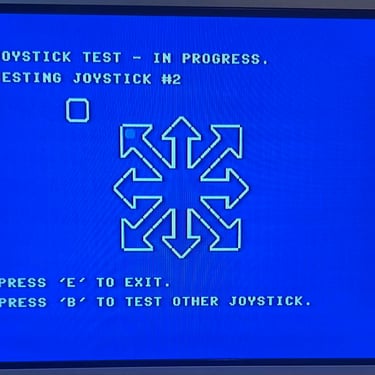
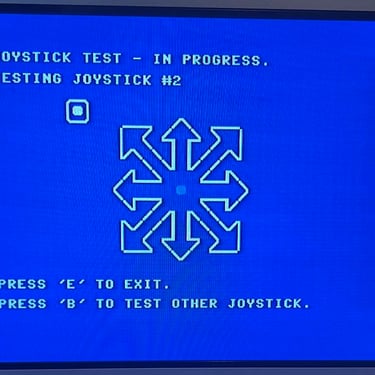
Testing
To verify that the joystick work as it should I check it with the 64 Doctor software. Result is that all directions and fire buttons works fine works as expected. All tests pass.
Final result
"A picture worth a thousand words"
Below is a collection of the final result from the refurbishment of this joystick. Hope you like it! Click to enlarge!


Banner picture credits: unknown