

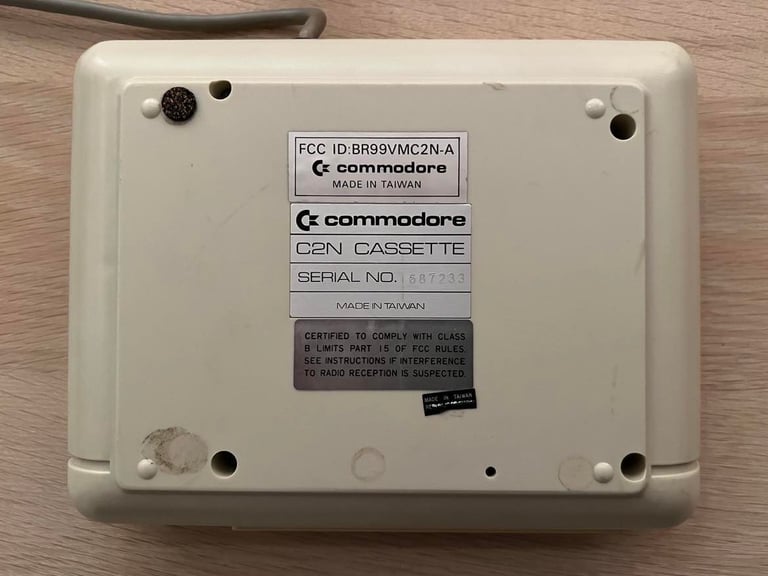
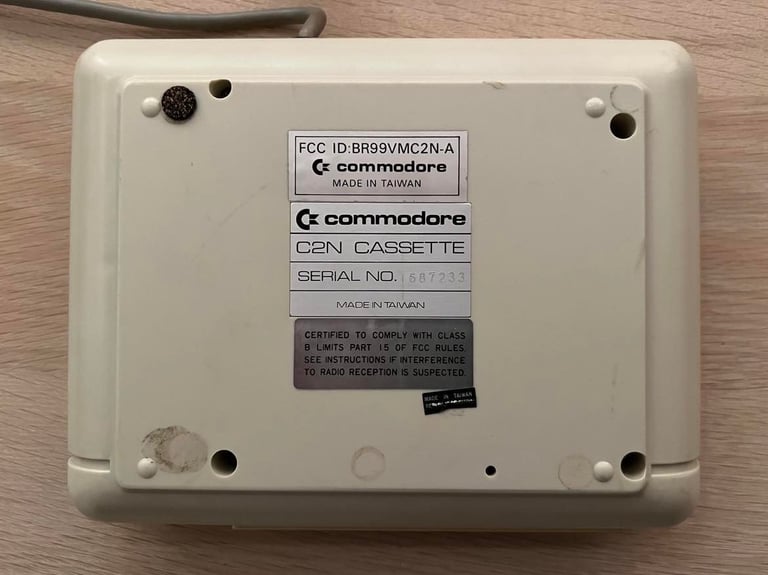
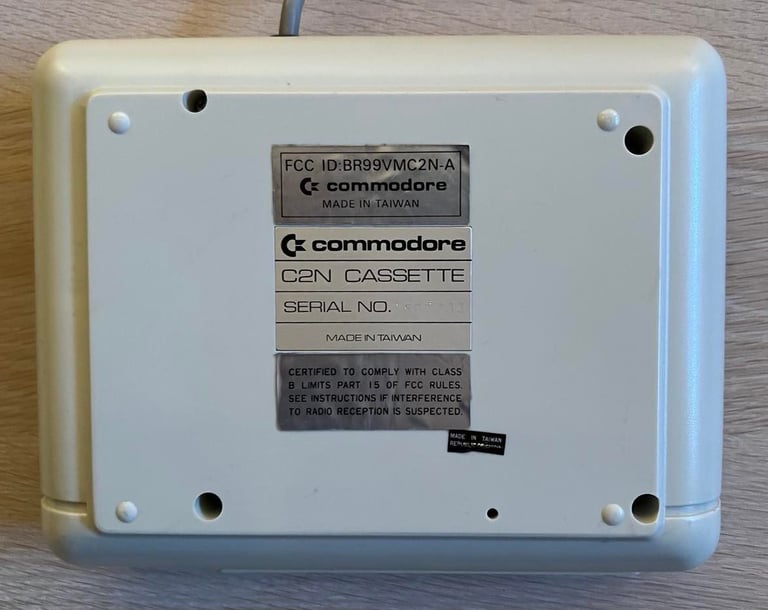
1530 (C2N)
Ser. No. 1687233
Starting point
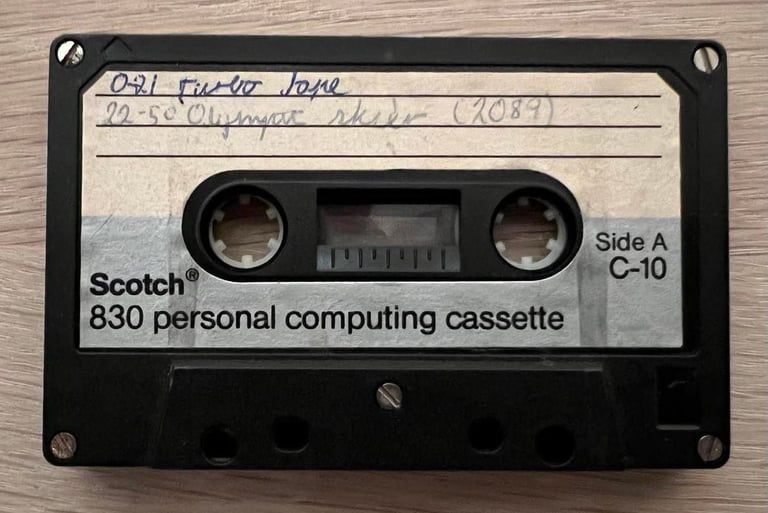
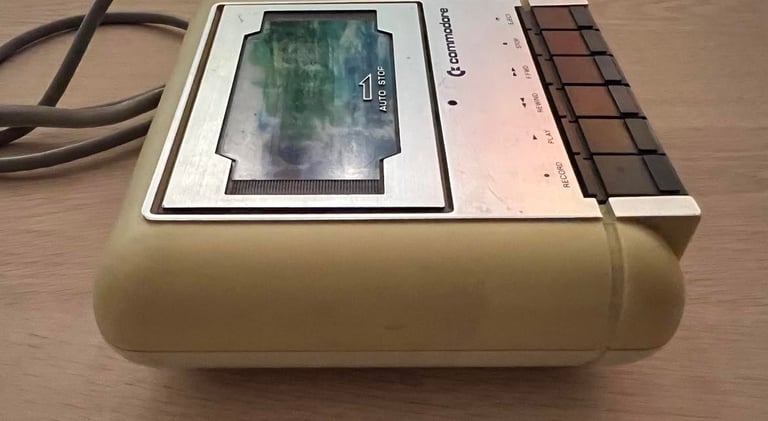
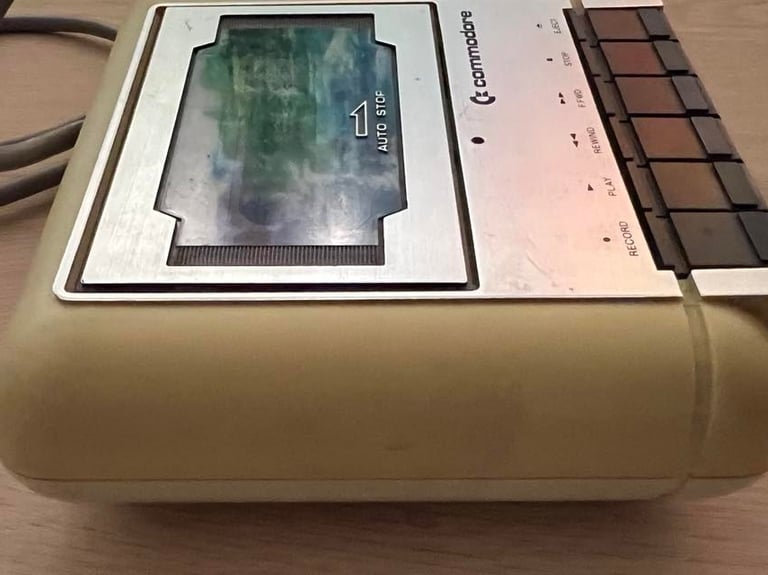
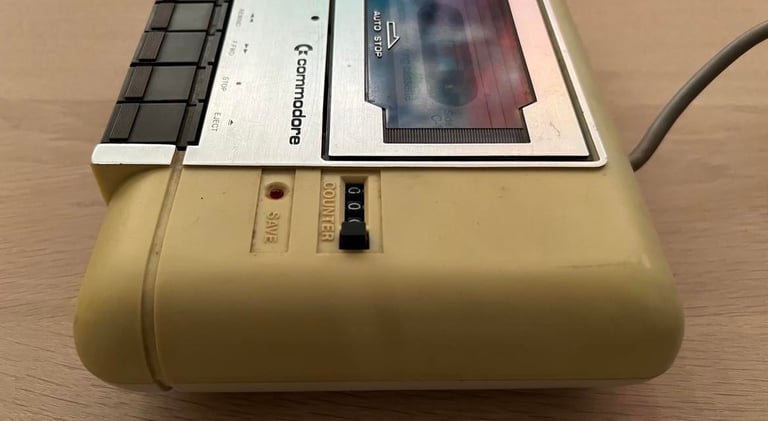
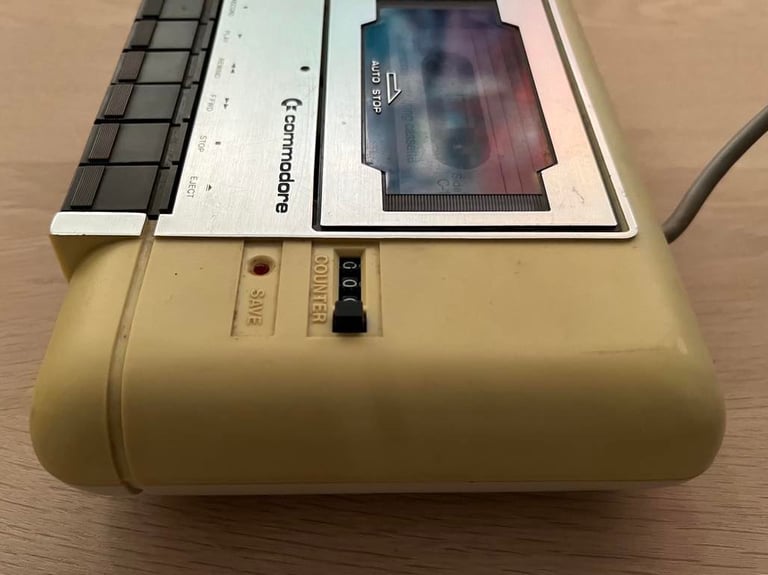
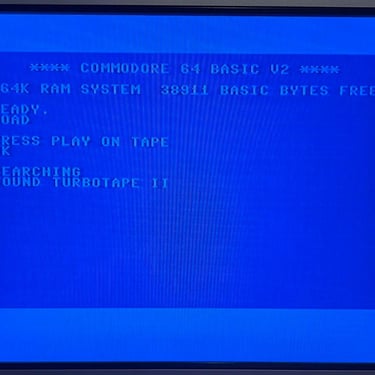
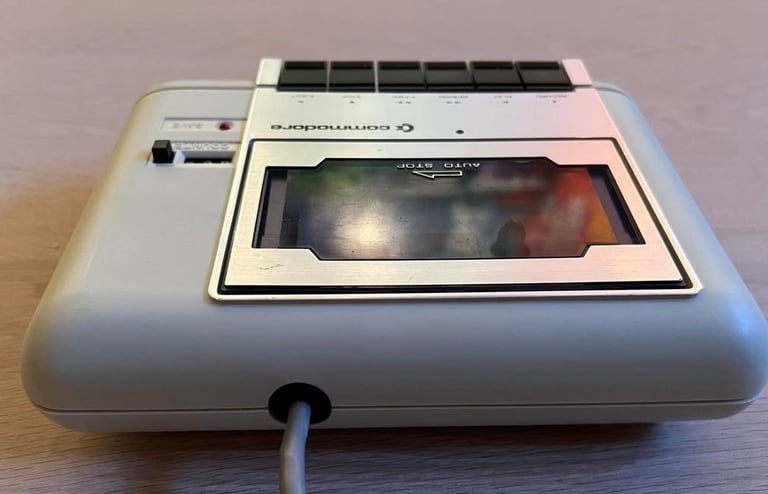
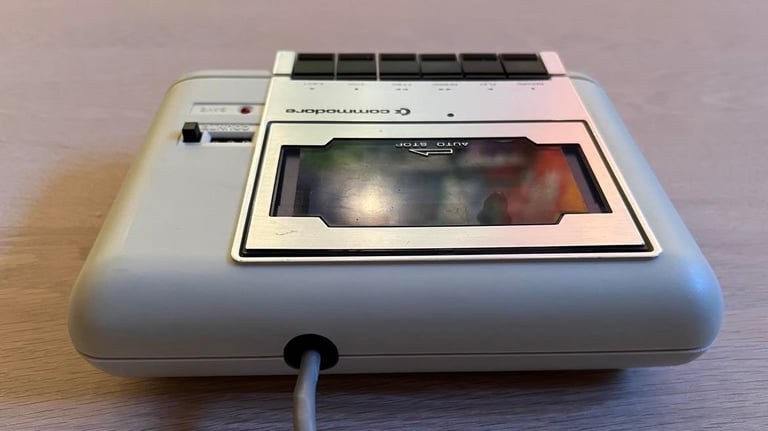
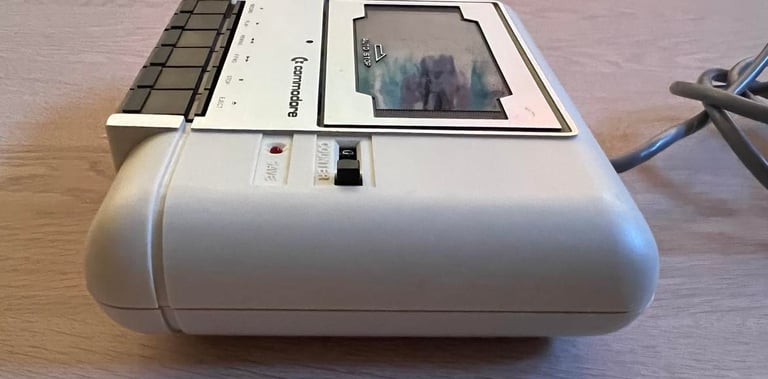
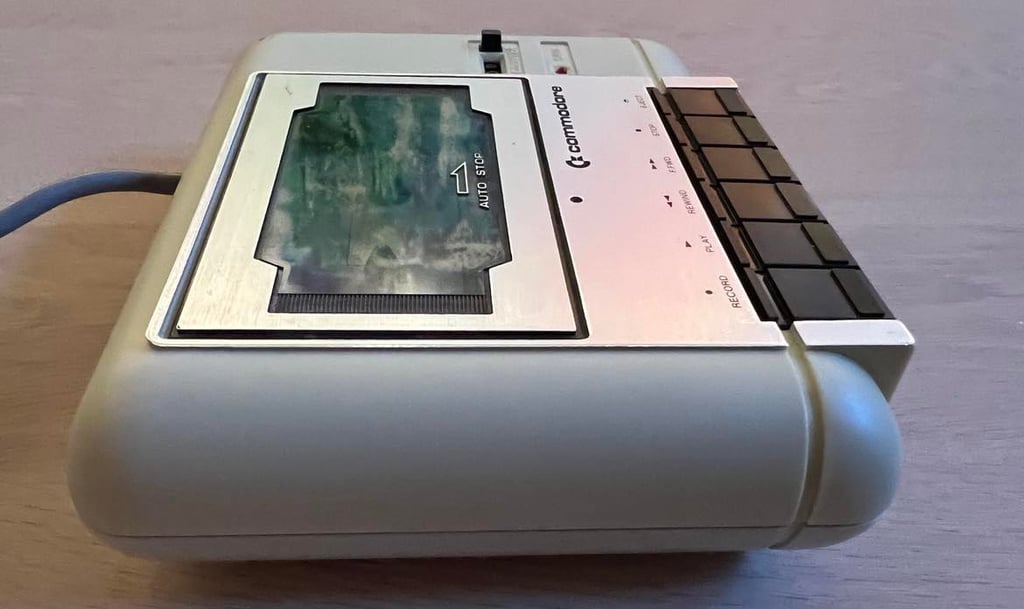
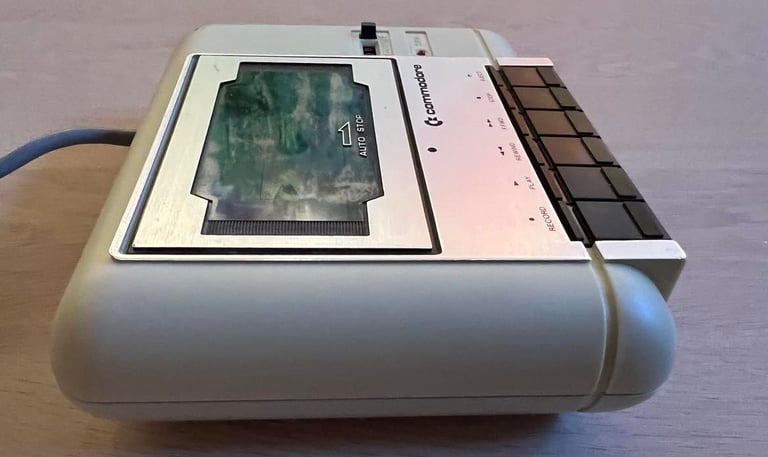
This datasette followed the Commodore 64 with serial number 68722. From the exterior of it this looks promising, but I don´t know (yet) if it works or not. Below are some pictures before the refurbishing. It is a bit dirty on the outside, and the top cover is quite yellowed. Otherwise I can´t see any damage to it. Also, there is a cassette inside the datasette! Cool! Wonder if it still works?
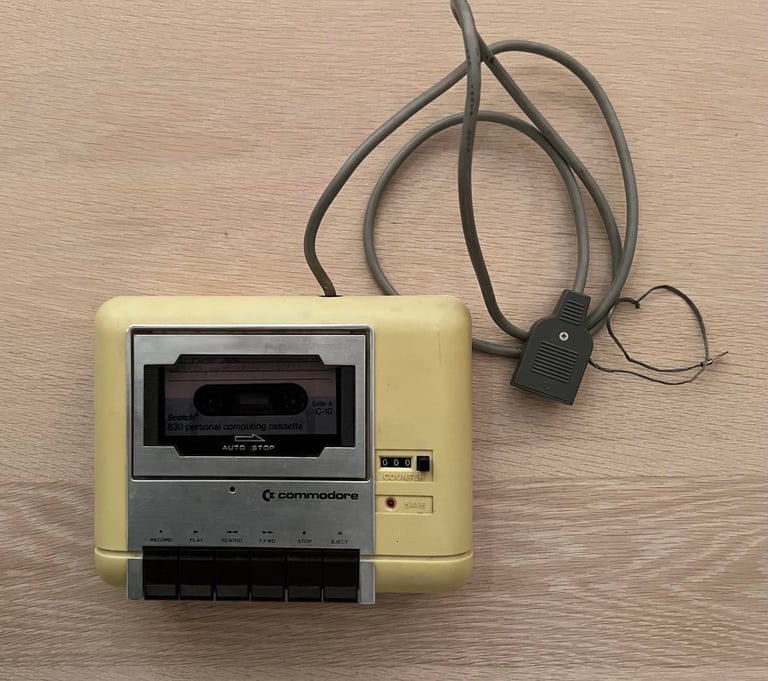
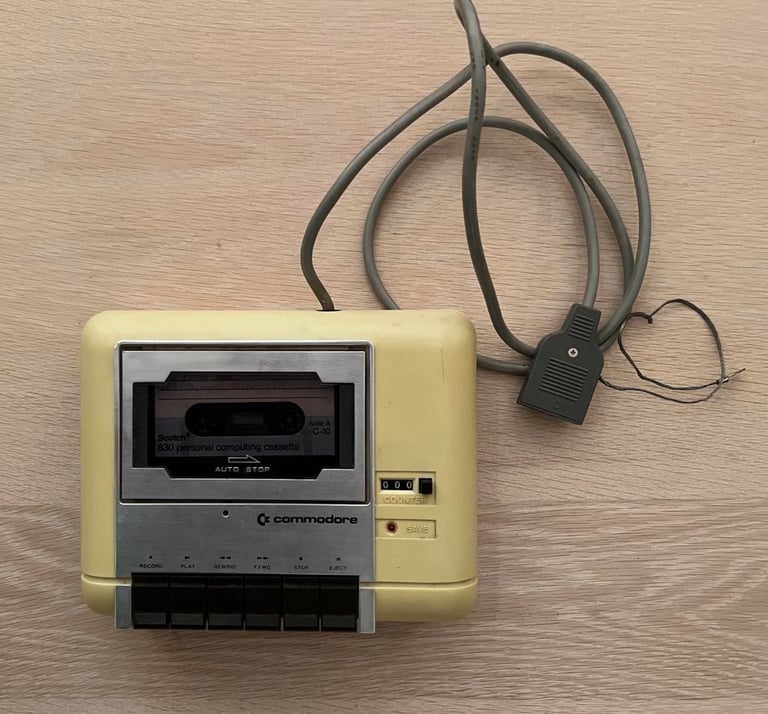

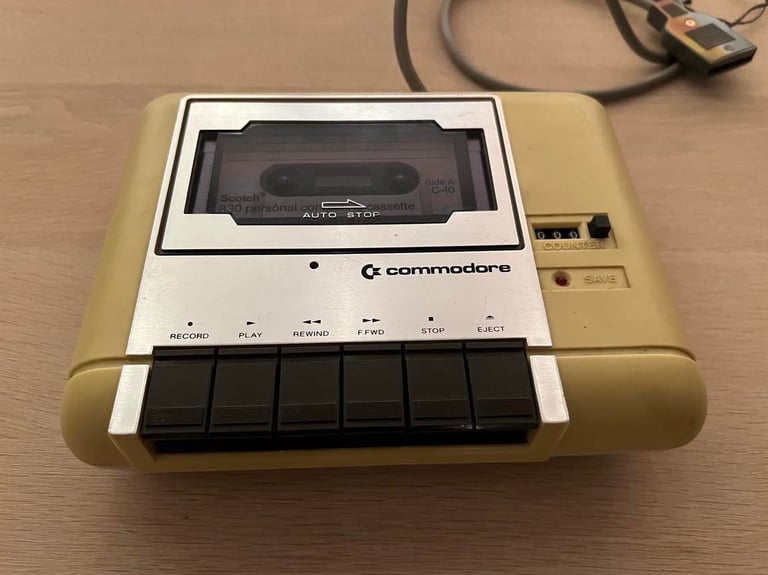
Still working after all these years? Scotch personal computing cassette with Turbo Tape!

Refurbishment plan
To refurbish this 1530 datasette the plan is to do this trough the following steps:
- Clean and remove stains from exterior casing
- Clean the interior mechanics
- Check cable and replace strain relief
- Replace motor- and counter belts
- Check PCB for corrosion and replace old electrolytic capacitors
- Adjust head for optimal tape reading
- Verify datasette operation by testing
Note that several of these steps are done in parallell.
Exterior casing
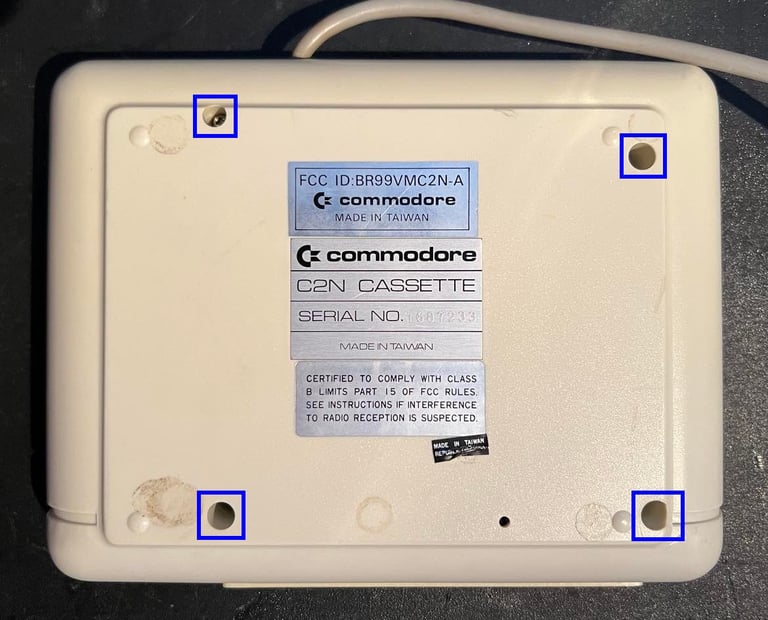
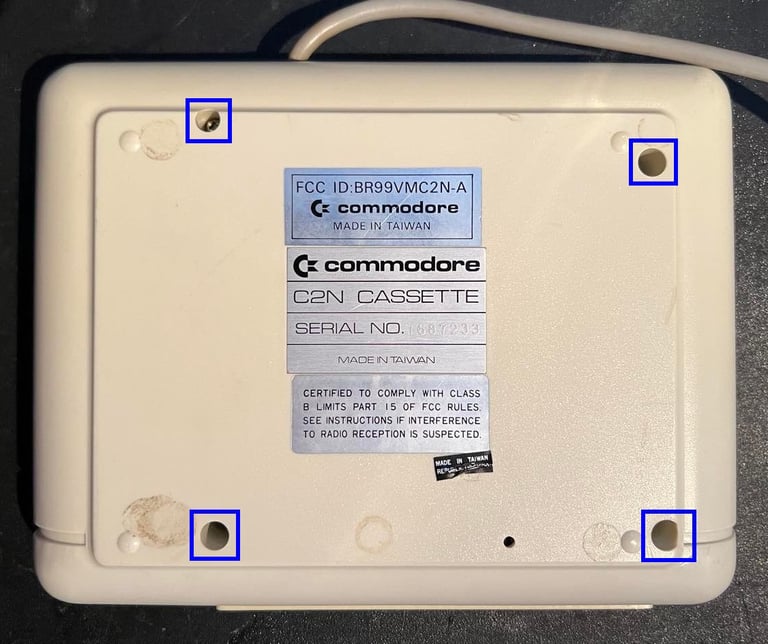
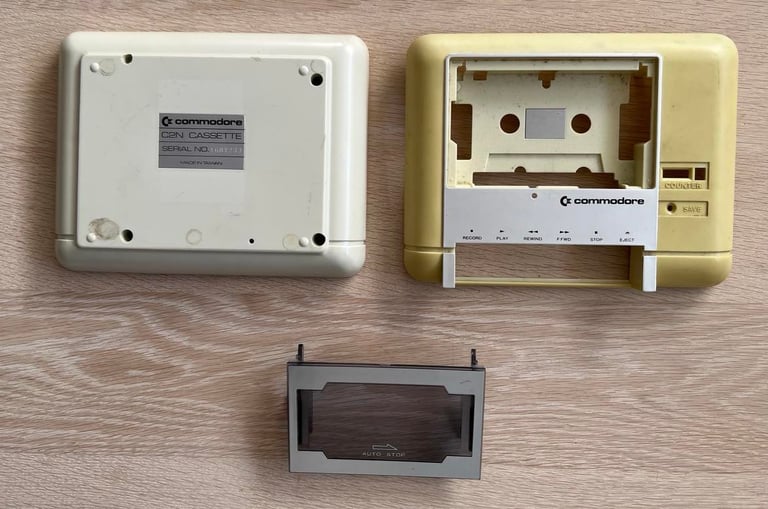
The exterior casing consists of two main parts; a top- and a bottom cover. These two parts are held together by four Phillips screws which can be removed from the bottom side.
By lifting the bottom cover off the interior is exposed which is not attached to the top cover by any screws, but it requires some "wiggling" to lift out the interior. The keys (which are part of the interior) are slided into the top cover so it is wise to remove this carefully.
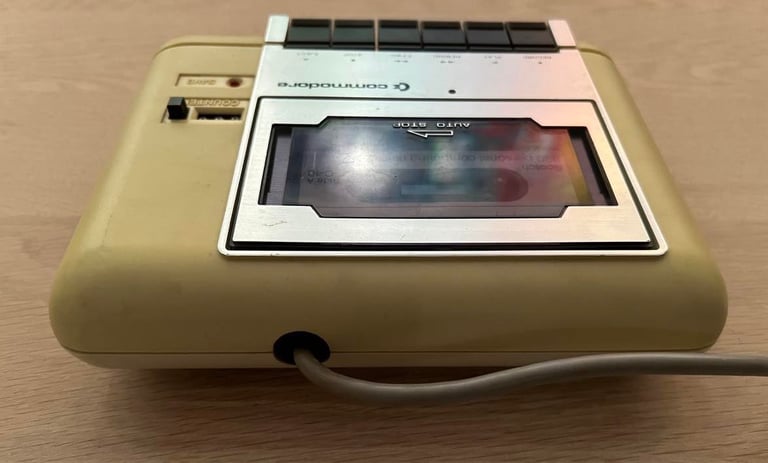
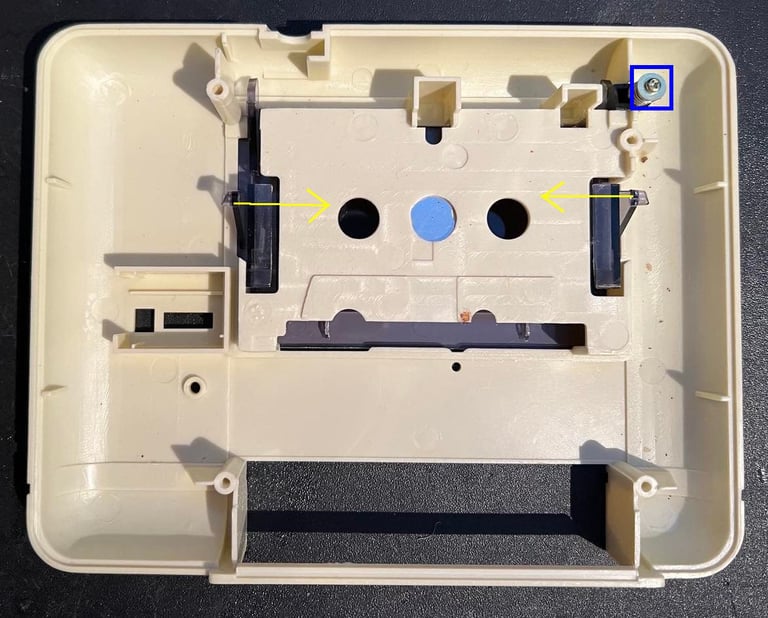
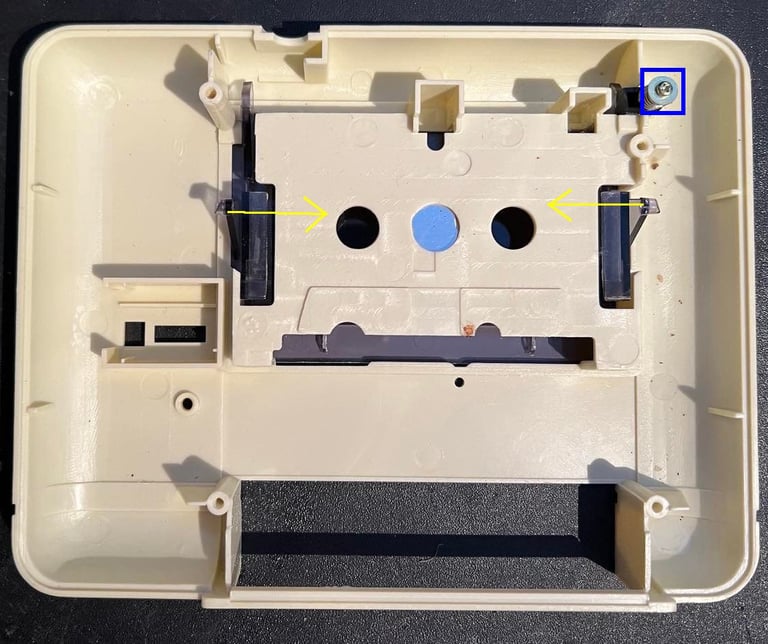
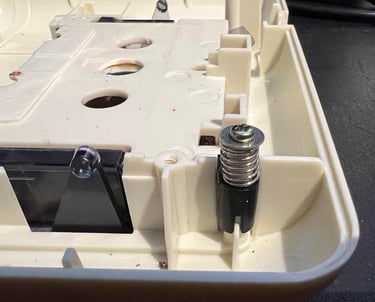
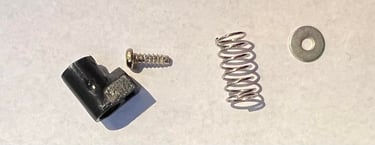
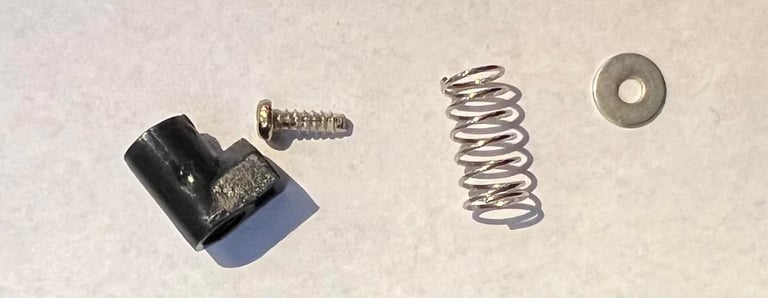
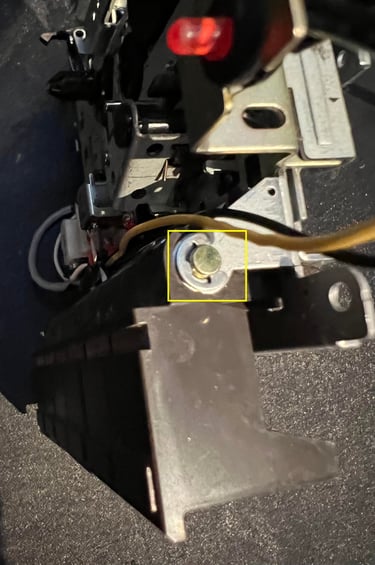
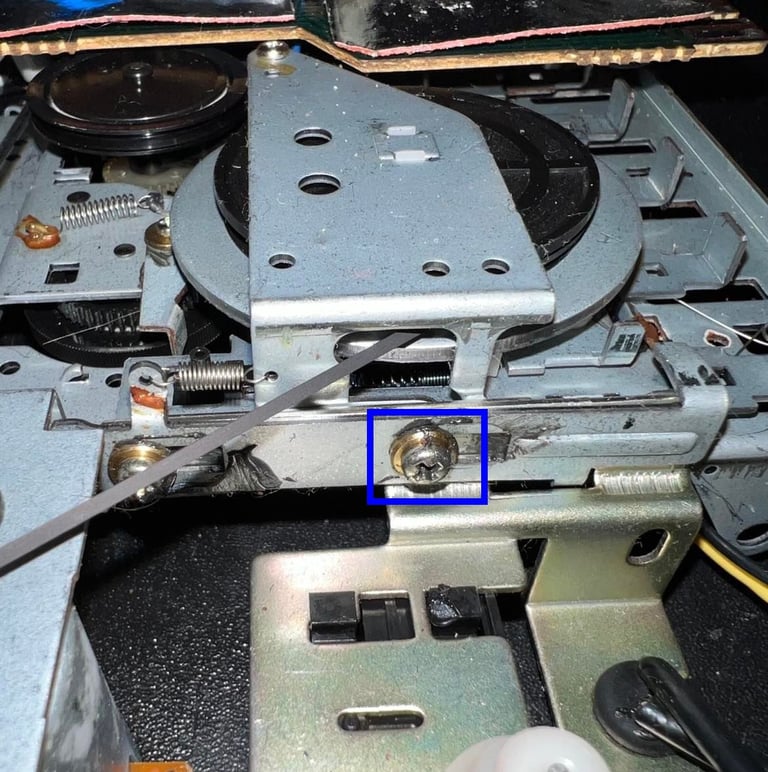
With the interior out of the way the top cover is exposed in all its glory (see left picture below). Before cleaning the tape lid is separated from the top cover. This is done by first removing the screw (blue square) which will release the washer, spring and plastic plunger used to push the tape lid when the user push "EJECT". See right picture below. Finally the tape lid is pushed out of the top cover. This is done by carefully pushing the two plastic "arms" towards the middle of the lid - while at the same time pushing the tape lid out.

Some of the labels on the bottom cover are removed to make sure they are not damaged from cleaning and/or retrobrighting. The labels are removed carefully by applying some hot air from a hair dryer while lifting the label with a sharp knife. Below are some pictures of the labels and the exterior casing before cleaning and retrobright.

The top- and bottom cover is retrobrighted for about 10 hours. I use 12 % hydroperoxide cream and UV light. The top cover is not completely back to the original white color, but it is way better than before. See pictures in the "Final result" chapter for the end result.
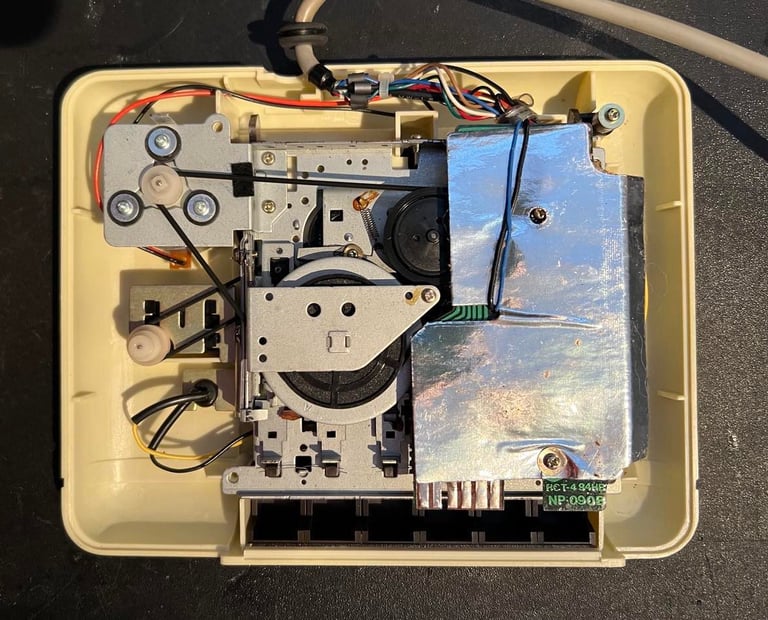
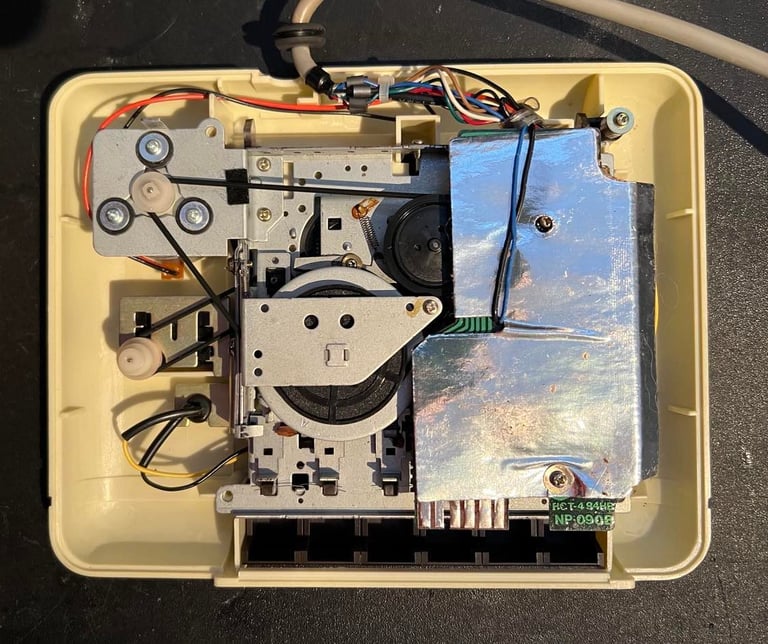
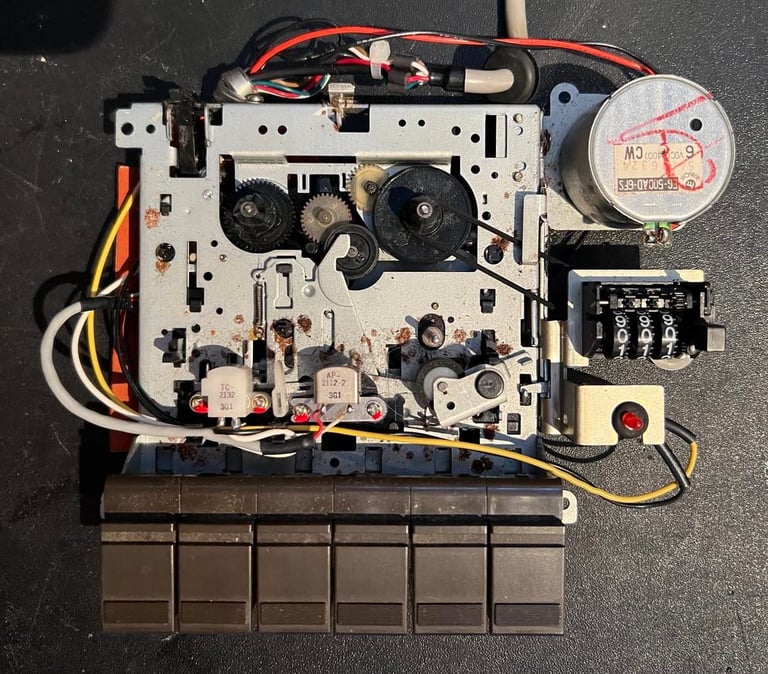
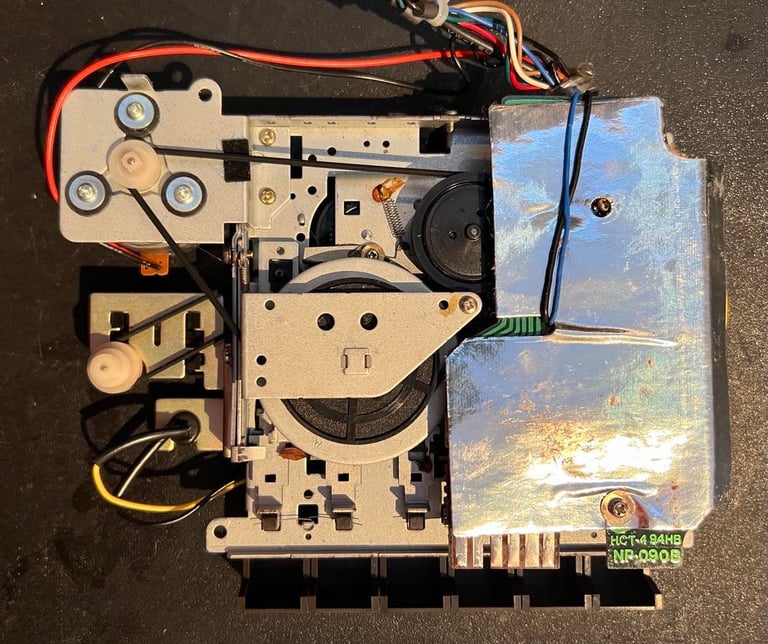
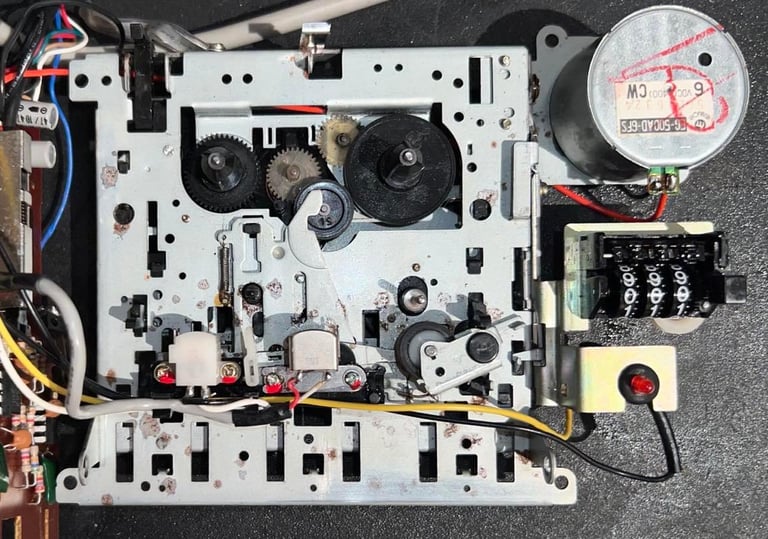
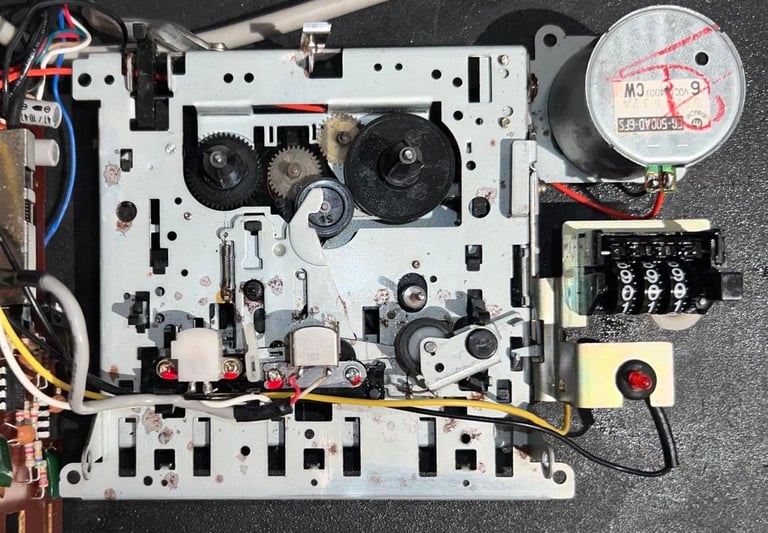
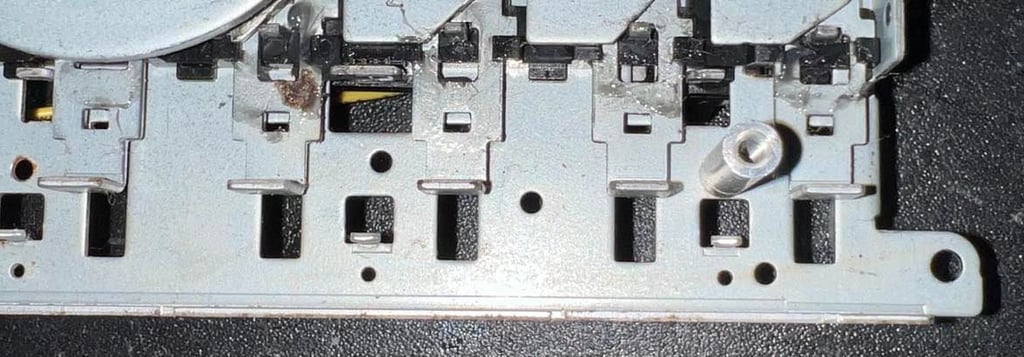
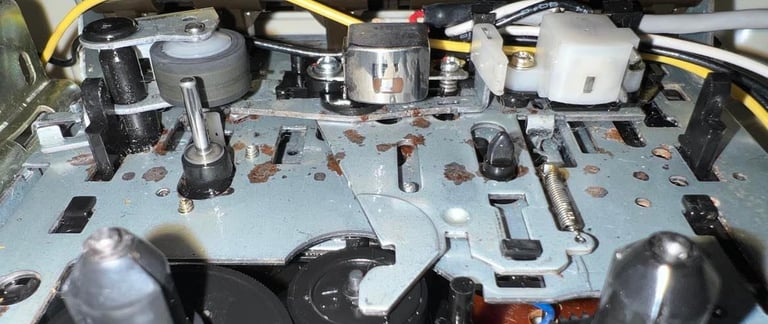
Interior mechanics
The interior of the datasette looks to be intact. It is quite dirty and the corrosion is only on the metal chassis - I can not see any corrosion on any critical parts (such as R/W head). Some of the grease used to smoothen the button operation has become hard and sticky and needs to be removed (and replenished).

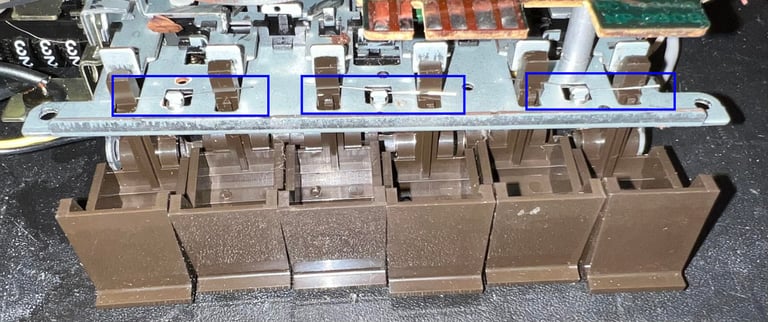
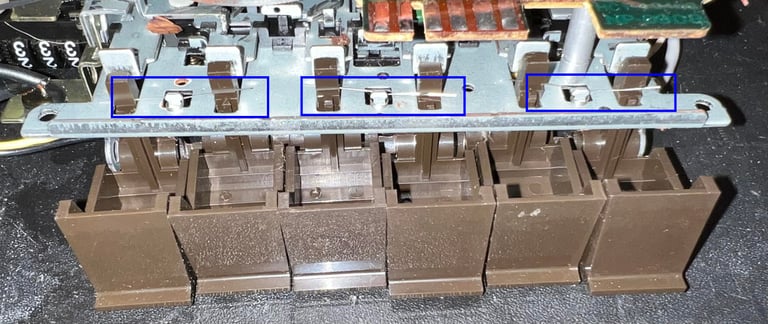
Keys are disassembled by first removing the locking washer (see picture below - yellow square) and then pulling out from the left side the shaft holding all the keys. Next, I carefully remove the three small springs which now holds the keys (see picture below - blue sqaures). Note that these springs are VERY light and are easy to get lost in refurbishment. So it is good practice to place these in a plastic bag immediately. When the springs are away the keys will fall out of the chassis.

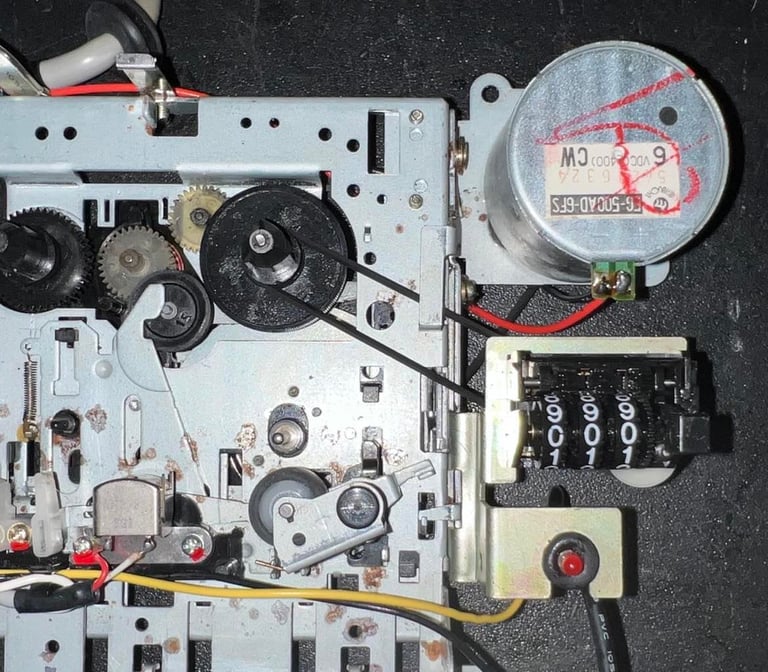
The tape counter belt is very easy to remove. It just to gently lift the metal pin and then remove the belt. Note that the metal pin is attached to a small spring so be careful to not lift this too much.


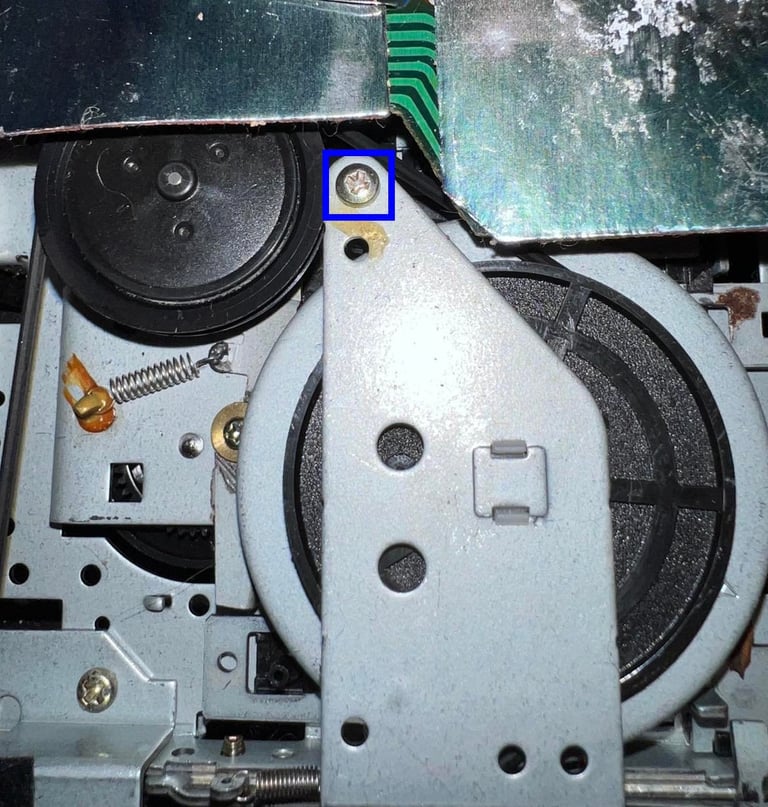
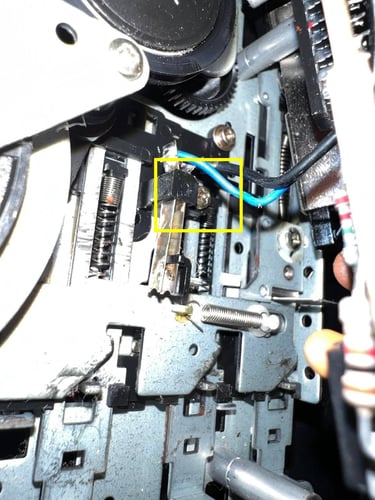
Next step is to remove the motor belt. This is not difficult - if you do it right - and only disassembly what is strictly required. If you disassemble too much then you will spend quite some time to assemble everything. First action is to completely remove the side screw (see picture below - blue square).

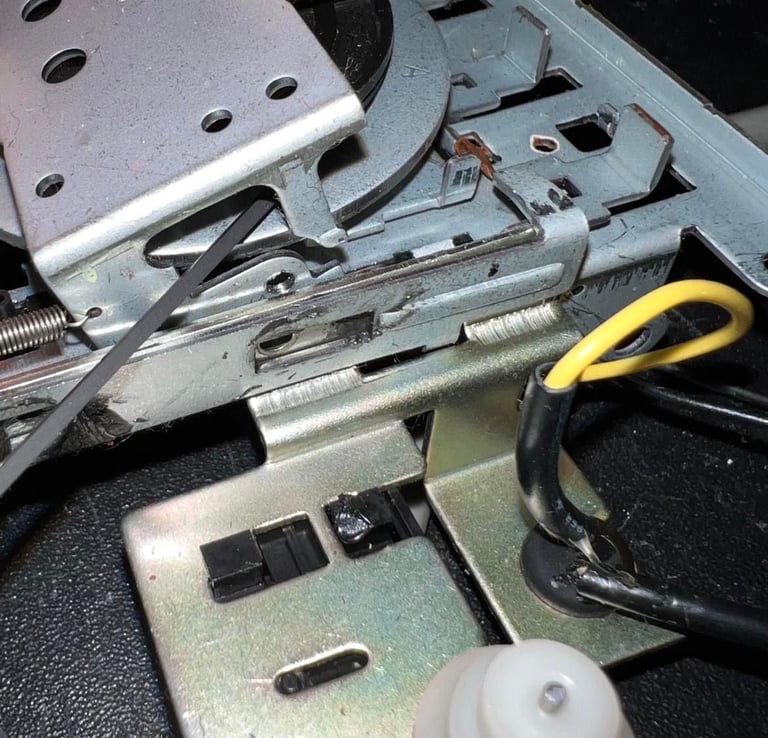
Then partially loosen the screw holding the flywheel in place. Be careful to not remove this screw completely - just loosen it so that the metal bracket can be slightly lifted. When the bracket is lifted the belt can be removed. See pictures below.

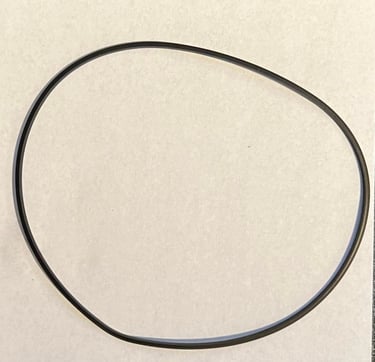
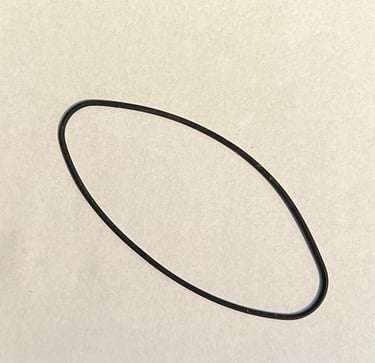
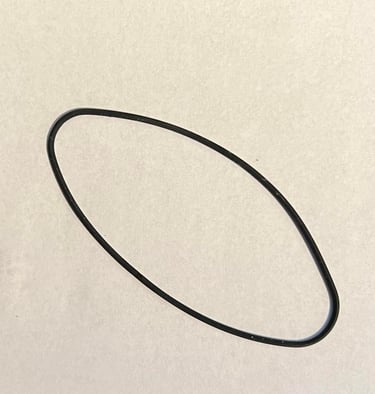
The old belts have lost much of their elasticity and are quite deformed. But this is normal after 30-40 years - so the belts needs to be replaced.

All of the keys are cleaned with luke warm soap water - they look good as new.

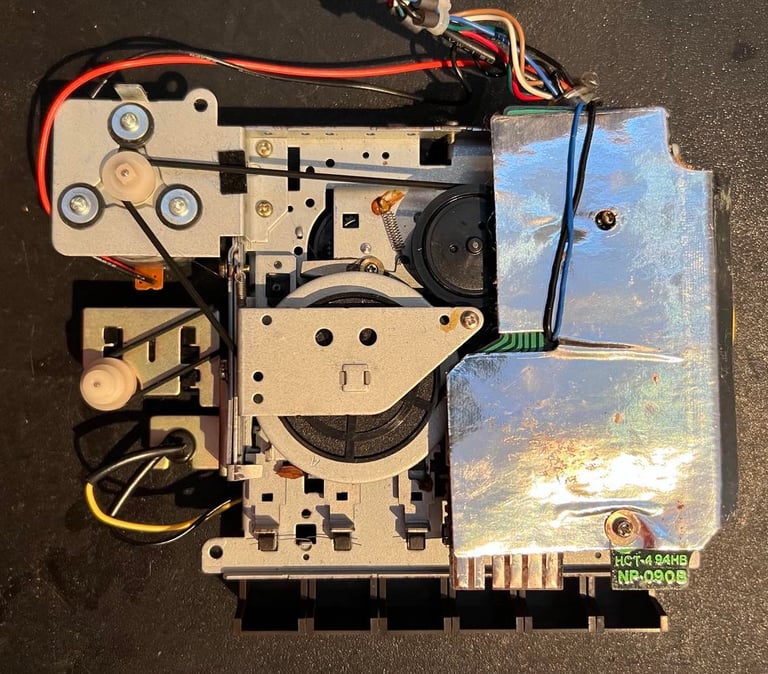
The PCB is also partially removed both to get a proper cleaning of the interior chassis, but also to be able to replace the electrolytic capacitors. To lift the PCB the two screws are completely removed first, and then the strain relief / cable tie is loosened. By carefully tilting the PCB the little leaf switch is exposed beneath the PCB. This leaf switch is fastened by a small screw which is then removed. After this the PCB can be lifted away from the interior. See pictures below.

To clean the interior I use a combination of isopropanol and some vinegar on a Q-tip. The vinegar is used to remove some of the surface rust, and the isopropanol is used for general cleaning. Note that the old grease is also removed and will be replenished after cleaning.


Moving parts (except gears) are lubricated with some MoS2 grease. This is probably not strictly required for operation, but it will make the keys operate a bit smoother.

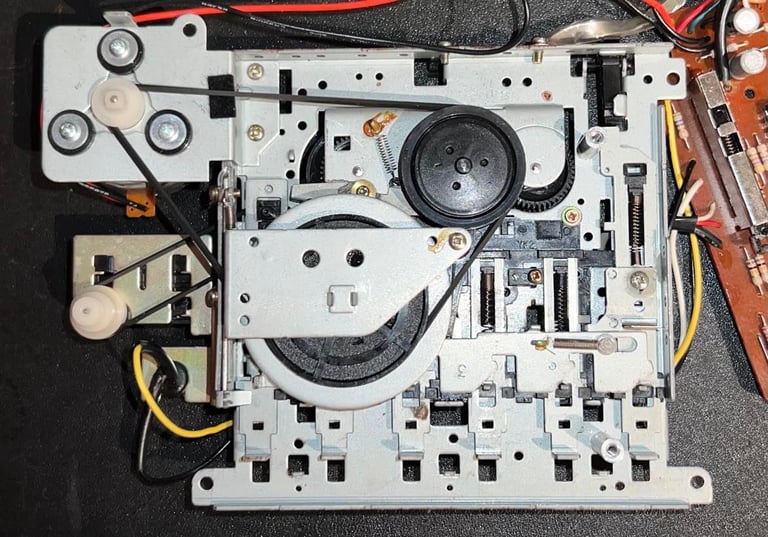
Final part of the interior cleaning is done when the new belts are in place. The erase head, the R/W head, the capstan and the pinch roller is thoroughly cleaned with isopropanol. It is crucial for the datasette to operate that these parts are clean - otherwise the tape might "slip" and/or the playback distorted by dust and grease. The reason for doing this clean with the belts in place is that I now connect the datasette to a Commodore 64 and press keys such as "FF/REW/PLAY" to make the moving parts rotate. While they rotate I clean the parts. Below are two videos where I show this process (not from this datasette - but I use the same method).


Below is a picture of the erase- and R/W head, capstan and pinch roller after cleaning.

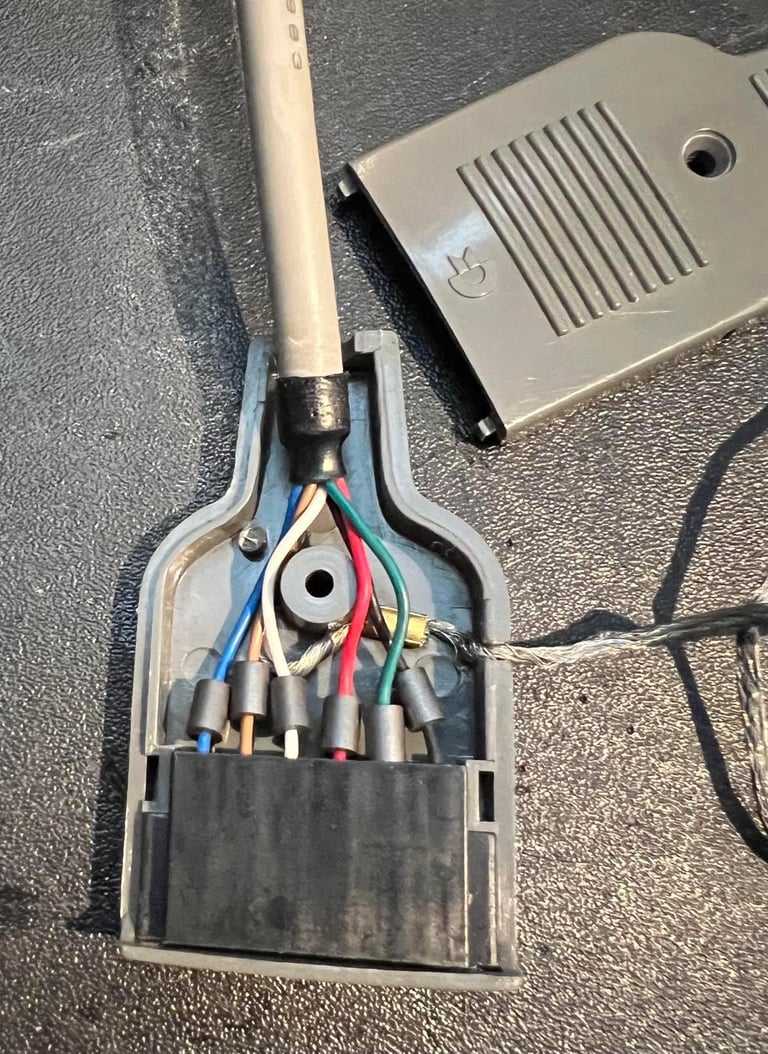
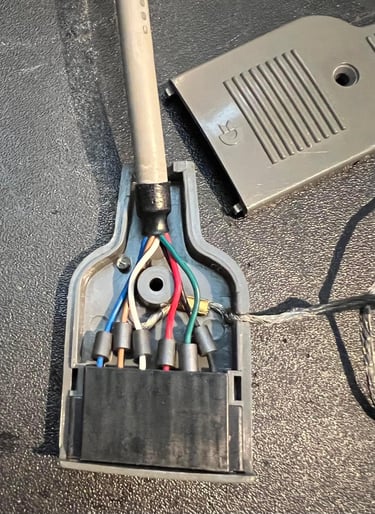
Cable
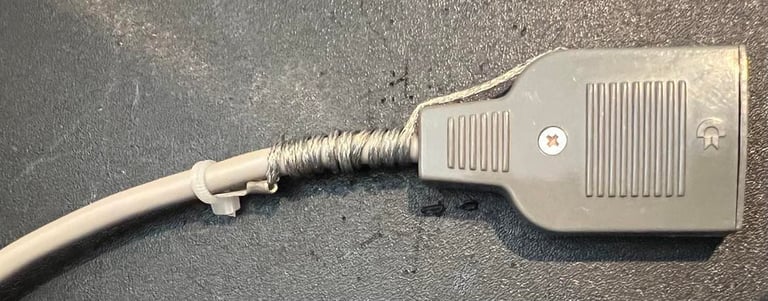
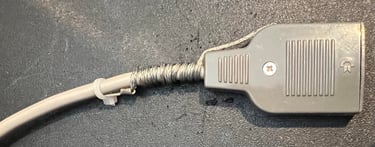
The cable and connector looks to be in good condition. It is disassembled and cleaned with both isopropanol and contact cleaner. All the metal pins in the connector looks to be intact and without oxidation.
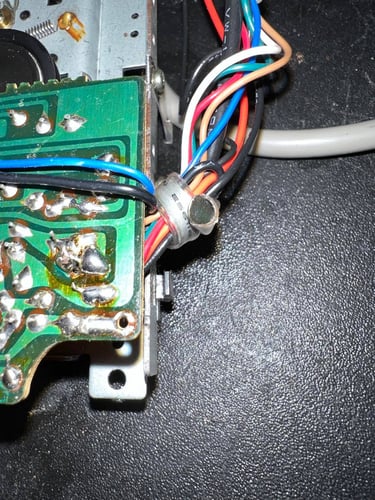
To make sure the ground cable does not touch the user port by accident the wire is twisted around the cable and fastened with a cable tie. This ground cable is legacy only, and not used by the Commodore 64 (and could be removed completely, but I´ll keep it). The ground cable was used by older Commodore PET machines.

Replacing the belts
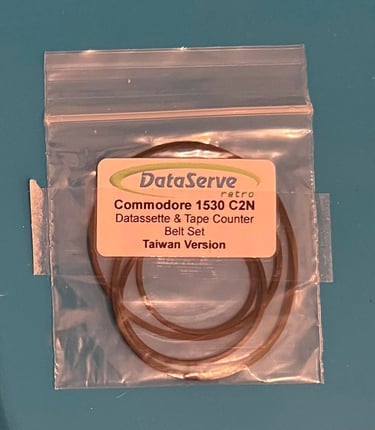
Probably the most crucial thing for a datasette to operate flawlessly is to have functioning belt(s). There are two belts in the datasette; a counter- and a motor belt. The former is not crucial for loading from tape, but the latter is. The motor belt is responsible for driving the flywheel by connecting it to the motor. If this belt is too tight, too loose or in any way deformed chances are that playback will fail. And these belts are almost 40 years so they are due for replacement.
There are two main versions of the original 1530 C2N datasette: the made in Taiwan and made in Japan versions. This is the Taiwan version. I get my datasette belts from DataServe Retro which I highly recommend.

Replacing the belts are done by using the same method removing them (see description in the "Interior mechanics" chapter"). It is wise to not drag and stretch the belts - just replace them with as little stretch as possible. Below are pictures of the datasette with the new belts in place.
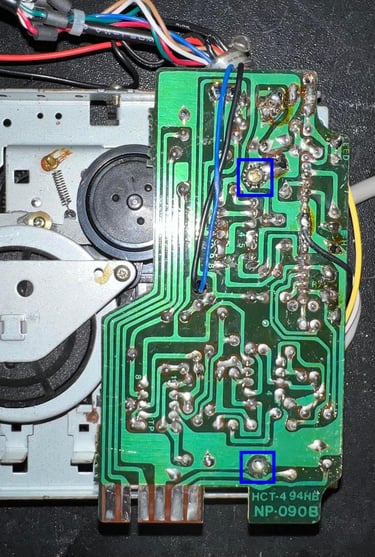
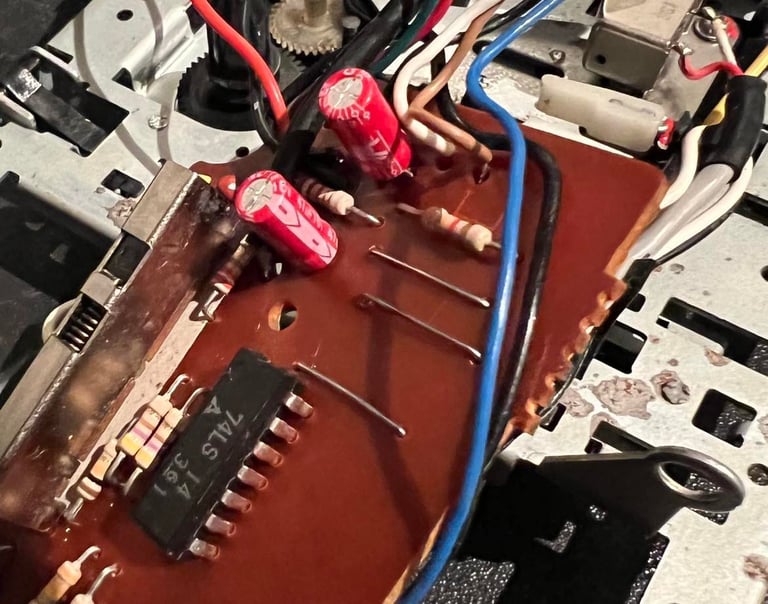
PCB and electrolytic capacitors
This is the NP-090B PCB version of the of the 1530 C2N datasette. The PCB looks intact and no sign of corrosion. There are some flux residue from production, but this does not affect the operation/PCB in any way - just cosmetic.
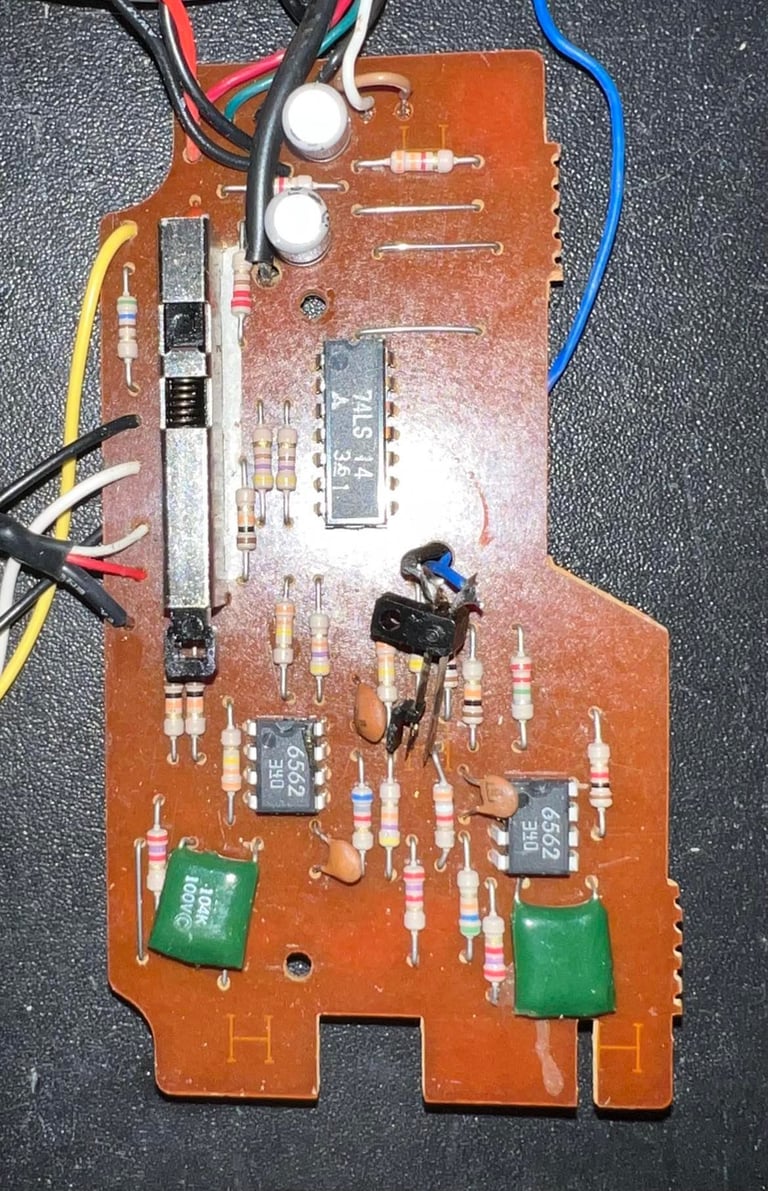
There are two 47uF [10V] electrolytic capacitors on the PCB, and there are two AN 6562 OP-Amps. The two capacitors are desoldered and replaced with new quality capacitors. Note that the two new capacitors have a slightly higher voltage rating of 16 V. This does not matter as long as the voltage rating is >10 V. The leaf switch is also cleaned with contact cleaner to remove some of the old oxidation.
Read / write head alignment
Back in the 1980´s the adjustment of R/W head was enshrined in mystery. Too often the R/W head got misplaced due to rough handling, but re-aligning back in position was not easy. Now, with the use of tools such as an oscilloscope and some software running on a Commodore 64 this is not that difficult anymore.
Nevertheless, in addition to having proper working belts it is vital for the datasette to operate that the R/W head is aligned for optimal playback. A detailed description on how I do the R/W head azimuth adjustment please see this HOWTO article about the subject. This is the method I use also for this datasette.
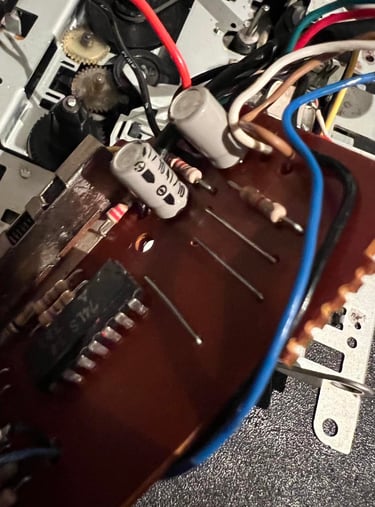
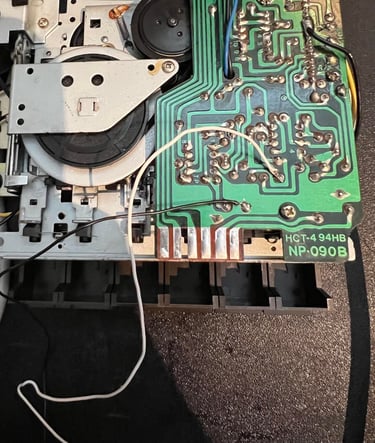
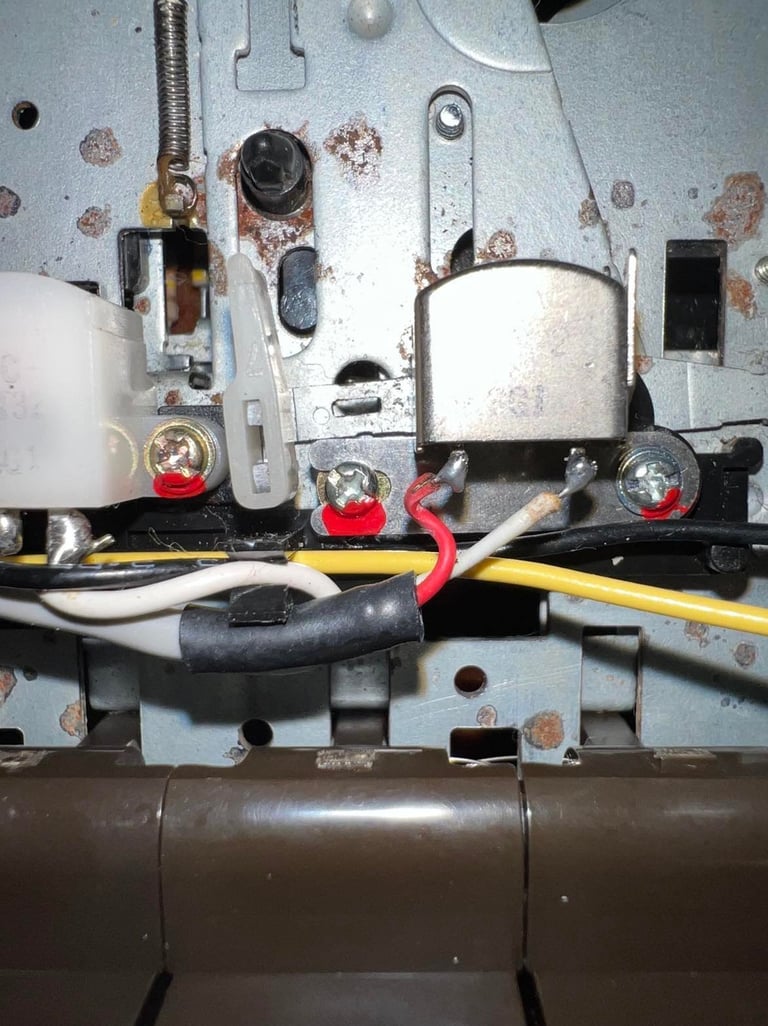
First step is to solder on the two wires on the PCB which I will connect to the oscilloscope. One wire is for the 2nd stage stage OP-Amp (in the 4 x OPAmp chain), and one wire for ground.

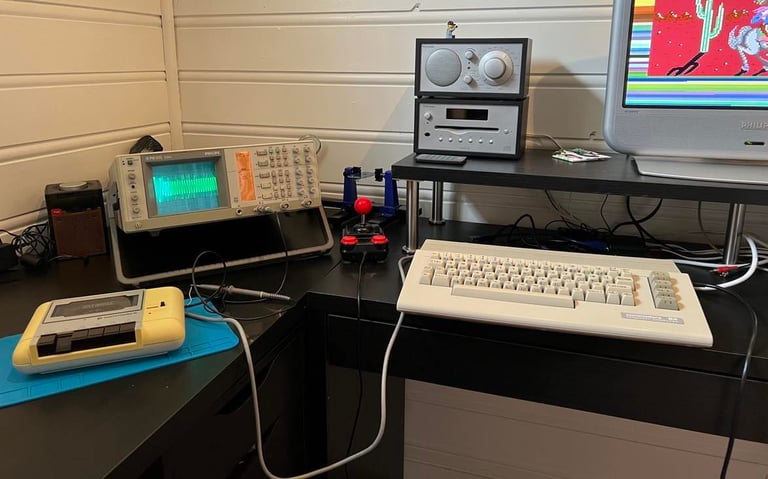
Then the datasette is completely assembled again. This is very important - the datasette needs to be complete when doing the R/W azimuth adjustment. The reason is that the R/W head may be a offset when in the tape lid. The R/W head is possible to reach by inserting a small screwdriver through the small hole in the top cover while playback. In the picture below the setup is shown: the oscilloscope shows the 2nd OP-Amp stage while a game is loading.

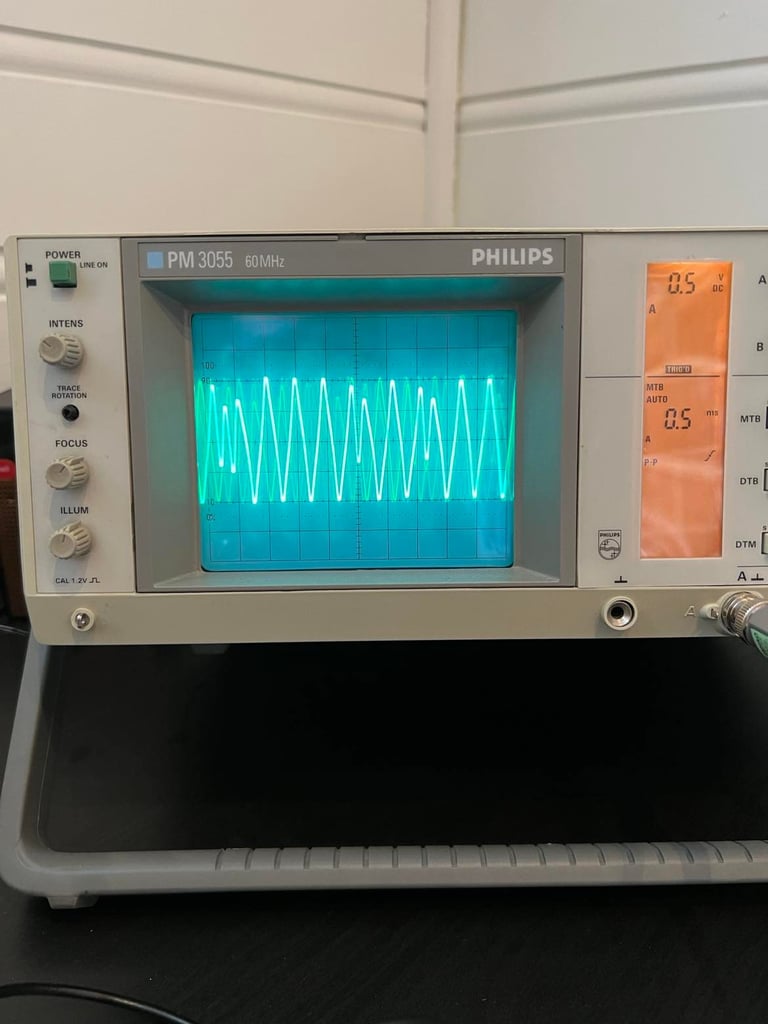
I notice that the output signal is very good - before any adjustment (it is about 1.6 V peak-to-peak). This indicates that the azimuth might be good already - and I will not adjust it unless it is required (that will be seen during final testing). Also, I notice that the two screws which holds the R/W head in place have been "locked" with some paint during production time. And this paint is not broken in any way - which indicates that the R/W head has not been tampered with previously. Nice. See pictures below for oscilloscope output and locked screws.

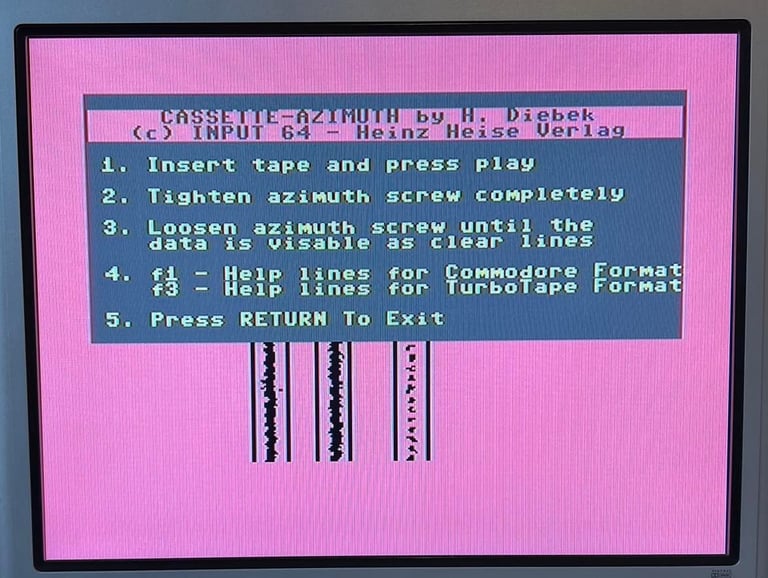
To verify that the R/W head is aligned for optimal playback I use the cassette-azimuth on the Commodore 64 while a tape is running. This shows that the R/W head is in fact aligned as it should; three distinct lines are drawn on the screen while the tape is running.

Testing
Loading
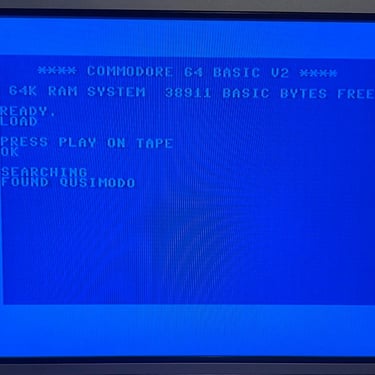
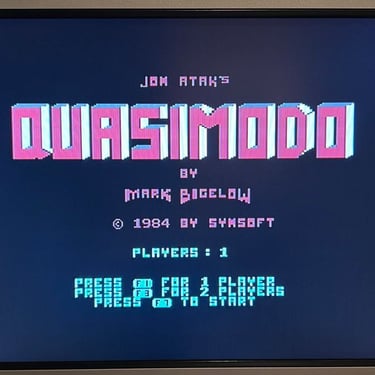
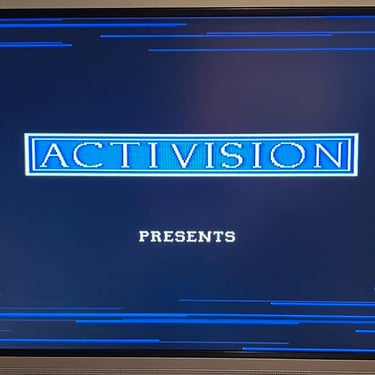
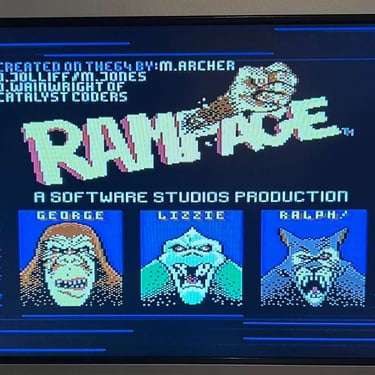
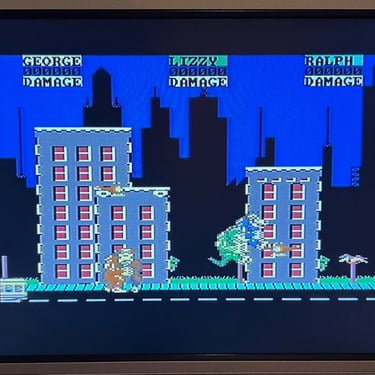
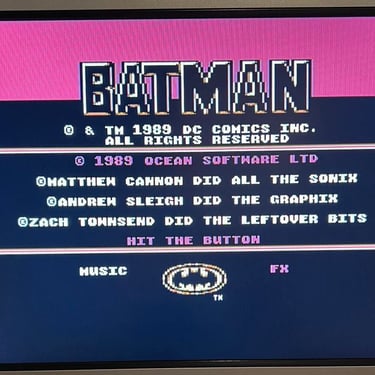
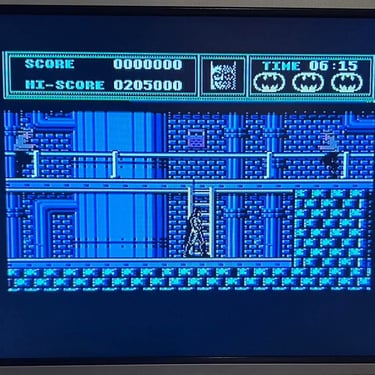
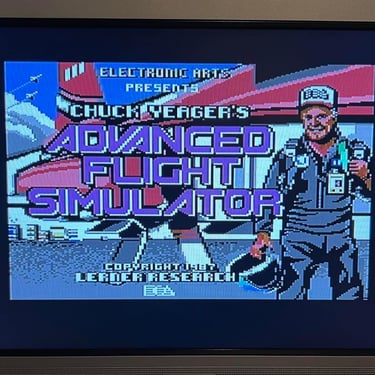
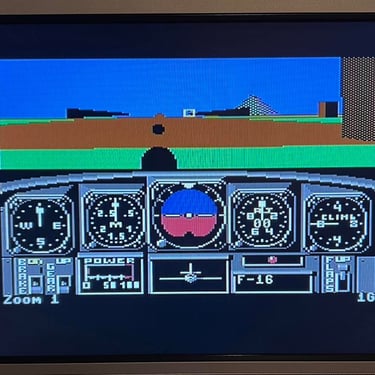
To verify that datasette works as it should in regards of loading tapes I choose five old original game at random. There is also value in these games being old - they are working, but they are marginal which means that unless the datasette is properly aligned, cleaned and functioning belts they will not load correctly.
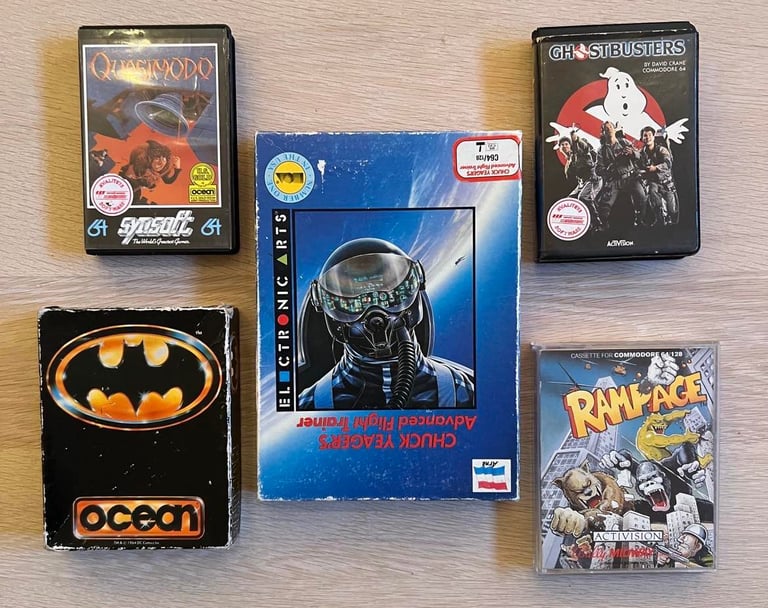
The result is that all these games load without any issues. Below is a little picture gallery from the testing.


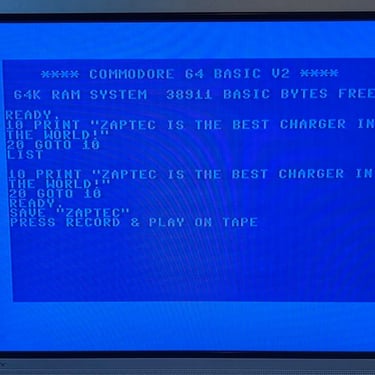
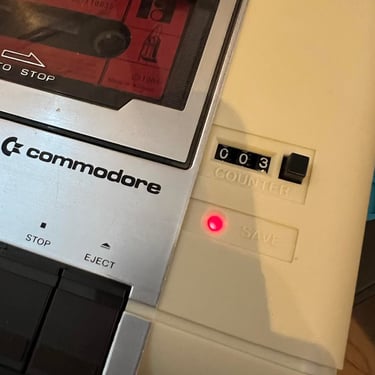
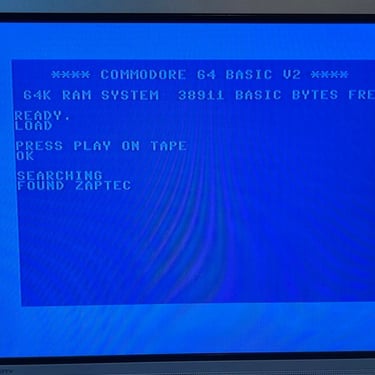
Saving
Saving is also tested by writing a small BASIC program and saving this to tape. While saving the LED should slight up and the screen goes light blue. After saving the Commodore 64 is powered off / on and the BASIC program loaded back in. Result: SUCCESS.
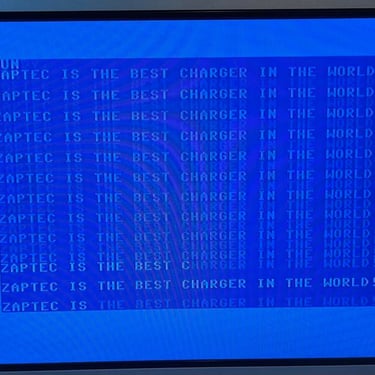
Mystery tape
Now... the big question! Does the old Turbo tape cassette still works? Well, the result is that I am not really sure?! I loads the "TURBO TAPE II" without any issues, but when typing in "(arrow)L" to load "olympic skier" from 22-50 there are only some flashing. After a while the flashing stops, but nothing happens. So either the tape is bad or me doing something wrong. I´ll leave it to the owner to find out :-)!

Final result
"A picture worth a thousand words"
Below is a collection of the final result from the refurbishment of this datasette. Hope you like it! Click to enlarge!


Banner picture credits: Evan-Amos