
Amiga 500 External Drive
Ser. No. 142366C-2Y
Model OSDC-45C (Citizen)
Datec
Starting point
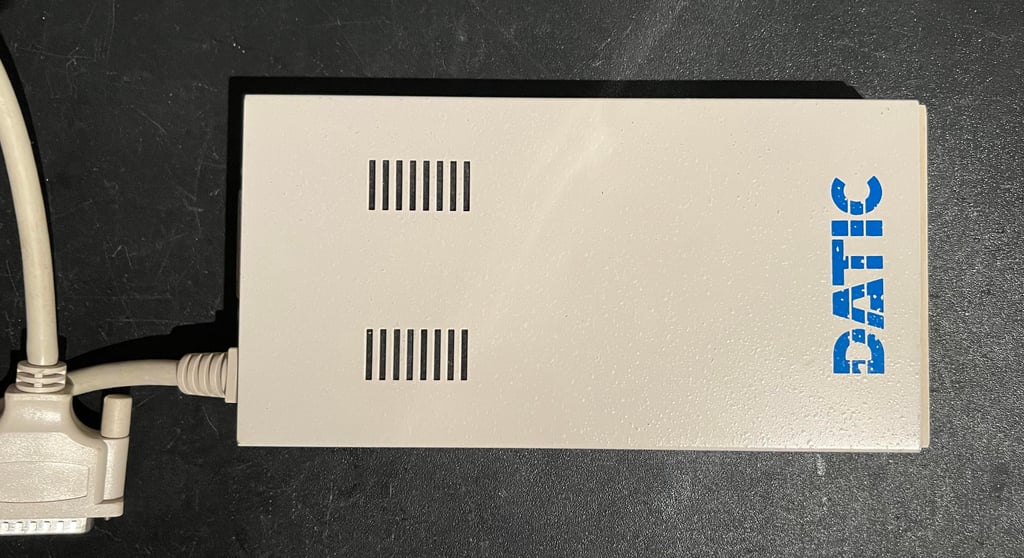
This is an external disk drive which will companion the A500 with serial no. 168609. On the outside the brand is "Datic", but I assume that the floppy drive inside is of a different brand. Anyhow, from the outside the drive looks to be in very good condition. Minimal with marks and dirt.

Refurbishment plan
To refurbish this external disk drive the plan is to do this trough the following actions (some of them in parallell and different order):
- Clean the interior
- Clean special parts such as R/W head and stepper motor shaft
- Verify operation by testing
Opens it up...
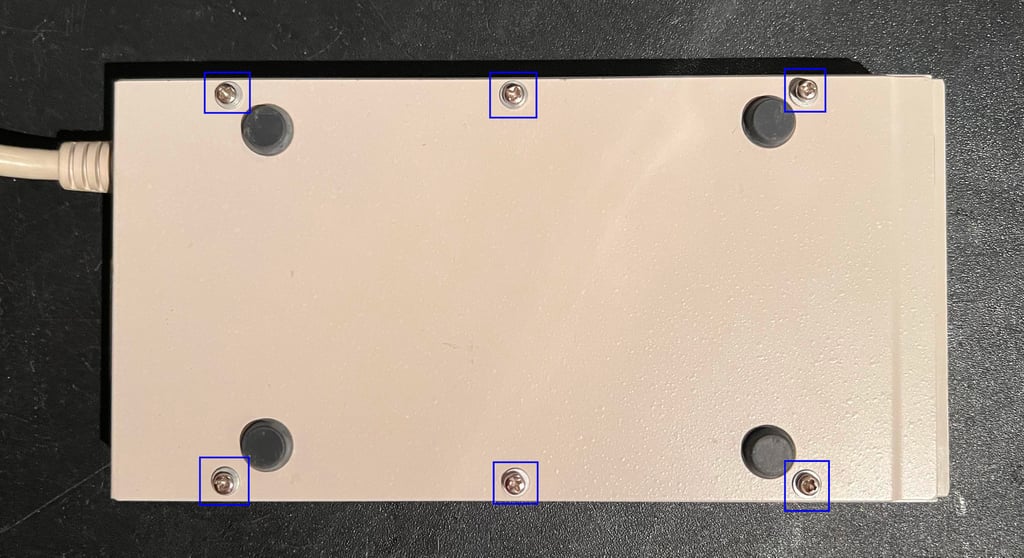
To open the drive the six screws and washers are removed. See picture below.

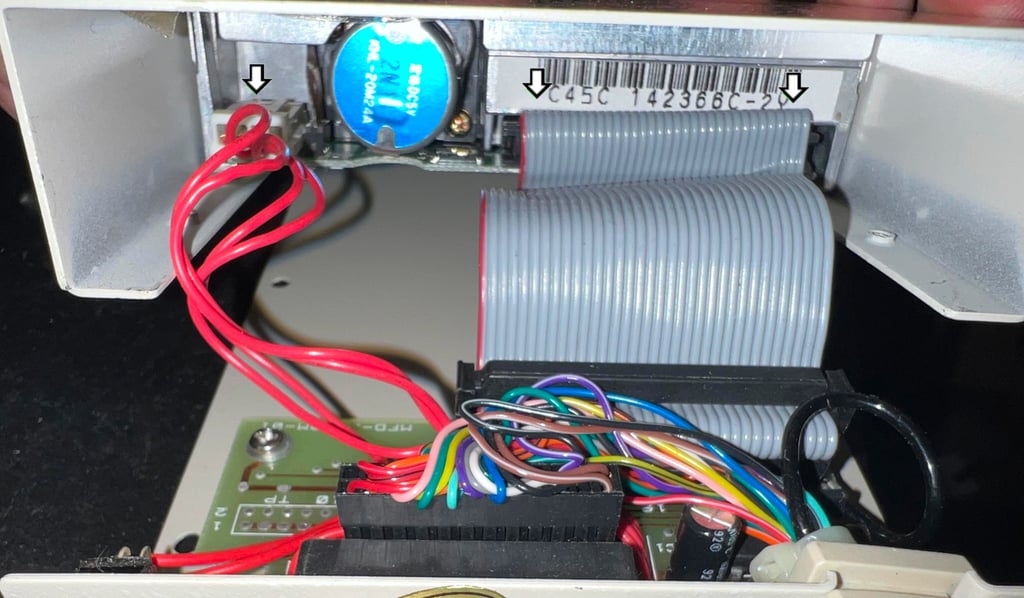
Carefully lift the top metal cover so that the data- and power cable are exposed. Now remove both of these connectors so that the floppy drive mechanism is separated from the PCB at the rear of the casing. Note that you need to remove the connectors from the floppy side (see arrows in picture below).

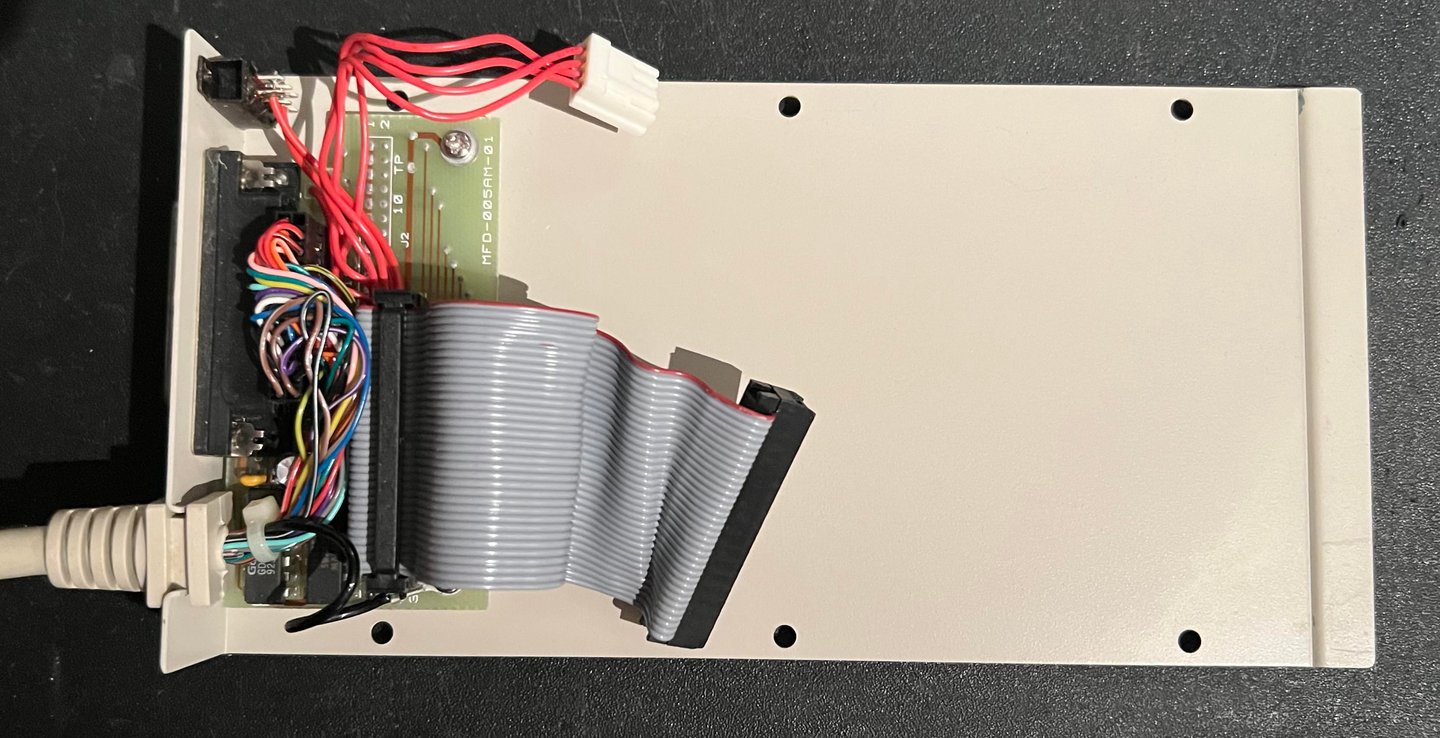
The bottom cover is now separated from the drive. As can be seen in the picture below the interior looks to be in very good condition. I am not 100 % sure, but I assume that the purpose of this PCB (MFD-005AM-01) is to allow for an internal disk drive to be used as an external drive (DF1:).

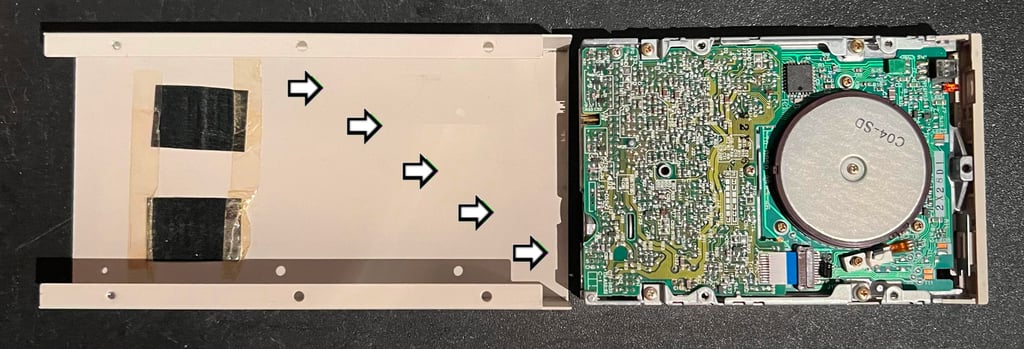
To remove the (internal) disk drive from the top metal cover the mechanics are carefully pushed outwards (see direction arrows in picture below). I notice that there are two pieces of paper taped to the top cover. Why? Probably to isolate something on the top of the drive to prevent short circuit.

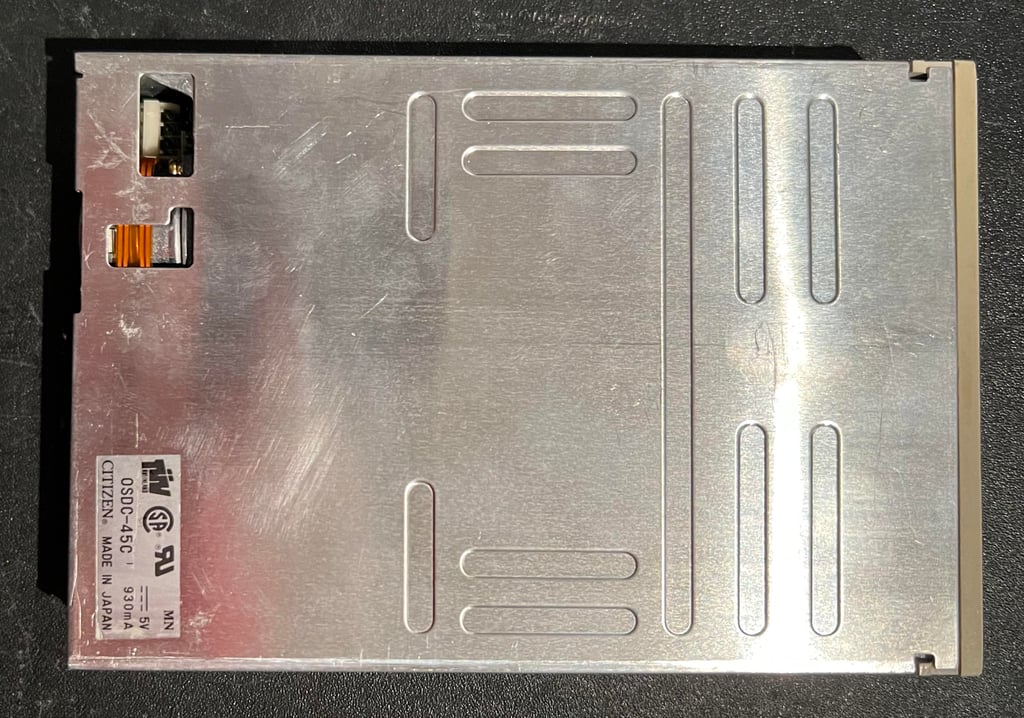
With the top cover out of the way the drive is now exposed. And as can be seen below this is a "normal" floppy drive - a Citizen OSDC-45C. And holy moly! It looks new! But I can not see any reason why the two pieces of paper should do any use? The whole drive is covered with a metal casing...

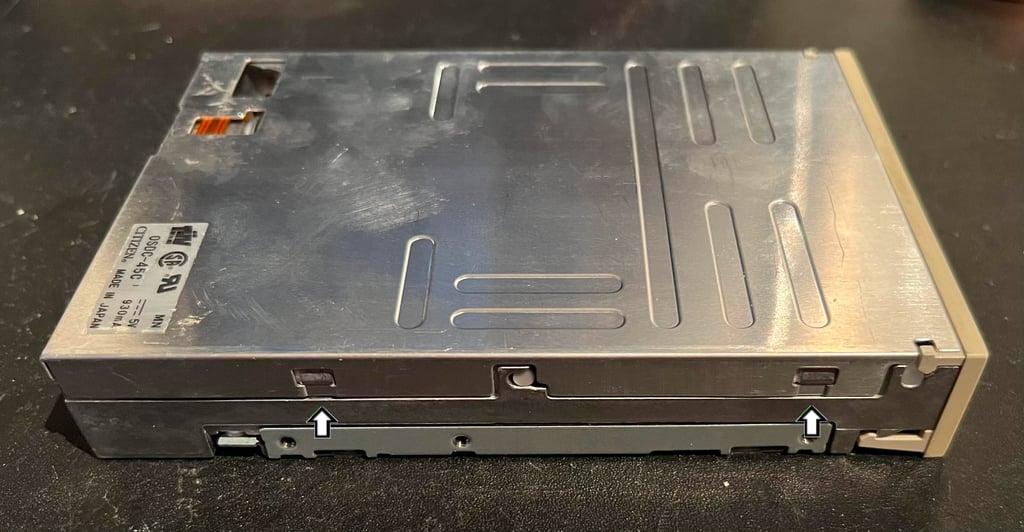
To open the metal lid a small flat screwdriver is used to pry it off. The screwdriver is placed at the two small notches at the side of the driver (two on each side). See arrows in the picture below.

Cleaning and lubrication
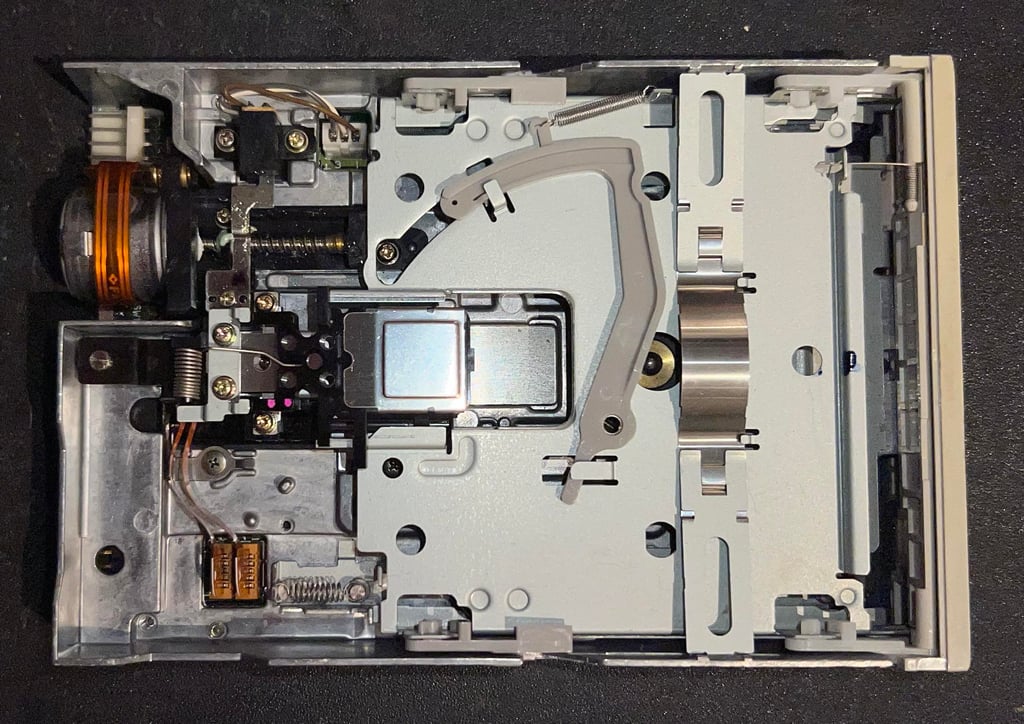
The interior is cleaned with isopropanol. But there really is not much to clean. I don´t think I have ever seen such a clean drive before considering that this on is probably over 30 years old. I can see some tear and wear on the mechanics so this drive has been used, but for some reason the dust does not seem to enter the interior. Maybe it has been stored in a plastic bag?
Below is a picture of the interior after cleaning. Looks really good?

Next step is to lubcricate the spindle/shaft. I use som multi purpose grease for this purpose (for ball bearings). Note that the grease will be smeared along the shaft when the drive is in operation.
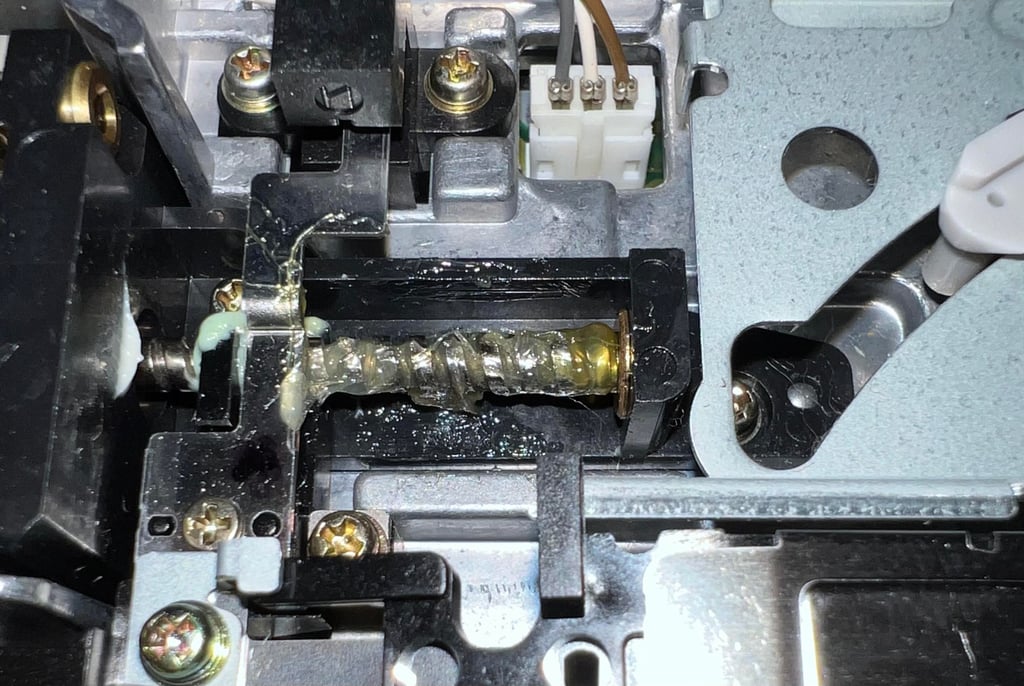

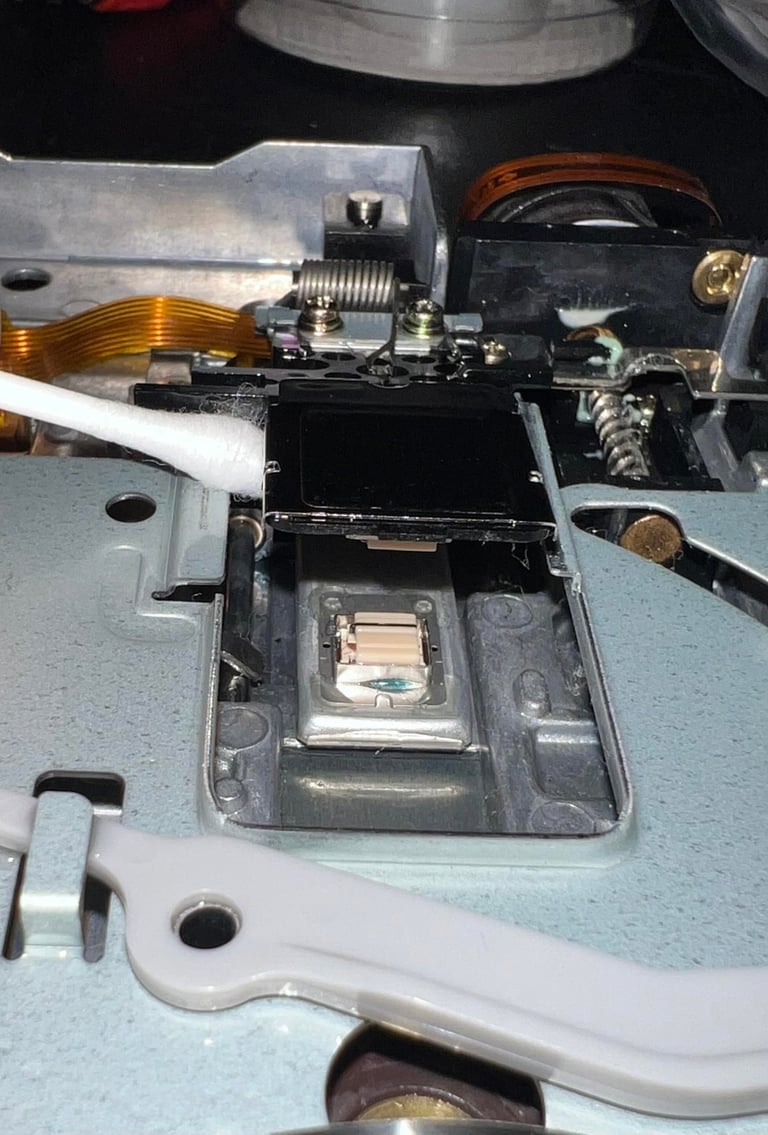
For the drive to work flawlessly the read/write (R/W) heads needs to be clean. Notice the the Amiga drives are double-sided (compared to Commodore 1541 drives which are single-sided) so there are two R/W heads - one for top side of disk and for the bottom side. Also, be careful when cleaning the top head. This R/W head is flexible so when cleaning with a Q-tip make sure you don´t rip it off! Below is a picture of the R/W heads after cleaning.

Testing
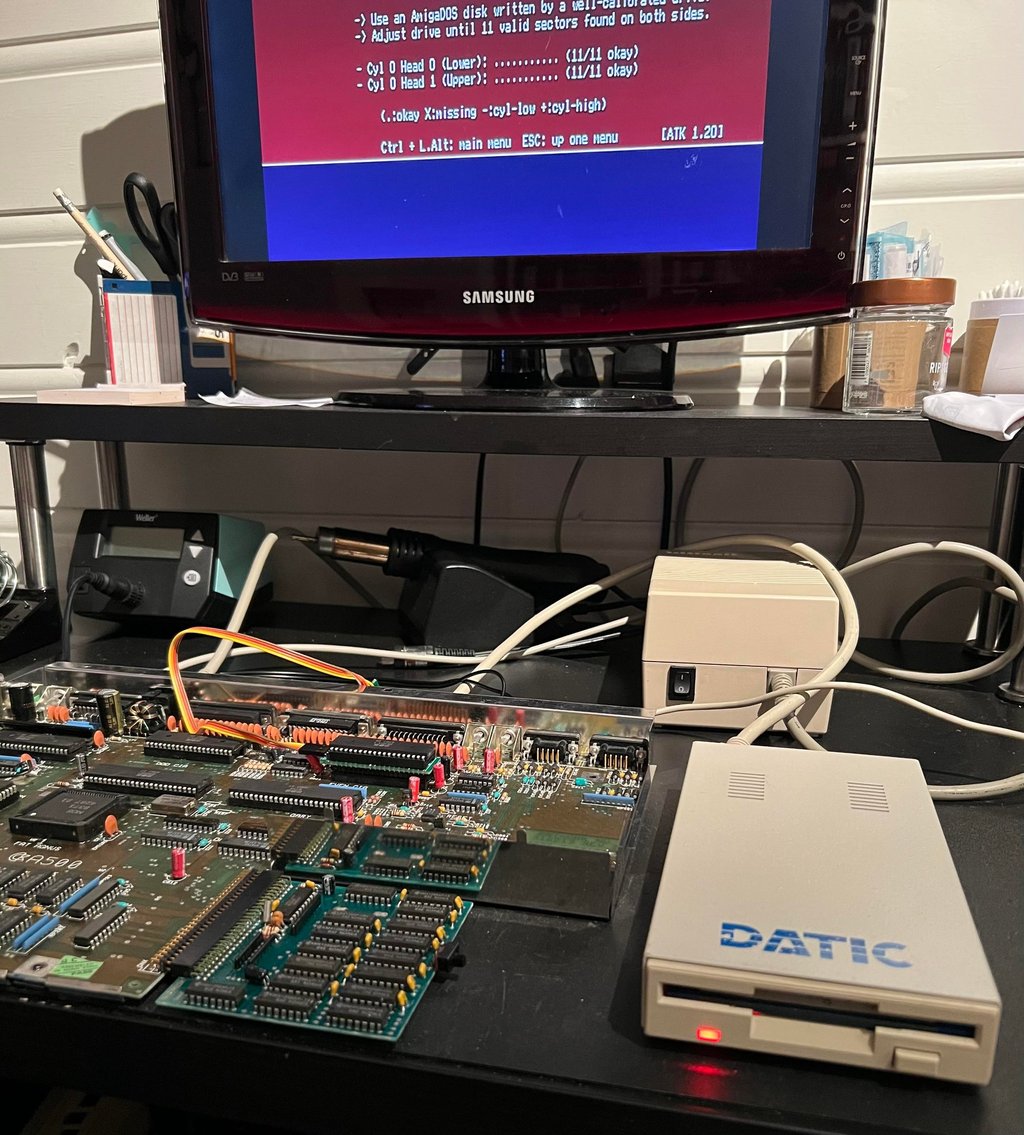
To test this external disk drive an Amiga 500 with a DF0/DF1 floppy boot selector is used.
Testing is done in two stages:
Basic testing using features from Amiga Test Disk kit 1.20
Extensive testing using the external floppy drive in a stock Amiga 500 (with a DF0D/DF1 floppy boot selector) loading software such as games and demos
Basic testing
To test the basic functionality of the drive I use the Amiga Test Disk. On this disk there are three good tests which are applied to the floppy drive. All tests pass - see table below.




Extensive testing
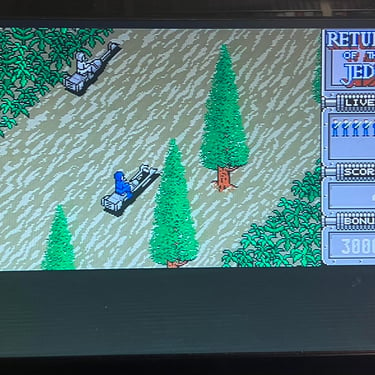
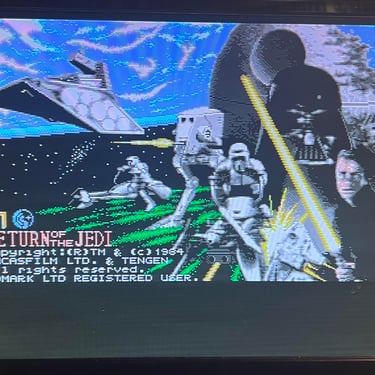
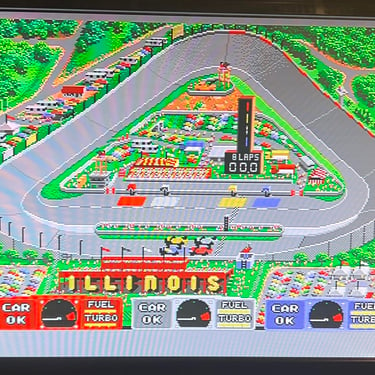
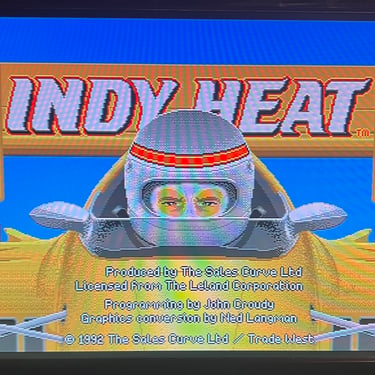
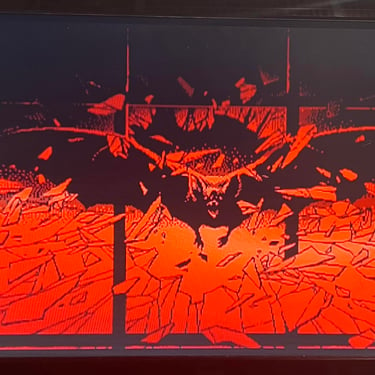
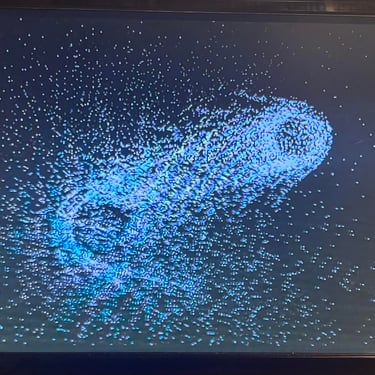
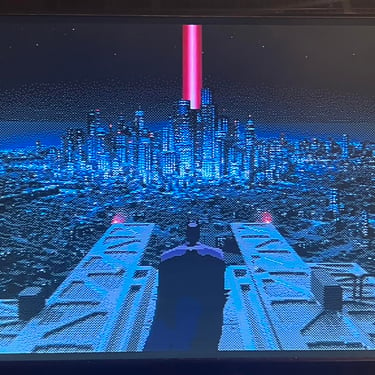
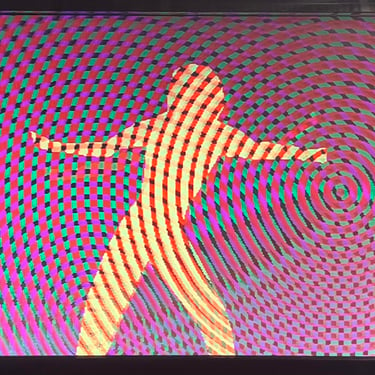
The floppy drive is connected to Amiga 500 with serial number 168609, and several disks are tested for loading; games and demos. I can not find any problems with the loading of this software. Below are some pictures from the testing.
Banner picture credits: Medvedev
