

Amiga 500 Internal Drive
Ser. No. 013532
Model JU-253-031P
Matsushita
Starting point
This is an internal disk drive which were removed from the A500 with serial no. 585421. The reason for taking this out of this A500 is because it will be replaced by a Gotek internal drive, but also because this drive does not work.

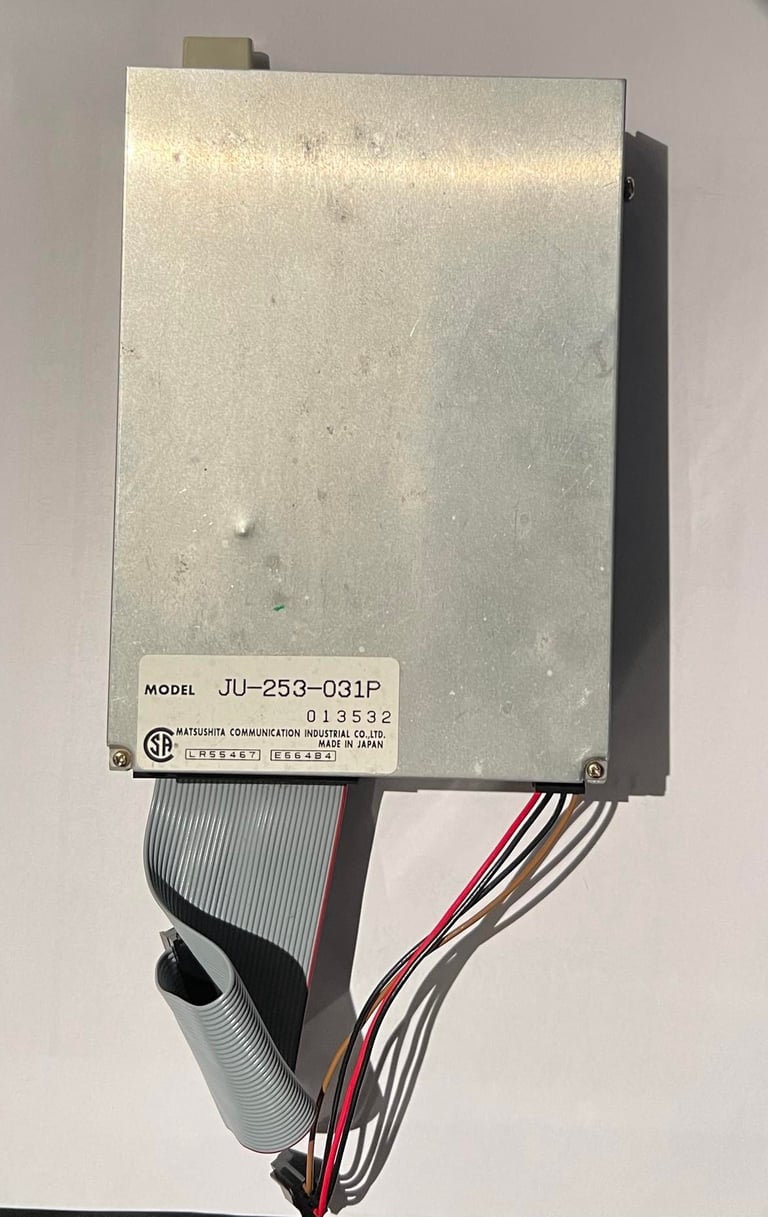
The manufacturer of this drive is Matsushita Commnucations Industrial Co. (Japan) and the model is type JU-253-031P. From the outside the drive appears to be intact and undamaged - but I know from previous testing that this drive doesn´t work.
Refurbishment plan
To refurbish this internal disk drive the plan is to do this trough the following actions (some of them in parallell and different order):
- Clean the interior
- Clean special parts such as R/W head and stepper motor shaft
- Check for faults and repair
- Replenish special moving parts and check head alignment
- Verify operation by testing
Cleaning the interior
In order for the disk drive to operate without any problems it needs to be sufficiently clean and moving part lubricated. If there are dirt on the read/write (R/W) head or the shaft from the stepper motor is not able to move free due to old grease residue the drive will malfunction. Also, if there are dust and dirt "flying around" inside the drive this could end up also in places such as the R/W head area.
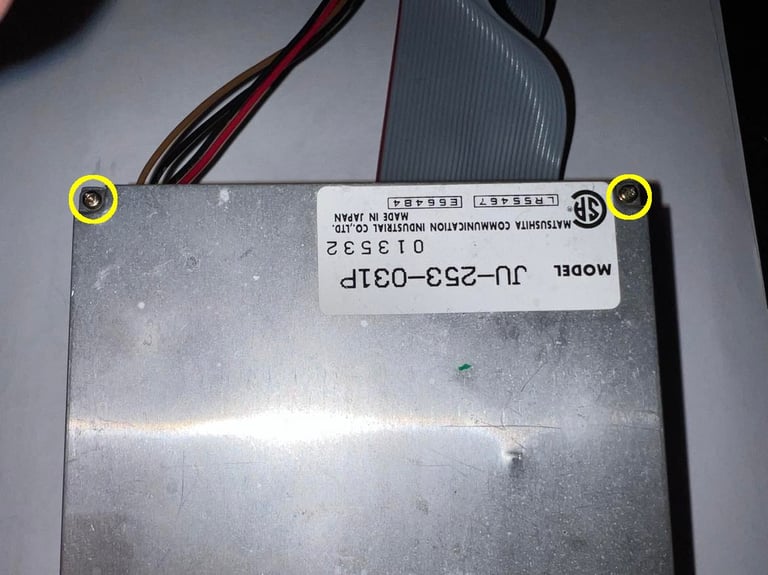
To open the drive remove the two small screws shown in the circled areas as seen below.

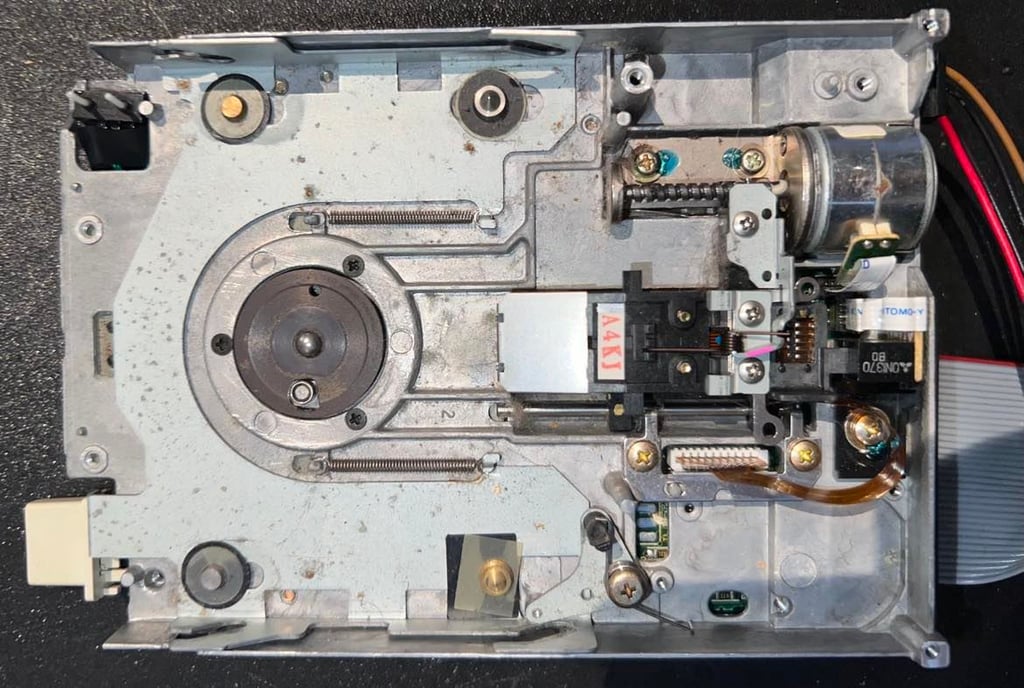
This disk drive is quite dirty inside. It is not so easy to see from the picture below, but believe me it is dirty. This needs a good cleaning.

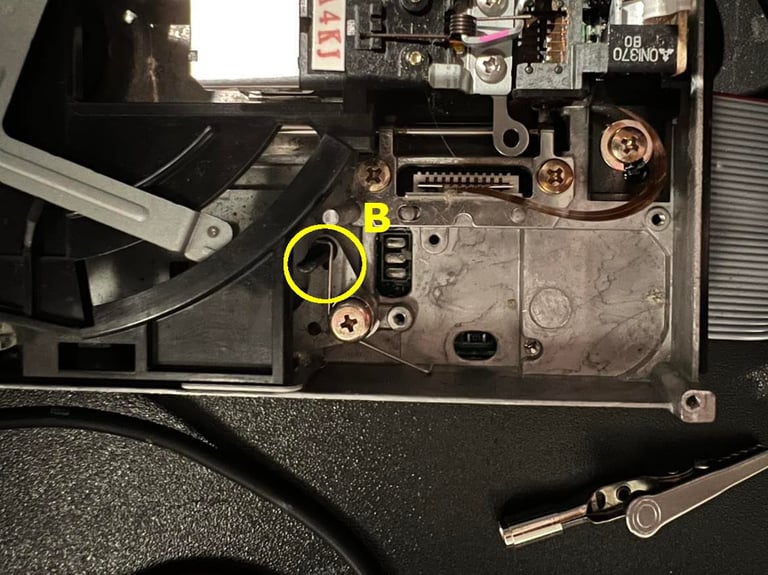
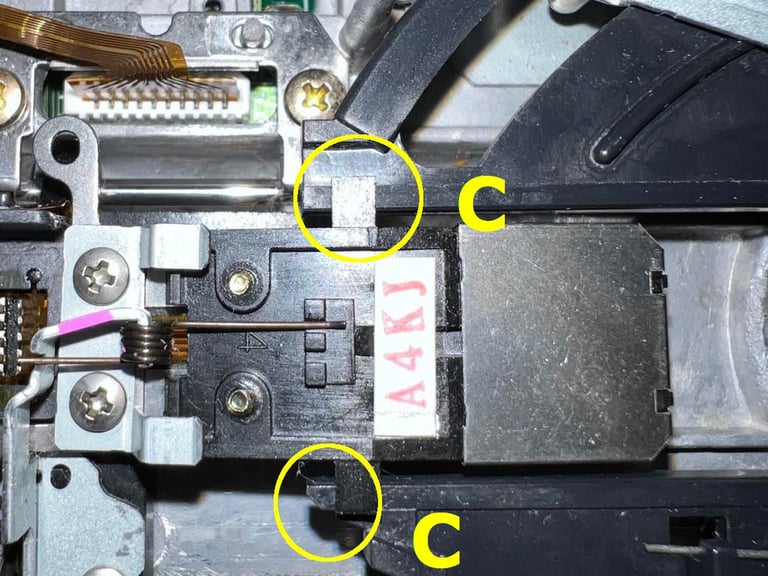
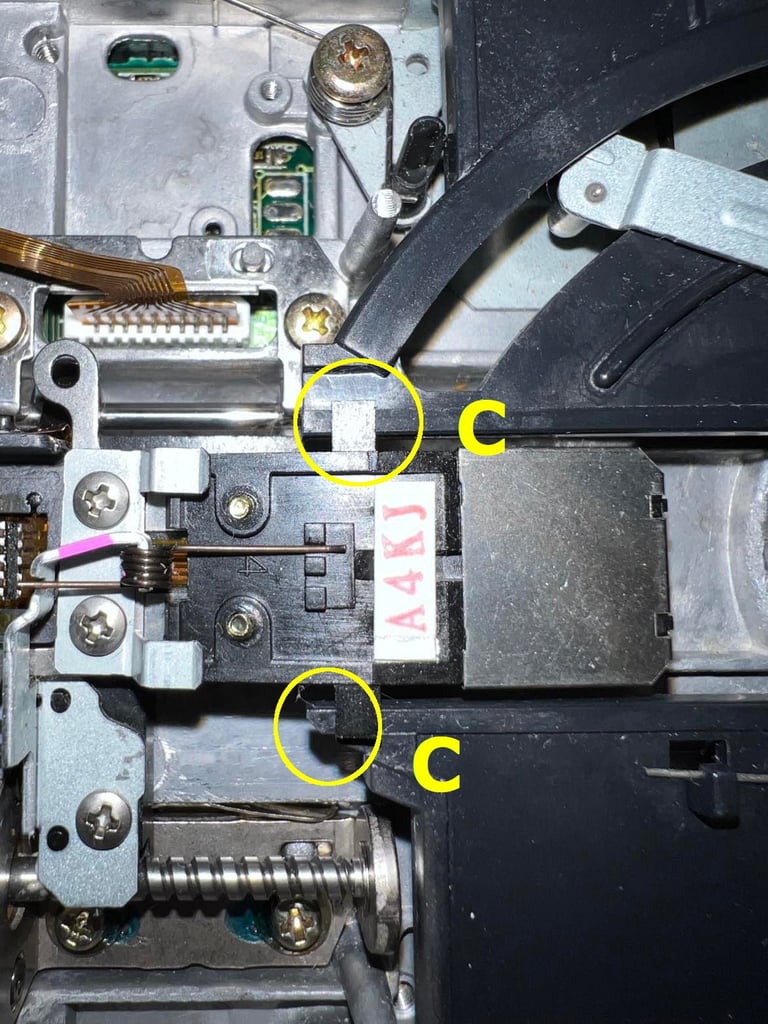
When the top metal cover is removed the next step is to remove the plastic bracket/tray used to hold the disk in place. WARNING: this operation is not very complicated, but it is a bit "fiddly". And the important thing is the upper- and lower R/W heads will smash together if you are not careful when removing the plastic tray. To get the plastic bracket out I need to get the two rollers align with the vertical slits in the metal casing. In the picture below this is marked as "A". To do this you will need to push the eject button while carefully move the small lever marked in the picture below with a "B".

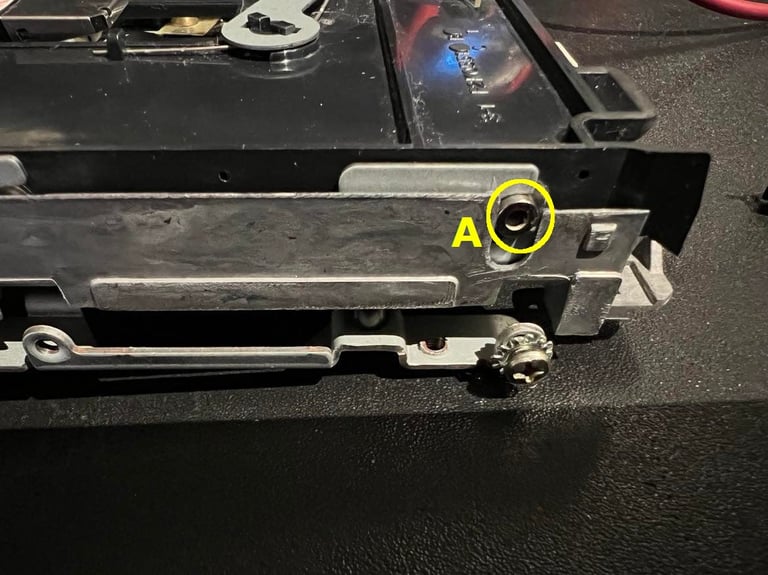

Now the tray will pop out. While holding the little pinch with the R/W heads I carefully slide the tray to the right. The R/W pinch is resting on the two small sliders marked with a "C" in the picture below.
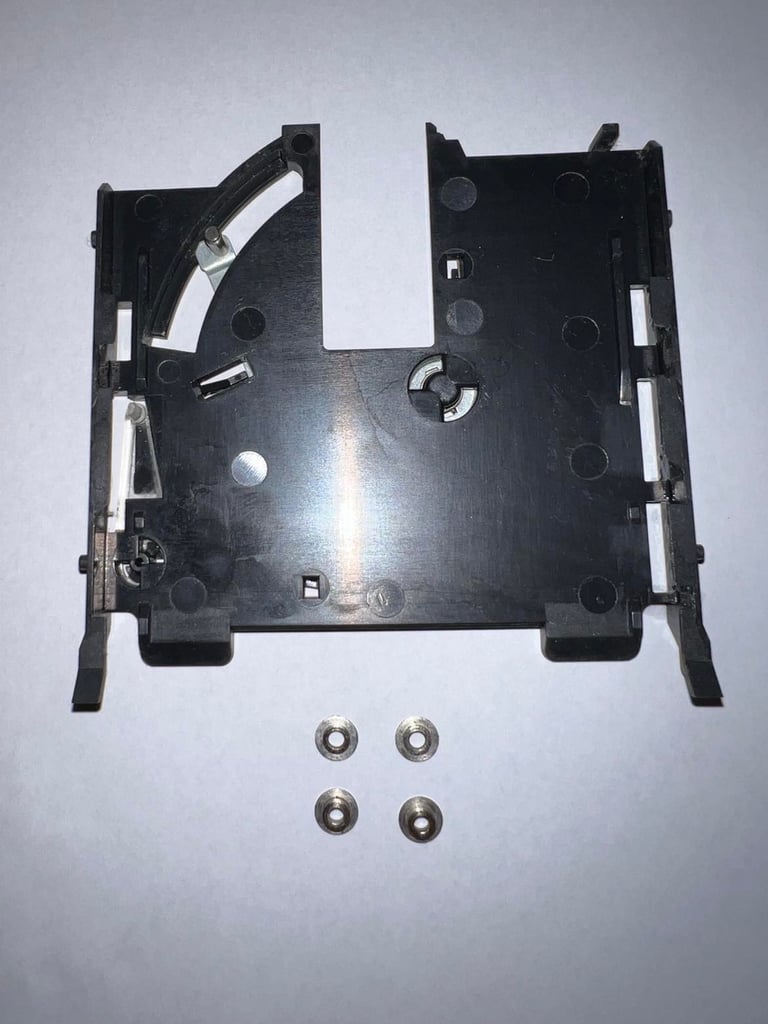
The plastic tray is cleaned with isopropanol. Notice that there are four metal rollers which are part of this assembly - and that these four rollers come in pairs of two. The small pair is used close to the stepper motor, and the large pair is used close to the opening of the drive.
Cleaning - special parts
There are two areas and parts which have to cleaned properly in order for the drive to operate flawlessly:
Stepper motor shaft
Upper- and bottom read/write head
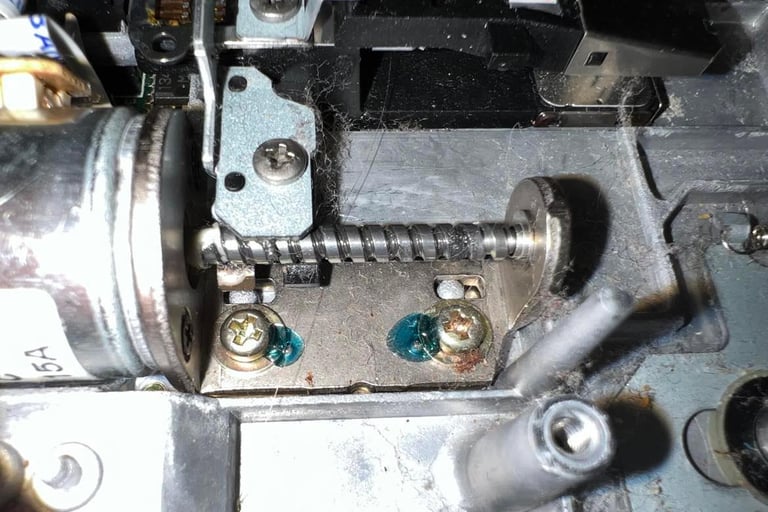
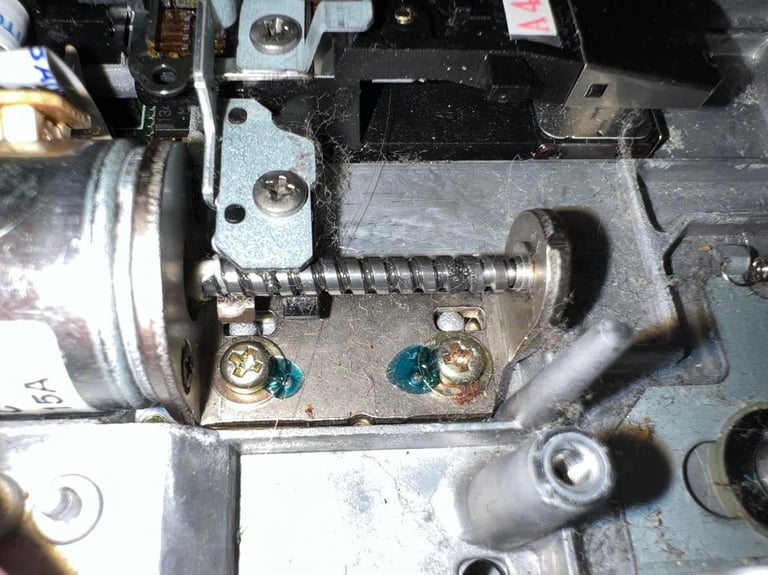
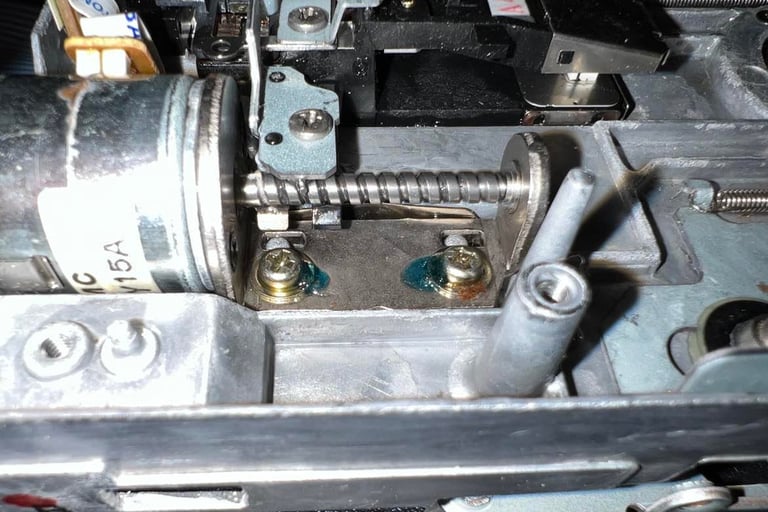
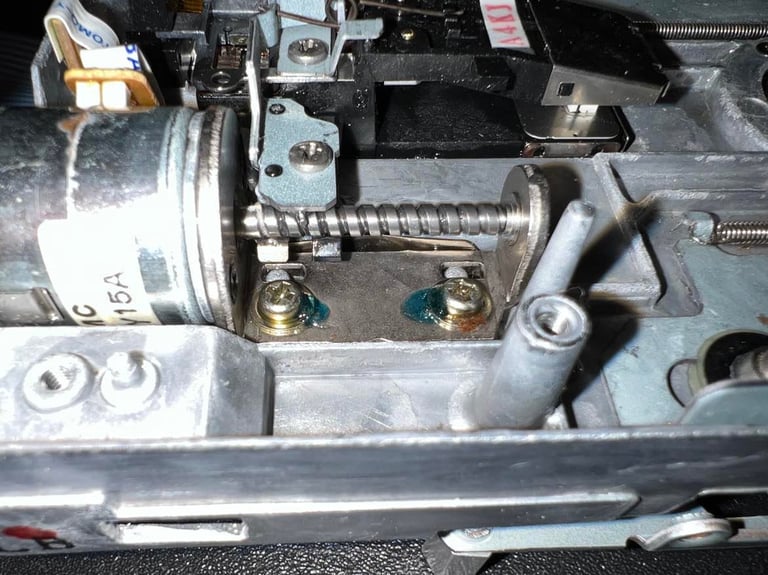
To clean the stepper motor shaft I use isopropanol on a Q-tip. The shaft is smeared with grease which has to be removed. This grease is over 30 years old, and also sticky with dust and small hairs. The shaft needs to be properly cleaned so that the drive R/W head can move back and forth with ease. I will add new grease later after the drive has been repaired. You will find a "before" and "after" picture below (click to enlarge).
The upper- and lower read/write heads are cleaned by carefully lifting the pinch to expose the heads. Then some isopropanol on a Q-tip is used to clean the heads. Be careful not to push the pinch wide open. The spring used in this pinch can be misaligned if you push too hard.


Repair
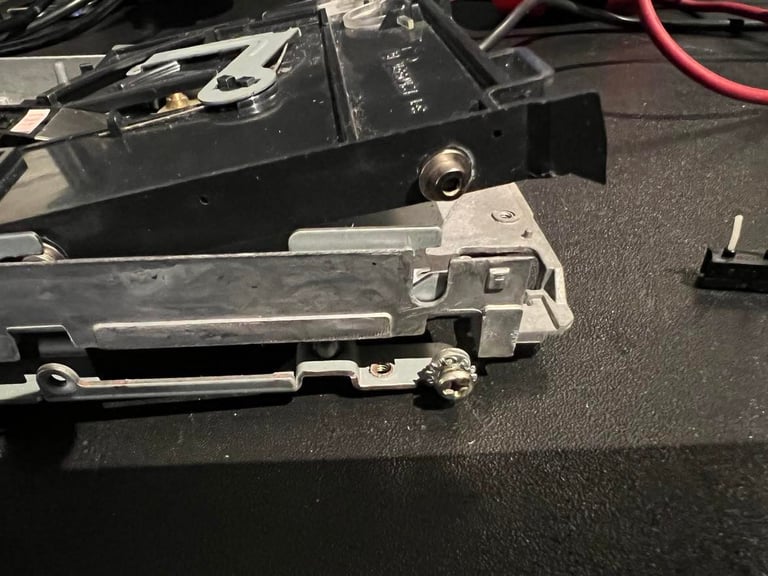
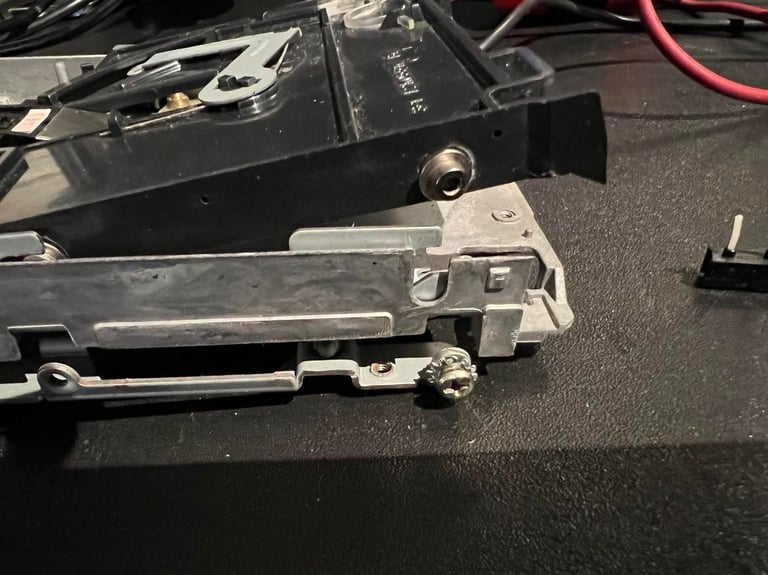
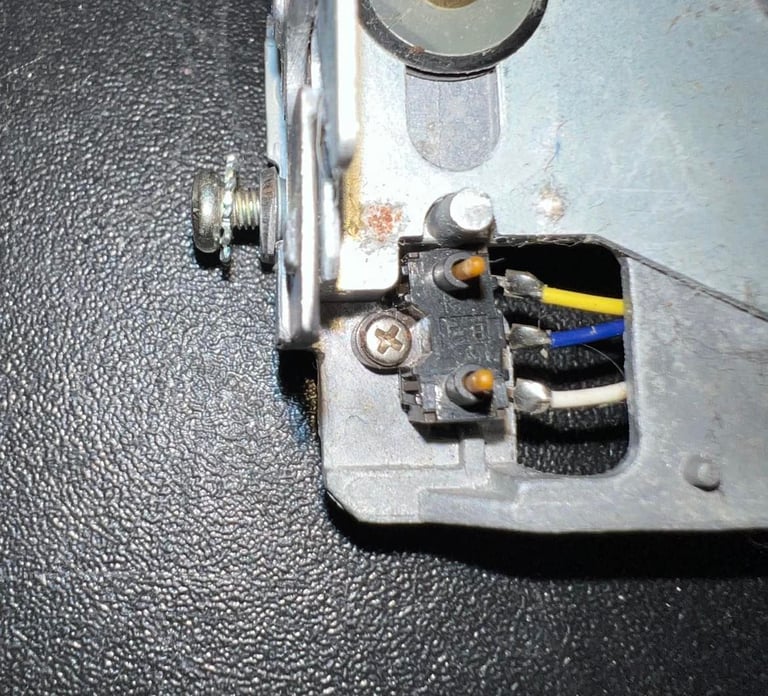
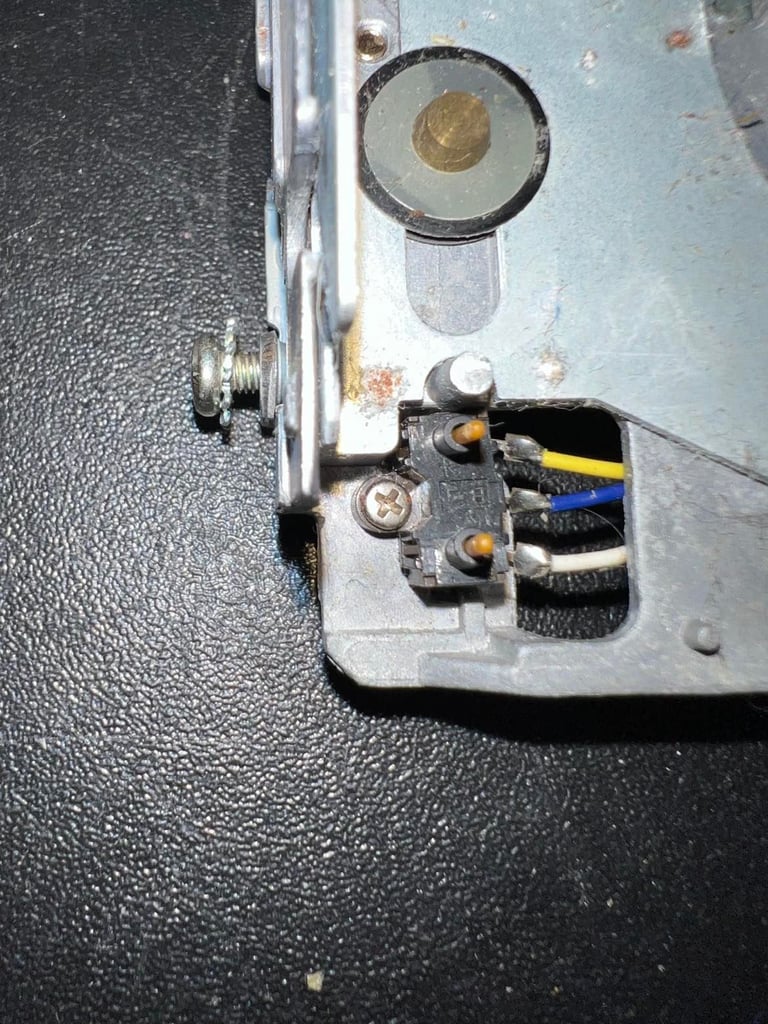
The drive is fauly. What happens is that the drive "ticks" but disks doesn´t boot. My guess is that the switch that detects that a disk is inserted is broken or marginal. This could be an easy fix by adding some contact cleaner into the switch and "massage" it. But it turns out that this fix is not working. The top of the switch´s plastic casing have a small rip and when adding some contact cleaner this just makes it worse. The switch needs to be replaced. Below is a picture of the broken switch.
What to do? I don´t know of a place to get new such switches unfortunately, but I post a message at Commodore/Amiga Norge Facebook group asking where to get a new one. But I get feedback from people who would help with old donor drives! That is amazing! Short story; after a few days later I get a faulty donor drive with a bit different switch to try. Thanks L.O. !
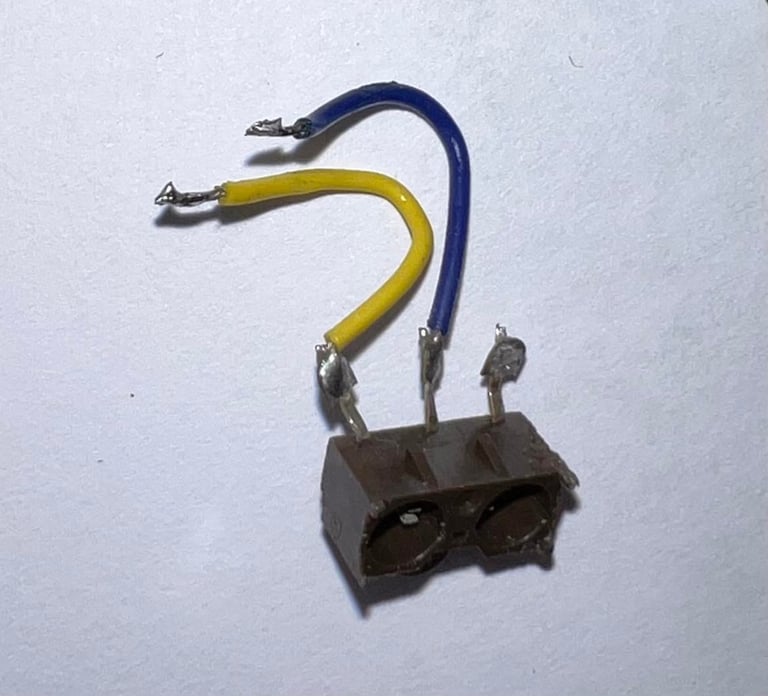
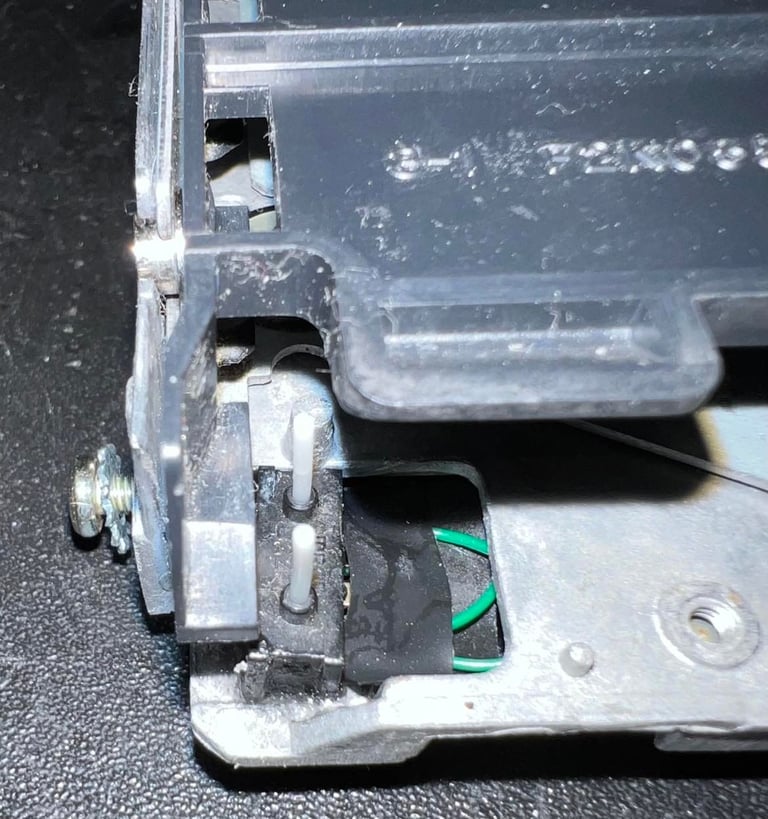
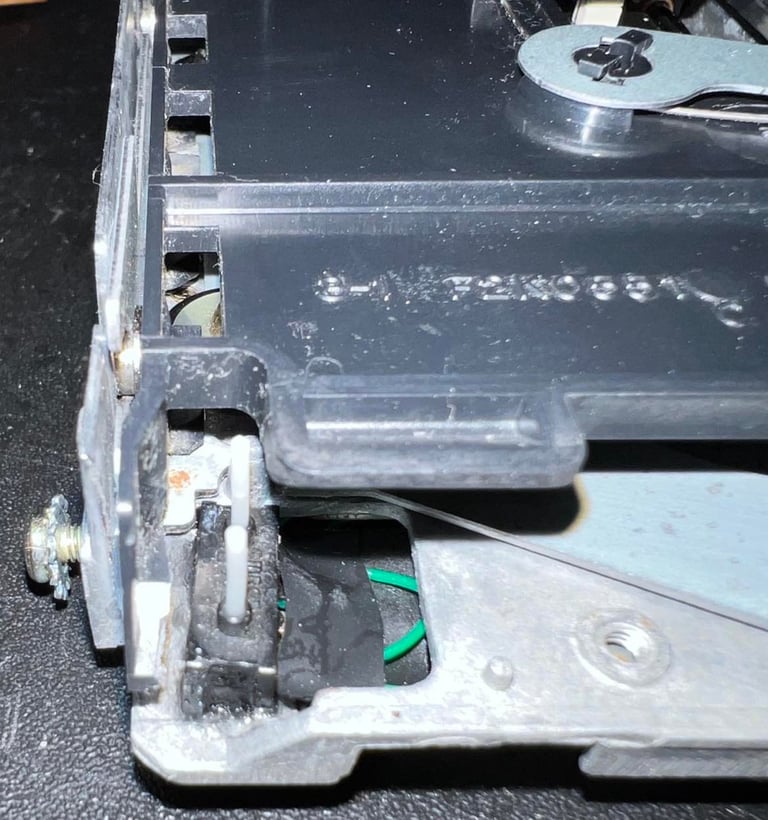
The switch doesn´t have the exact same form factor as the original switch, but I think I can manage to glue this one in - if it works that is. I solder in the new switch to test the drive. See video for testing. And as seen in the video the drive now boots with the new switch! Hopefully it will also boot when the switch is glued back into the drive.
With some epoxy glue the switch is installed in the drive. Since this switch is not the original one (it´s slightly larger) it doesn´t fit 100 %, but I´d say this is close enough. It´s not perfectly straight, but the two rods are sufficient aligned to detect both that the disk is inserted and whether or not the disk is write protected. A small piece of the plastic tray needs to be cut, and also the two rods needs some trimming. Below are some pictures of the new switch installed and also where the plastic tray is marginally cut.


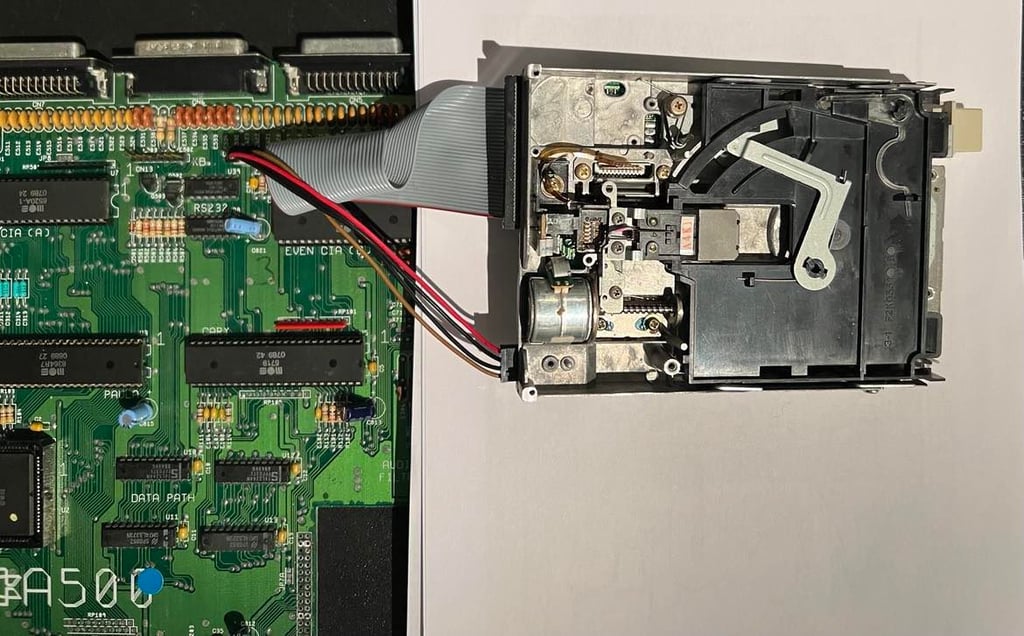
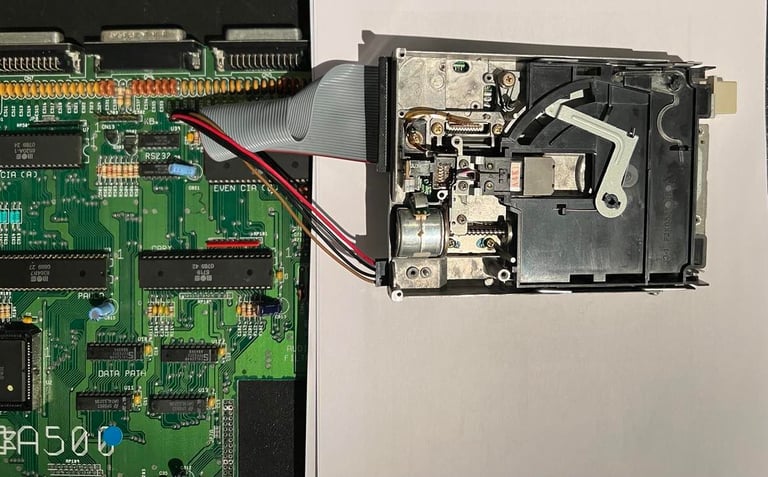
With the new switch installed I re-assembly the drive. And the drive is connected to a A500 - see picture below. Note that there are some paper sheets under the drive to prevent any short circuit.
Replenish and head alignment
In this drive there is one part which need to be replenished with some grease; the stepper motor shaft. As mentioned previously this part has been cleaned with isopropanol, but it also needs to have some grease in order to move freely (and with minimal noise). Note that it´s not much grease needed, just a tiny drop.
I also check the head alignment at the same time as I lubricate the stepper motor shaft. The way I do this is that I first apply a small amount of grease on the shaft with a Q-tip. Then I turn on the Amiga 500 with the drive installed (open chassis - but a disk insterted) and let the drive to the job of smearing the grease around the shaft. And at the same time I use the Amiga Test Kit to verify that the heads (both upper and bottom) are aligned. The way I do this is to check that I get all (11/11) on track 0, 40 and 79. Which I do in this case.
A video on both the smearing and the head alignment verification is shown here.
Testing
Testing is done in two stages:
Basic testing using features from Amiga Test Disk kit
Extensive testing using the floppy drive in a stock Amiga 500 loading software such as games and demos
Basic testing
To test the basic functionality of the drive I use the Amiga Test Disk. On this disk there are three good tests which are applied to the floppy drive. All tests pass - see table below.
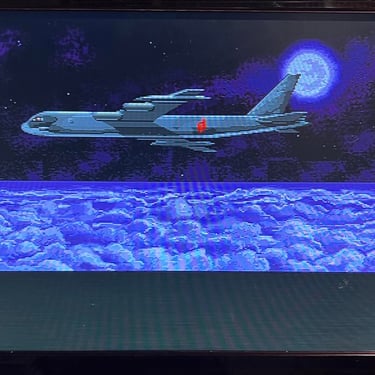
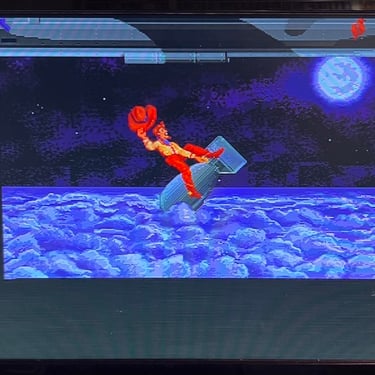
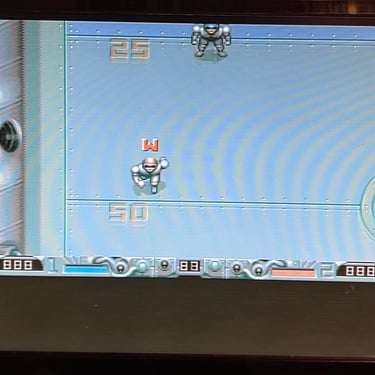
Extensive testing
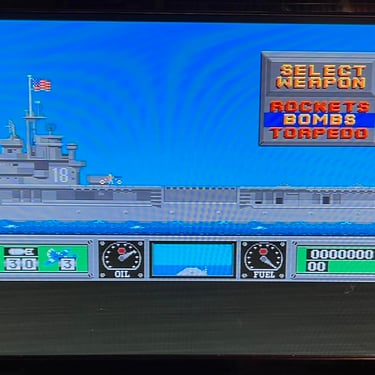
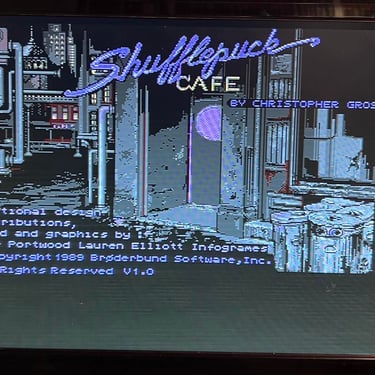
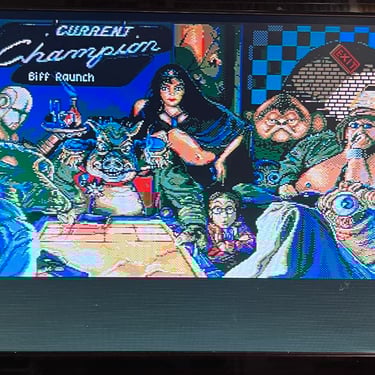
The floppy drive is connected to a stock Amiga 500 and several disks are tested for loading; games and demos. I can not find any problems with the loading of this software. Below are some pictures from the testing.


Banner picture credits: Medvedev