

Amiga 500 Internal Drive
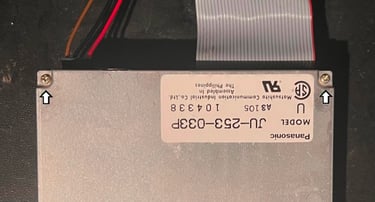
Ser. No. 104338
Model JU-253-033P
Matsushita
Starting point
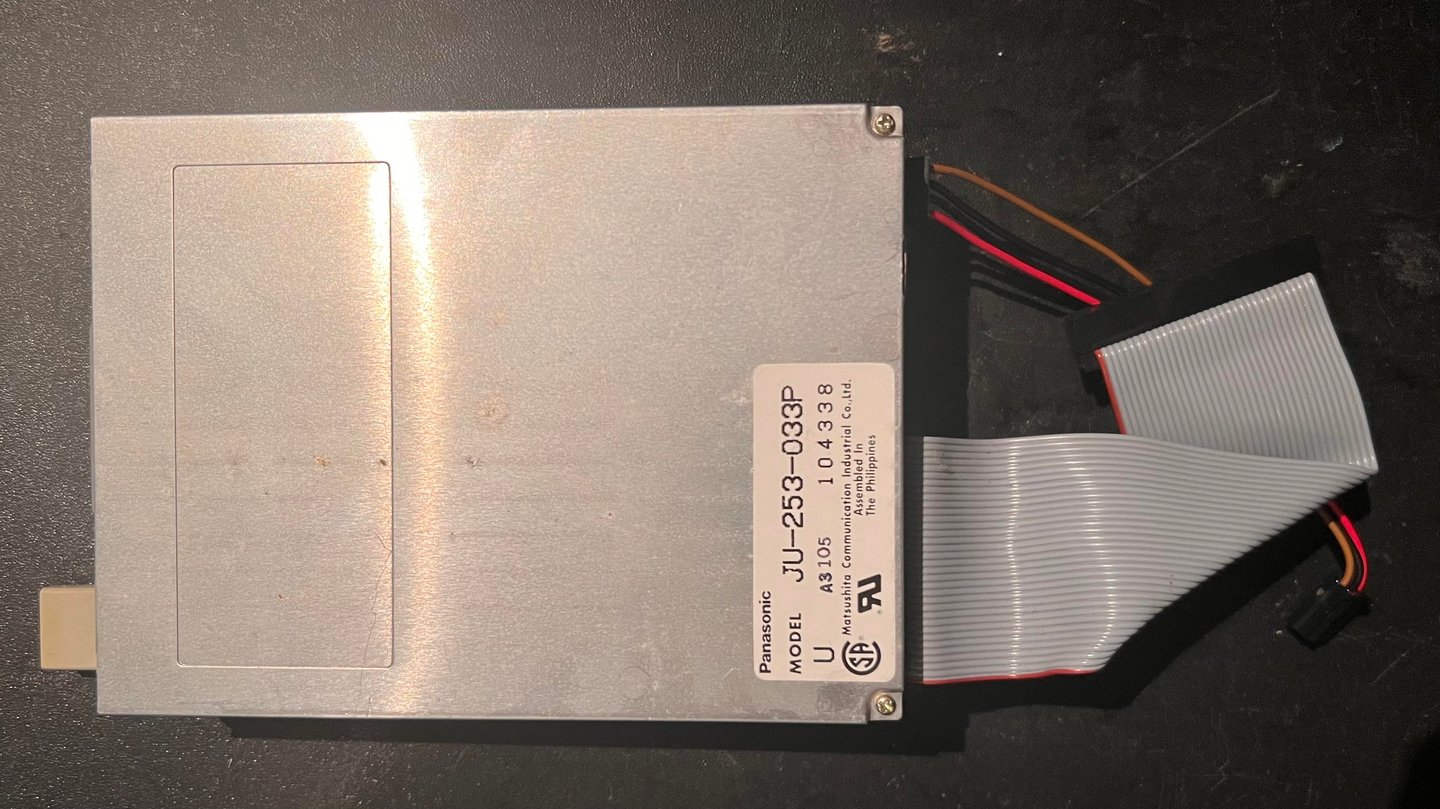
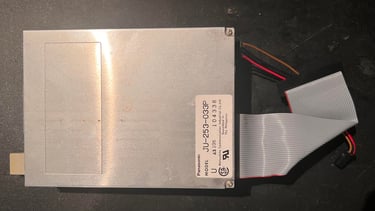
This internal Amiga floppy drive is from the A500 with serial number 1420026. From the outside it looks to be in very good condition. Both the top and bottom appears to be without any damage. This is a Matsushita Communications Industrial Co. (Japan) and the model is type JU-253-033P. Note that on the sticker it also says Panasonic. The reason for this is that Panasonic was a brand from Matsushita, but in 2008 Matsushita changed its name to be "Panasonic Corporation" as the brand.
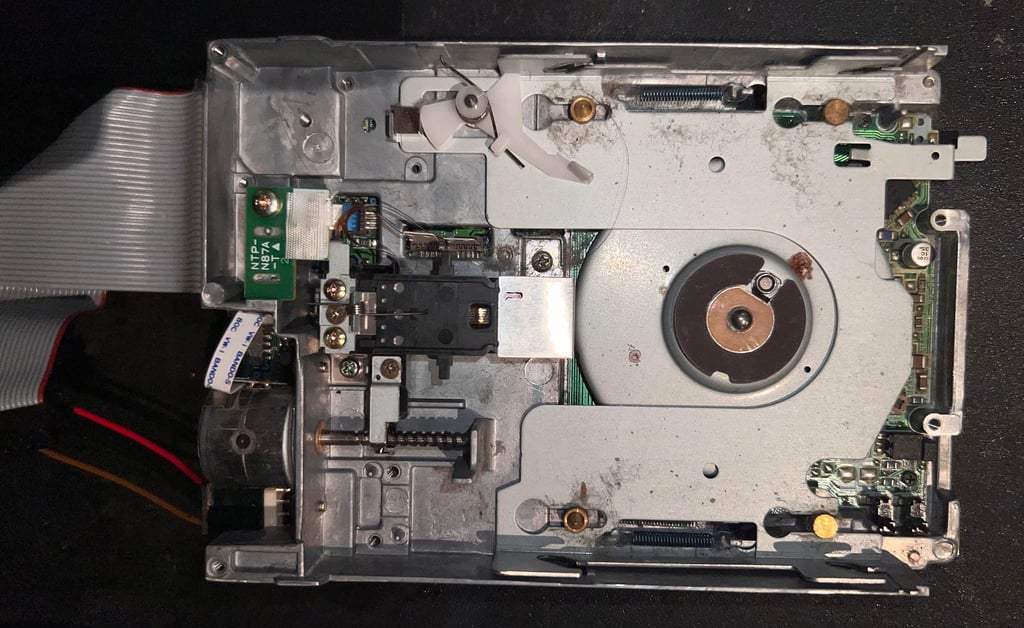
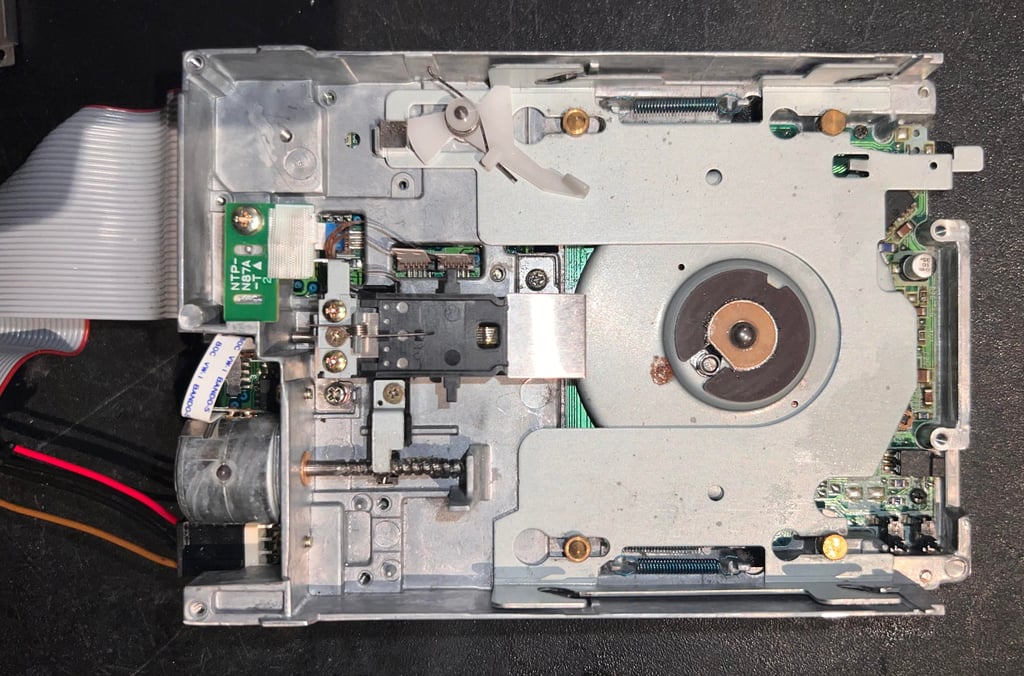
Below are some pictures before the refurbishment.

Refurbishment plan
To refurbish this internal disk drive the plan is to do this trough the following actions (some of them in parallell and different order):
- Clean the interior
- Clean special parts such as R/W head and stepper motor shaft
- Check R/W operation and head alignment
- Verify operation by testing
Cleaning the interior
Even if this drive looks pristine on the outside I expect there to be some dirt and grease inside. After 30+ years there will be probably a few dust bunnies which have entered the drive without any doors to keep them away... Opening the drive is very easy. The two machine screws are simply removed and with a thin flat screwdriver the top lid is pried open. Note that there are some small metal notches on each side of the drive.

With the lid out of the way part of the interior is exposed. As expected there is quite a lot of dirt and grease inside, but other than that it looks to be in good condition.
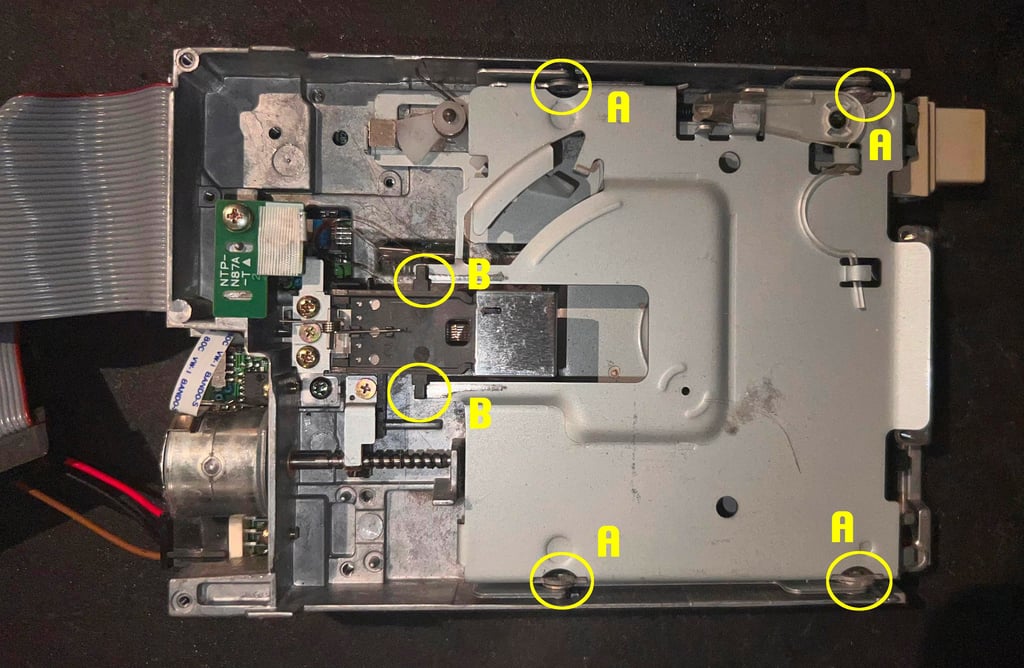

Next step is to remove the middle metal lid. This requires some "fingerspitzgefühl" to not damage anything. Please note the following from the picture above:
Circles marked "A" shows the four small metal spacers. When the middle lid is lifted these will easily come off so make sure you don´t loose any of them.
Circles marked "B" shows the two plastic tabs which the R/W head is resting upon the middle lid. When the lid is slid away these will fall off and if not careful the both the top- and botto R/W head will smash hard together which can damage the heads.
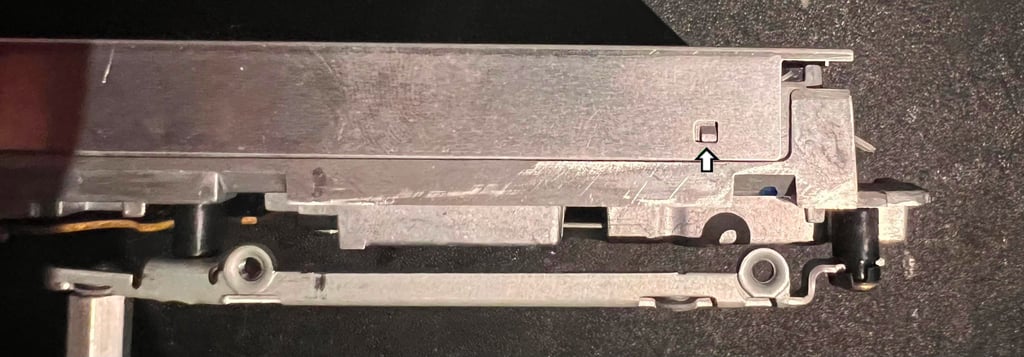
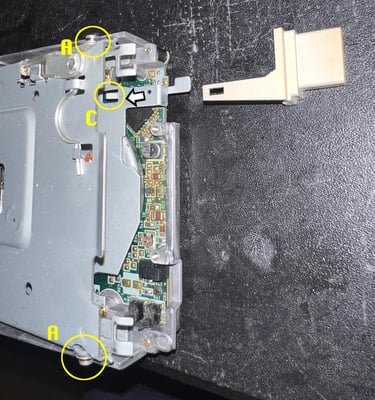
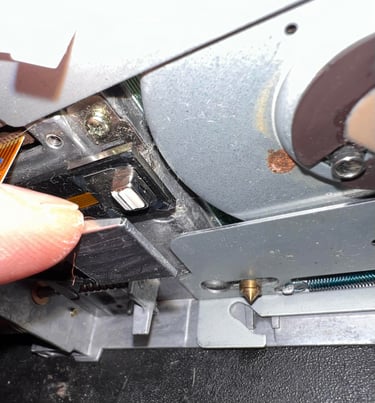
To lift the middle lid the plastic eject button is removed. The button is held in place by a small metal tab (see circle marked "C" below) and is removed by a small thin flat screwdriver. Then the middle lid is pushed carefully inwards (see arrow) until the two spacers (circles marked "A") can be lifted up. While holding the R/W head with a finger you can gently slide the middle lid to the right and it will come off.

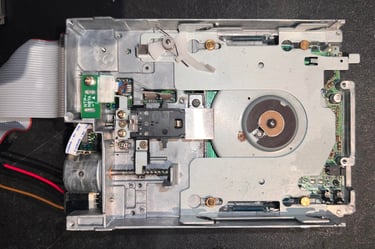
When the middle lid is removed all of the interior is exposed. More dust and grease and some minor corrosion, but nothing which should prevent the drive from working.

The interior is cleaned thoroughly with isopropanol on a Q-tip. See picture below.
R/W heads and spindle
In contrast to the 1541 floppy drive for the Commodore 64 the Amiga drives has not one but two read / write heads; one upper and one lower. In order for these to function flawlessly they need to be clean. After many years in storage and high usage it is normal that these R/W heads become dirty. Cleaning these is easy, but you need to be very careful to not damage either the spring holding the heads in place or the R/W heads themselves.
Cleaning the R/W heads is done by gently separating the heads while using a Q-tip with isopropanol.

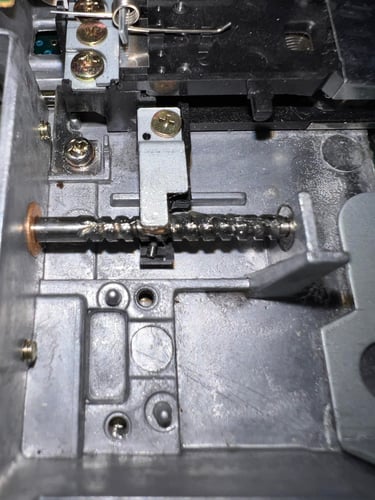
Another important part of the cleaning is the motor spindle (shaft). This spindle makes the R/W head move up and down from track 0 to track 79. If this spindle is not properly cleaned and lubricated there is a risk that the R/W will be misaligned. First, the spindle is cleaned properly with isopropanol and a Q-tip. This removes all the 30+ old grease which can (or will) prevent the R/W head from moving smoothly. After cleaning the spindle is lubricated with some general purpose grease (you can argue that a more professional grease should be used, but I think that for these old drives this works well enough). Below is a picture of the cleaned and re-lubricated spindle.

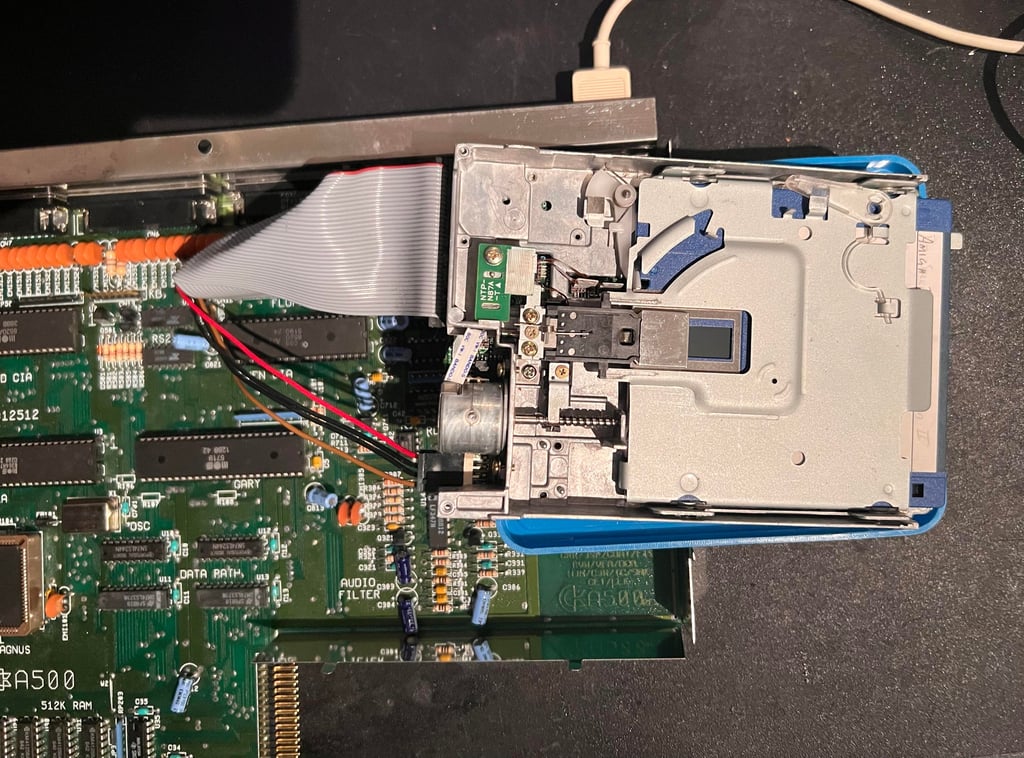
The grease needs to be smeared out along the spindle. But to do this it is good practice to let the Amiga do the job for you. Therefore the internal drive is temporarily connected to the Amiga mainboard (see picture below). NOTE: make sure to have some insulating material between the drive and the mainboard to avoid any short circuit.
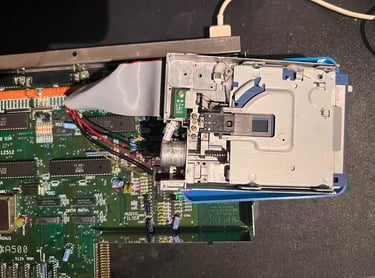
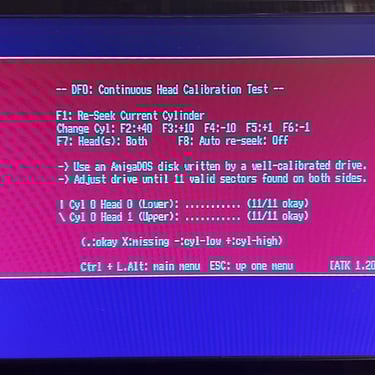
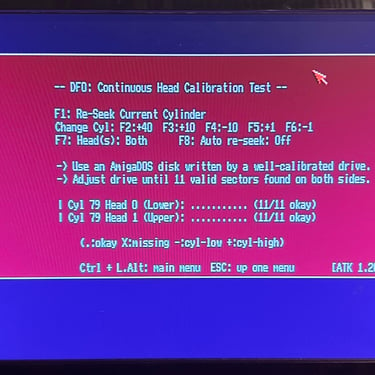
By using the Amiga Test Kit disk the R/W head can be moved from track 0 to 79 (and all intermediate tacks). This will "massage" the grease along the spindle making the lubrication to evenly distributed. See short video below.

Testing
Testing is done in two stages:
Basic testing using features from Amiga Test Disk kit
Extensive testing using the floppy drive in a stock Amiga 500 loading software such as games and demos
Basic testing
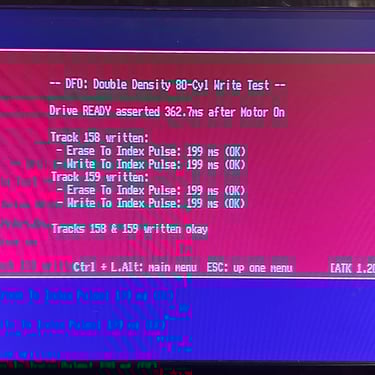
To test the basic functionality of the drive I use the Amiga Test Disk. On this disk there are three good tests which are applied to the floppy drive. All tests pass - see table below.
Below are some pictures from the testing following the table above.


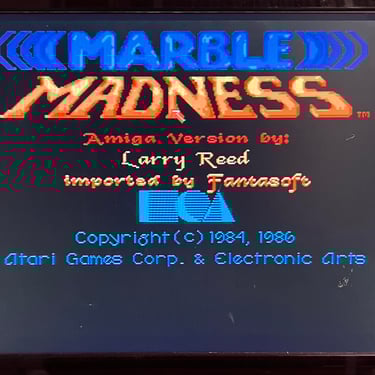
Extensive testing
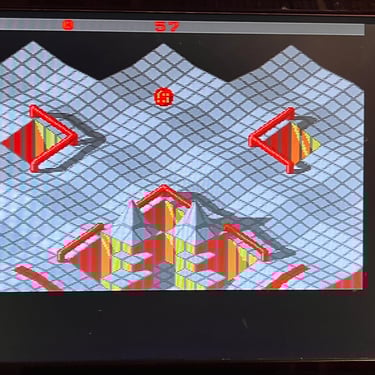
The floppy drive is connected to Amiga 500 with serial number 1420026, and several disks are tested for loading; games and demos. I can not find any problems with the loading of this software. Below are some pictures from the testing.


Banner picture credits: Medvedev