
Amiga 500 Internal Drive
Ser. No. 10600424
Model FB-354 (REV B)
Chinon
Starting point
This is an internal disk drive is planned to be used with the A500 with serial no. 168609. This internal disk drive will replace the internal Gotek drive. As can be seen from the pictures below the disk drive looks to be in quite good condition. There are no sign of corrosion and I can not see any sign of damage.
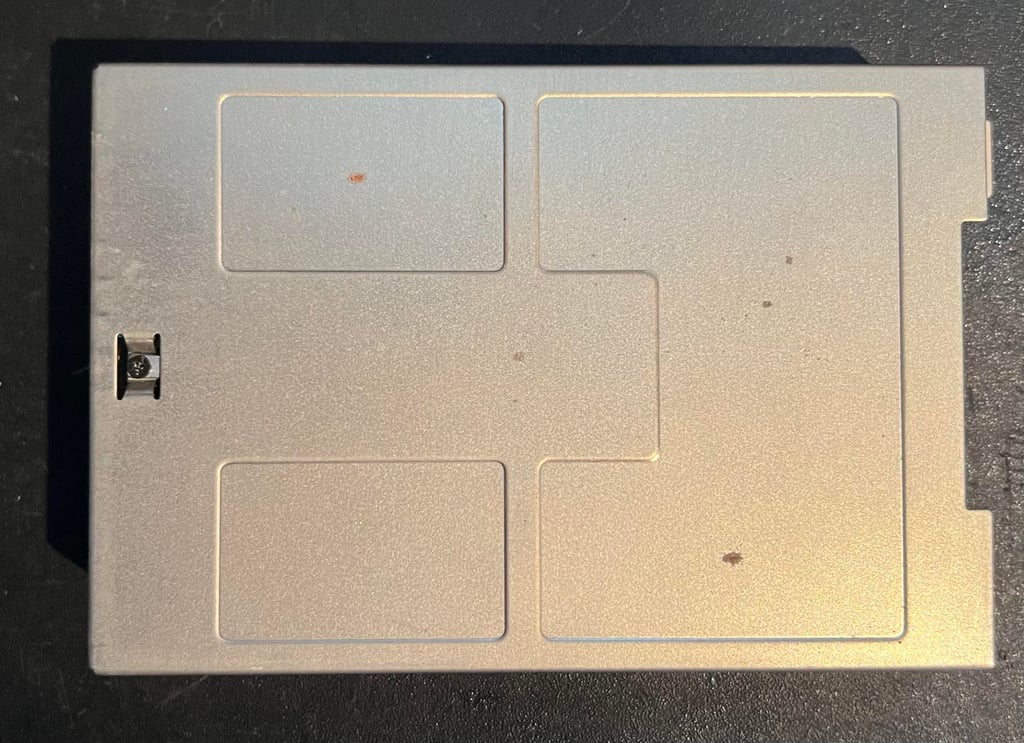

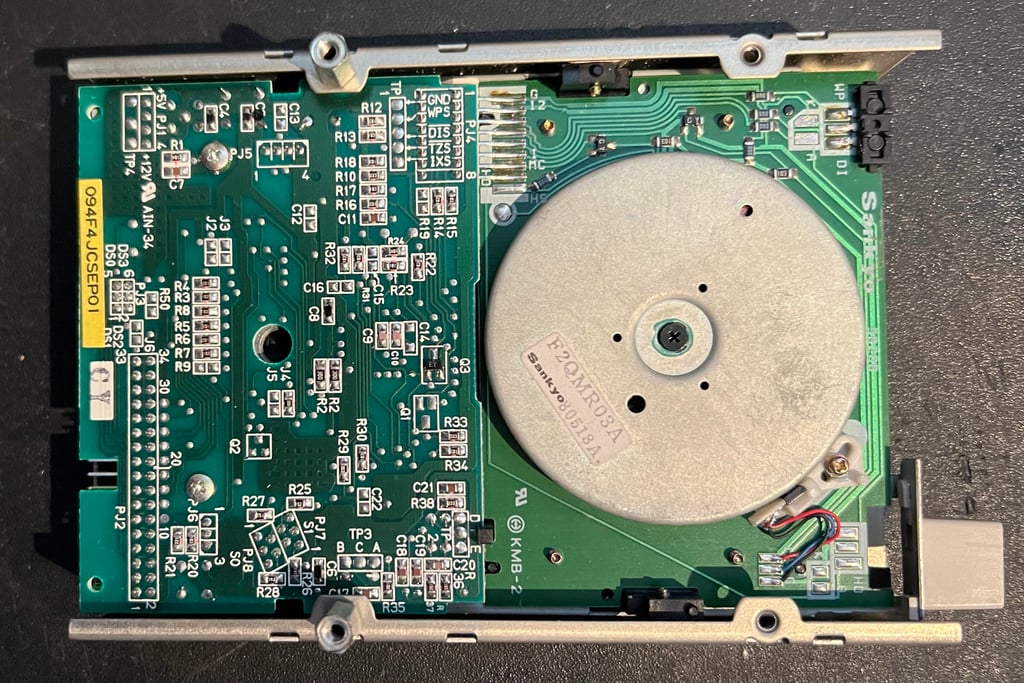

The disk drive is a Chinon FB-354 which is a common drive for the A500. Hopefully this will work after cleaning (and maybe repair)!
Refurbishment plan
To refurbish this internal disk drive the plan is to do this trough the following actions (some of them in parallell and different order):
- Clean the interior
- Clean special parts such as R/W head and stepper motor shaft
- Replace electrolytic capacitors
- Verify operation by testing
Opens it up...
Disassembling a Chinon disk drive is not complicate, but can be a bit tricky if you are not careful. The first thing to do is to remove the top metal cover. This is done by removing the three screws; one a the top and two at the sides. See pictures below.
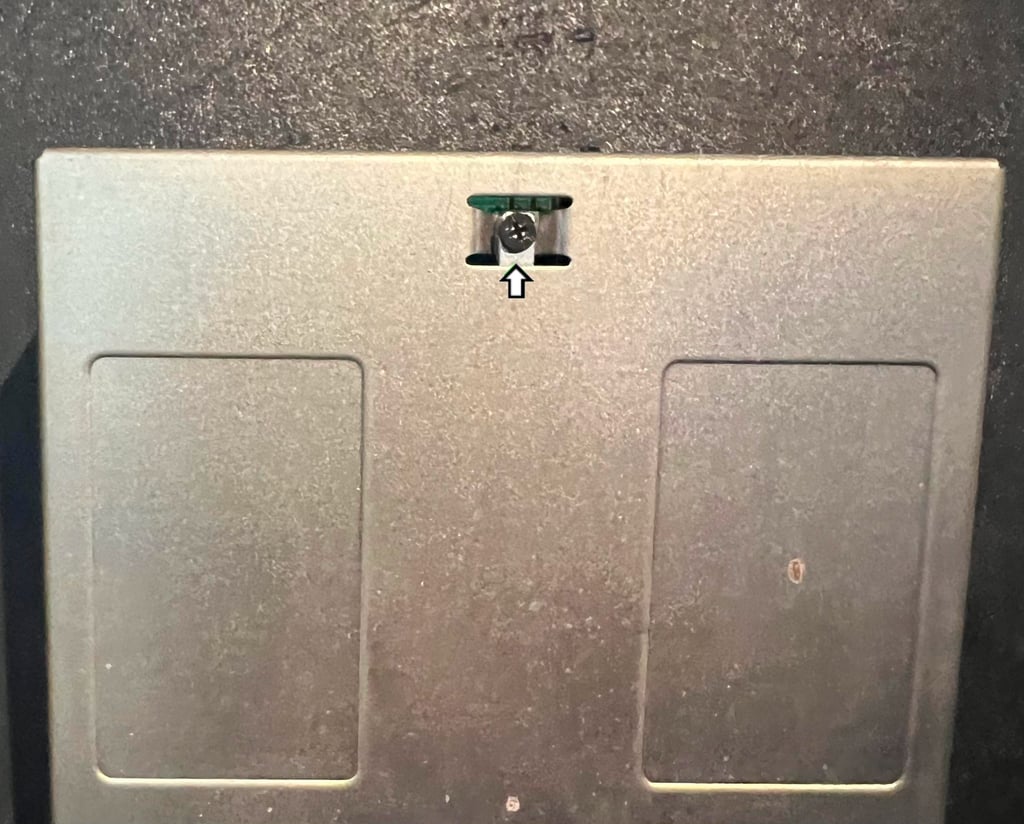

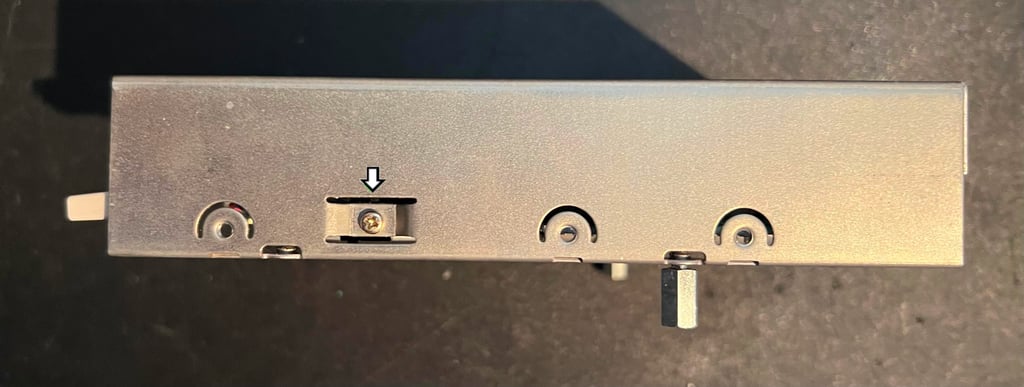

With the screws out of the way the interior of the drive is carefully pulled out. Note that you need to be quite careful when removing the drive - otherwise you risk damaging the PCB or drive mechanics.
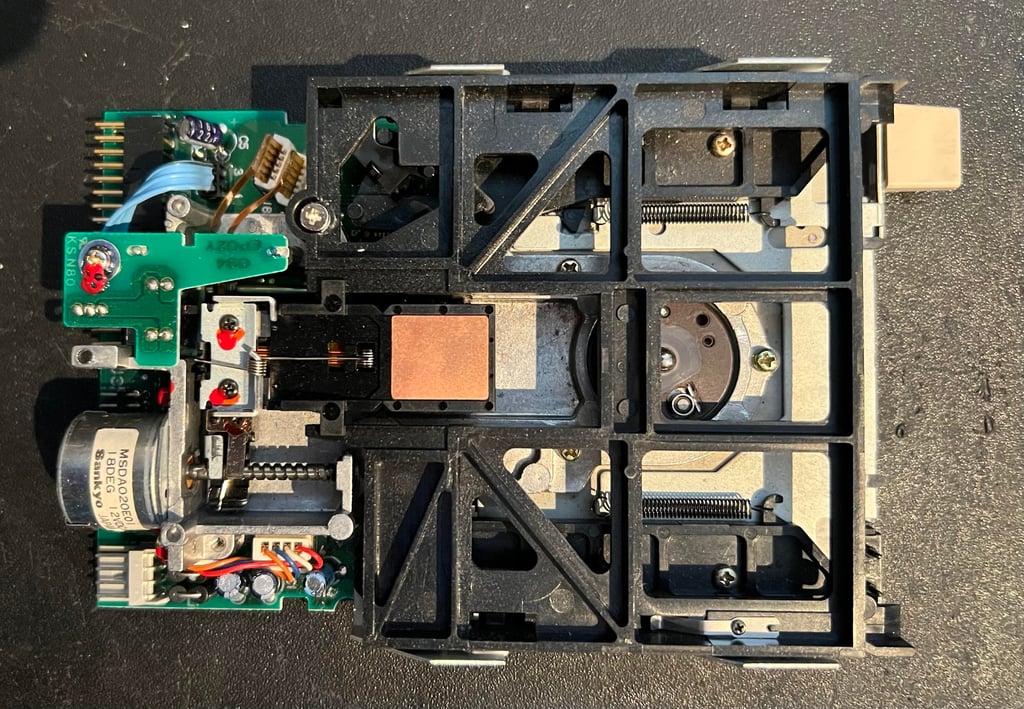

Removing the floppy tray
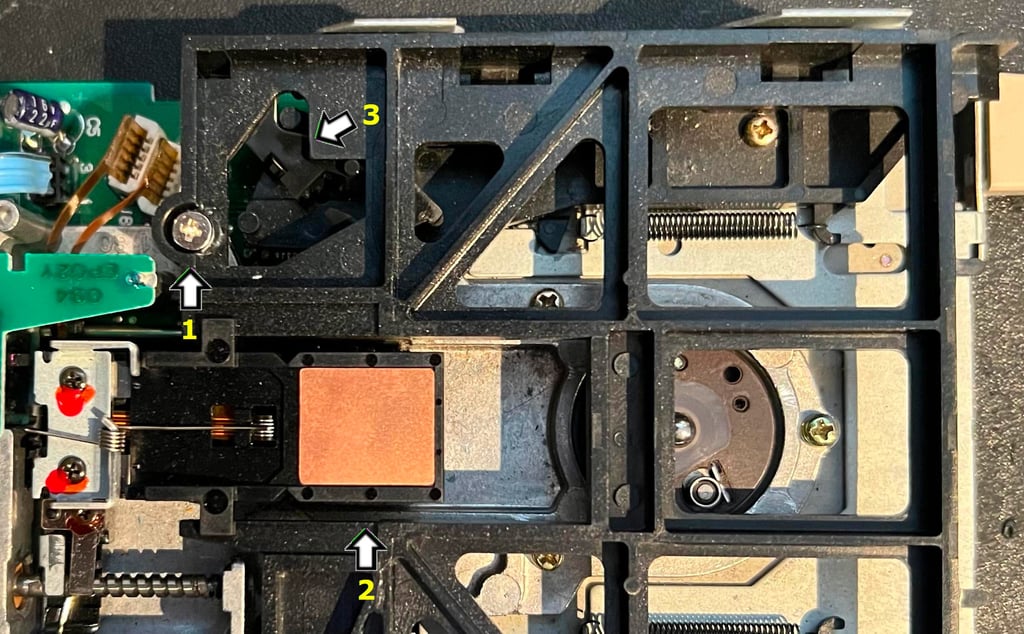
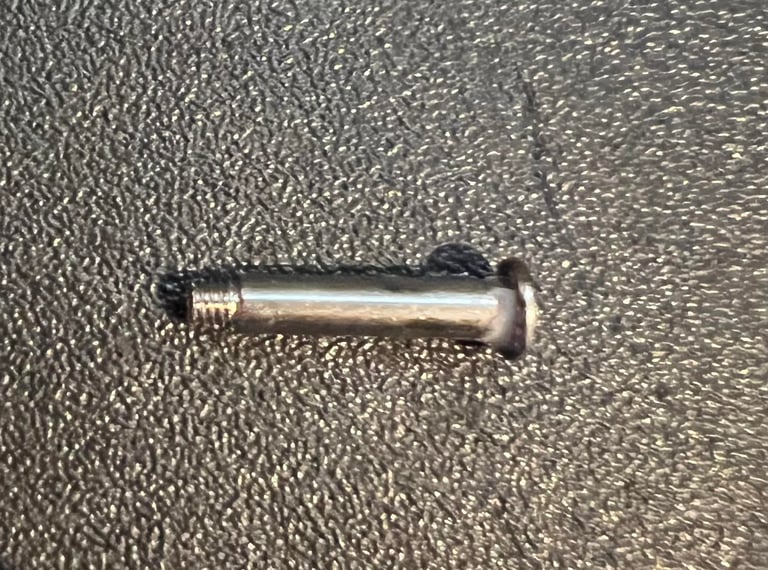
Ok - so here comes the tricky part unless you have three arms. First you have to do is to remove the special screw (see position "1") below.

This is a special long screw with very few threads - see picture below.

Then the R/W head (position "2) is slightly opened so that it can slide off the plastic rails. At the same time the locking mechanism (position "3") is moved - and then finally the tray is gently pulled away. So this operation can be difficult since you need to do everything at the same time with only two hands... Below is a picture of the drive with the tray removed. The drive is now ready to be cleaned and lubricated.
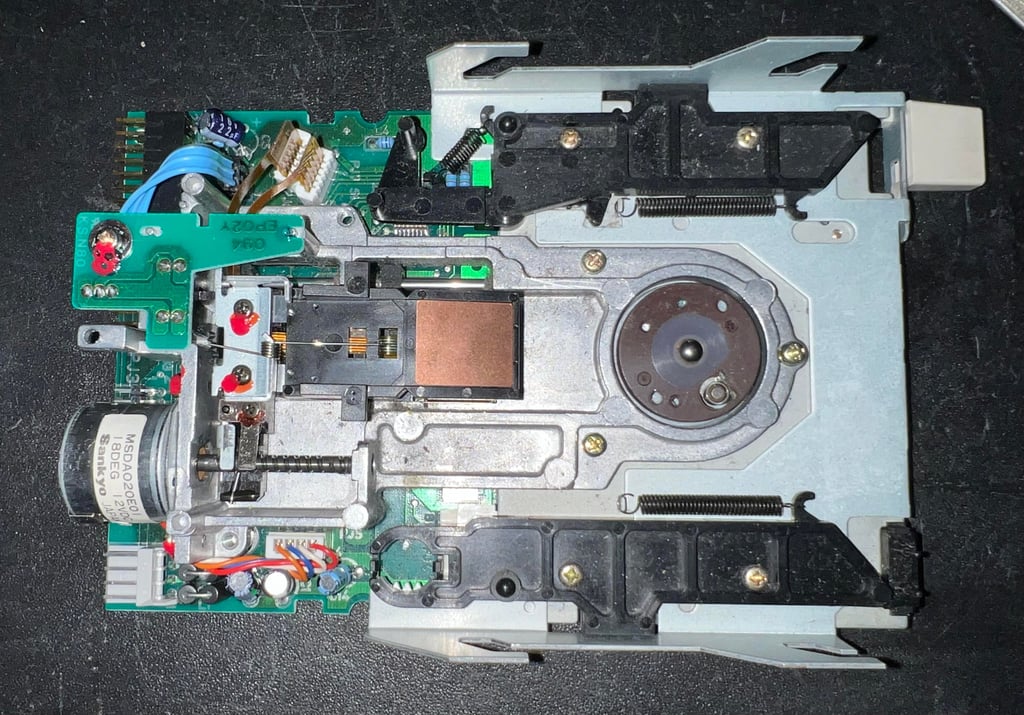

Cleaning and lubrication
Everything is cleaned throughly with isopropanol. As can be seen from the picture in the previous chapter, there isn´t too much dirt and grease. The most important part is to clean the R/W heads of the floppy drive. Note that there are two R/W heads; one for each side of the disk. The top R/W head is flexible in contrast with bottom R/W which is fixed in position. This is important to know when cleaning - make sure that you don´t accidentally rip the top R/W head!
Below is a picture of the cleaned R/W heads.
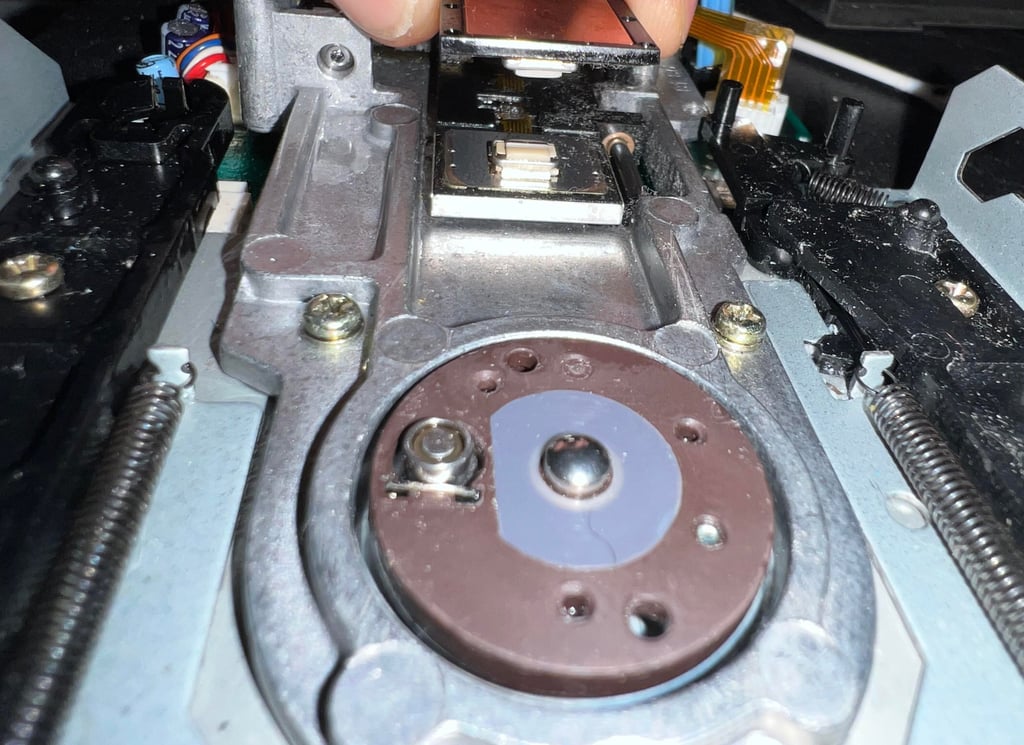

Next the spindle/shaft is lubricated (after it has been properly cleaned). I use some multi purpose grease to lubricate the spindle.
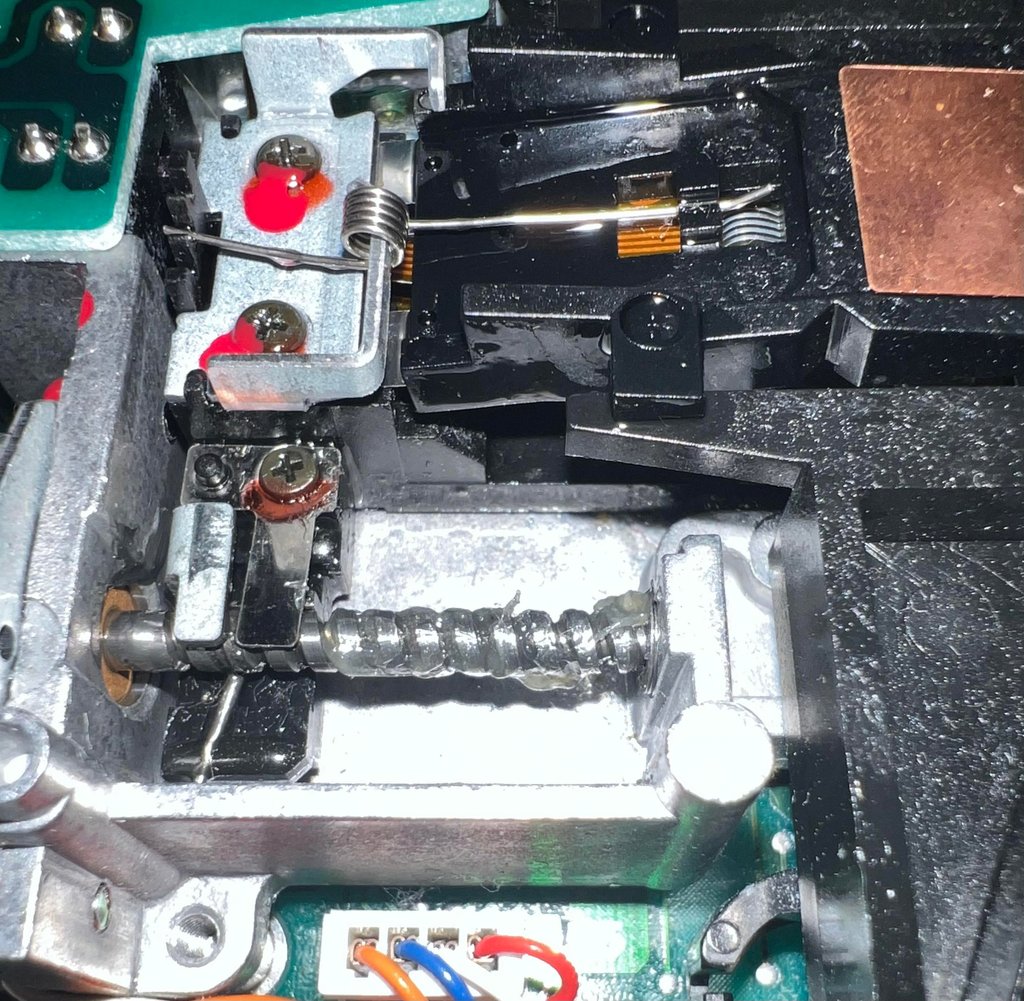

To make sure the grease is smeared all over the spindle the internal disk drive is connected to the Amiga 500. Then the Amiga Test Disk is loaded and the drive is forced to move between all the tracks from 0 to 70. This will smear the grease all over the spindle/shaft. See video below.

Replacing the electrolytic capacitors
A bad capacitor in these Chinon drives can cause errors. Both World of Jani and Jan Beta recommend changing these electrolytic capacitors in order to reduce the risk of failing in the future.
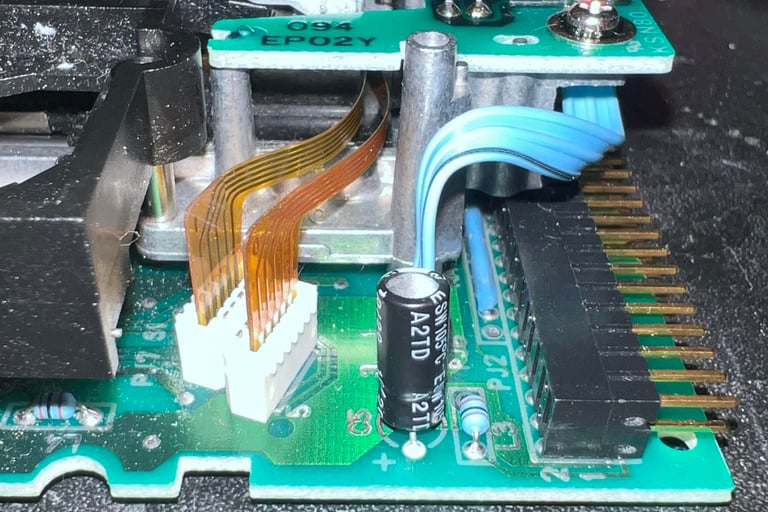
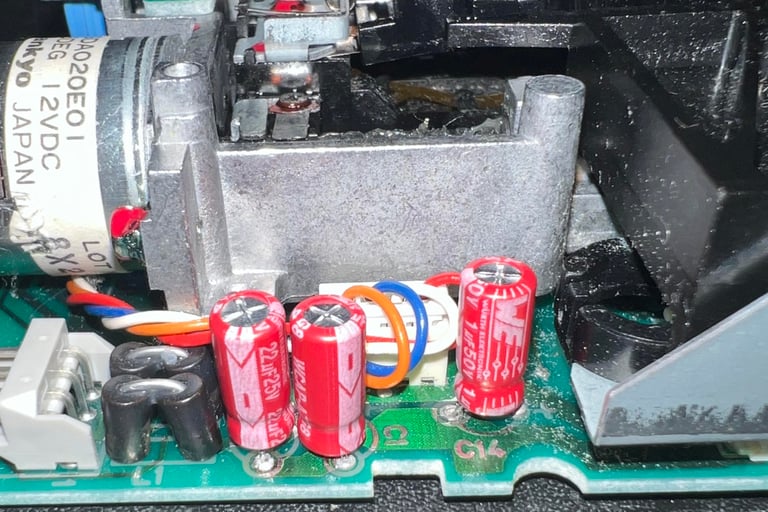
The drive has 2 x 22 uF [16V] and 1 x 1 uF [50V] capacitors (C1, C3, C5, C14). I can not see any damage or leakage on these. See pictures below.
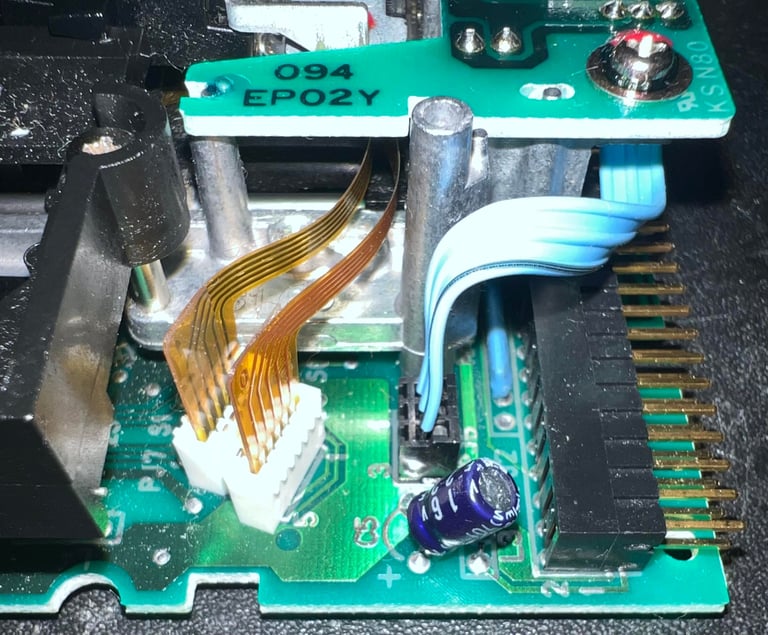

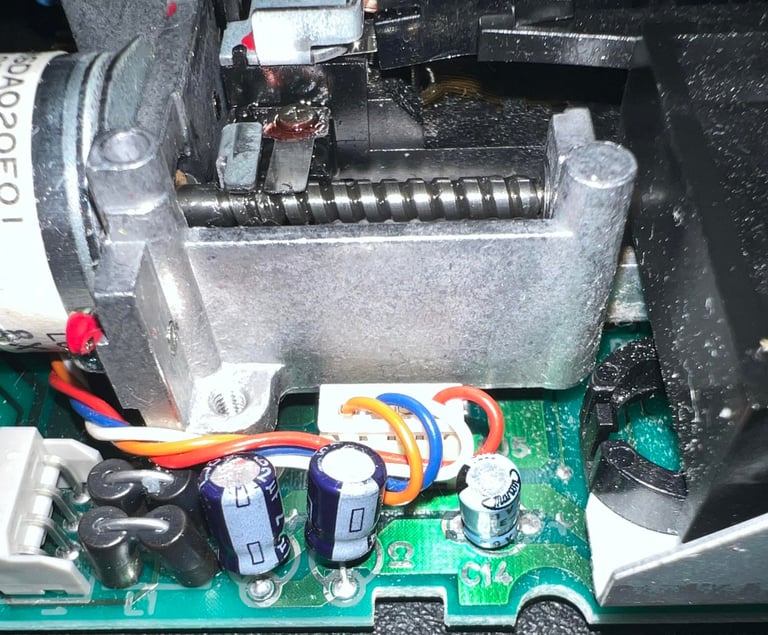

All capacitors are replaced with quality capacitors from Kemet and Wurth Electronics. Note that the 22 uF capacitors are rated with a slightly higher voltage: 25 V. This is ok since 16 V < 25 V. No pads or traces were damaged during desoldering. See pictures below.


Testing
Testing is done in two stages:
Basic testing using features from Amiga Test Disk kit
Extensive testing using the floppy drive in a stock Amiga 500 loading software such as games and demos
Basic testing
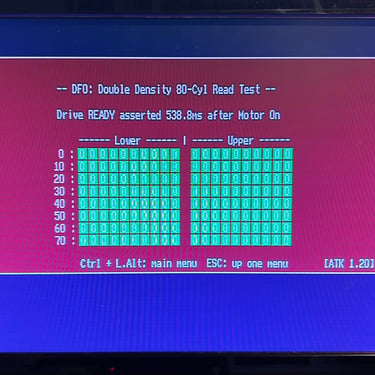
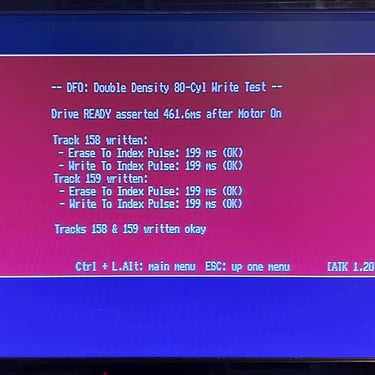
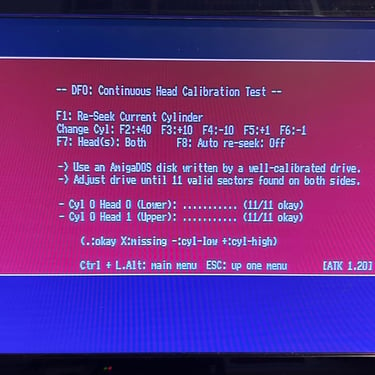
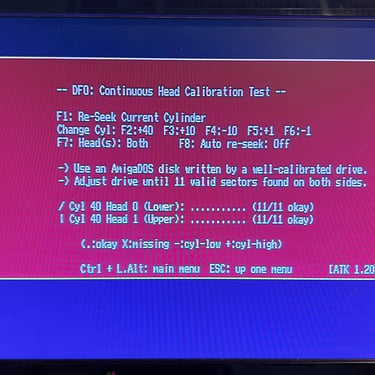
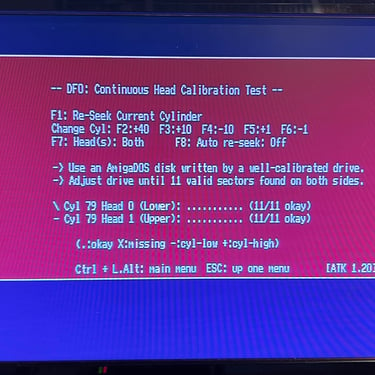
To test the basic functionality of the drive I use the Amiga Test Disk. On this disk there are three good tests which are applied to the floppy drive. All tests pass - see table below.
Below are some pictures from the testing following the table above.
Extensive testing
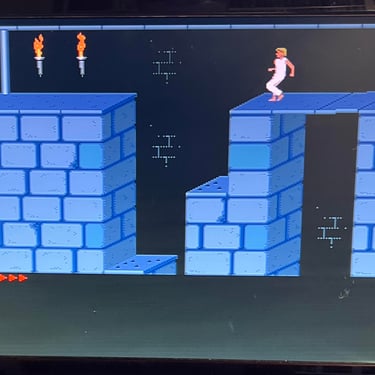
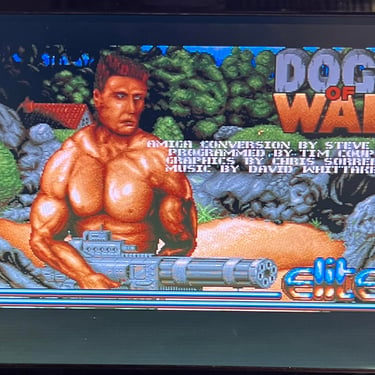
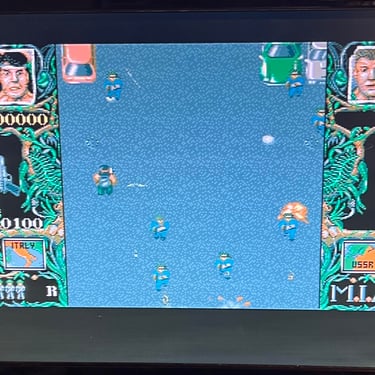
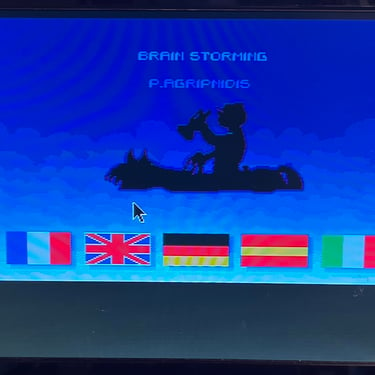
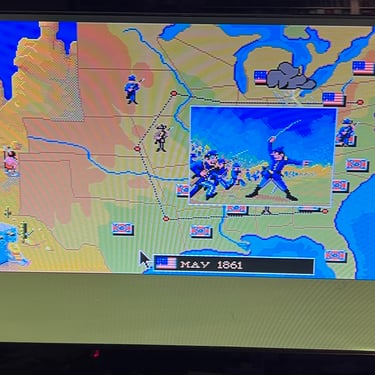
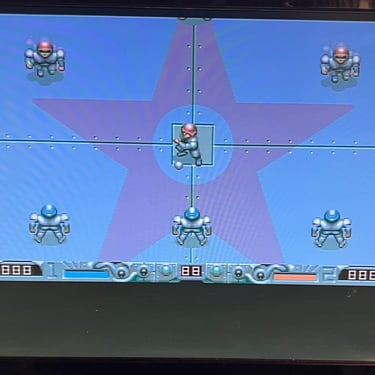
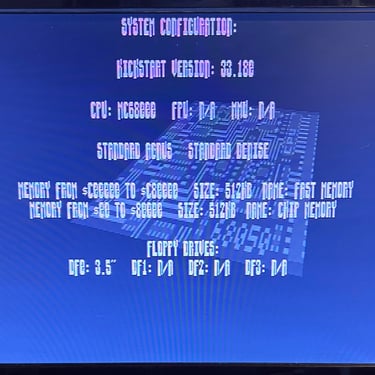
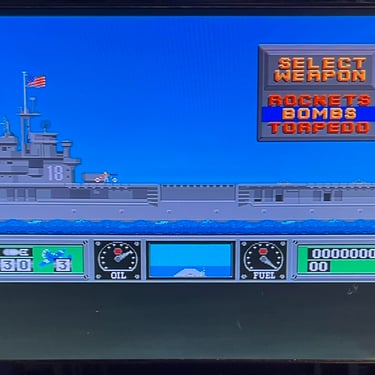
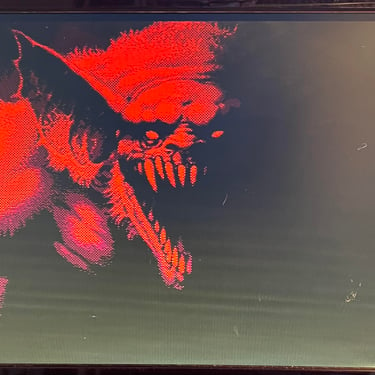
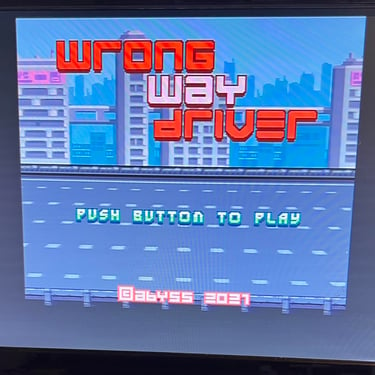
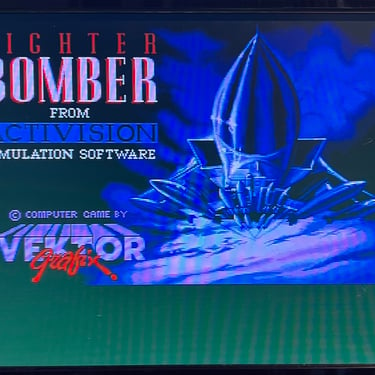
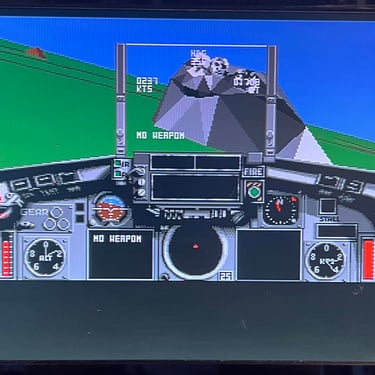
The floppy drive is connected to Amiga 500 with serial number 168609, and several disks are tested for loading; games and demos. I can not find any problems with the loading of this software. Below are some pictures from the testing.




Banner picture credits: Medvedev
