
Competition Pro
Starting point
The Competition Pro joystick is acclaimed to be the best joystick of all times (read full article: "40 Years Competition Pro joysticks: the best joystick of all times"). And I do not disagree. It is without doubt one of the best joystick for the Commodore/Amiga machines.
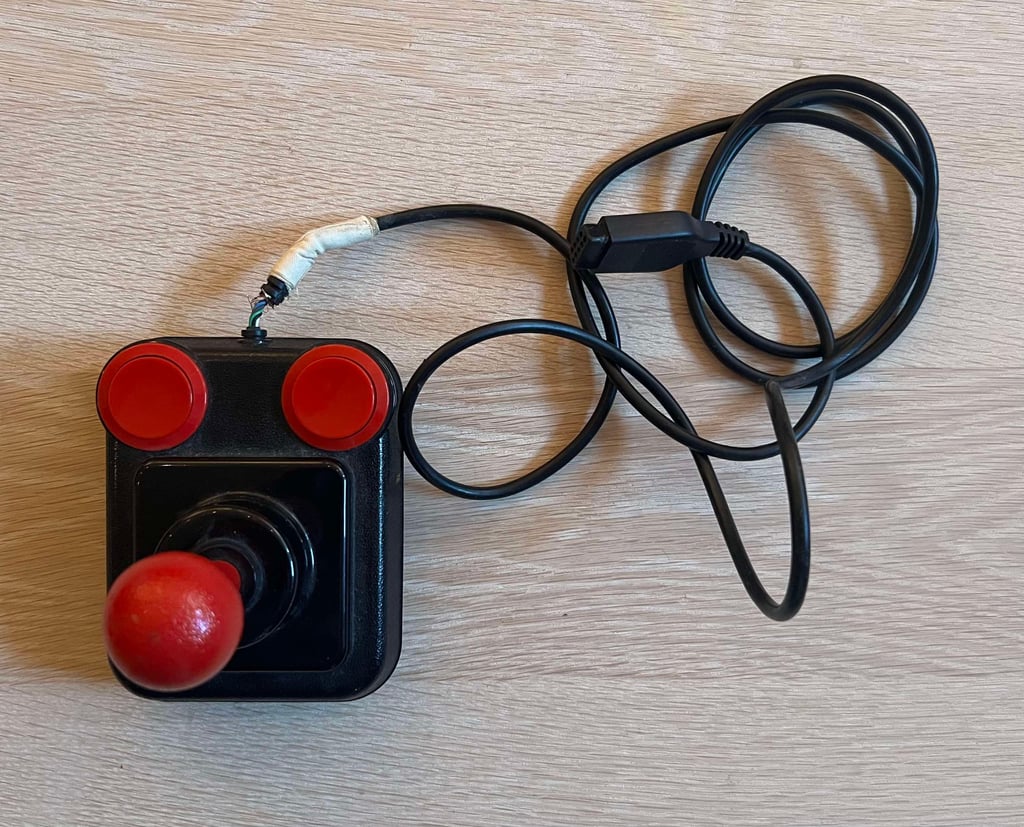
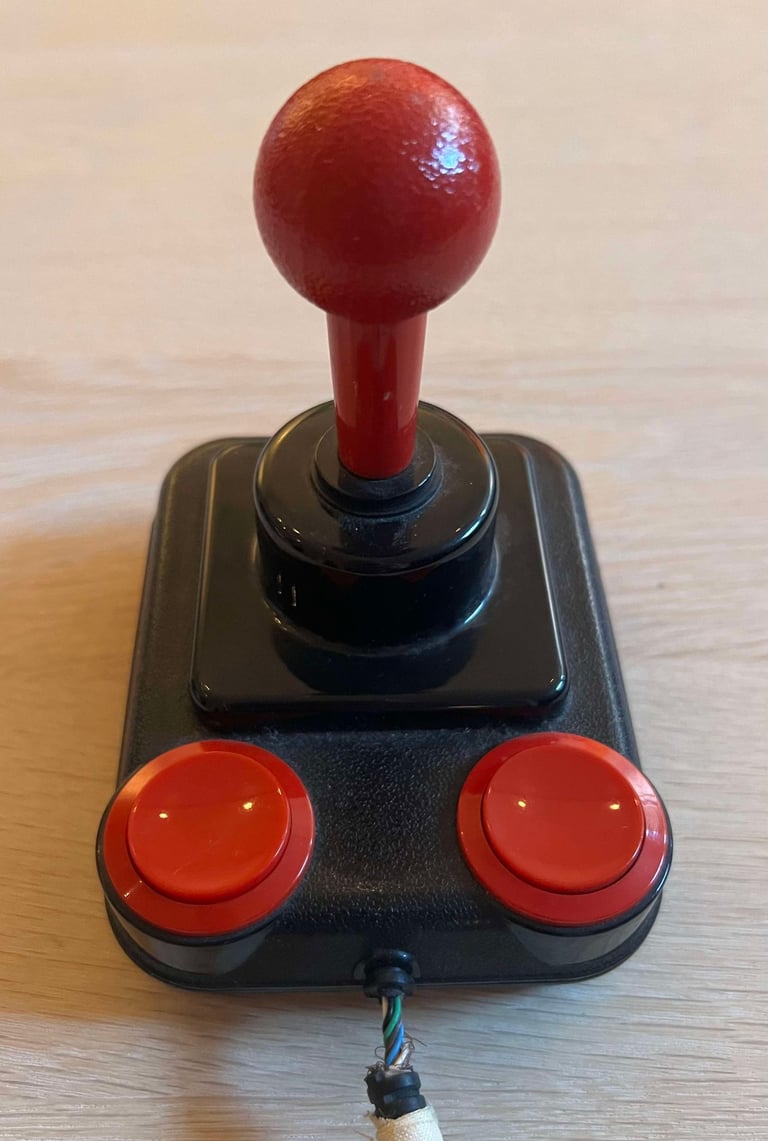
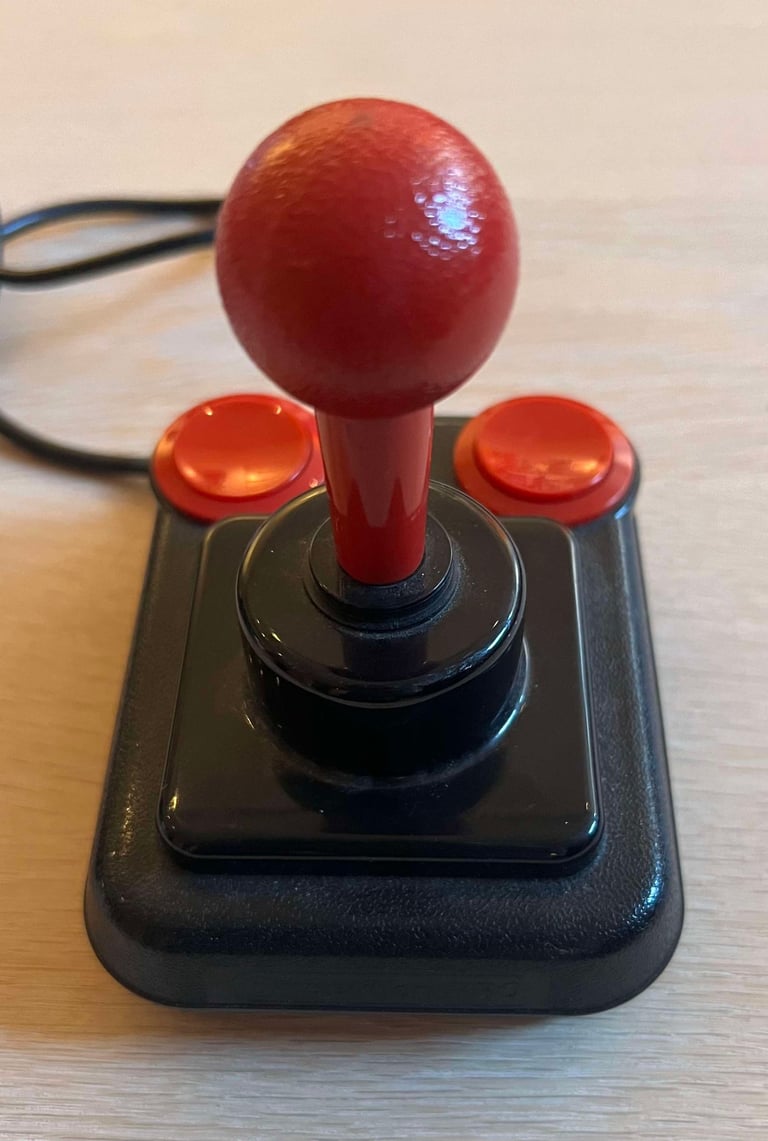
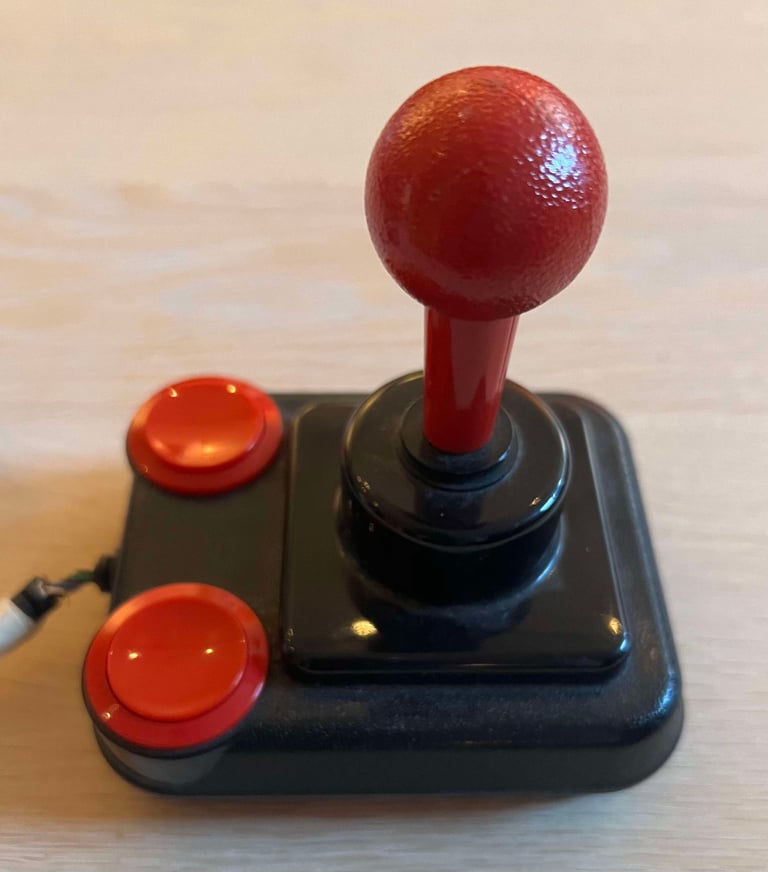
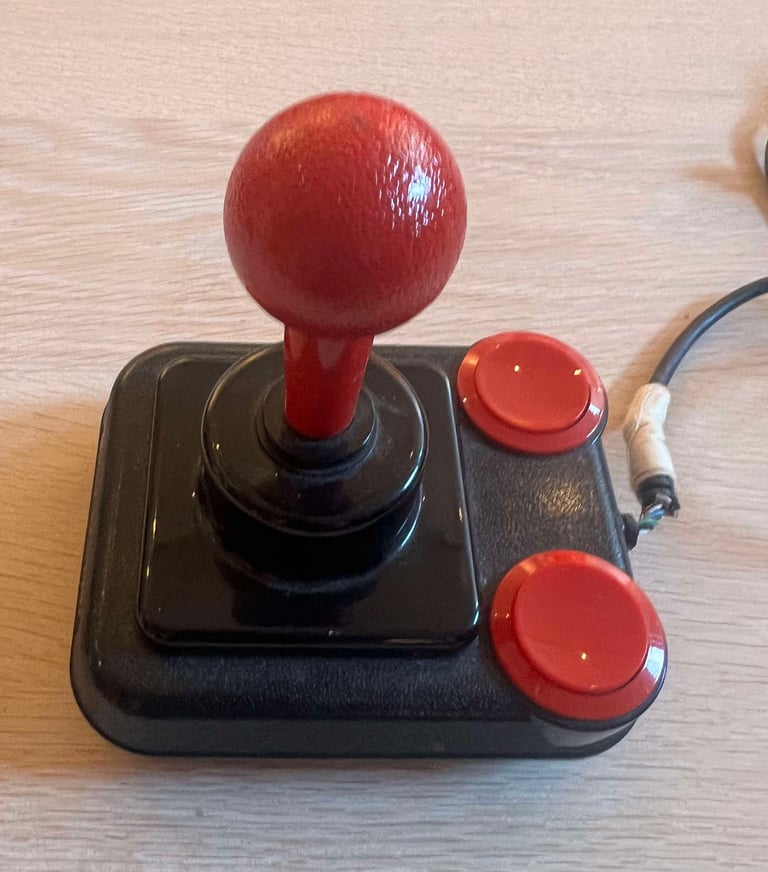
This one has seen better days nevertheless. It is not so easy to see from the pictures, but it is very dirty. There is a thick layer of grease and dust, and with occasional spots of some kind. On the bright side, the two fire buttons feels ok. And the shaft can be moved in all four directions (LEFT/RIGHT/UP/DOWN) while the nice "click" from the microswitches can be heard. There is some squeaky noise from dried out rubber, but its not too bad.
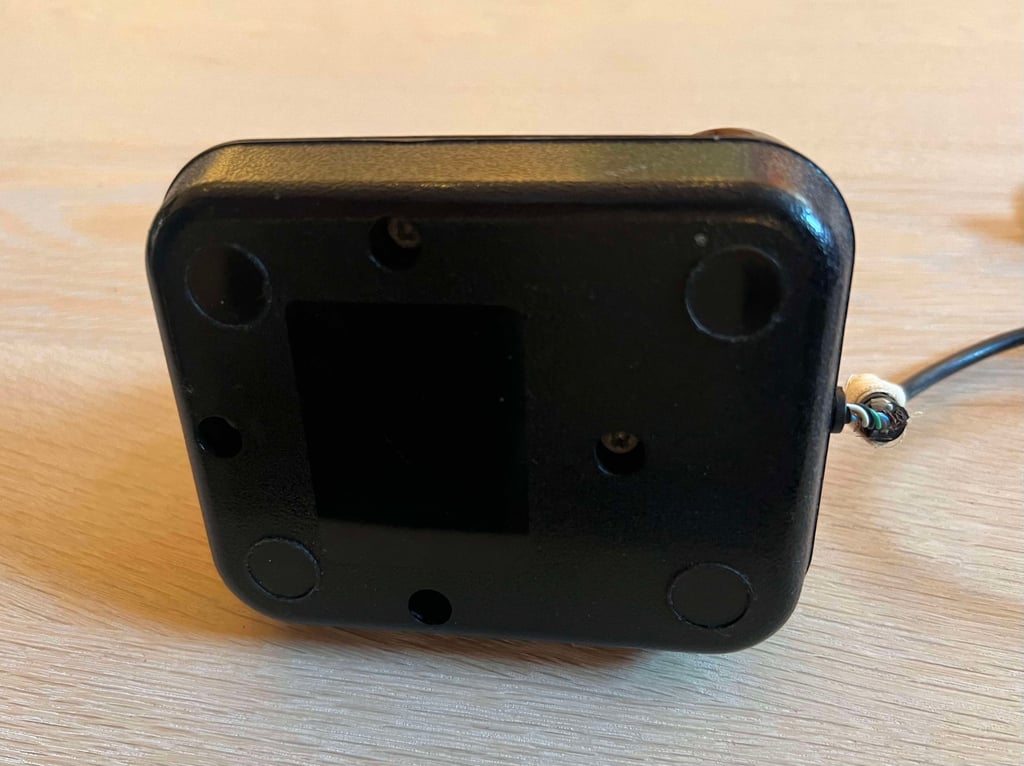
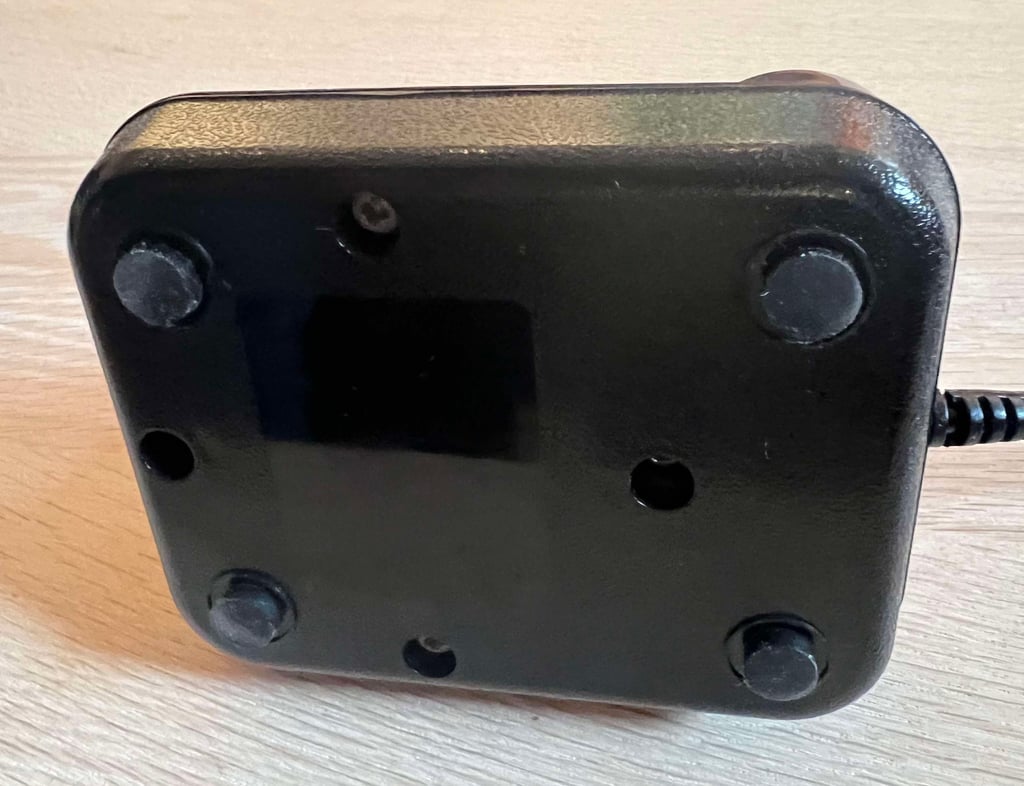
The cable is torn, but I think it is better than it looks. With some luck, the original cable can be salvaged. There are one screw missing from the bottom of the joystick which is a quite clear indication that a previous owner has done an attempt to repair it at some point. Also, I notice that there are no rubber feet. It could be that this joystick never had such rubber feet, but I doubt it.
Below are some pictures of the joystick before refurbishment.






Refurbishment plan
To refurbish this Competition Pro joystick the plan is to do this by:
Cleaning the exterior casing
Check (and potentially repair) the interior electronics, switches and mechanics
Repair cable and check cable connectivity
Verify operation by testing
Disassembly
The disassembly start by removing the bottom screws. As mentioned one of the 3.5 mm X 15 mm Phillips screws are missing. A new replacement screw will be found later.
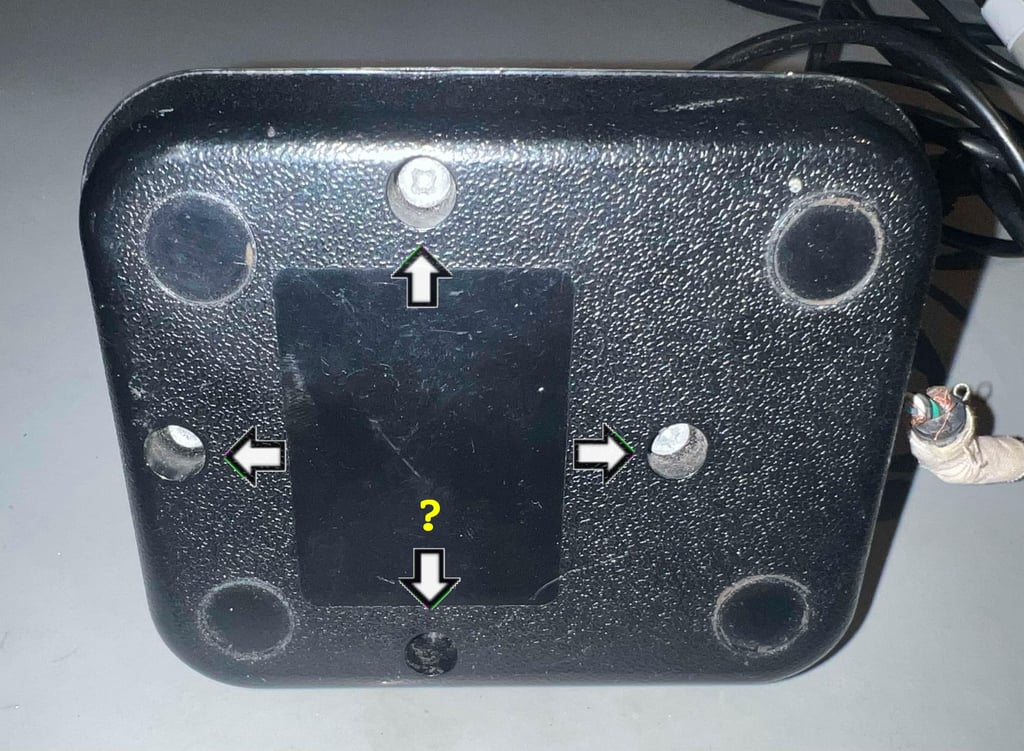

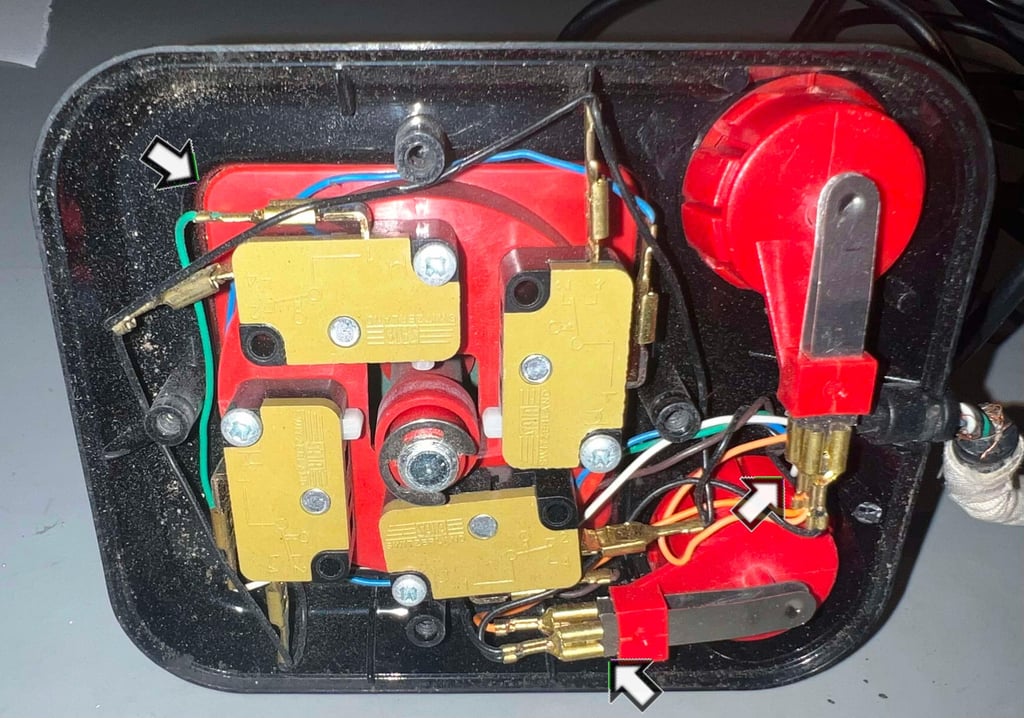
With the three screws out of the way the top cover is removed. This reveals the inside of the joystick. It seems to be in quite good overall condition, but there are three things I notice immediately:
There is a significant amount of dust and dirt inside.
One of the microswitches (for the RIGHT direction) is misaligned
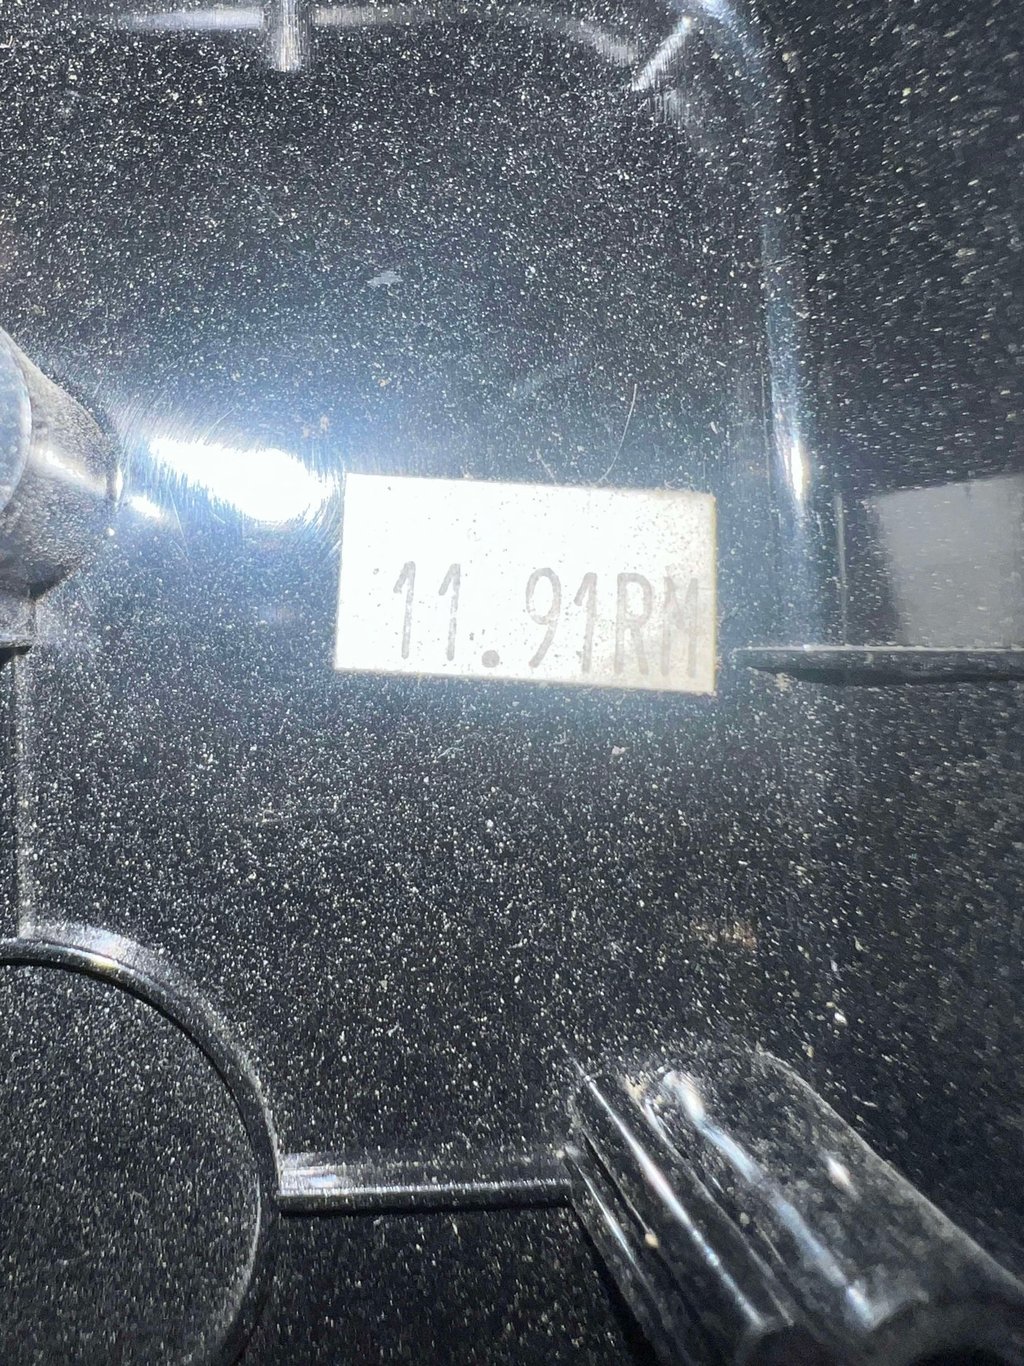
A sticker saying "11.91RM"
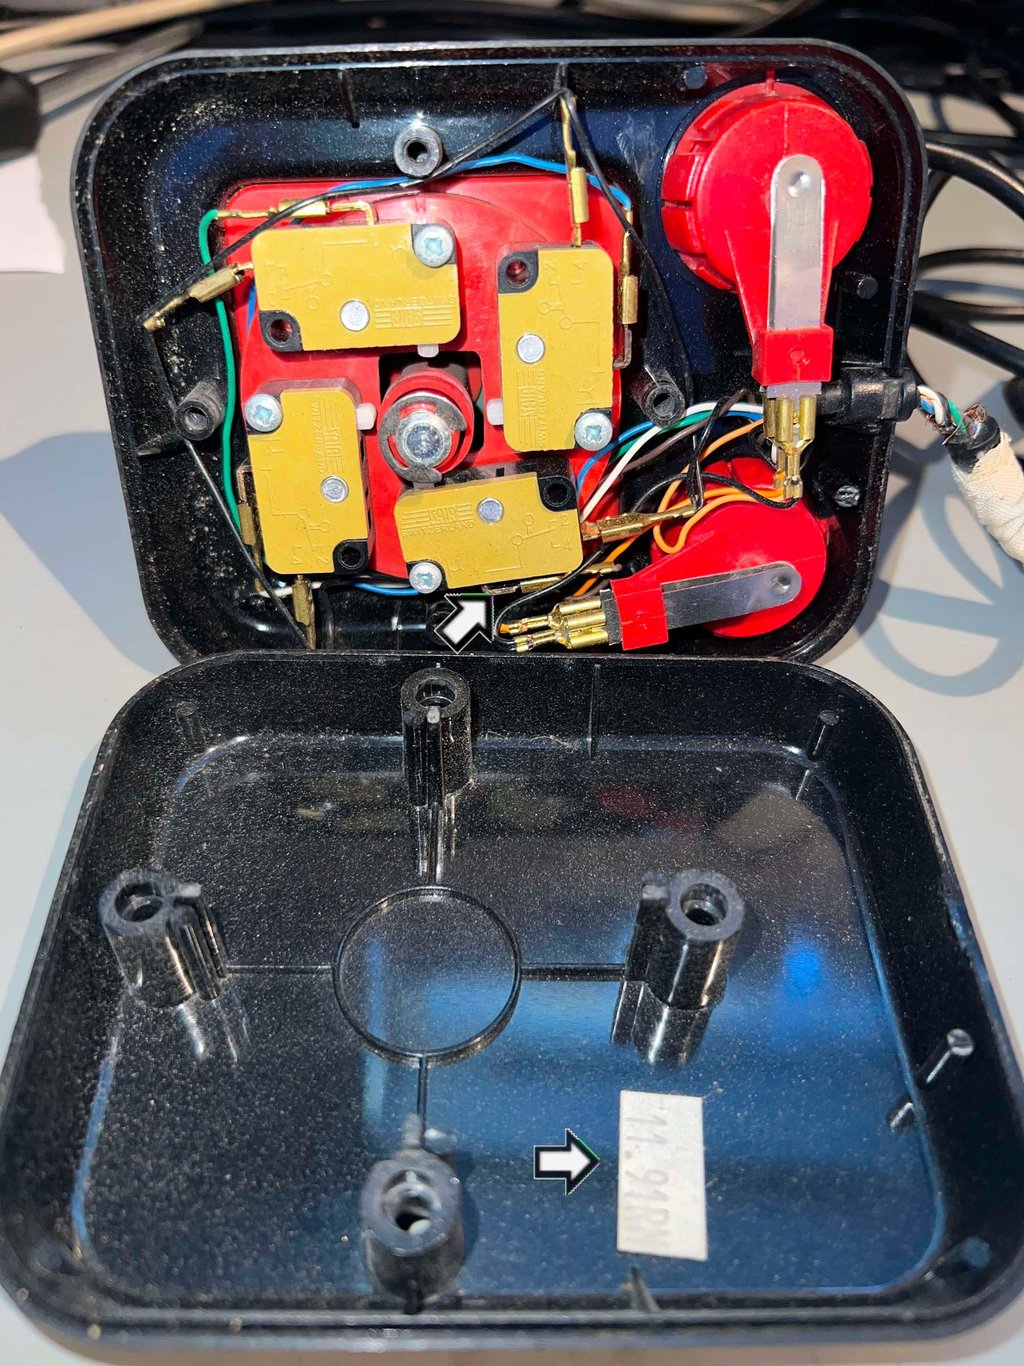

I wonder what "11.91RM" could mean? It think it could be a fair guess that 11.91 could be interpreted as "November 1991". And maybe "RM" was the initials of a QA person, department or production line?

Next the cable shoes are disconnected from the two fire buttons and the whole microswitch assembly is removed.

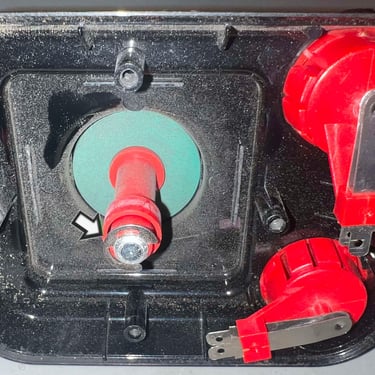
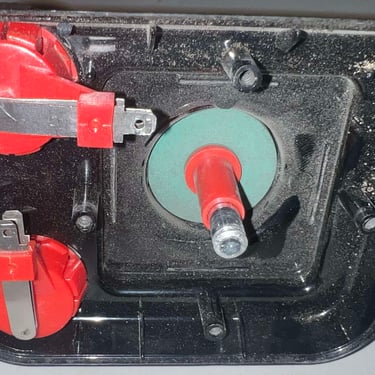
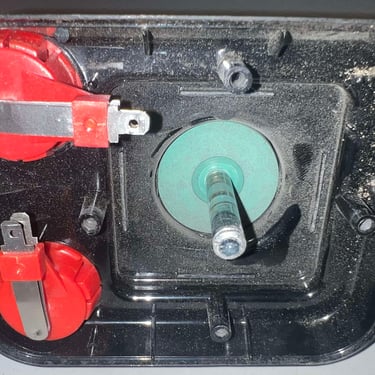
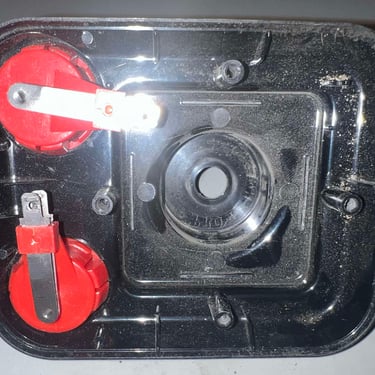
With the microswitches out of the way the joystick shaft can be removed. This is quite straightforward, but it is not uncommon that some plastic parts are a bit "stuck" after 40 years. So some drop of oil can be handy to loosen the parts. The process for removing the joystick shaft starts by removing the E-clip with a small flat screwdriver. Then the plastic parts follow and the shaft is pulled out. Finally, the large rubber ring is removed. Below is a picture gallery from the process (click to enlarge).
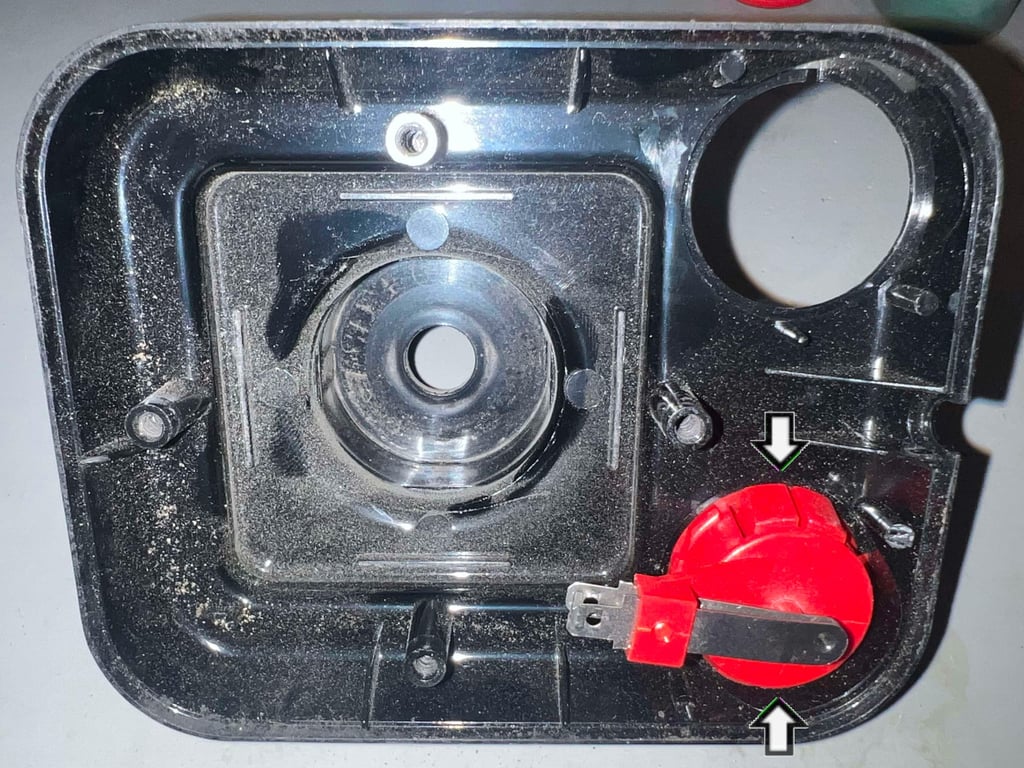
Removing the two fire buttons is a bit more tricky. On each side of the fire buttons there are two protruding plastic "fingers". By carefully pushing each of these, one side at the time, the fire button can be navigated from the bottom side towards the front.

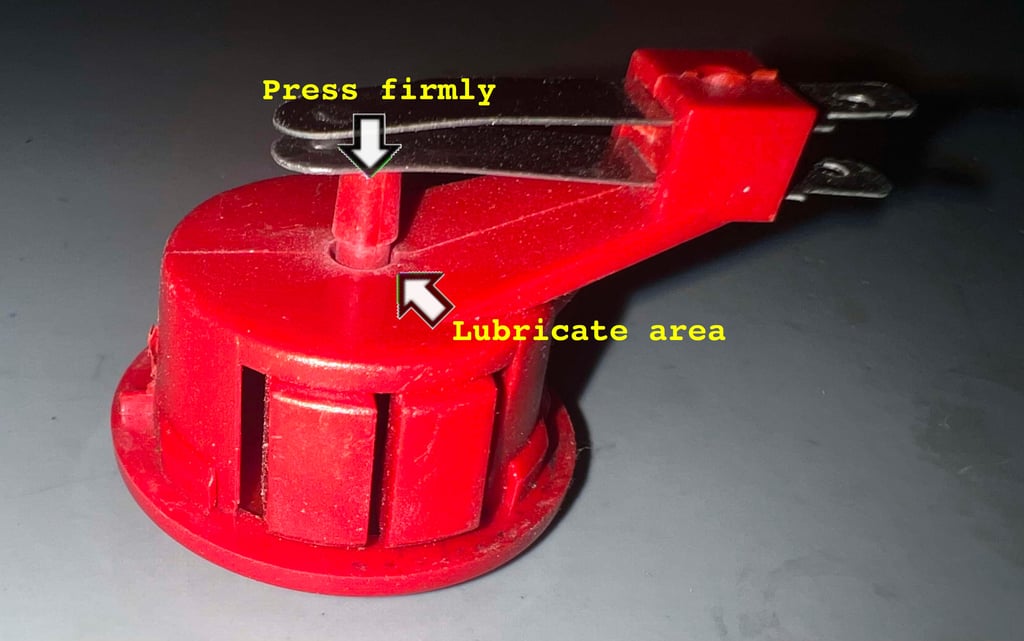
Each of the fire button modules can be further disassembled. To do that successfully it is recommended to lubricate the small tip protruding the bottom of the module first. Then the tip is pressed firmly, but not with brute force, down into the module. This will make the top of the fire button pop out.

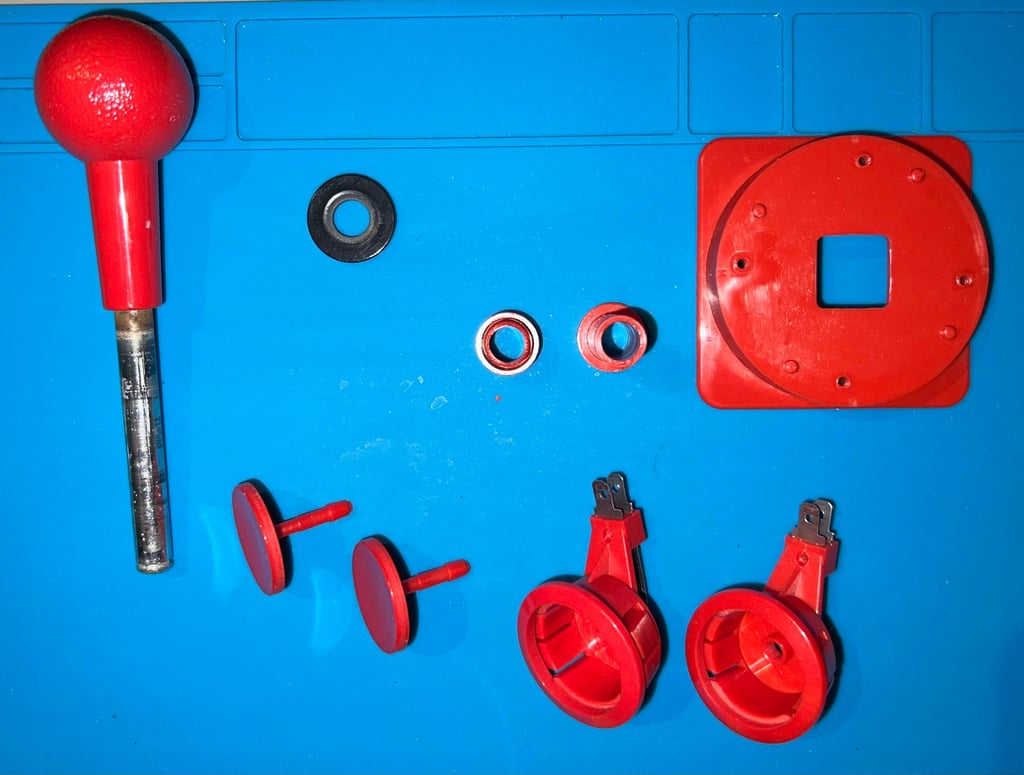
The joystick is now completely disassembled and ready to be refurbished.
Exterior casing and plastic parts
Both covers and plastic parts are very filthy. It is to be expected after many hours of 8-/16- bit gaming during a +30 year period. Below are some pictures of the covers and parts before cleaning.
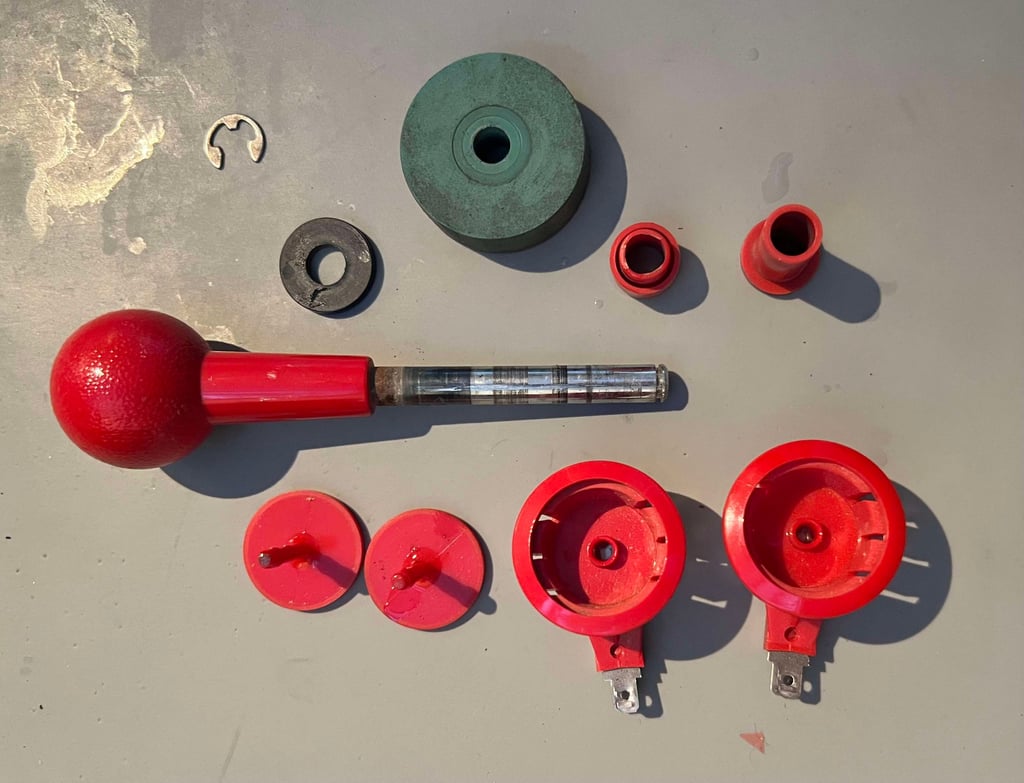

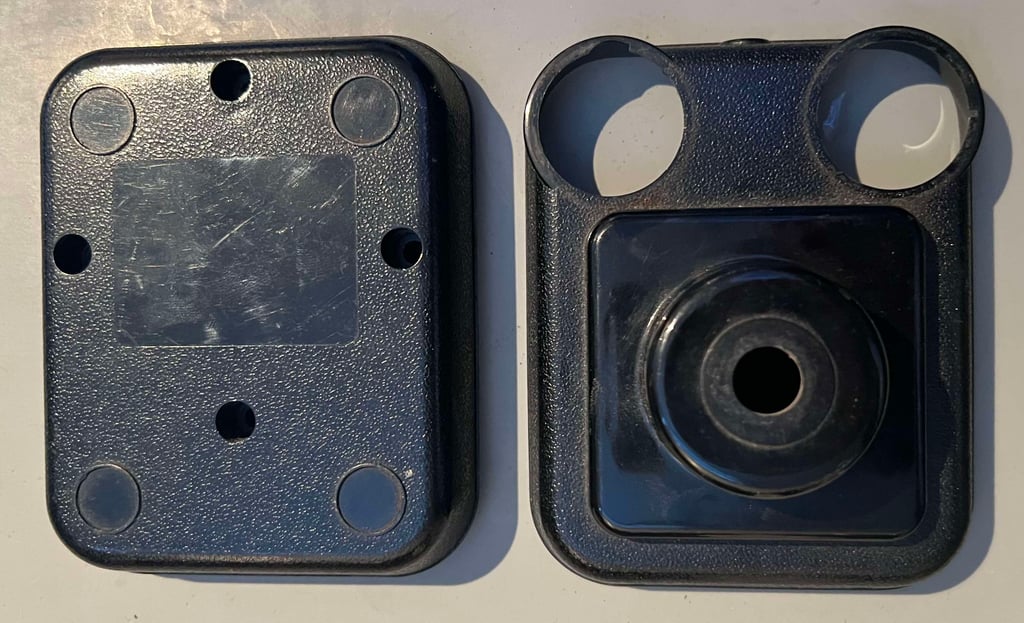

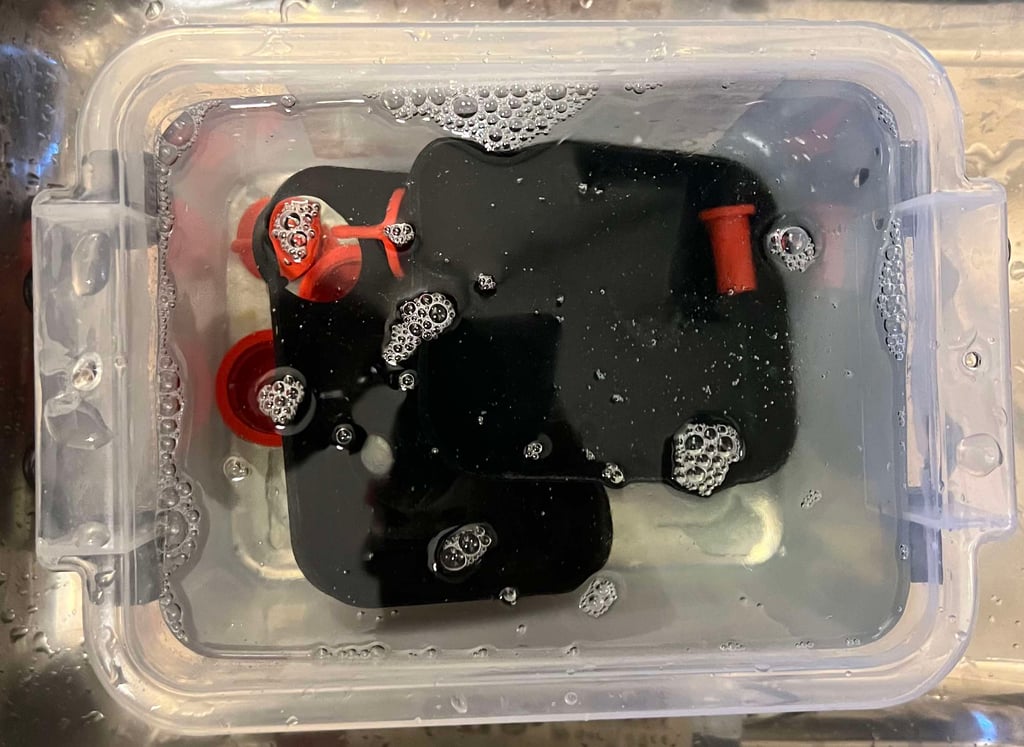
Bob Geldof did not "Wanna take a bath?" in the worlds best rock album movie, The Wall from Pink Floyd (1979). But this Competition Pro does not have any choice. It is so filthy that a 24 hours long swim in mild soap water is required.

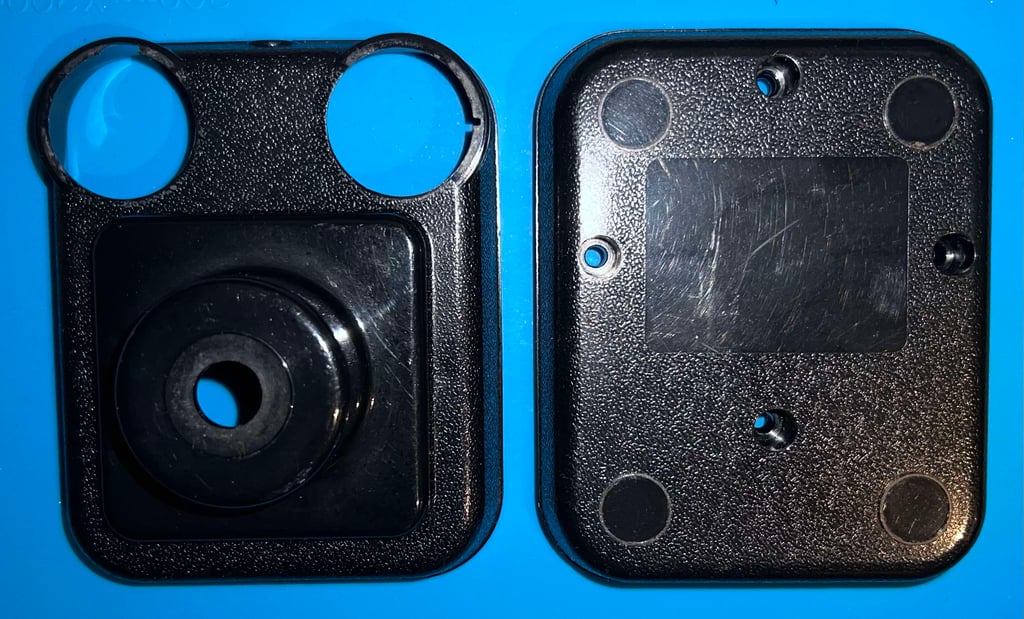
Everything looks very good after cleaning. The last spots are removed with some isopropanol (and some light oil to dissolve som fat).


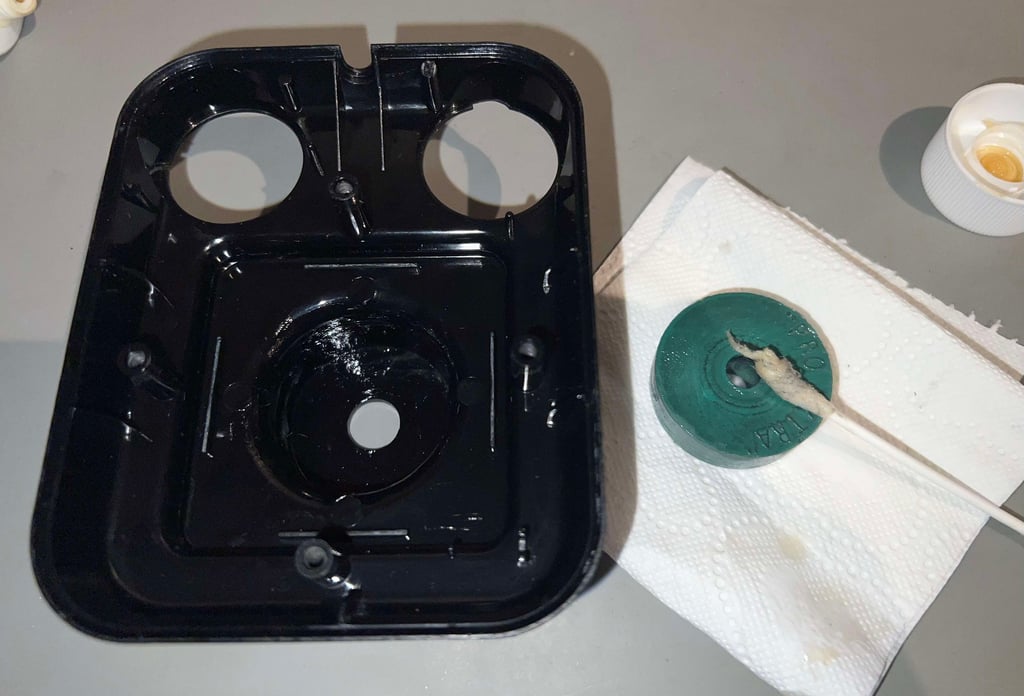
Not strictly required, but which will help on reducing any squeaky noise, some multi purpose grease is applied to the thick rubber spacer (and the surrounding areas).

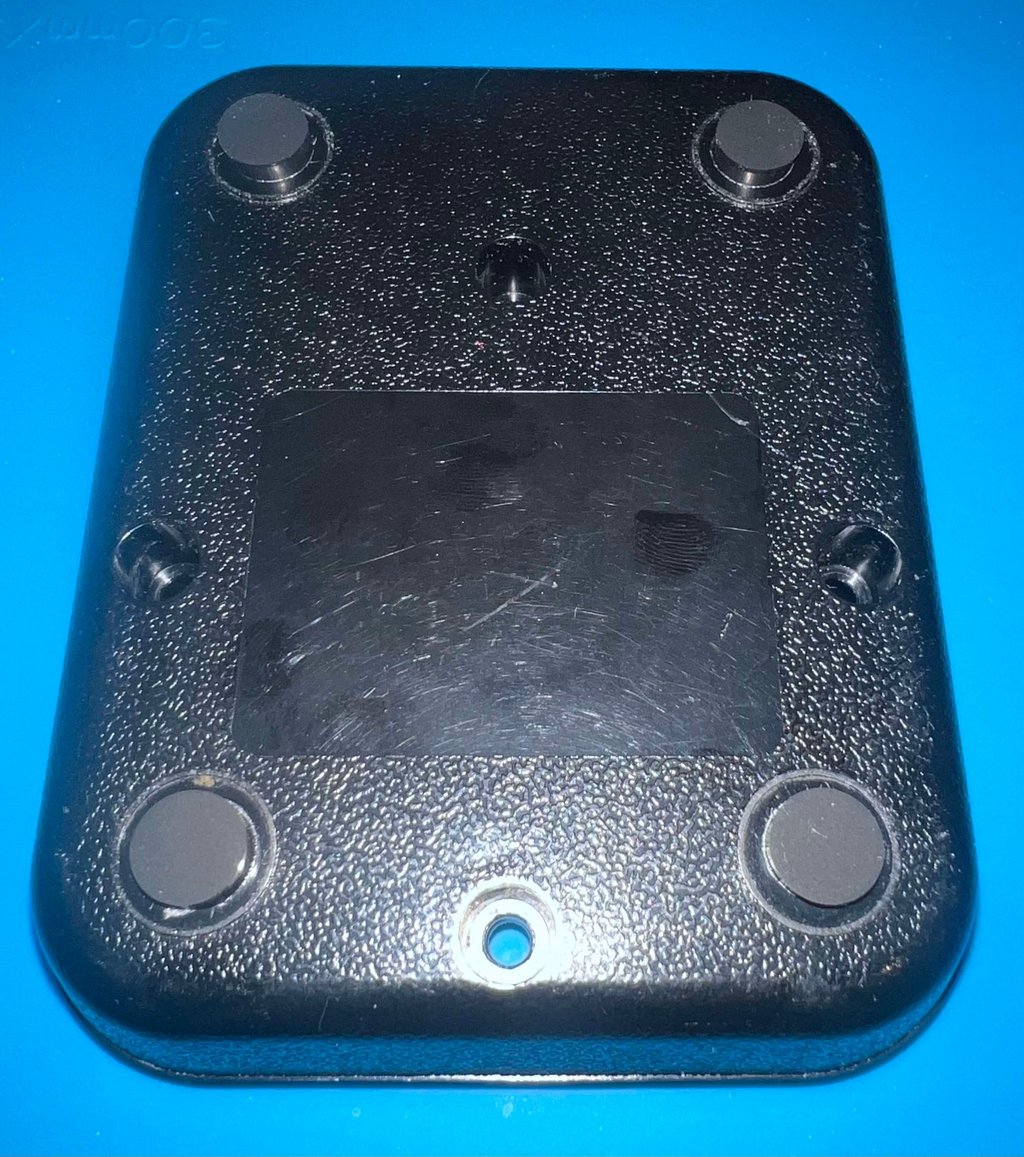
As mentioned the joystick is missing all the four rubber feet (probably). Therefore four new rubber feet (10 mm x 3 mm) are mounted. These are not identical as the original, but the will do the job fine.

Electronics and microswitches
Microswitches
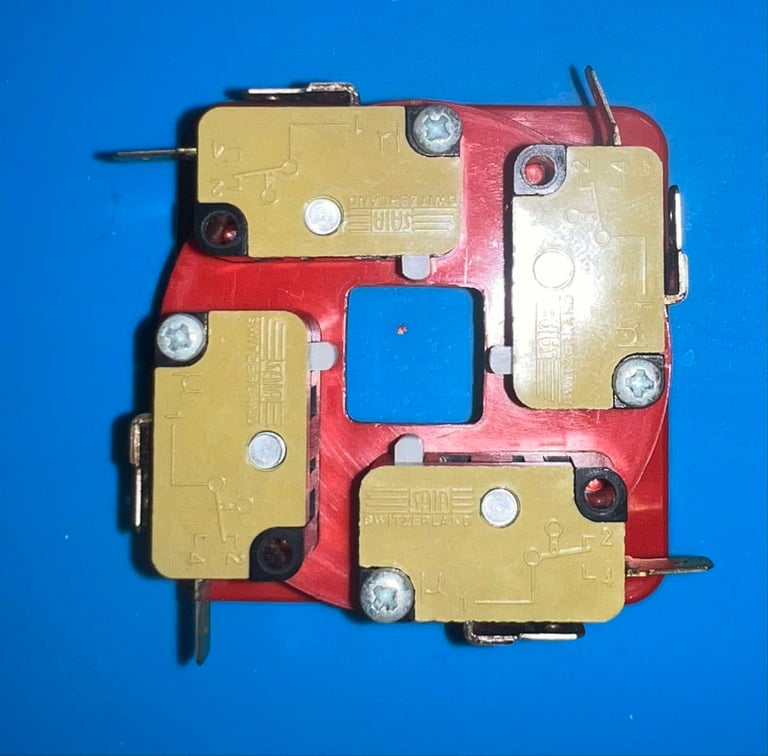
The four microswitches are mounted on a plastic frame. And with closer inspection it becomes clear why one of the microswitches is misaligned. The switch is screwed on, but the small notch (used to properly align the switch) is not inside the little hole of the switch. This should be possible to fix I think - or at least improve.
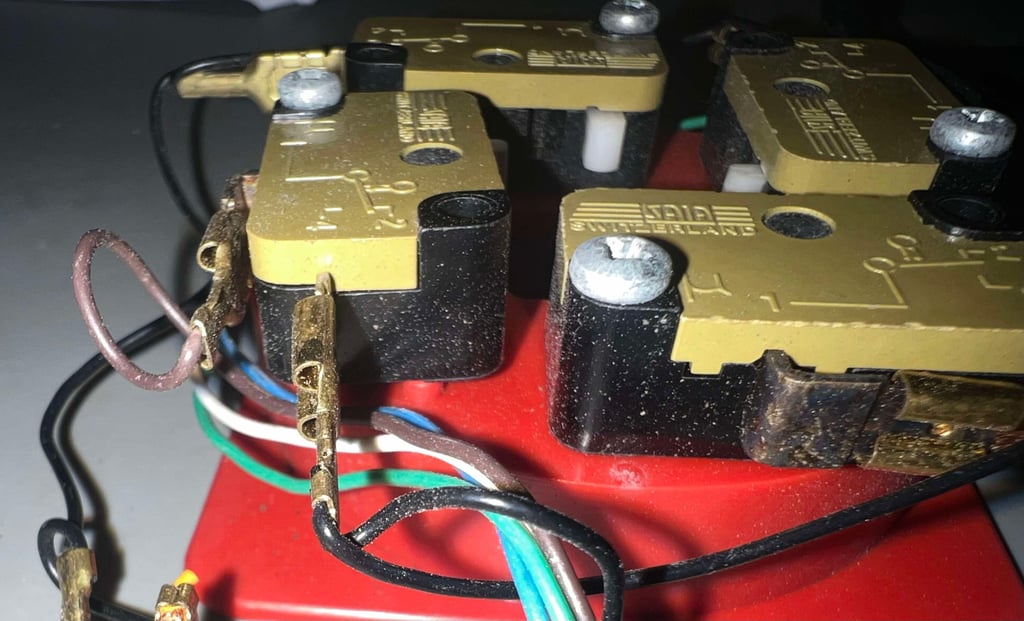

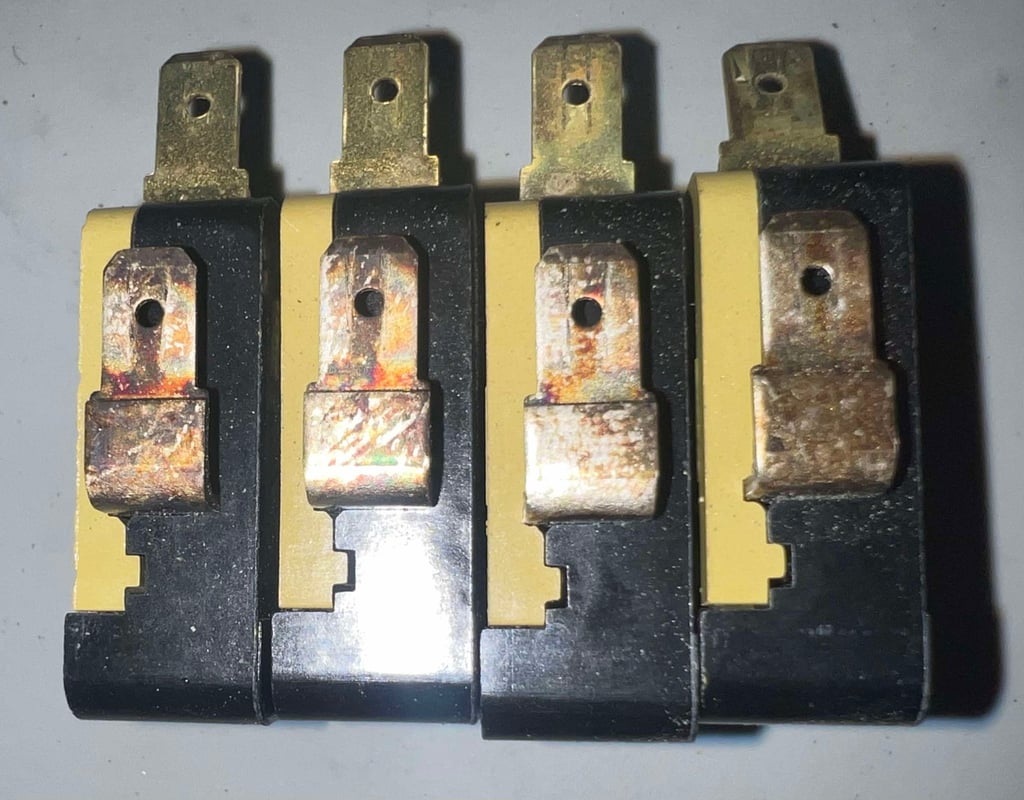
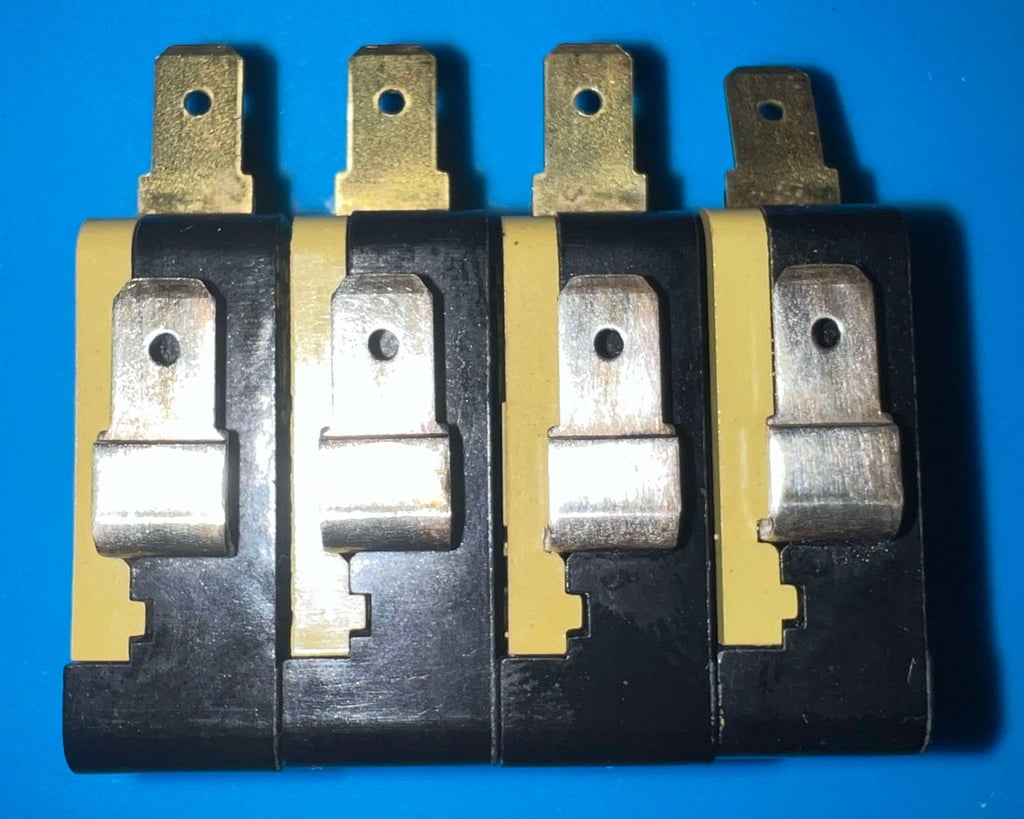
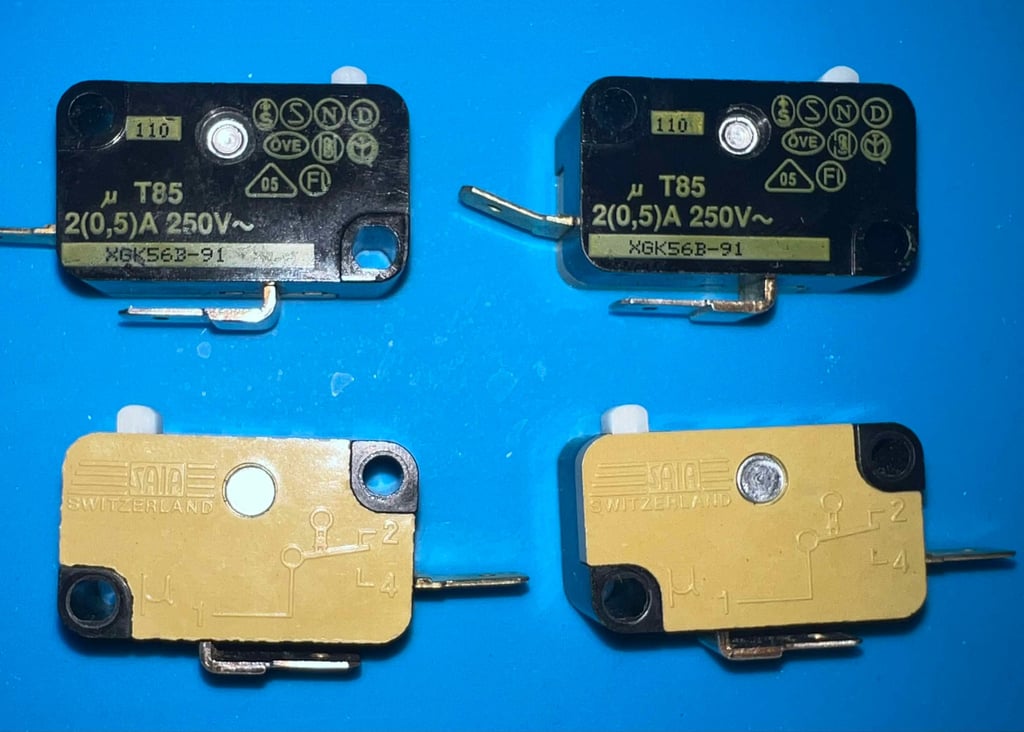
The joystick is equipped with four high quality microswitches from SAIA MILTAC, version XGK56B-91 and made in Switzerland. But after disassembly it becomes clear that the contacts are heavily oxidized. I have seen this also in another identical Competition Pro so I belive this is quite common with these joysticks.
To remove the oxidation the copper is thoroughly brushed with a steel brush, and then cleaned with isopropanol/contact cleaner. Below are some before (left/top) and after (right/bottom) pictures. Note that these pictures does not do real justice - they are more oxidized than it appears in the pictures.


The outside of the microswitches are also properly cleaned with isopropanol. In addition, contact cleaner is also sprayed into the switches and the lever is pushed several times to "massage" the liquid inside.

Cable and connector
Oh my, this cable has seen better days. The strain relief is broken and the insulation is torn. Also, one of the wires is partly ripped only being held by a few copper threads. Nevertheless, it should be possible to repair I think.
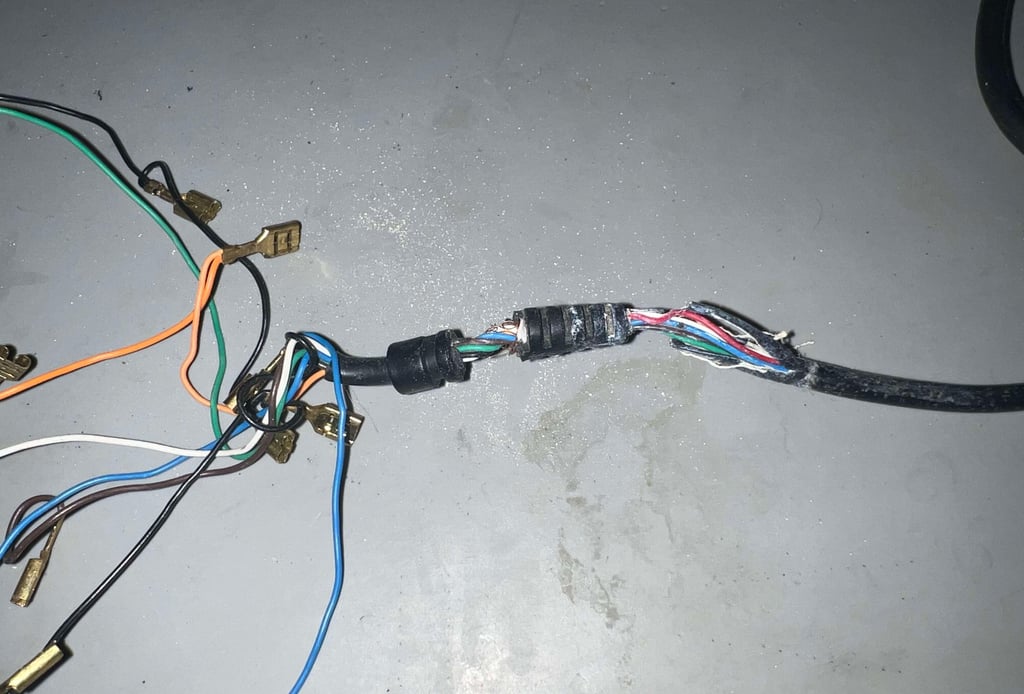

To repair the cable the insulation is cut clean and removed first. The wires appears to be in fine condition.


With some time and effort the cable strain relief is freed up and cleaned. It is still in two parts, but this should be easy to cope with.
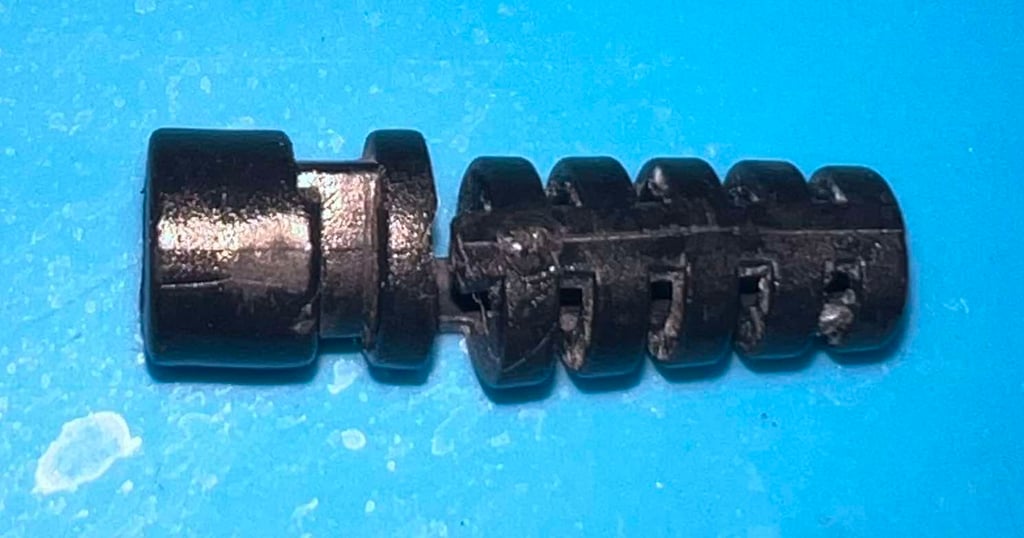

A small cable tie is used to secure the strain relief in place. Note that to get the strain relief back on the cable (the insulation) a drop of sewing machine oil inside the strain relief helps reduce the friction. Making it much easier to get it into place.


The same is done on the connector side also. Even though this is not strictly required, but there is a small gap in the insulation just before the cable enters the connector. With the cable tie in place this gap in now locked in place.
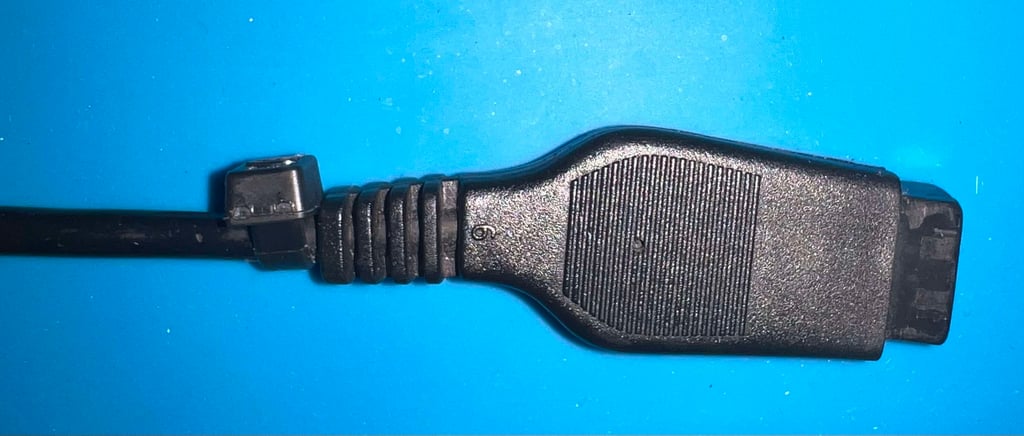

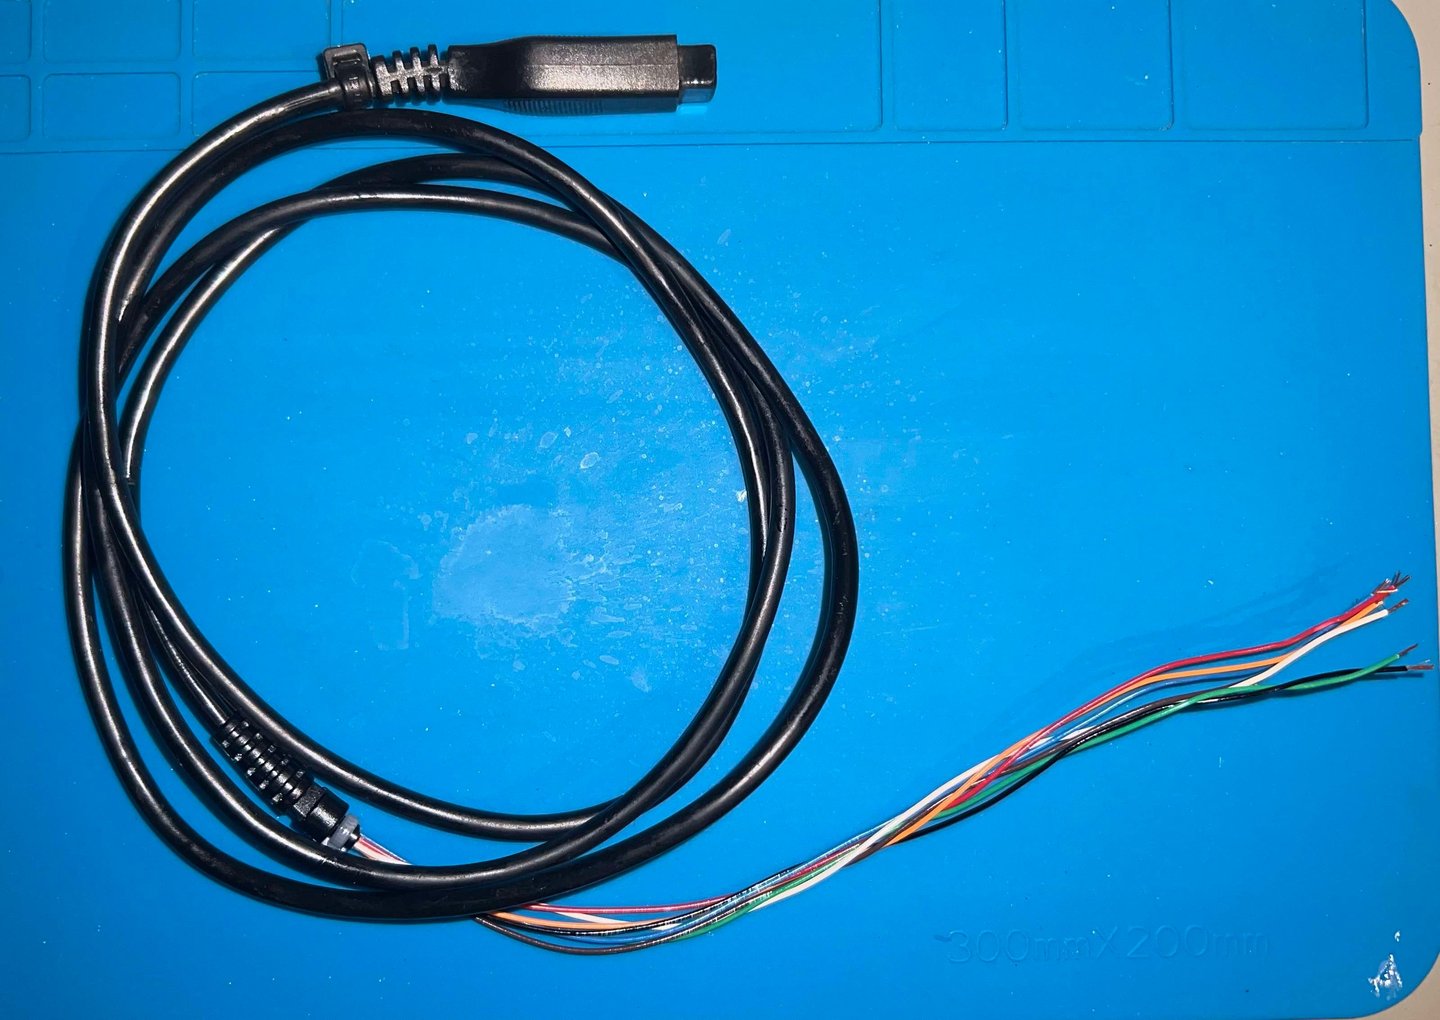
I am quite pleased with the result. Both how it now looks, but also that I managed to save the original joystick cable.

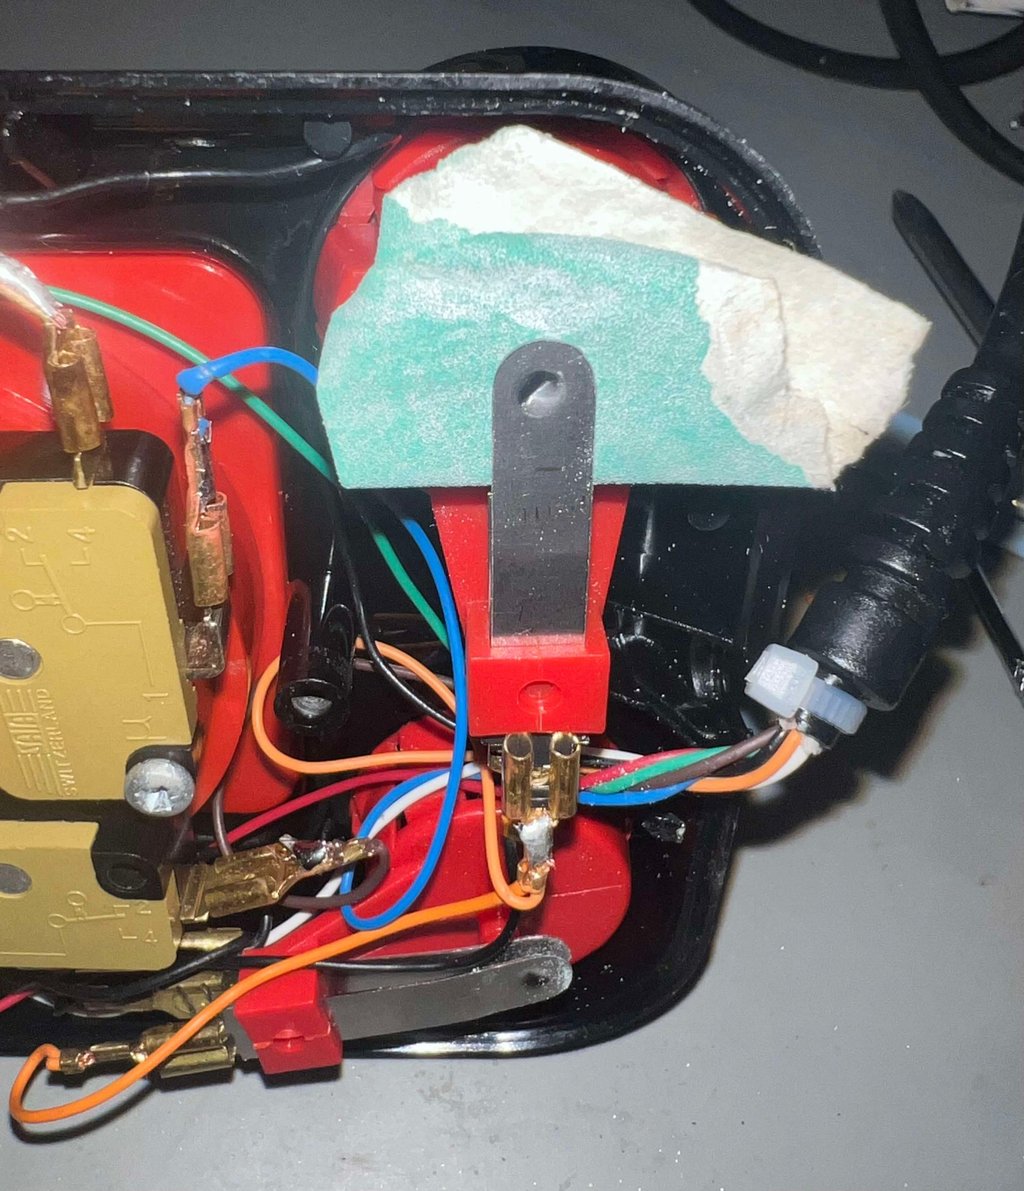
The fire buttons are equipped with leaf switches. To make sure that the leaf switches work as they should they are rubbed with some fine sanding paper, and then cleaned with contact cleaner.

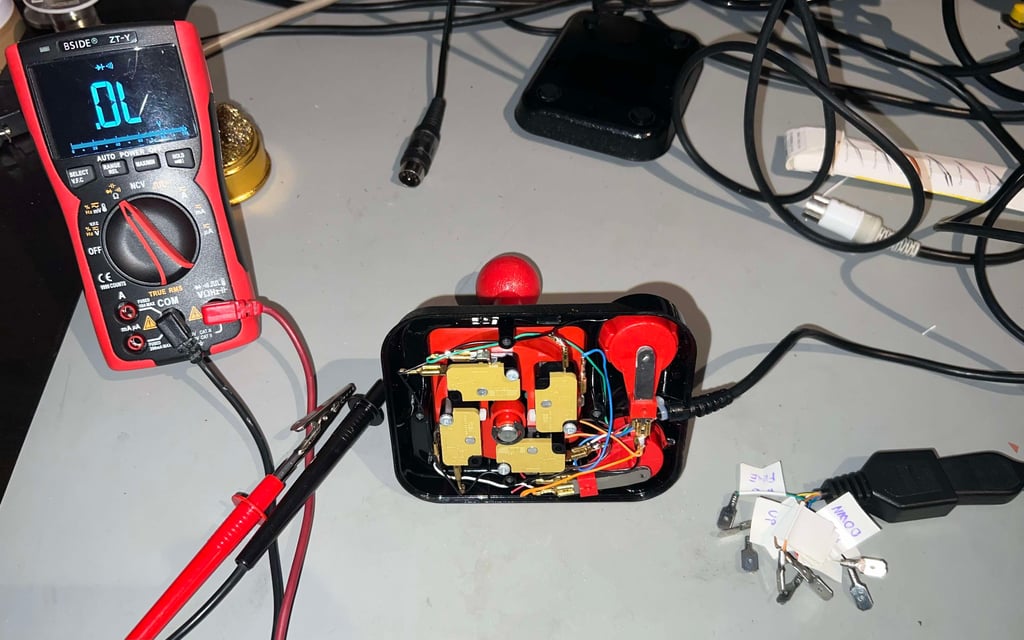
Finally, all wires in the cable is checked for continuity with a multimeter. And all wires are working fine. Nice!

When the microswitches are mounted back to the plastic frame all switches are perfectly aligned. As mentioned earlier one of the switches (RIGHT) were misaligned. It turns out that the small plastic notch, and the screw hole, is not able to give enough force to hold it in place if the switch is moved. Anyhow, it is now in place as good as possible and would hopefully stay in place.

Testing
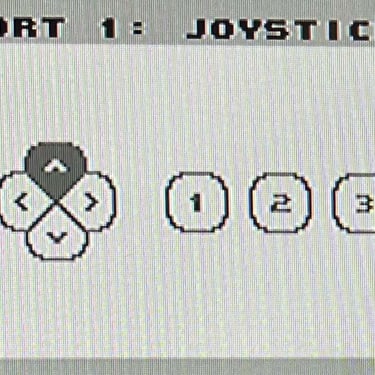
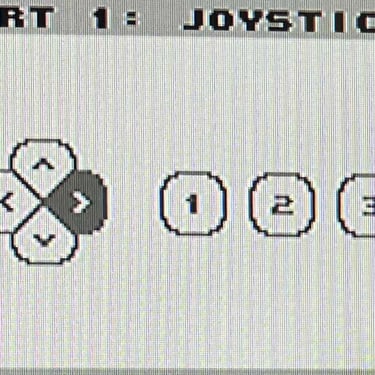
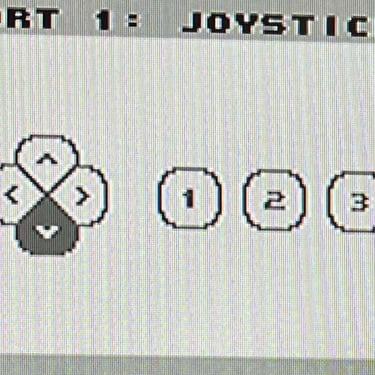
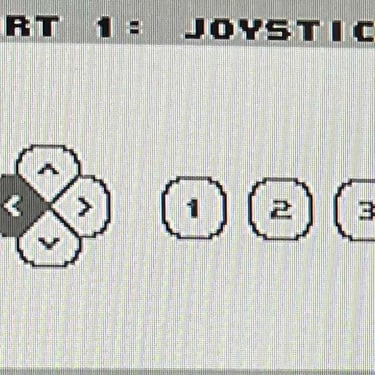
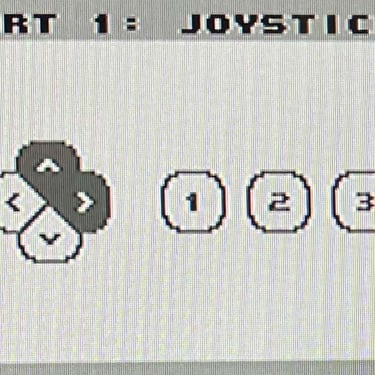
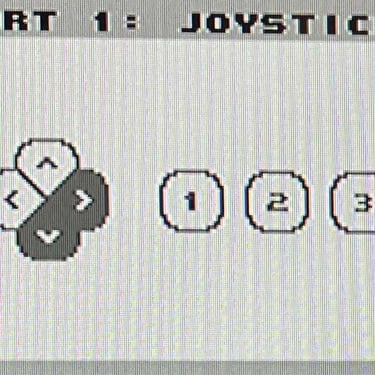
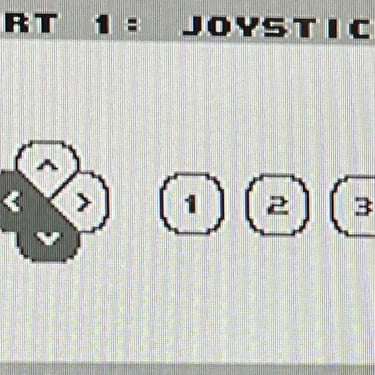
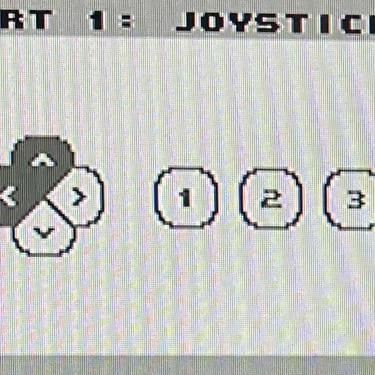
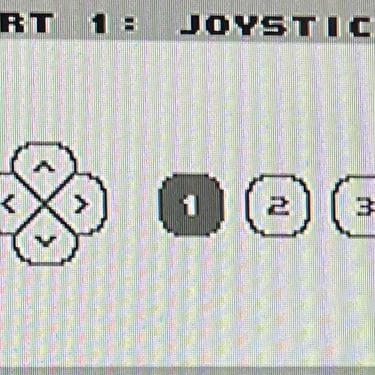
To verify that the joystick work as it should I check it with the Joyride software. Result is that all directions and fire buttons works fine works as expected (click to enlarge). All tests pass.
Final result
A picture worth a thousand words"
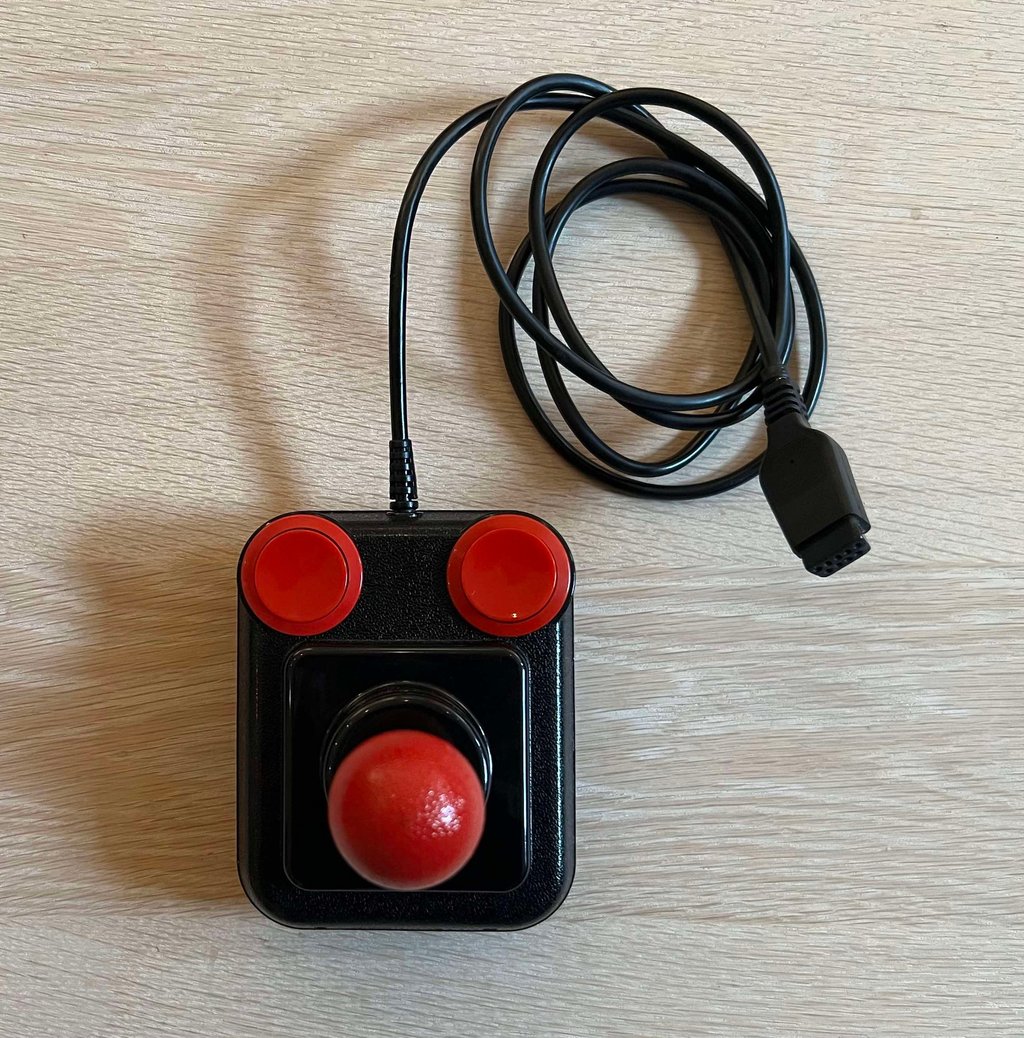
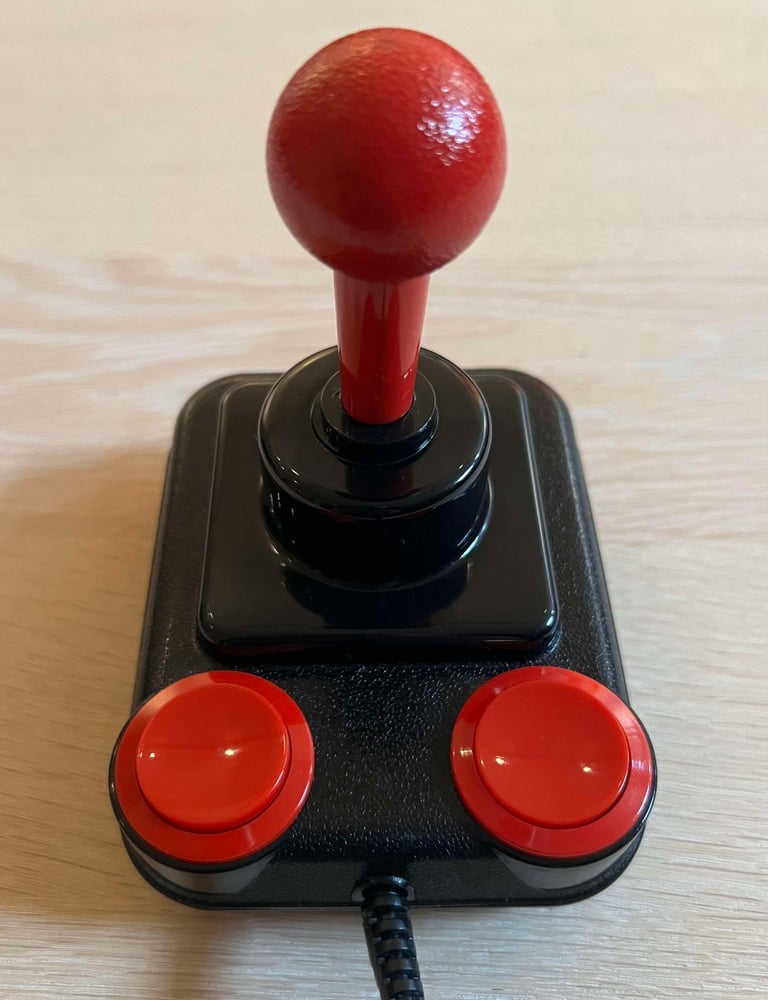
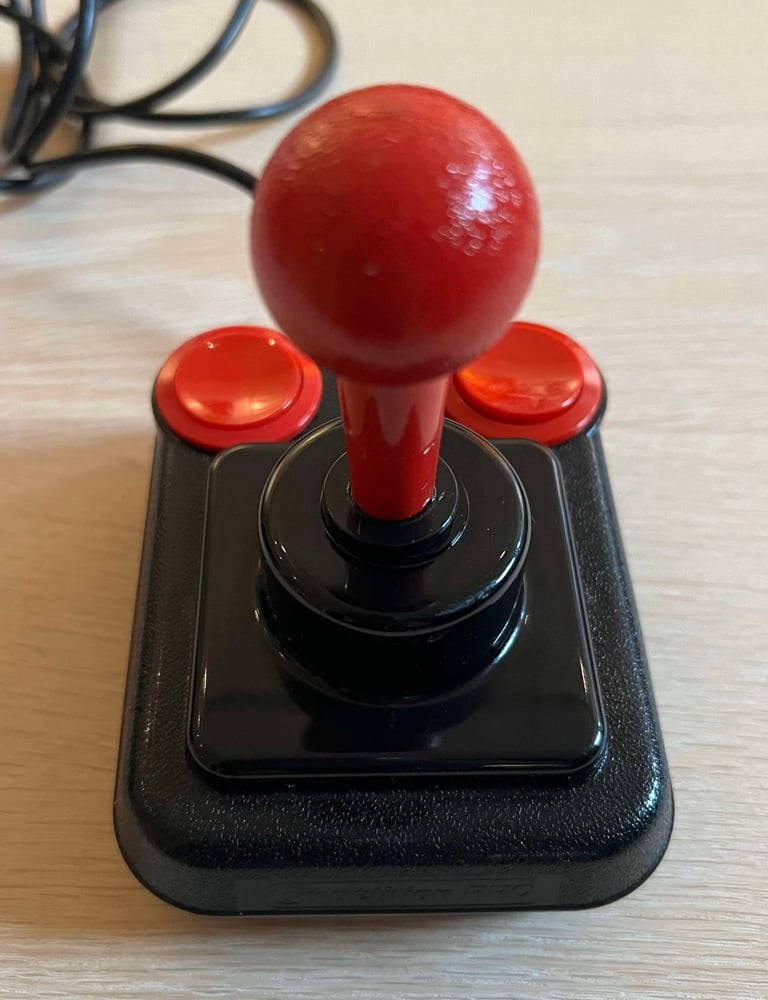
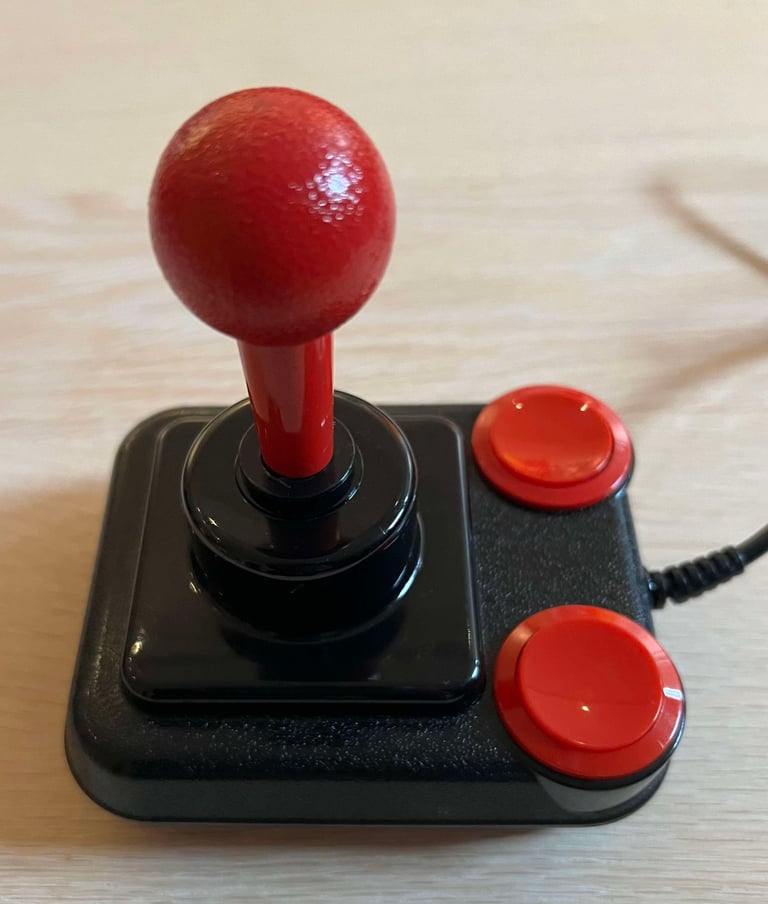
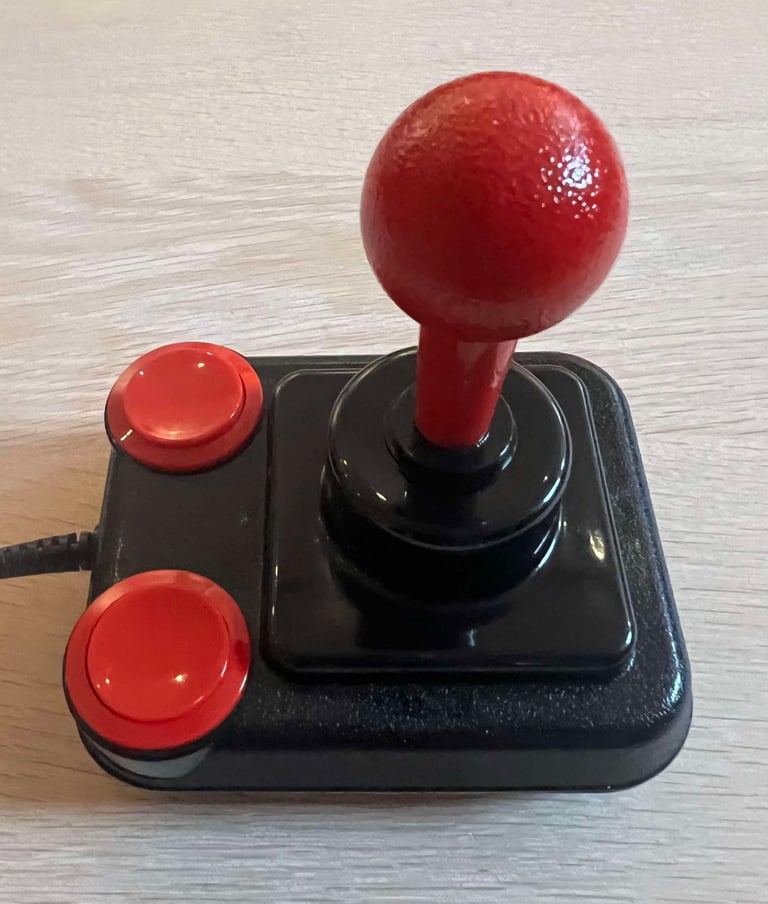
Below is a collection of the final result from the refurbishment of this Competition Pro joystick. Hope you like it! Click to enlarge!






Banner picture credits: Kshade
