
Competition Pro
Starting point
Competition Pro - one of my favorite joystick! I know that there are different opinion on this joystick, but for me the Competition Pro is one of the best. And I know that I am not alone with this opinion: generationamiga.com has the article "40 years Competition Pro joysticks: the best joystick of all times".
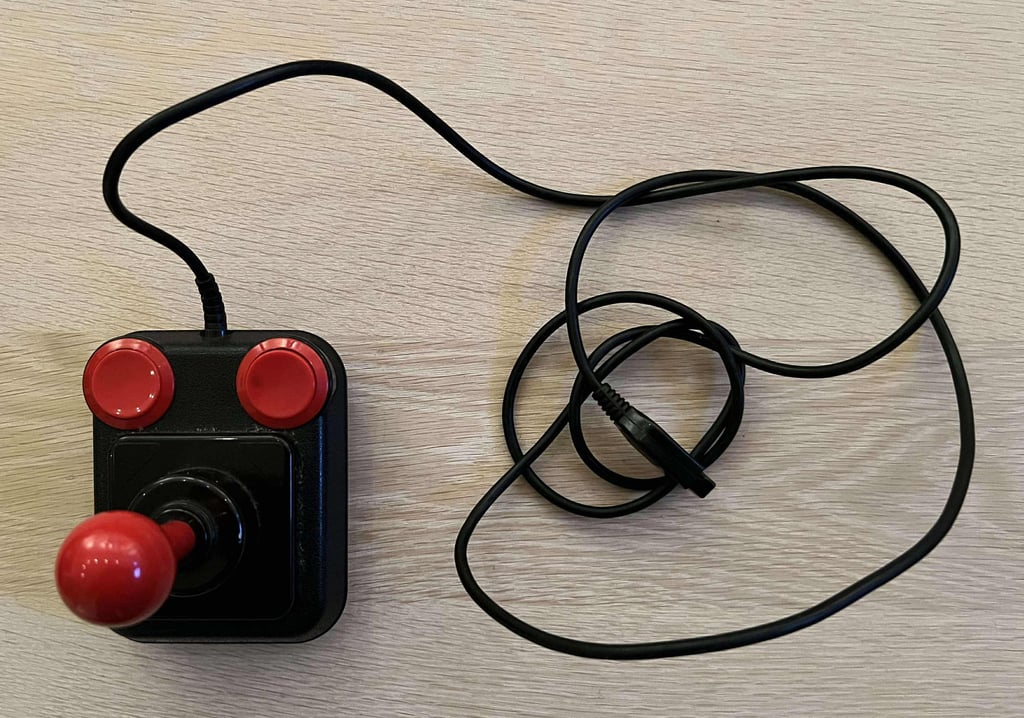
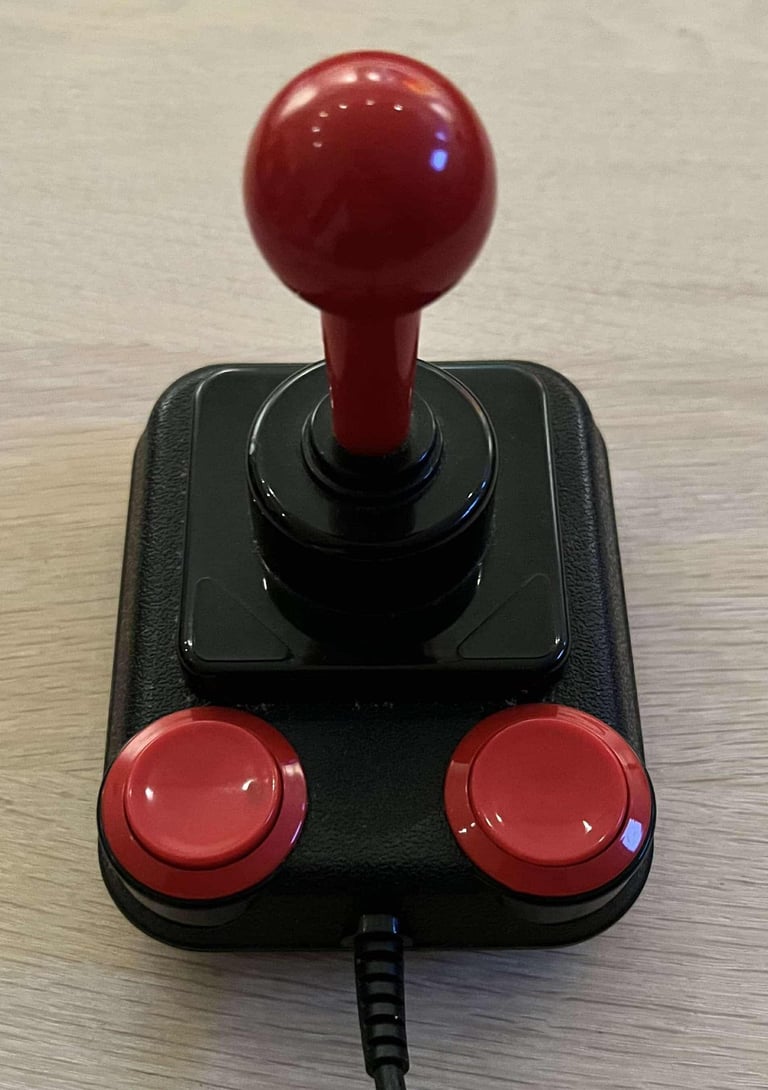
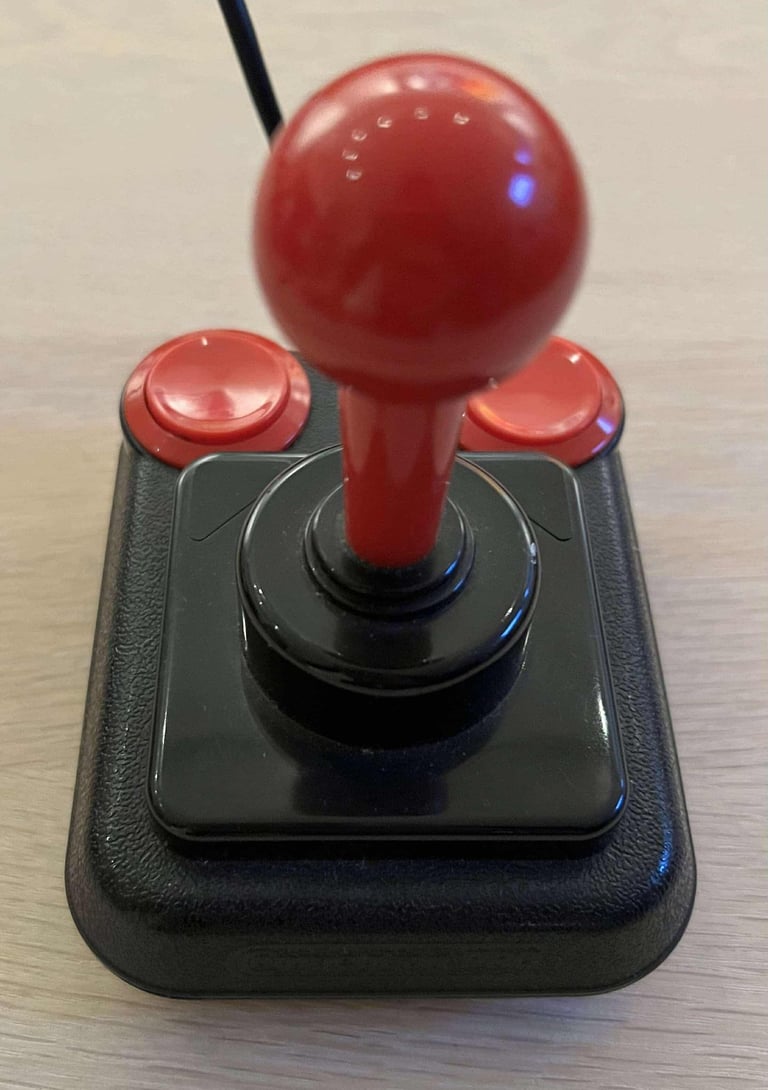
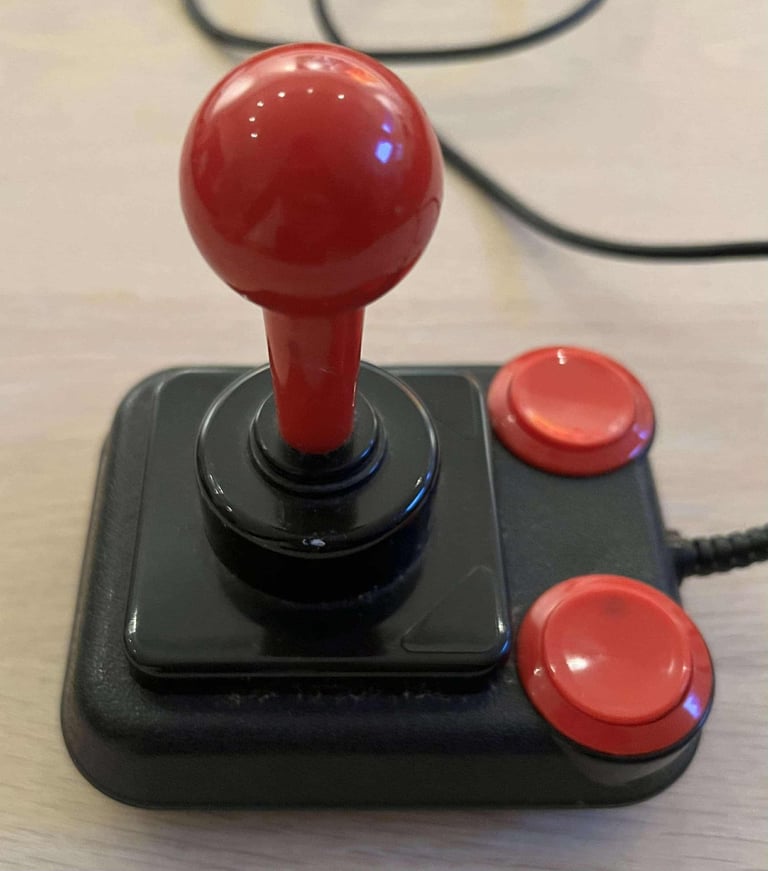
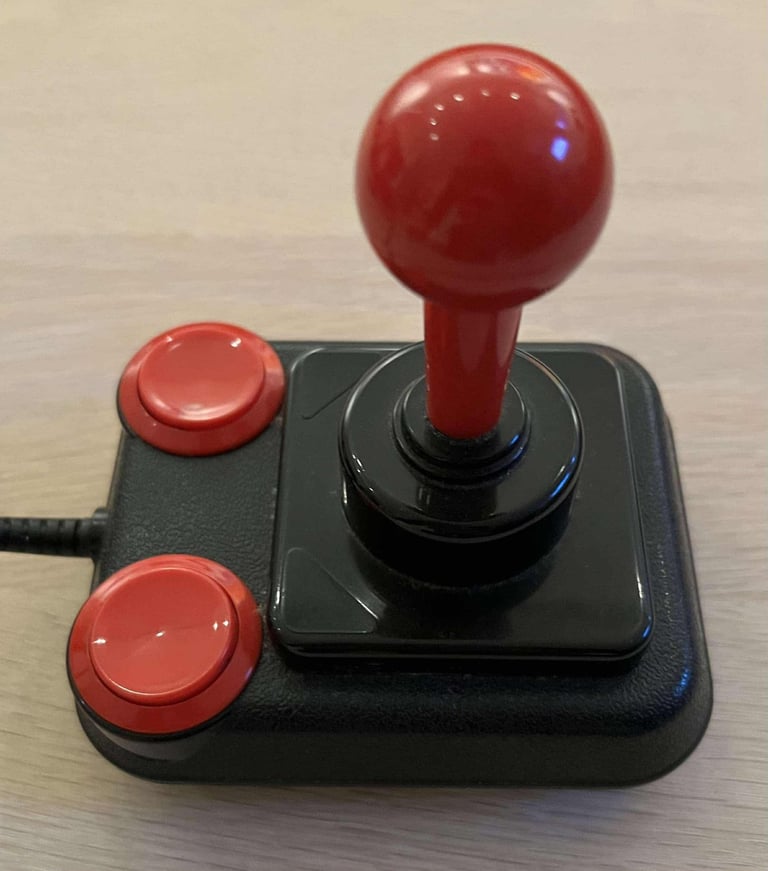
This joystick looks to be in very good condition. There is quite a lot of grease on the top cover, and quite "stiff and squeaky", but otherwise it appears to be in very good condition. Notice that this Competition Pro has the smooth ball top shaft in contrast to may other Competition Pro joystick which has the more "knotted" texture (see this as an example).
All microswitches sounds ok - with the nice "click" both from the four directions (LEFT/RIGHT/UP/DOWN), but also from both the FIRE buttons. Not all Competition Pro joystick have microswitches for the FIRE buttons (instead they are often equipped with leaf switches). The cable, and the connector, also looks to be ok except for some dust and grease.
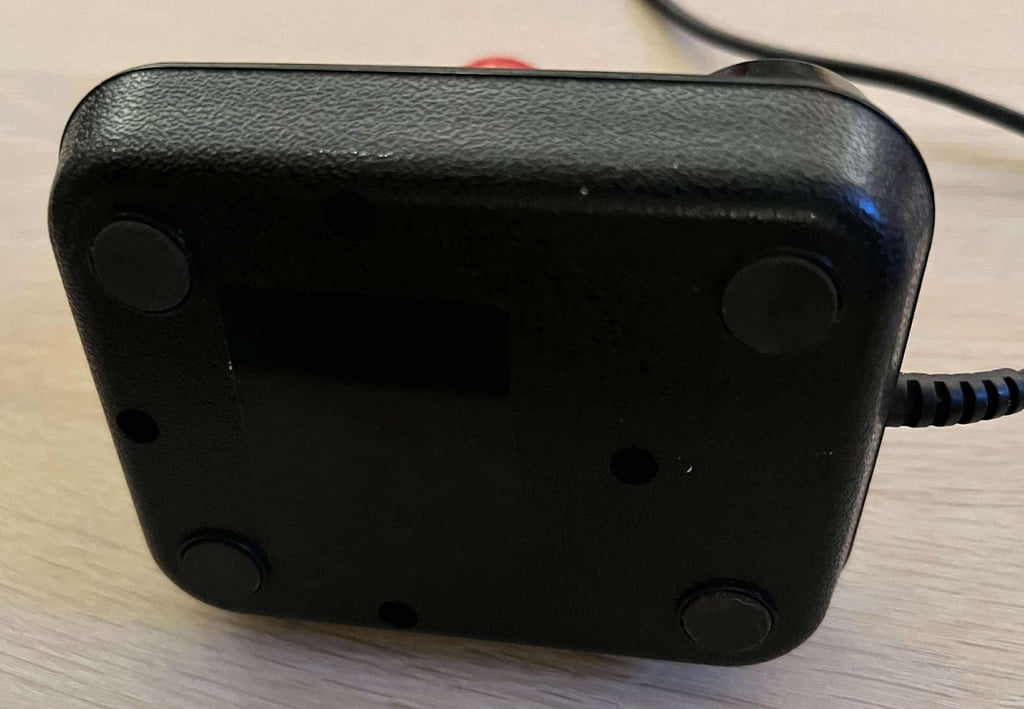
Lo and behold! The four rubber feet are still present! Quite often the rubber feet are lost, but this one have all the feet in place. Nice! In addition, all the four screws at the bottom are present.
Below are some pictures before refurbishment.






Refurbishment plan
To refurbish this joystick the plan is to do this trough the following steps:
- Clean, and remove stains from, chassis and all parts (and repair if required)
- Lubricate moving parts
- Clean and check the microswitches (and repair if required)
- Check connectivity (and repair if required)
- Verify joystick operation by testing
Disassembly
The disassembly starts with removing the four Phillips 3 x 10 mm screws from the bottom cover.
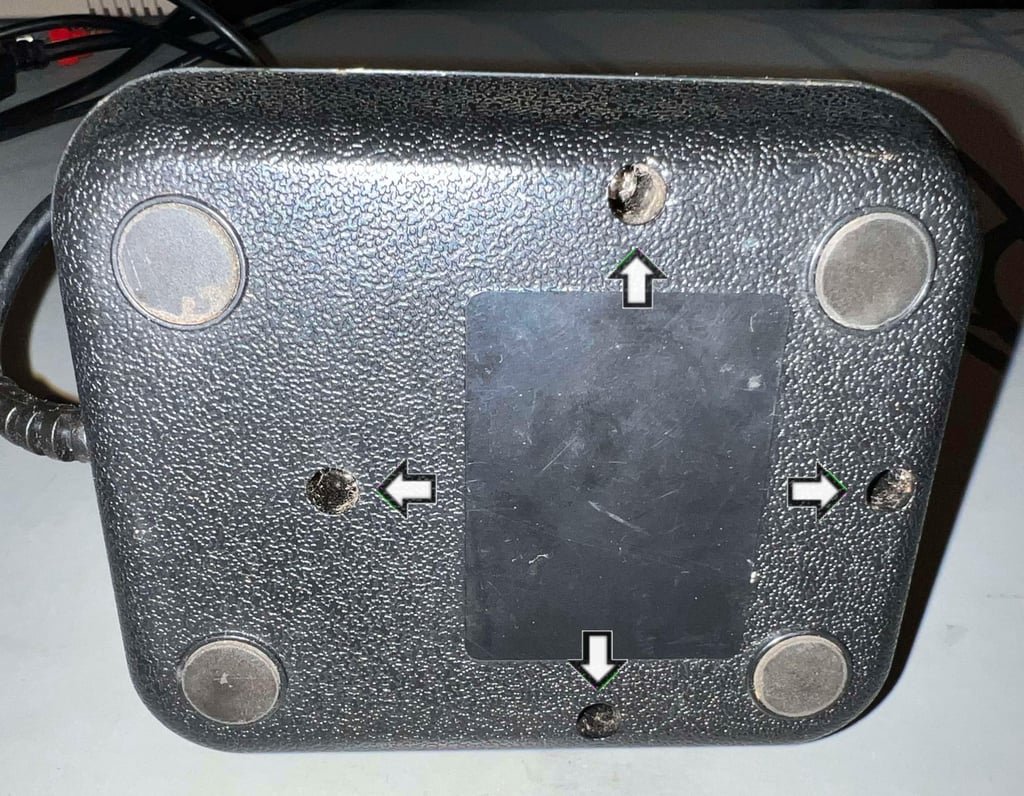

With the four screws out of the way the top module is simply lifted away. This reveals the inside which looks to be in very good condition. Hardly any dust and grease inside which is quite impressive. Also, notice that none of the screw standoffs appear to be broken. Nice!
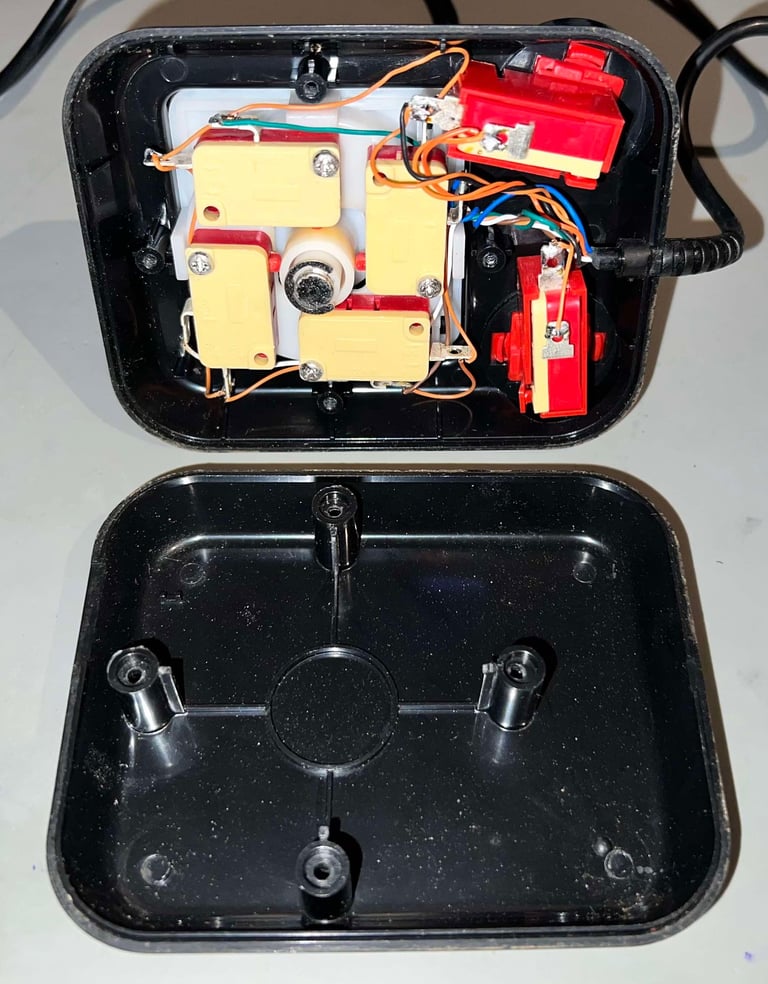

Continuing the disassembly of the Competition Pro is not difficult, but it can be a bit fiddly - and care must be taken to avoid breaking any of the plastic parts!
Before the joystick shaft and FIRE button are disassembled, the plastic bracket holding the four directional microswitches is carefully lifted away.
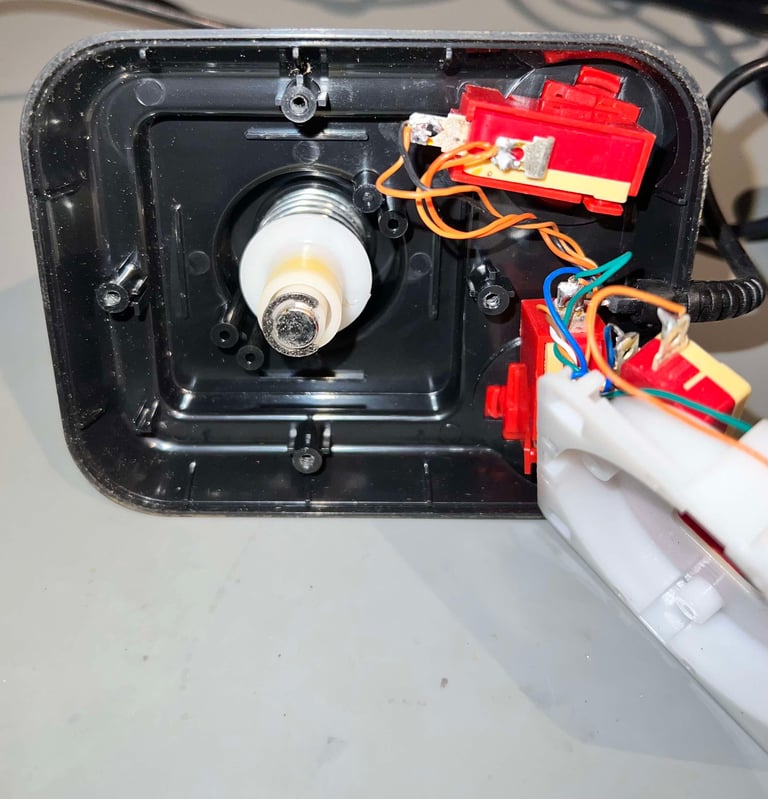

Next action is to remove the two microswitches attached to the FIRE buttons. With a thin flat screwdriver the plastic clips, holding the microswitch "container" in place, is carefully bent outwards (make sure not to break the brittle plastic).
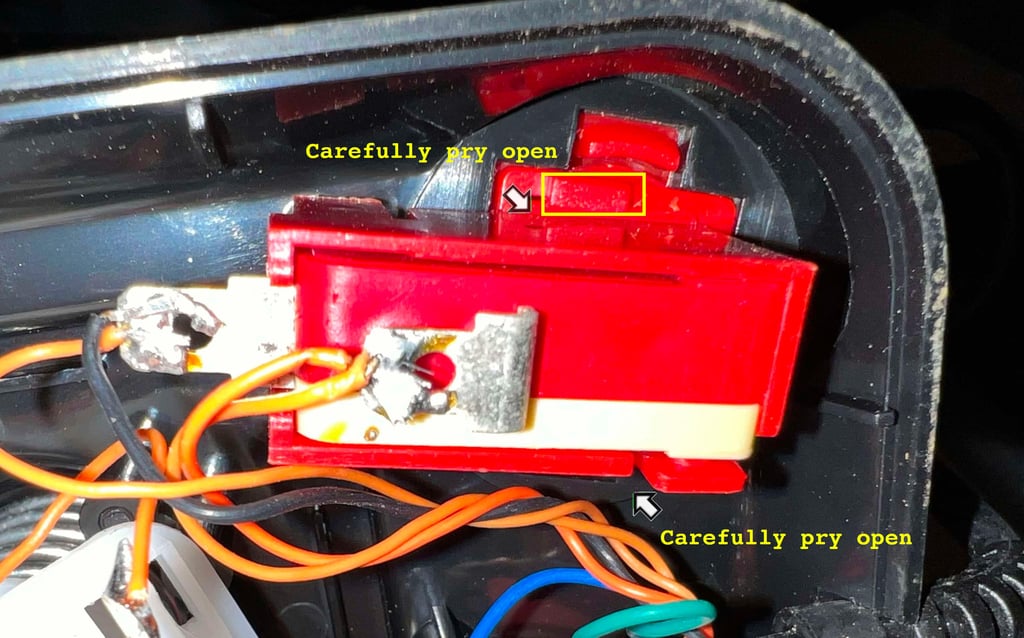

With some careful prying and wiggling the FIRE button containers come off. This is what you are looking for:
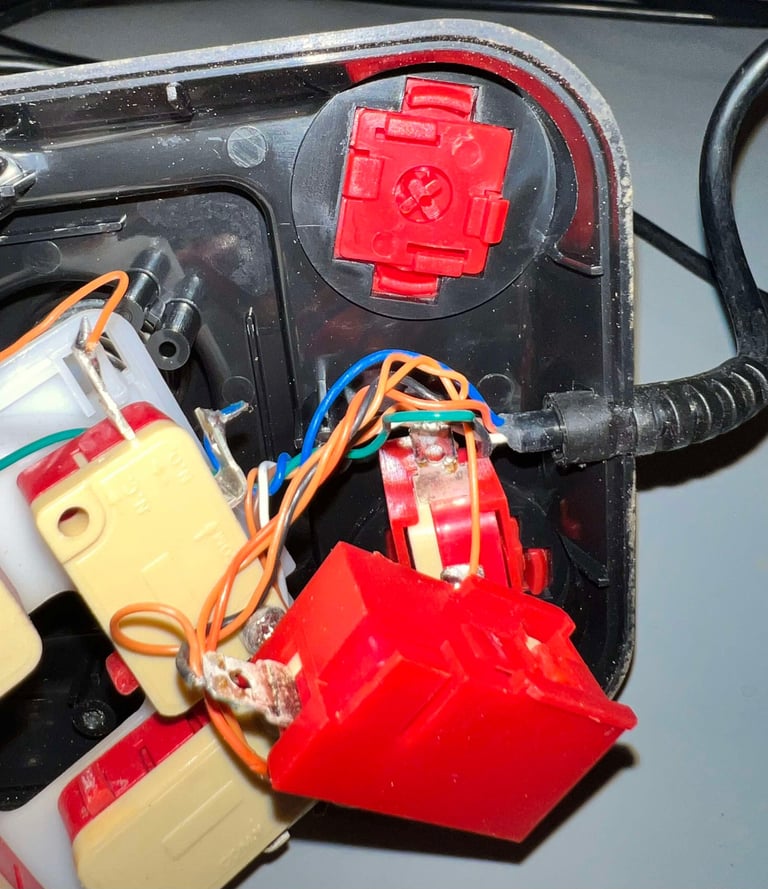

Disassembling the FIRE button plastic parts can be a bit tricky. Not because it is complex in any way, but the plastic clips can be quite stiff. This is how I disassemble the FIRE buttons:
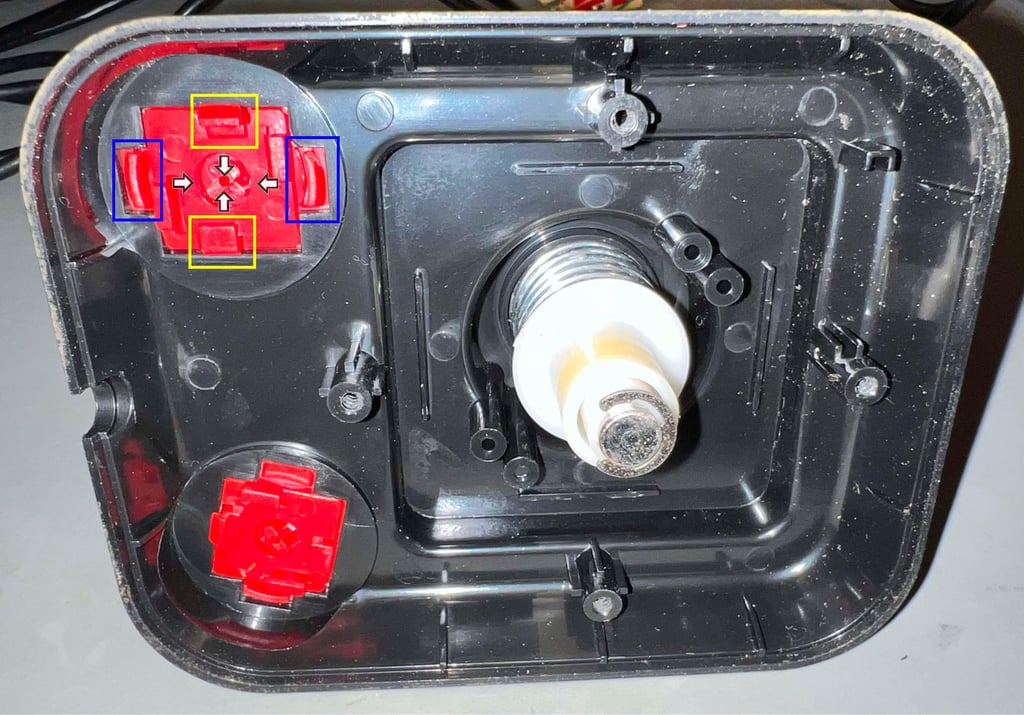
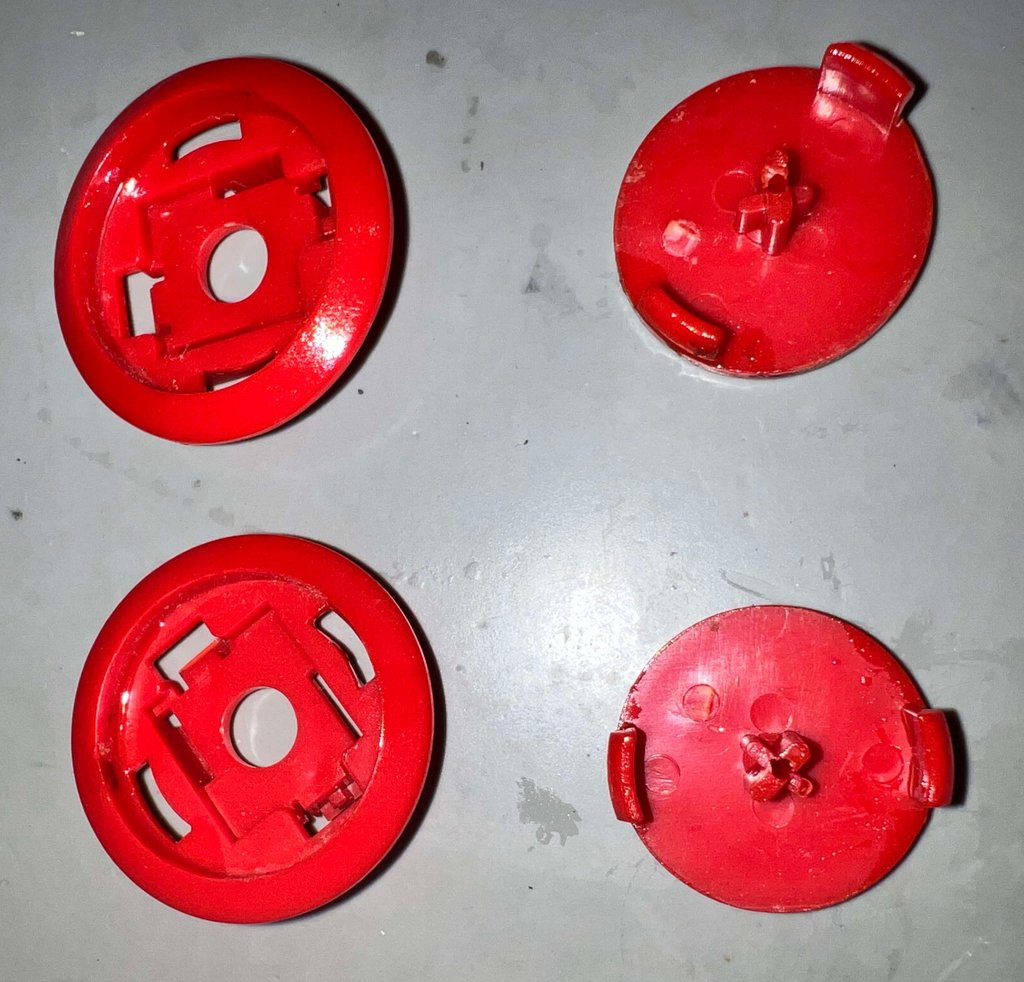
The two plastic clips (marked with yellow rectangles) are pushed towards the centre, while at the same time the whole assembly is pushed firmly outwards (out of the bottom cover). I try to use only my fingers to avoid any damage.
When the FIRE button assembly is out of the bottom cover the two small plastic clips (blue rectangles) are pushed towards the center - using a small flat screwdriver. You will probably also needs some prying tools to carefully disassembly the top part from the bottom part of the assembly.

Below is a picture of the disassembled FIRE buttons before cleaning (and some minor lubrication).

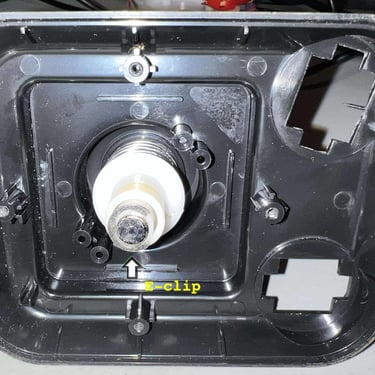
Disassembling the joystick shaft starts with removing the E-clip at the bottom. This is done by using a thin flat screwdriver prying it off. With the E-clip out of the way the plastic parts are removed one-by-one. See picture gallery below.
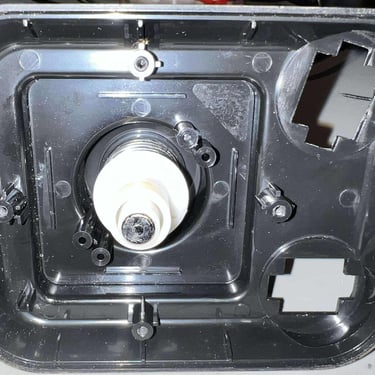
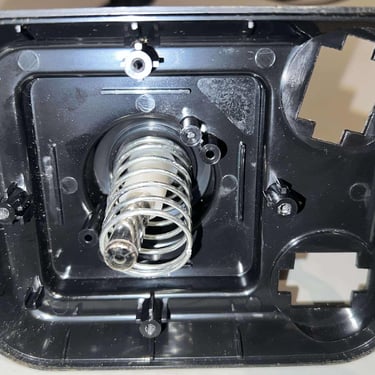
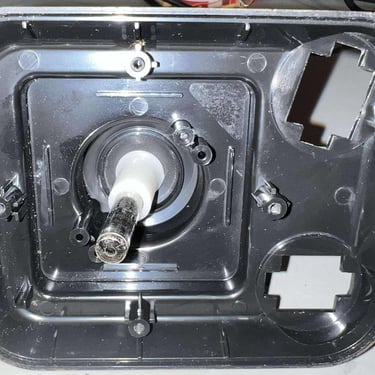
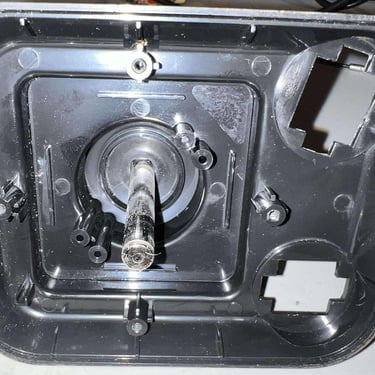
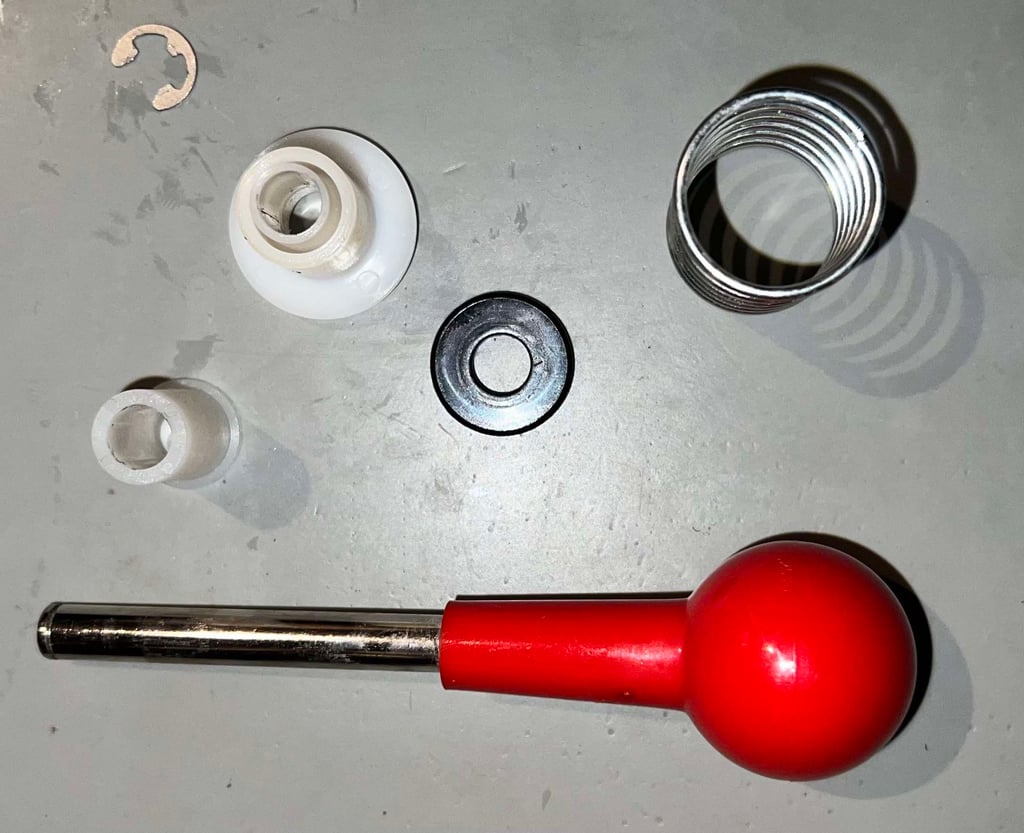

The joystick is now completely disassembled - ready for cleaning. Below are some pictures of the top- and bottom cover before refurbish.
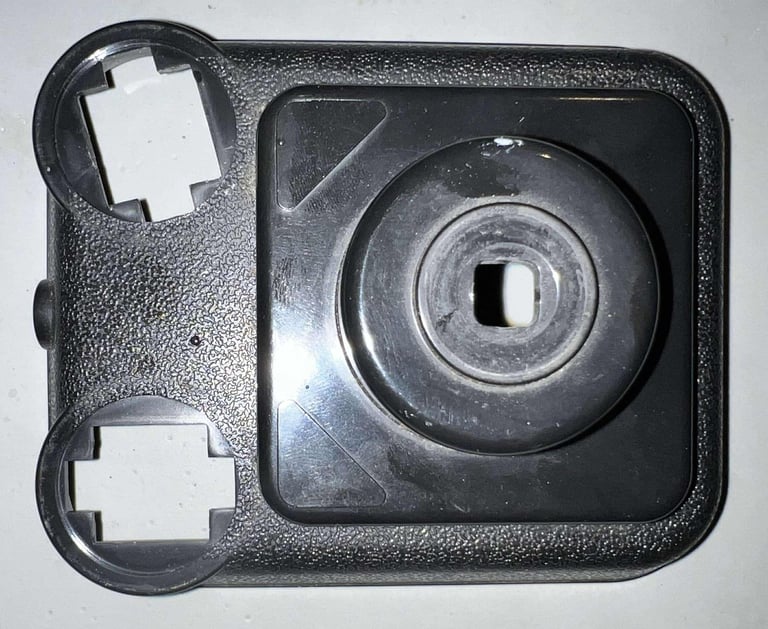

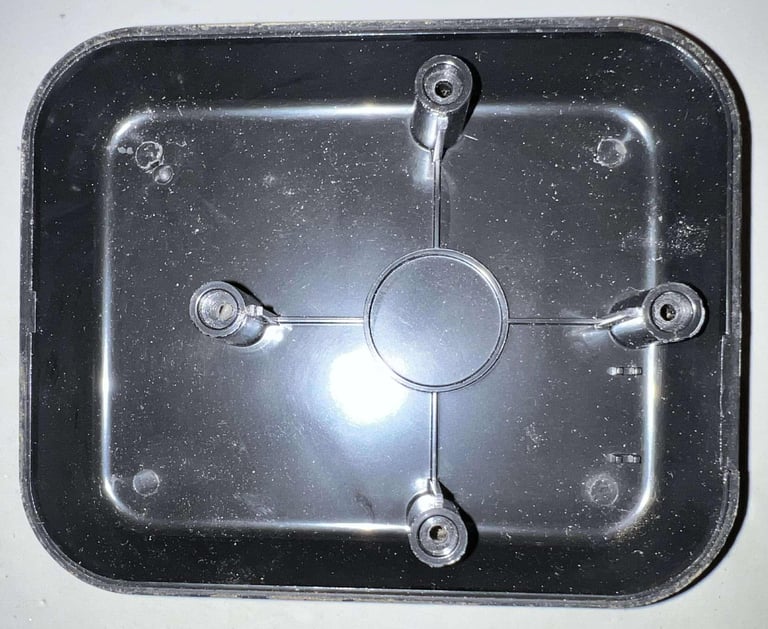

Exterior casing and plastic parts
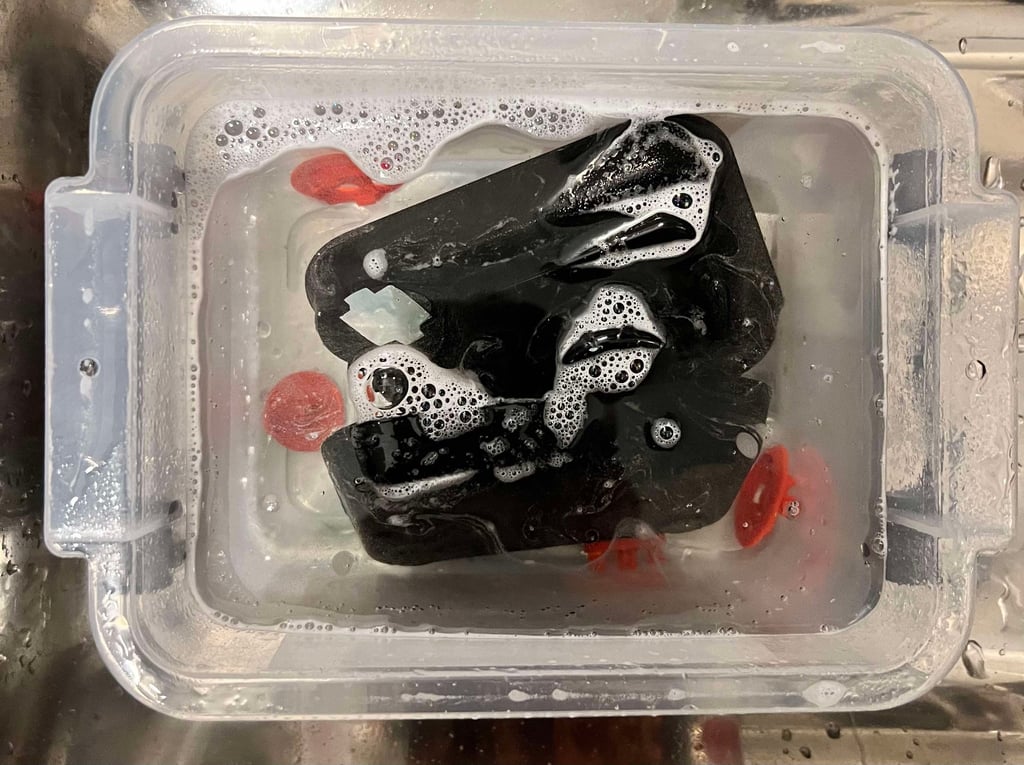
All of the disassembled plastic parts are placed in a box filled with mild soap water for about 24 hours. This will dissolve most of the grease from the parts. Note that the metal parts are not cleaned this way, they are just cleaned with a clean paper towel.

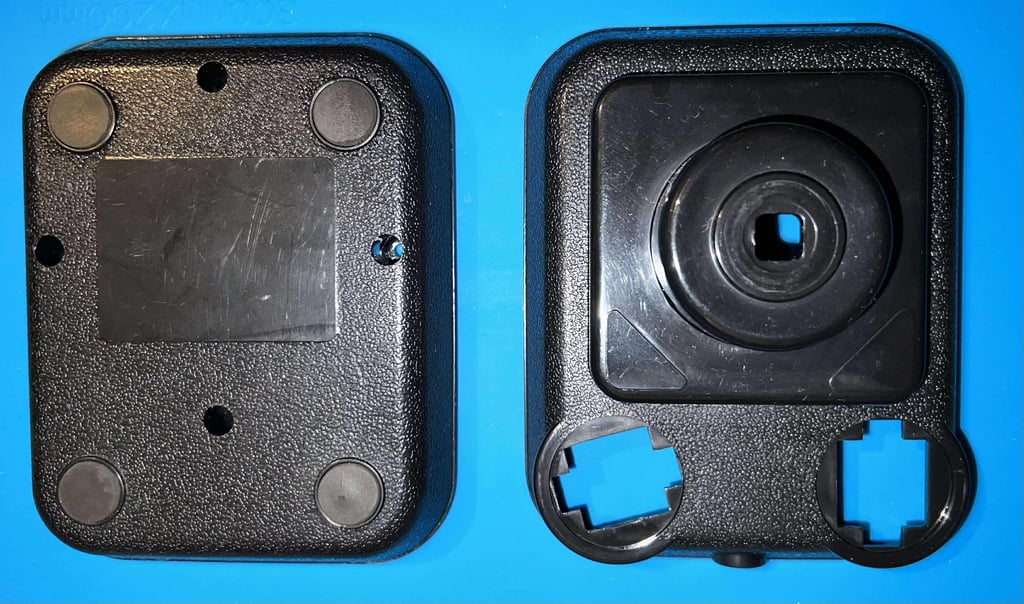
After cleaning the parts looks way better. There are some signs of use, but it is not significant in any way.

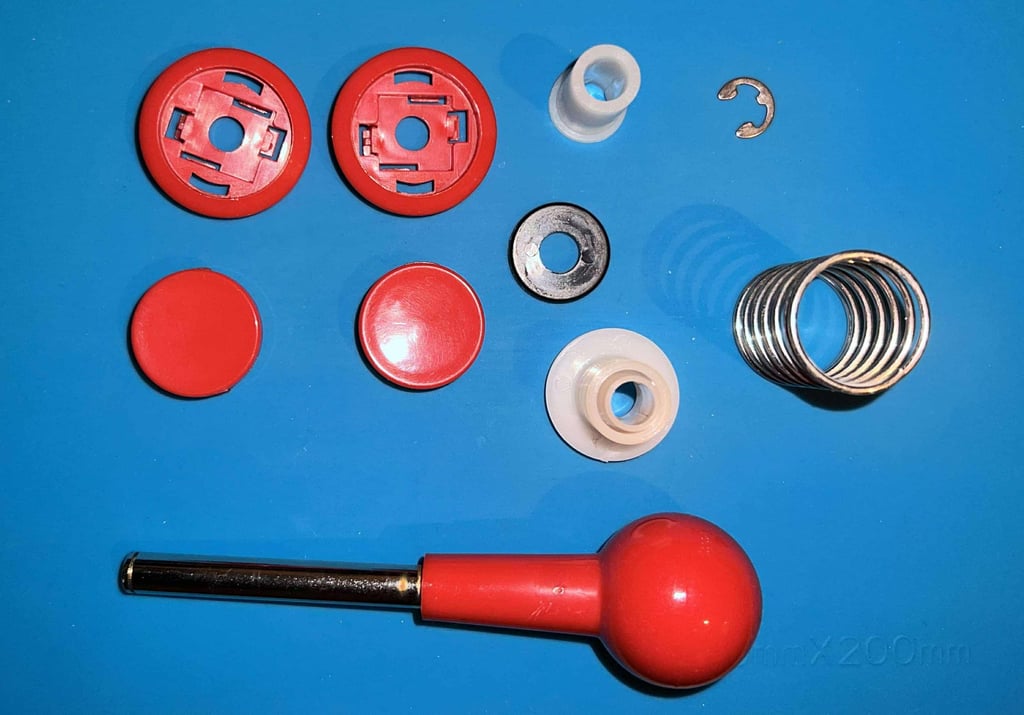

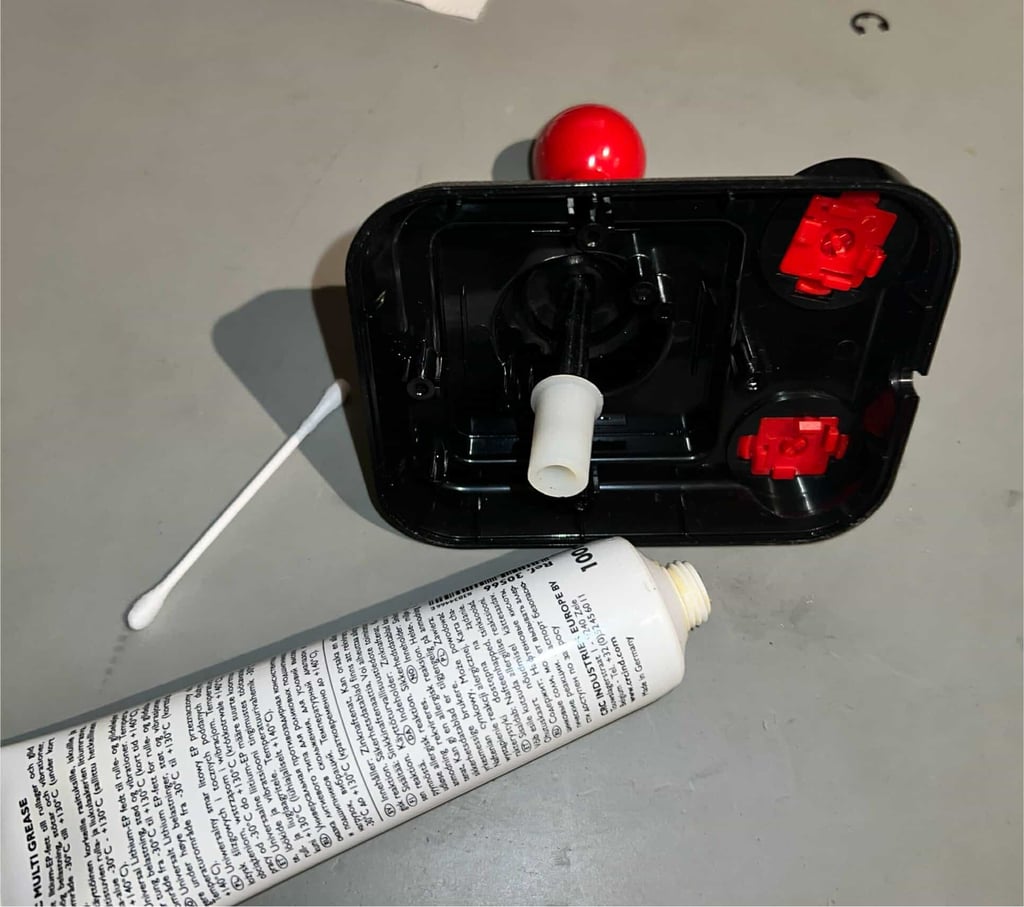
The joystick metal shaft, and the surrounding plastic parts, are lubricated with some general purpose grease.

Electronics and microswitches
The six microswitches are without any visible brand or label - but, holy moly, they are in fine condition. After some general cleaning with isopropanol they look as new, and both the felt response and clicking sound is really good. Thinking that these switches are probably close to 40 years old is hard to believe.
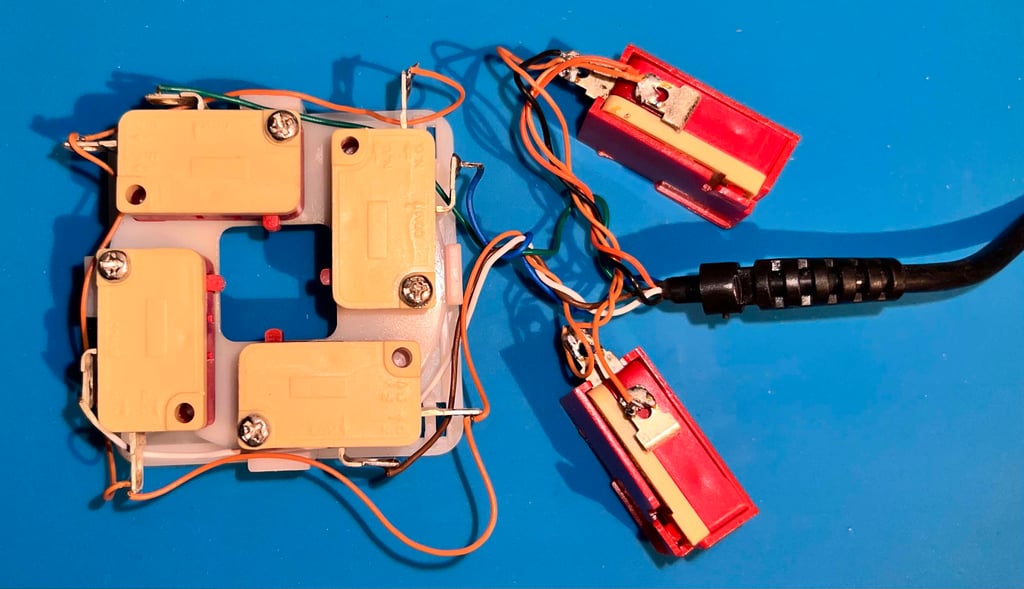

There are no cable shoes connected to any of the microswitches. Instead, they are soldered directly to the switch. You might argue that this is a "cheap" solution (which is probably are), but it is also the case the such cable shoes also can be quite loose making poor contact. So soldering directly to the switch is in my opinion quite a decent method.
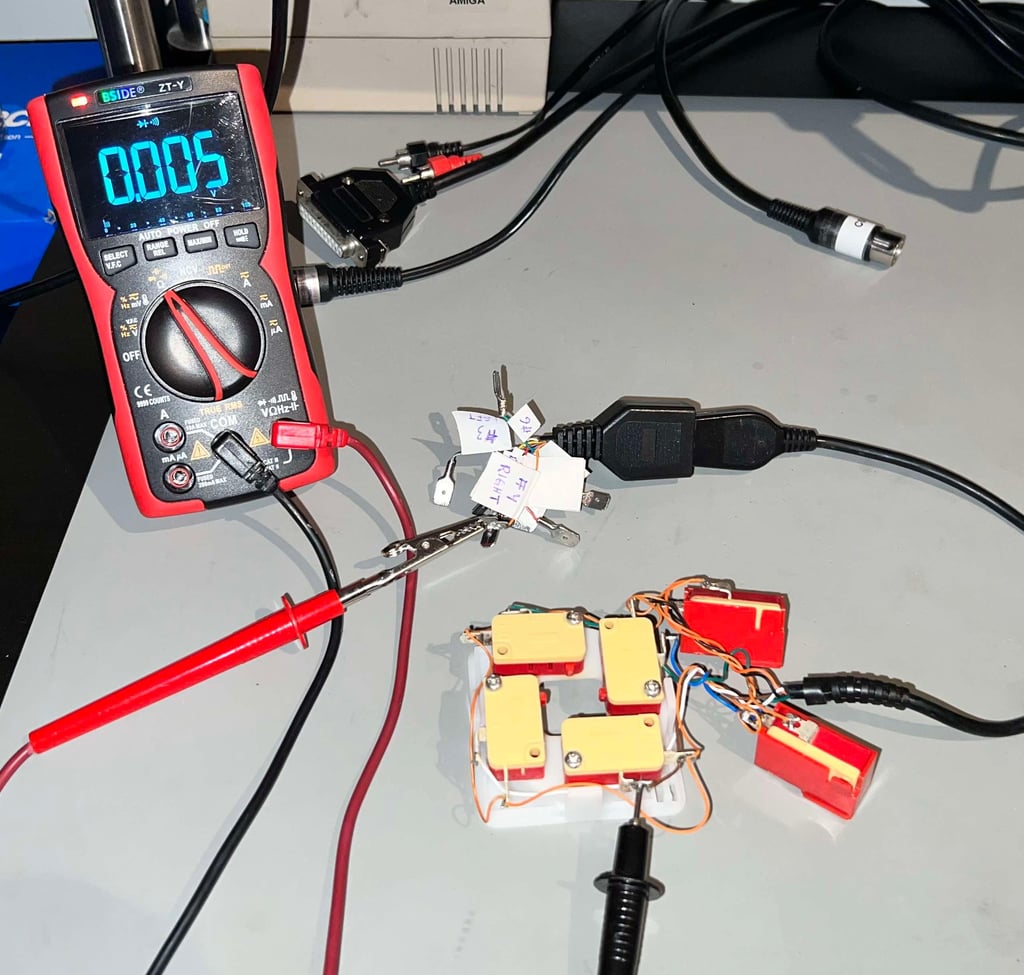
To make sure that the connector and cable works as it should it is tested using a multimeter in continuity mode. All wires and connector are fine.

Testing
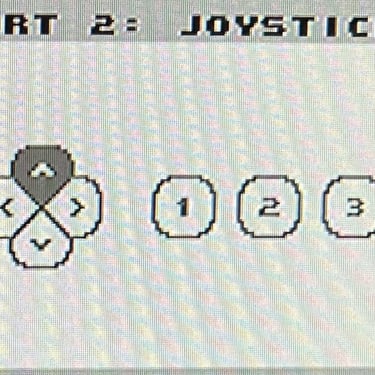
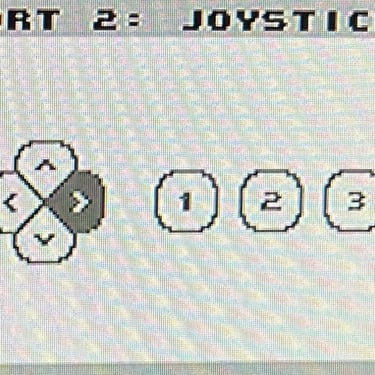
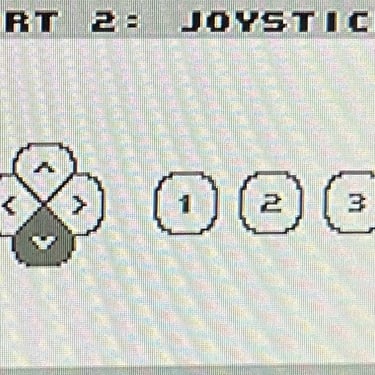
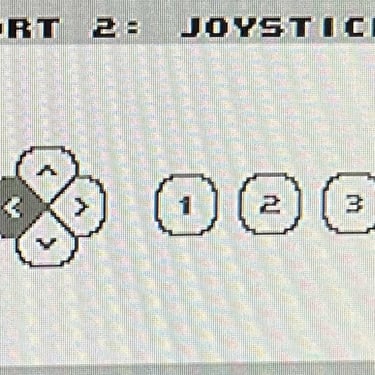
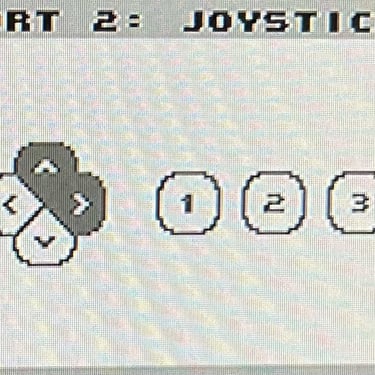
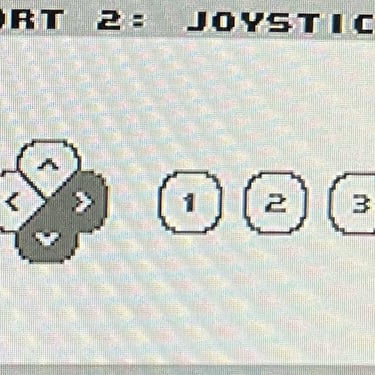
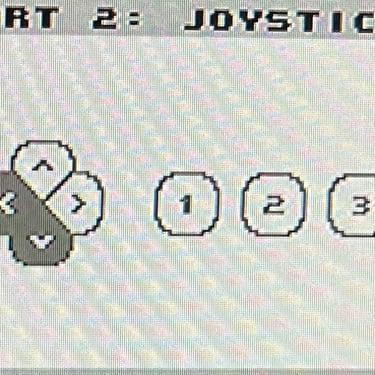
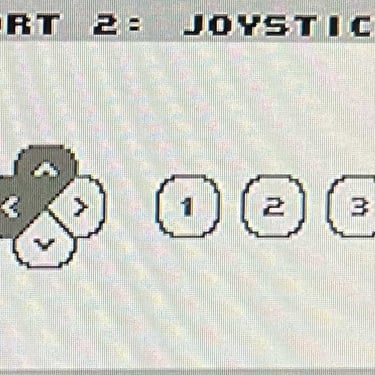
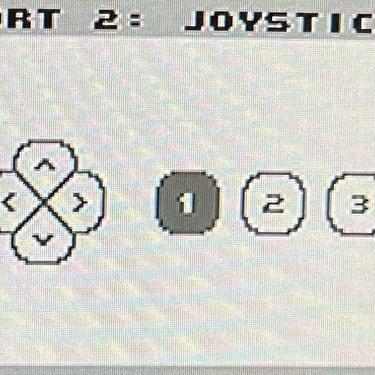
To verify that the joystick work as it should I check it with the Joyride software. Result is that all directions and fire buttons works fine works as expected. All tests pass.
Final result
"A picture worth a thousand words"
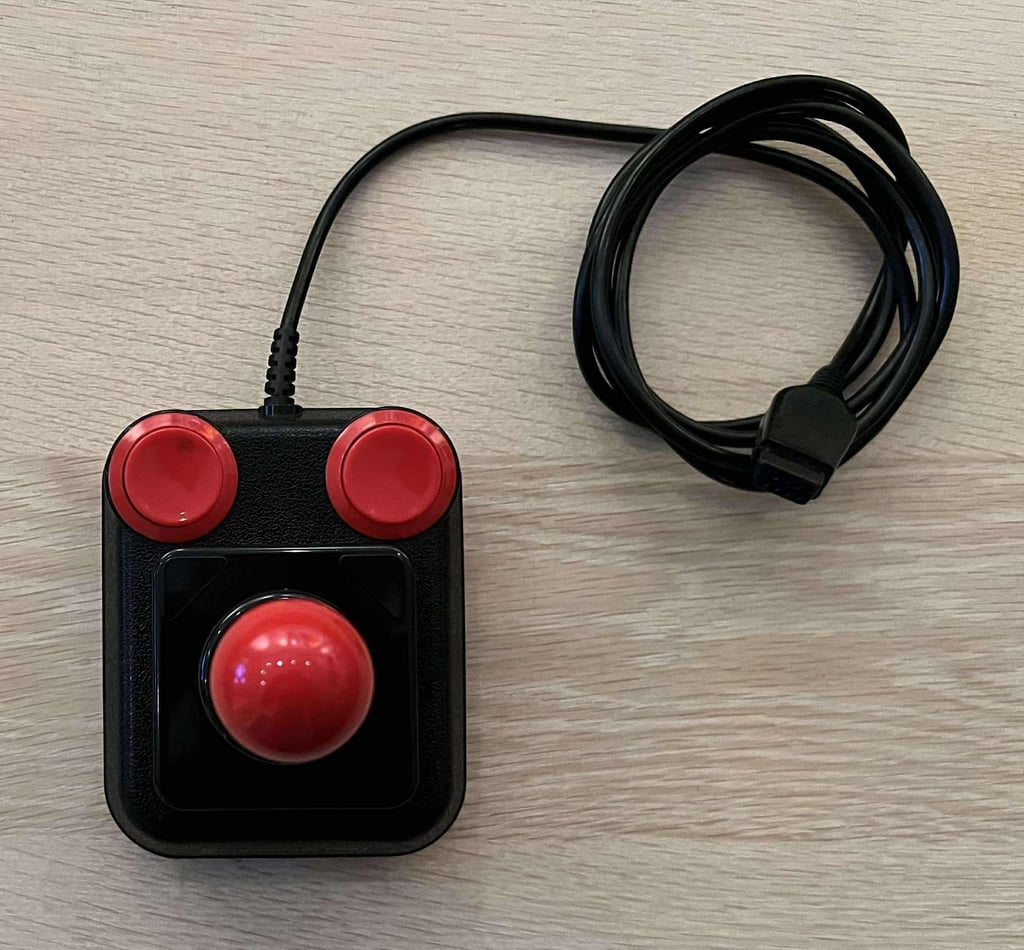
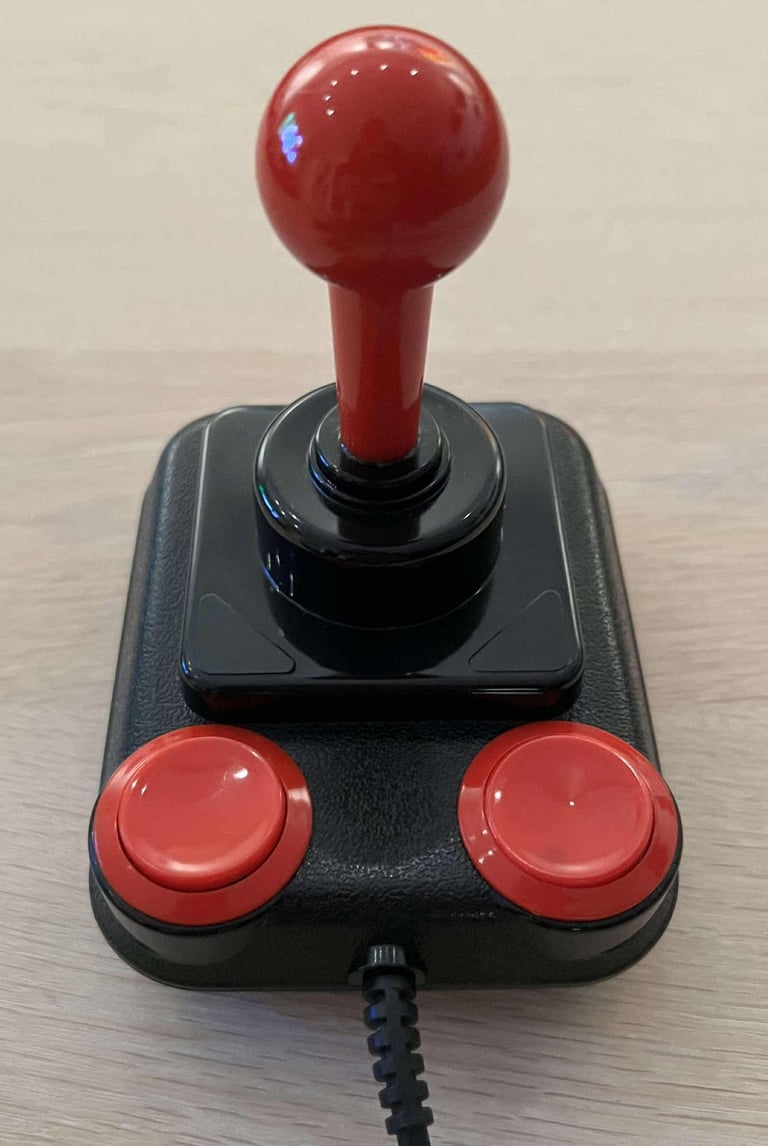
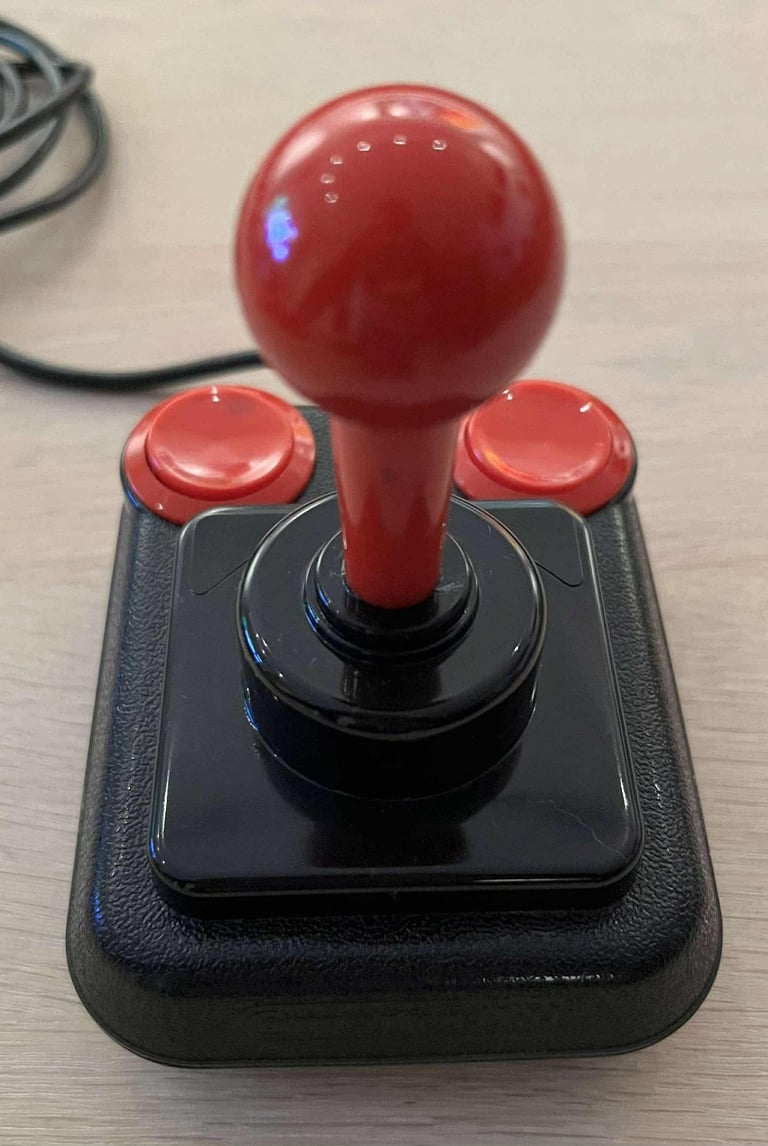
Below is a collection of the final result from the refurbishment of this Competition Pro joystick. Hope you like it! Click to enlarge!




Banner picture credits: Kshade
