
Powerplay
Cruiser
Starting point
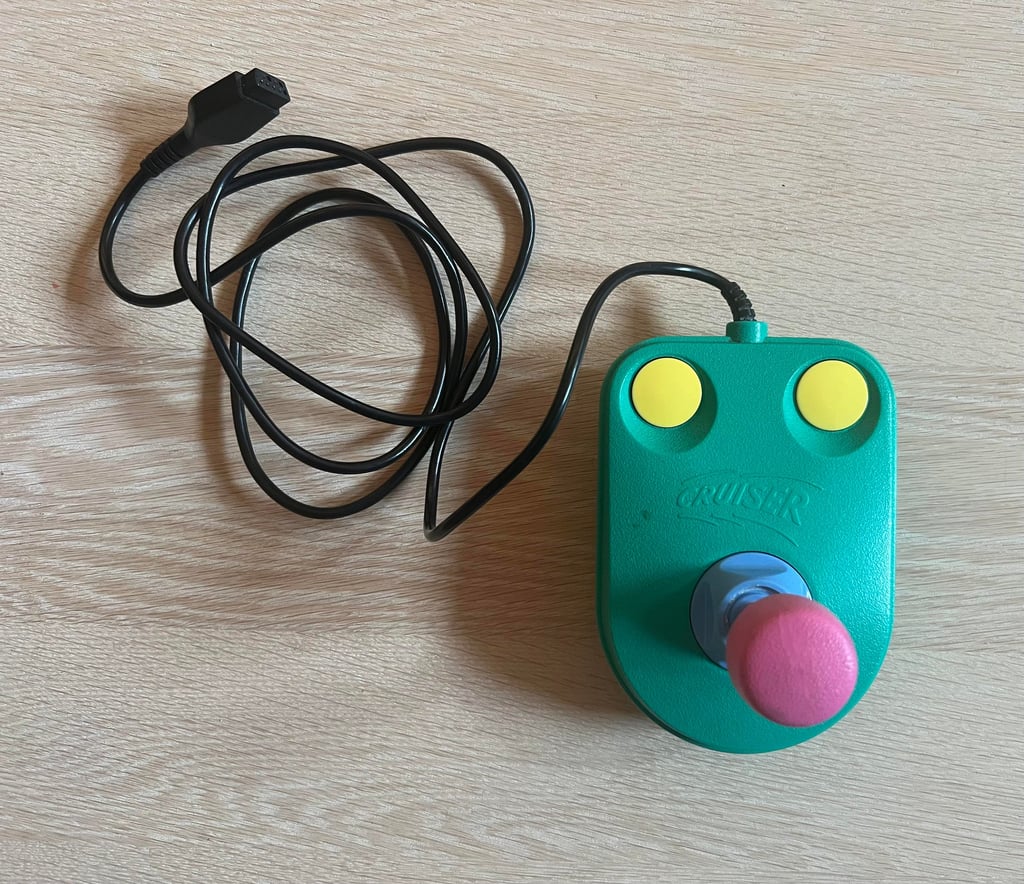
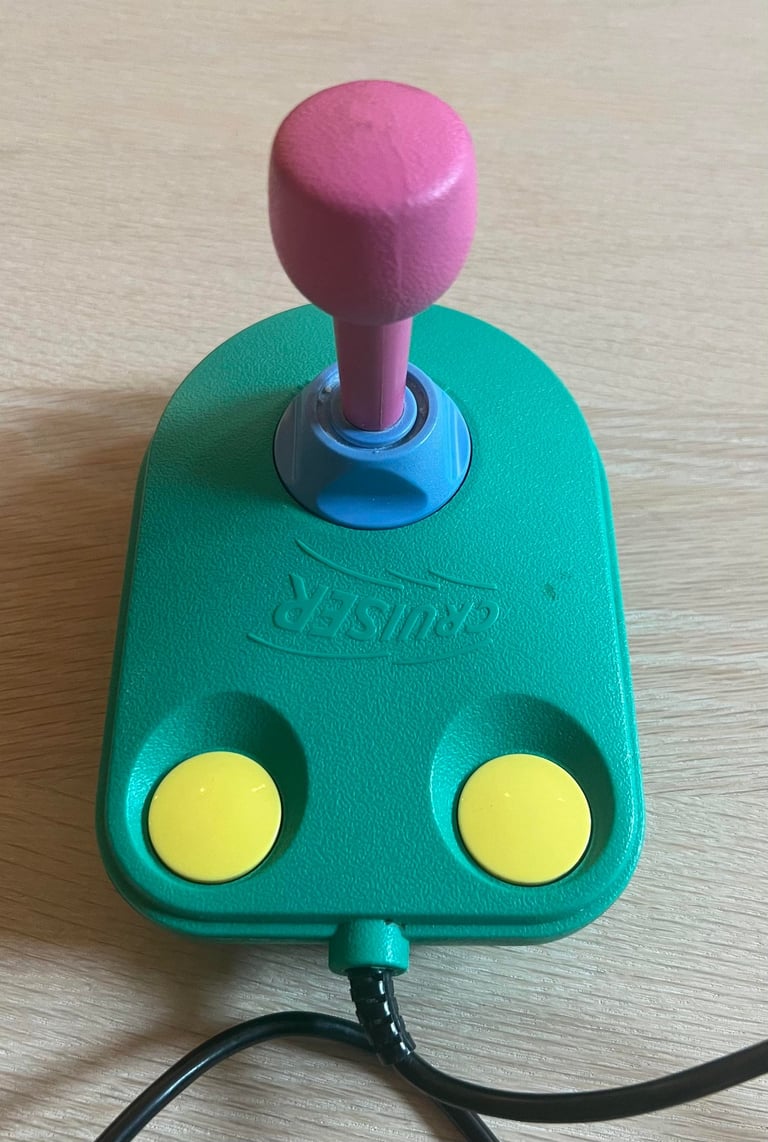
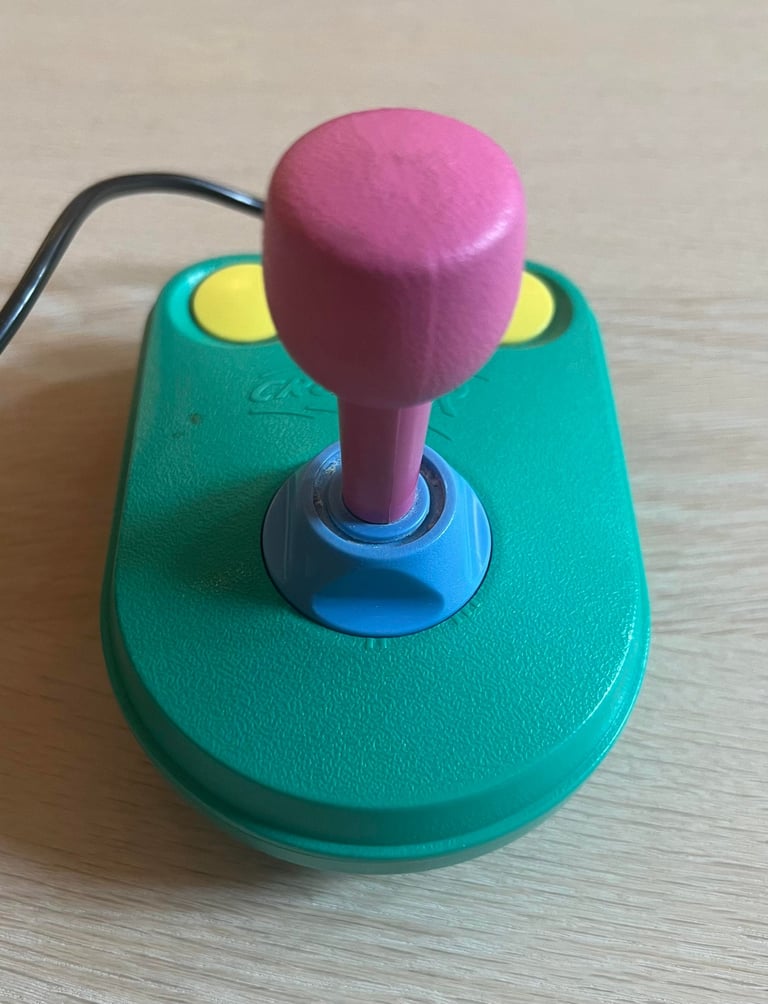
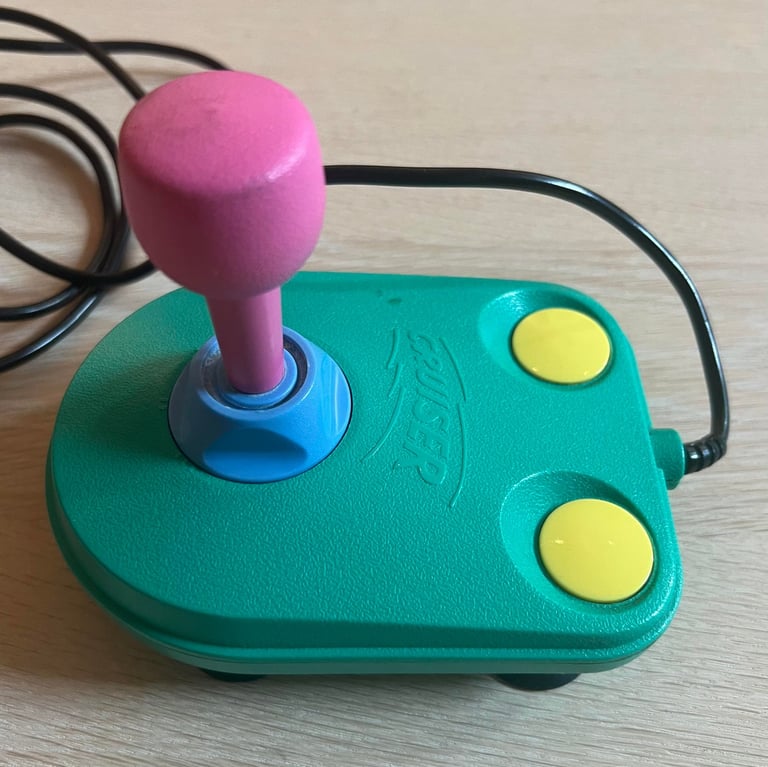
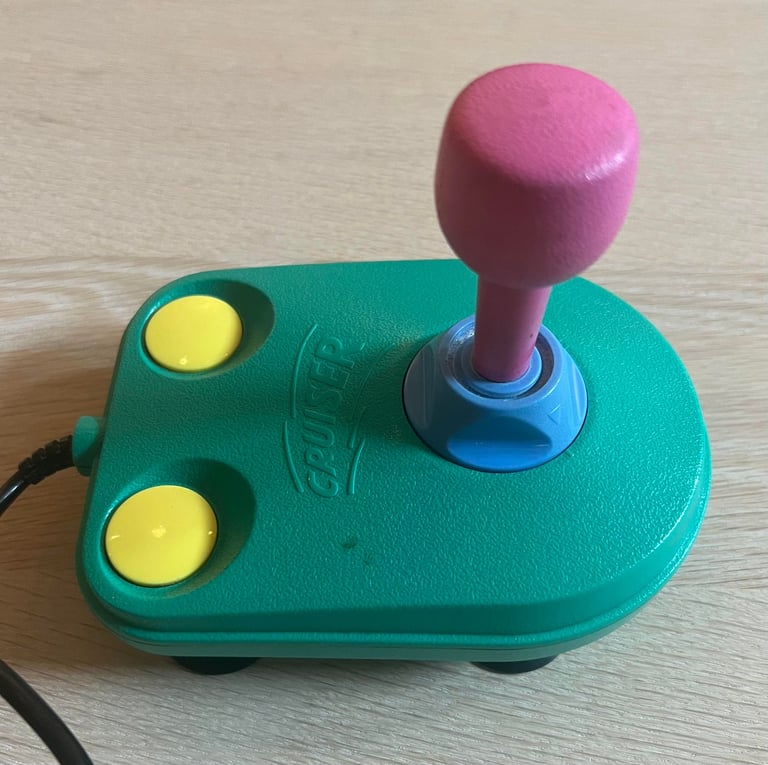
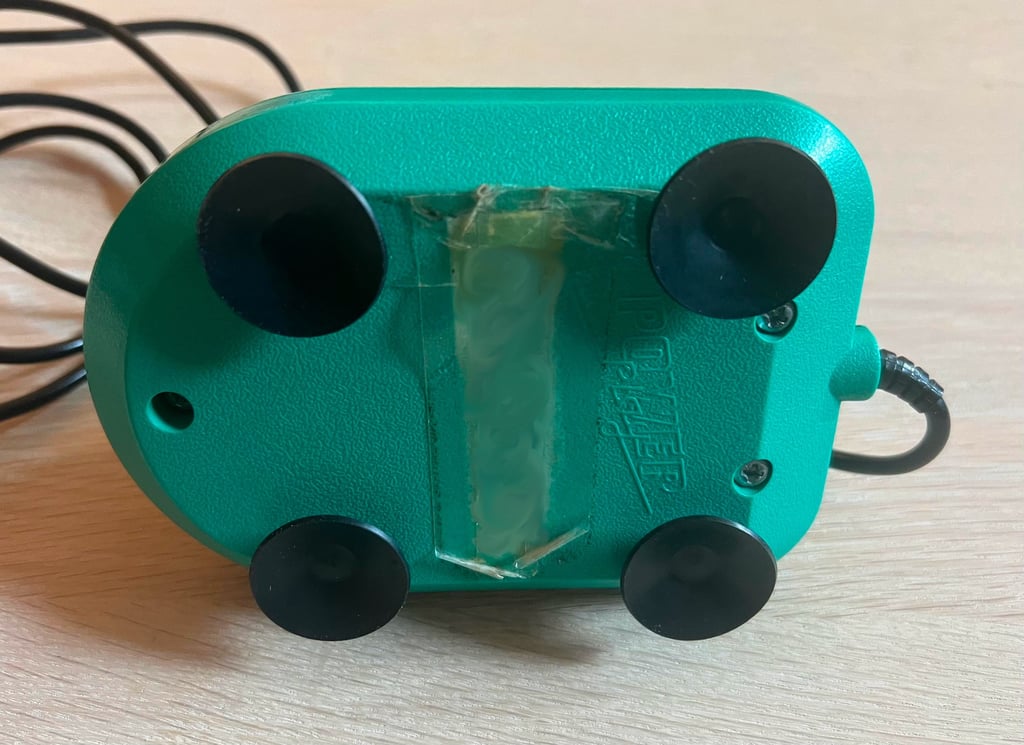
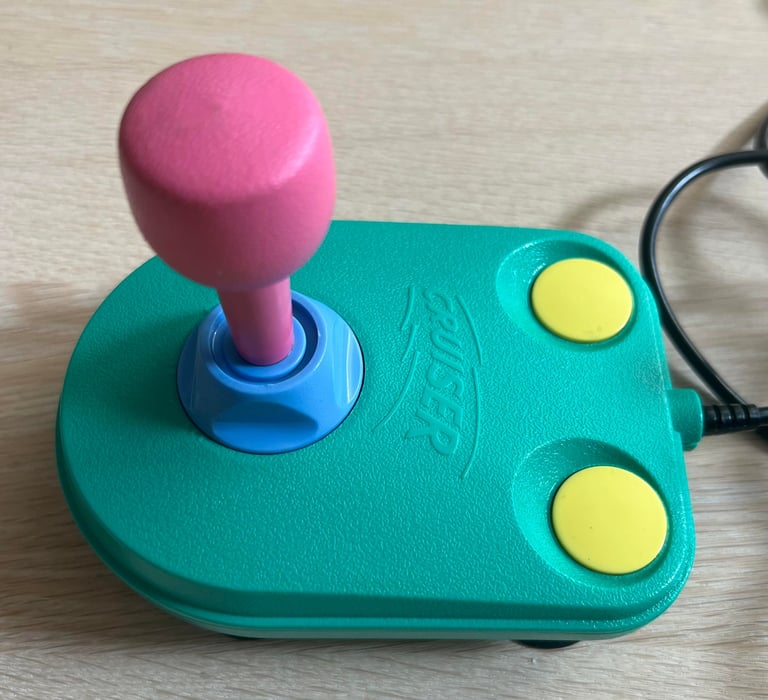
Another Powerplay Cruiser joystick ready for some refurbish. This one came in pair the other Powerplay Cruiser joystick refurbished previously, and it is identical to look at. This joystick is also in very good condition. It is somewhat dirty and "squeaky", but otherwise I can not see any damage to it outside. I notice the cable stress relief is severely bent towards the left - which could harm the wires inside it.
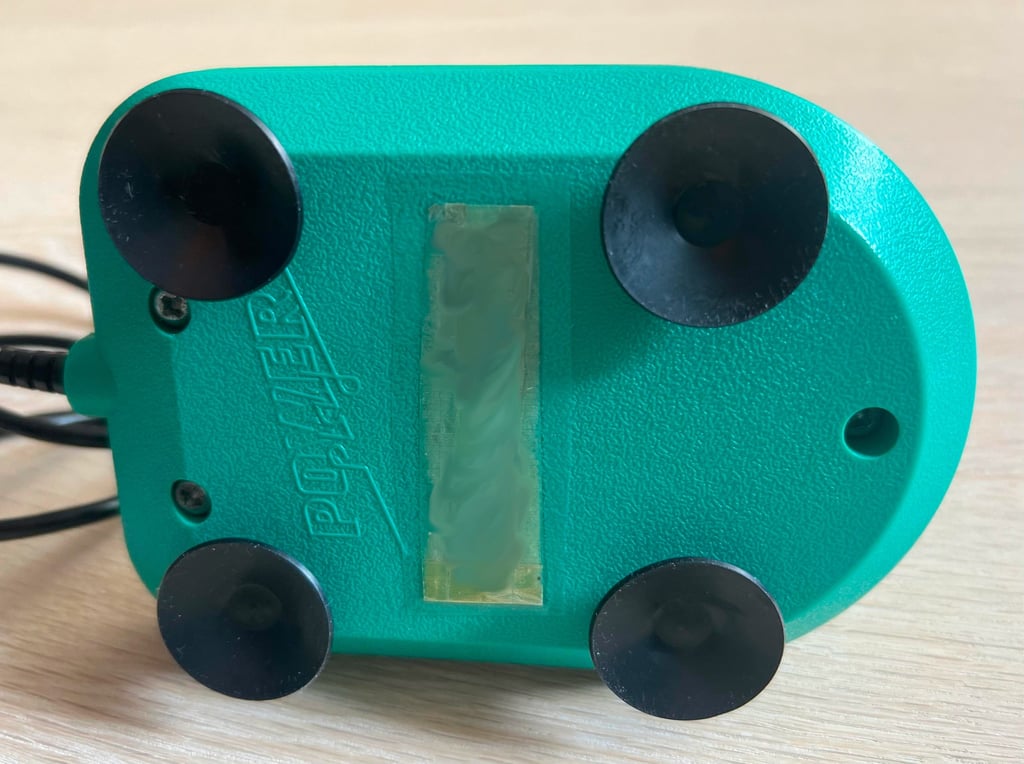
All microswitches sounds ok (hearing the nice clicking sounds), and the rubber feets are also in good condition. Underneath the joystick the name of the owner is written on a small piece of paper which is covered with some old transparent tape (blurred in the pictures). Nice! Nostalgic! I will try to preserve this during refurbishment.






Refurbishment plan
To refurbish this joystick the plan is to do this trough the following steps:
- Clean, and remove stains from, chassis and all parts (and repair if required)
- Lubricate moving parts
- Clean and check the microswitches (and repair if required)
- Check connectivity (and repair if required)
- Verify joystick operation by testing
Disassembly
Before the three bottom screws are removed the name tag is removed carefully. Luckily, this is easy to remove as the old tape is covered with dust where the glue is (the name is blurred for anonymity). The screws are really large: 16 mm x 3 mm - indicating that this is a sturdy joystick! I am also curious if the microswitches are covered with the same dust (?) as the other refurbished joystick accompanying this on.
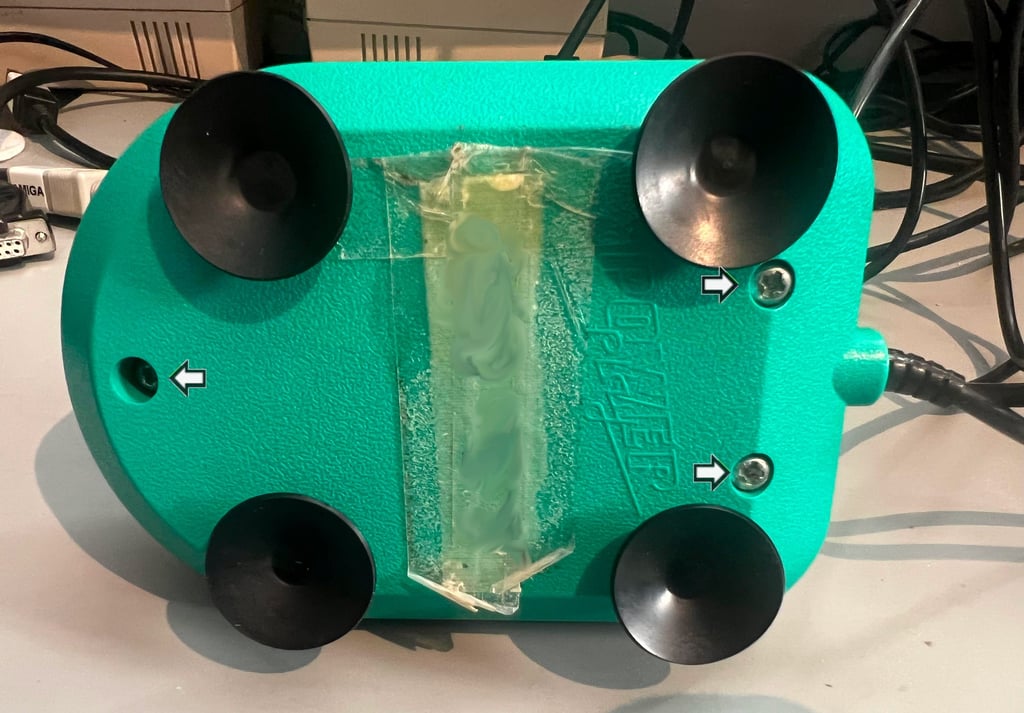

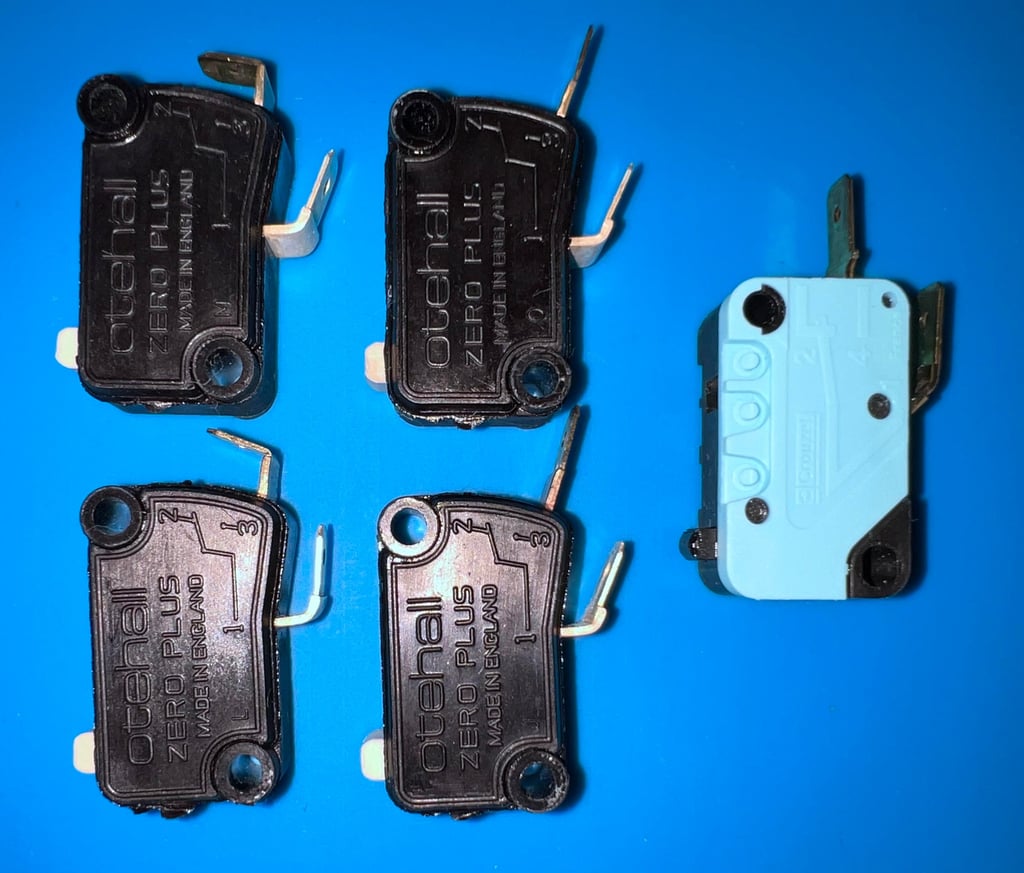
And yes, the "magic dust" is also on these microswitches. Could it be some kind of chemical reaction? Notice that it is only the four microswitches used for directional motion which are exposed to the dust. These four are of a different brand than the fire button microswitch ( 4 x Otehall and 1 x Crouzet). But now I notice that there is something wrong with one of the wires. The copper is exposed and the isolation is ripped (see arrow in picture below). Could this be related to the heavily bent stress relief? Nevertheless, this needs to be repaired.
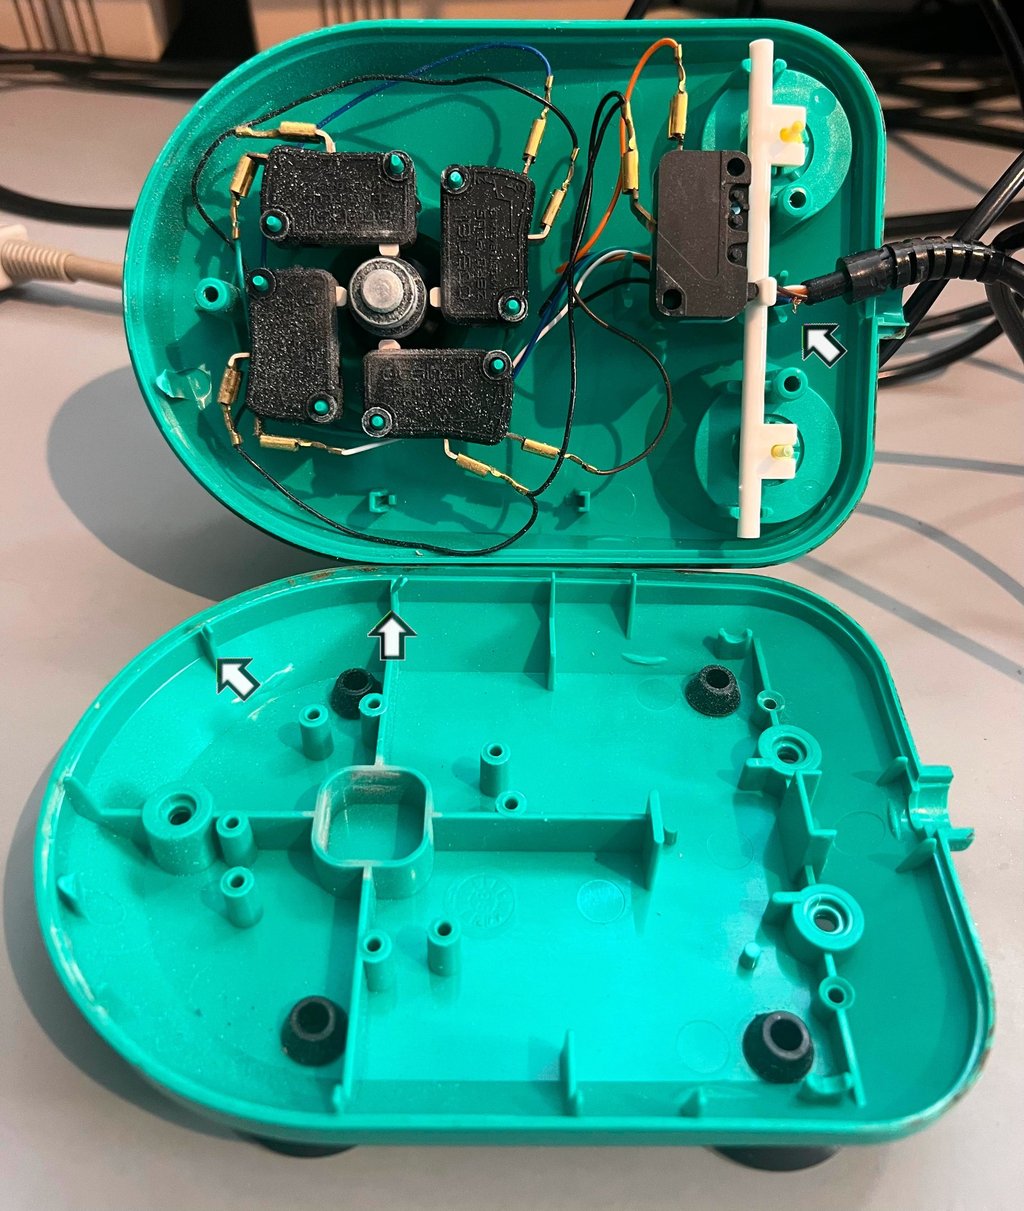

As with the other refurbished Powerplay Cruiser joystick some of the plastic "pins" are broken (see two arrows in the bottom cover in the picture above). These pins play no crucial role as far as I can see beside assisting the top- and bottom cover to be aligned when assembled. But all the other pins and supporting features should do the job well enough. The rod/shaft used by both fire buttons to access the single microswitch (I really like this principle) is gently lifted out of the top cover. It looks to be in fine condition.


Exterior casing and plastic parts
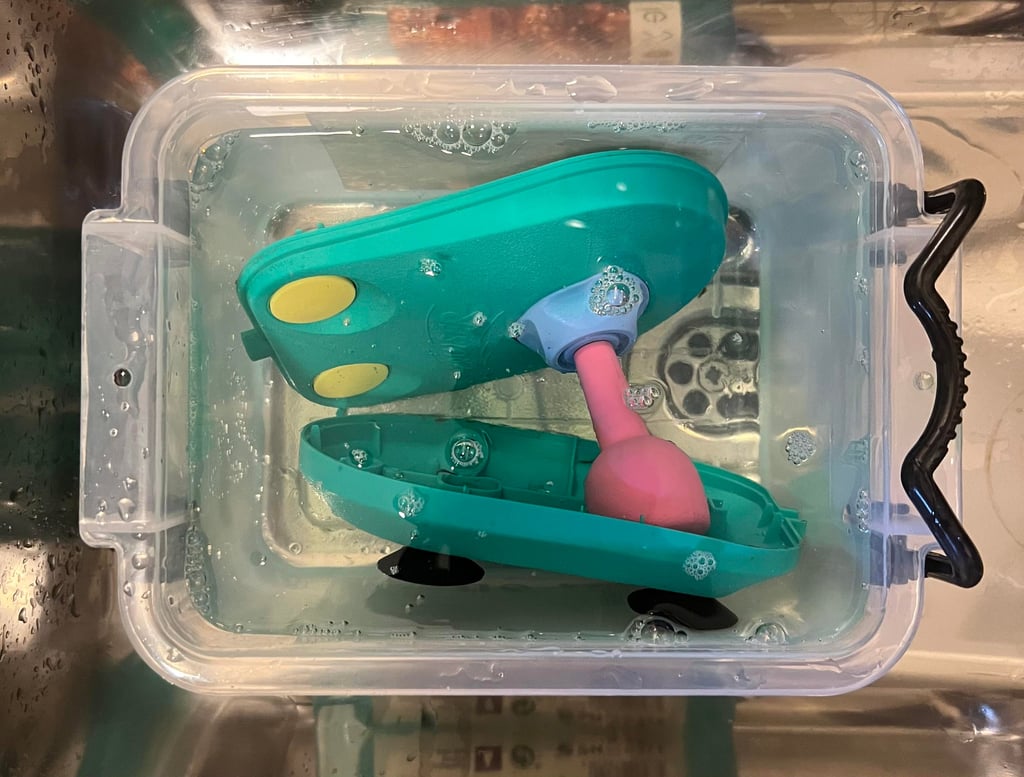
Both the top- and bottom cover are placed in a plastic container filled with mild soap water for about 48 hours. In this period the covers are frequently removed from the container and cleaned with a soft paint brush. The covers are not very dirty, but there is some glue residue on the bottom cover which is a bit stubborn.

After the long bath in mild soap water the covers are dried before they are cleaned properly with some isopropanol. This will remove all of the remaining dirt and glue residue. Finally the moving parts are lubricated with a fine cocktail of machine sewing oil and silicone spray.
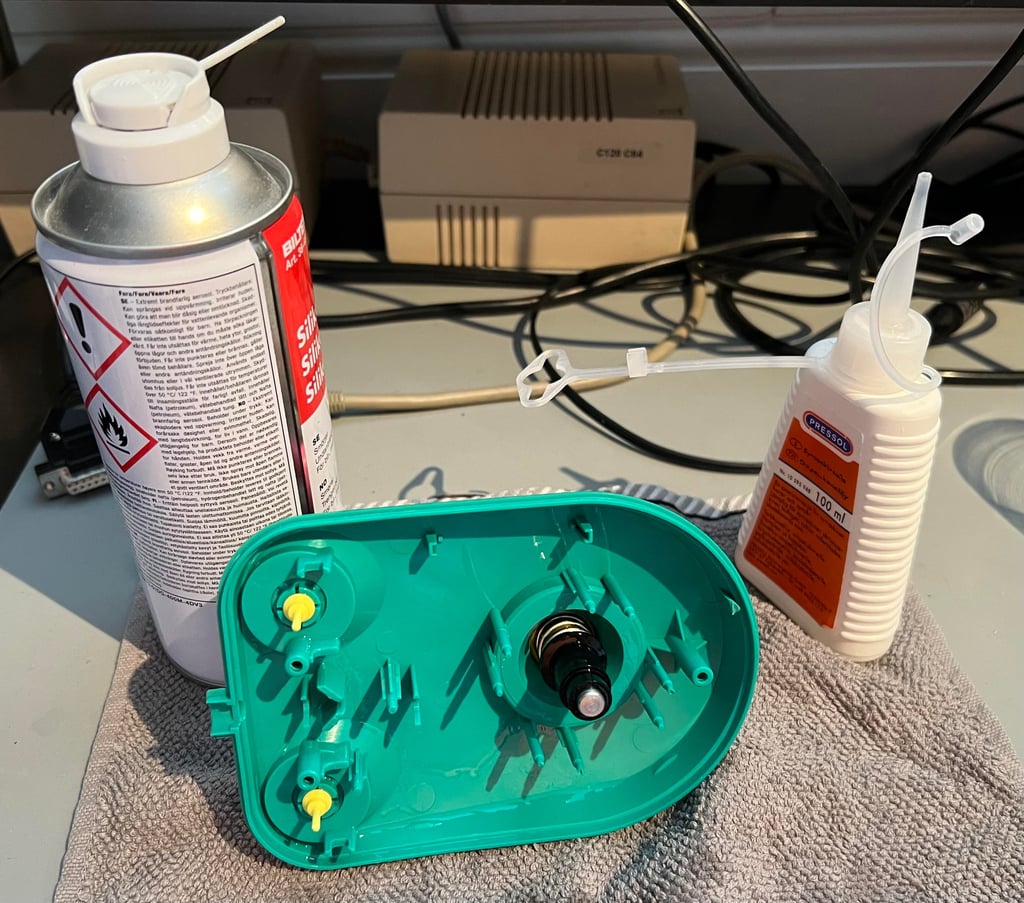

Both covers looks as new after cleaning and lubrication!

Electronics and microswitches
On a closer look the exposed copper shows an even worse damage than I first expected. Nevertheless, my hypothesis that this is due to the bent strain relief is not correct. This ripped wire is caused by something else. Could it be at factory?
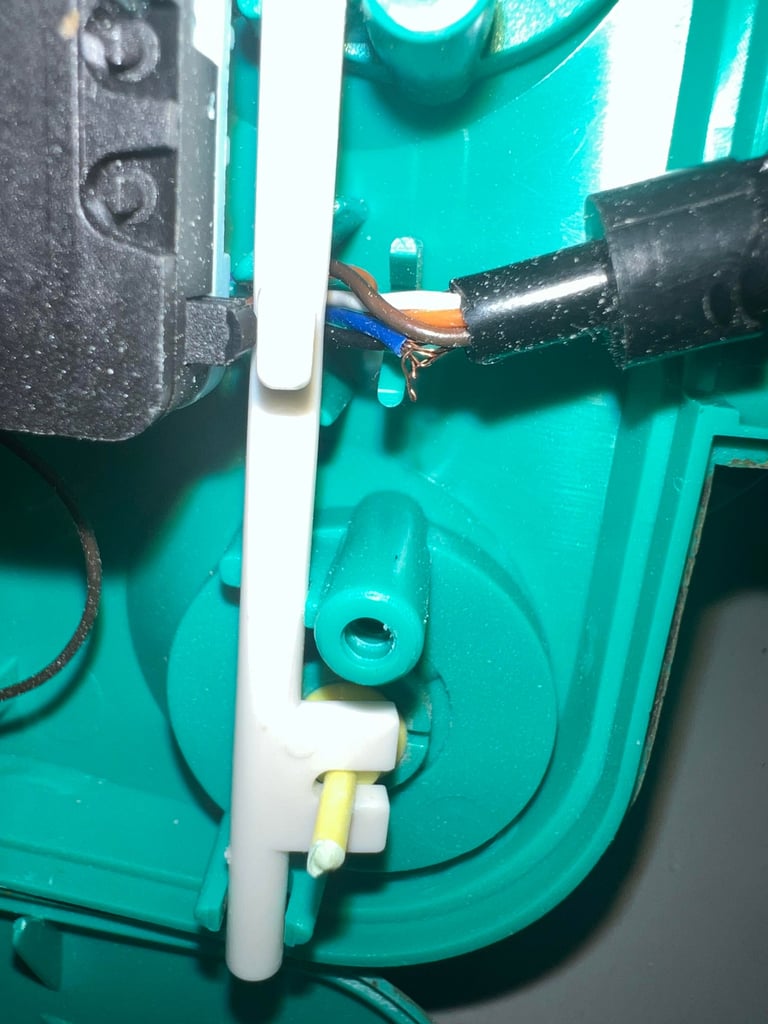

All the five microswitches needs to be cleaned thoroughly, but the cable needs to be repaired also. To make sure that the repair is done properly some of the outer cable insulation is cut (where the yellow dotted line in the picture below is shown).
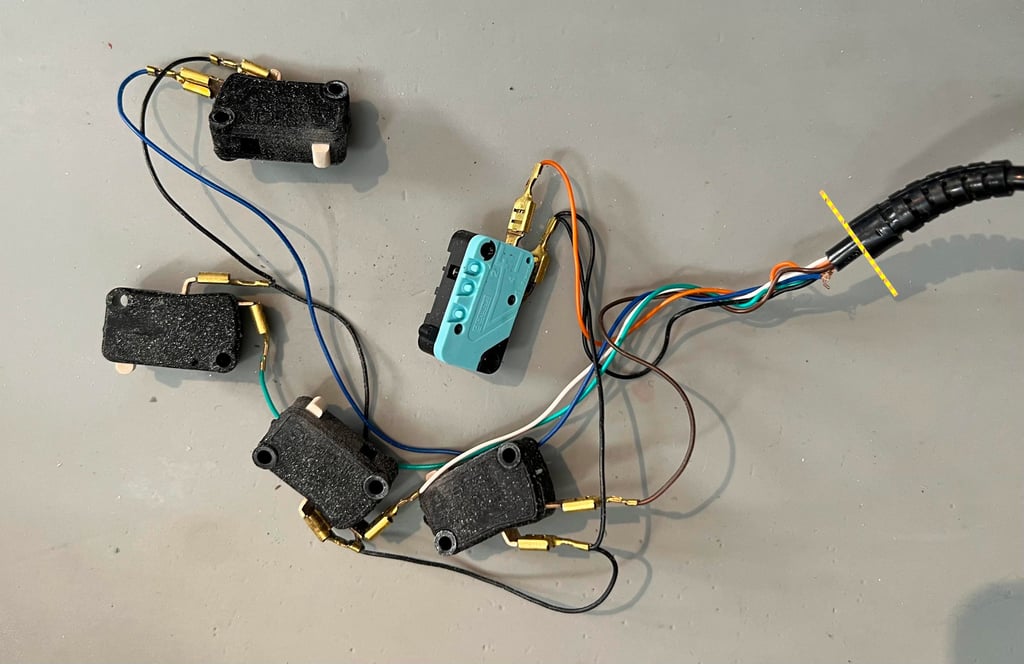

After removing the insulation it is also easier to see the damage which needs to be repaired.
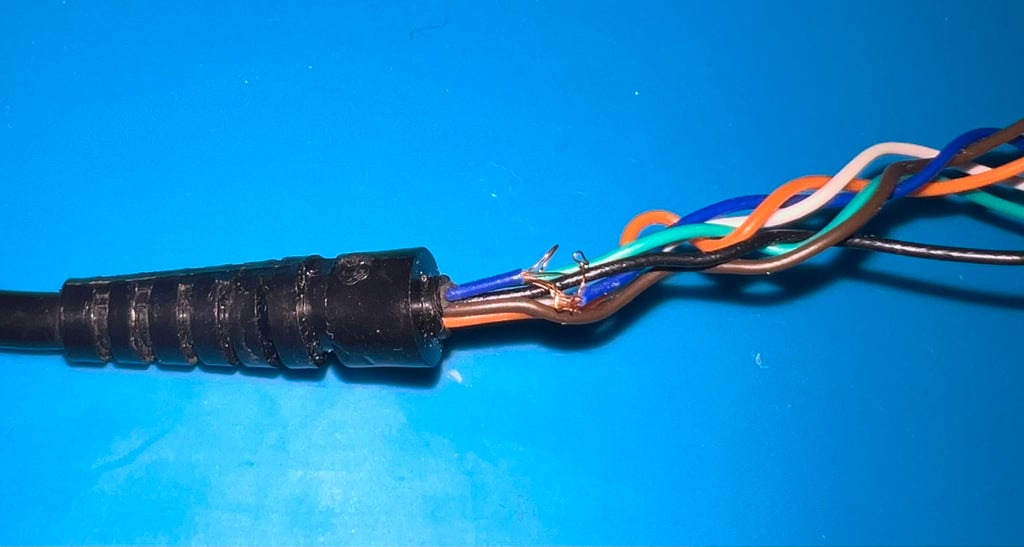

The blue wire is cut and new copper strands soldered to make a good solid connection. The repair job is finished with some heat-shrink tube to insulate.
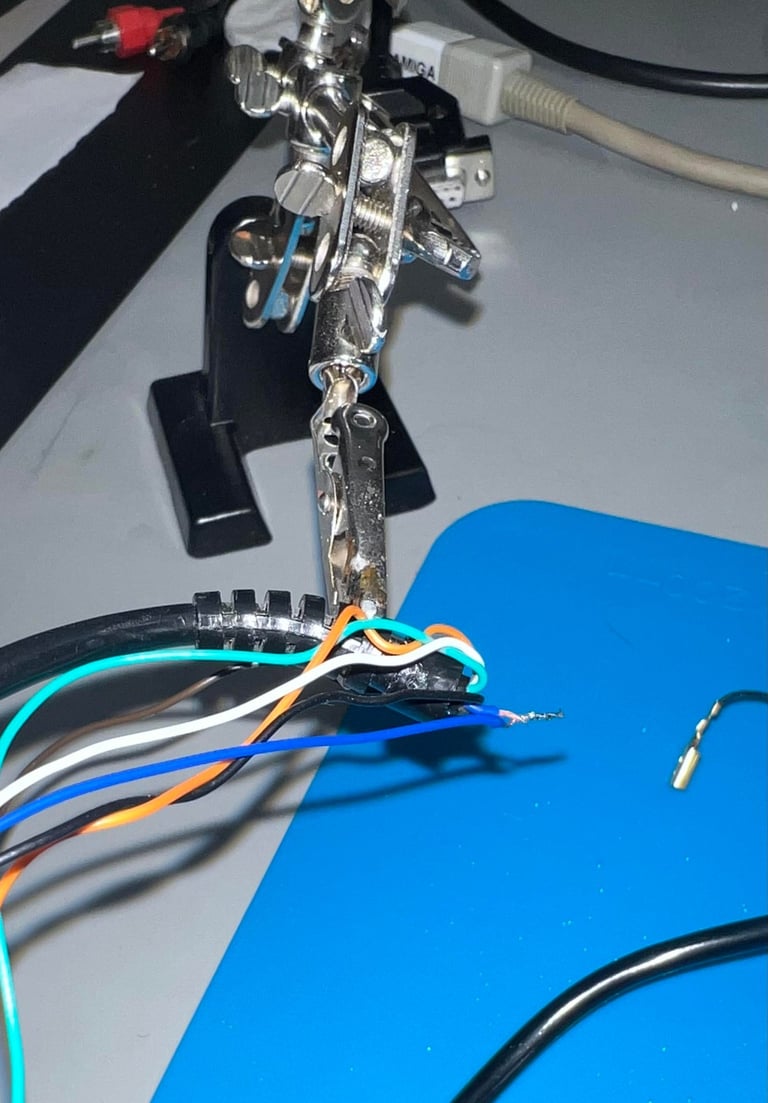

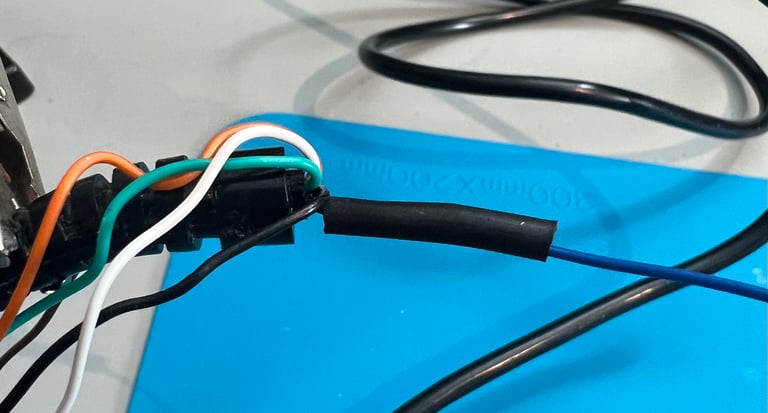

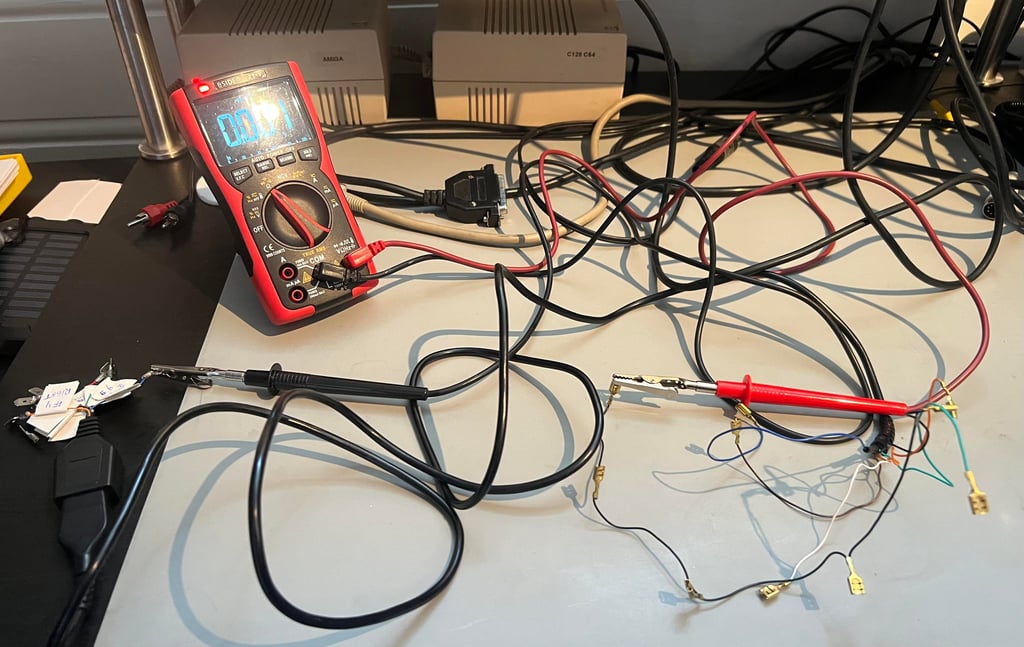
After the repair all the six wires are tested for continuity. To do this the multimeter is used (at set to continuity mode aka beep-mode) while a custom made DB9 connector is used to act as a "Commodore 64". This test shows that all wires now works flawlessly. Notice that the DB9 connector is also cleaned properly with some contact cleaner.

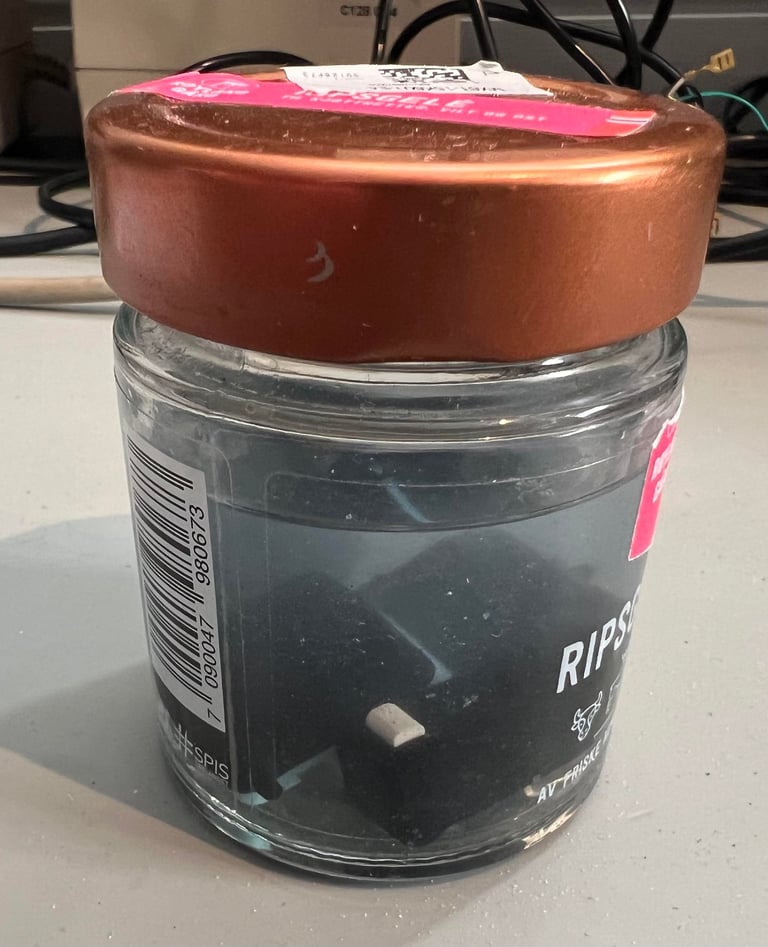
All the five microswitches are put in a jar filled with isopropanol for about 48 hours (once in a while taken out for some intermediate cleaning). I am really curious what causes this strange "dust" on the switches. Could it be some kind of chemical reaction?

The microswitches looks brand new (?) after cleaning, and they appear to be fine very good working condition after 40 years. As can be seen from the picture the microswitches are from Otehall (zero plus) and Crouzet made in England and France respectively.

Testing
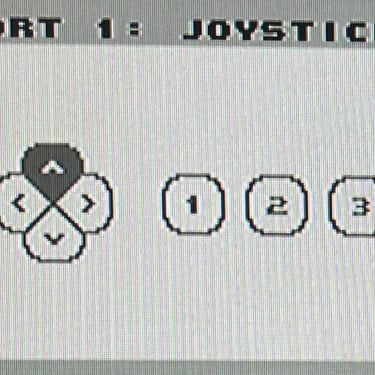
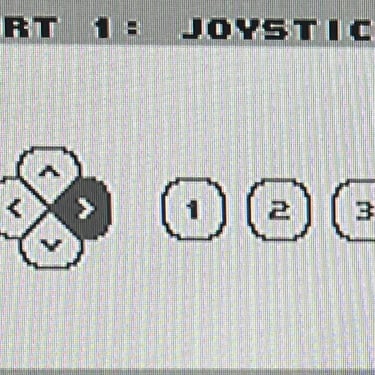
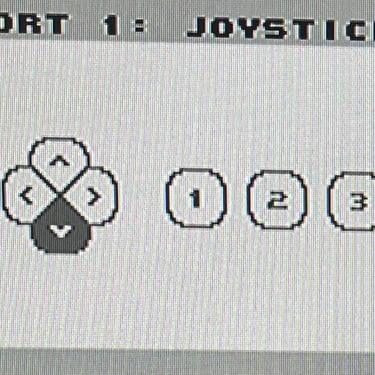
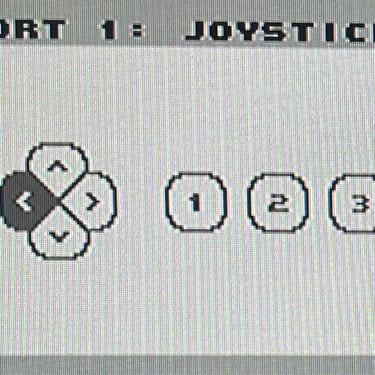
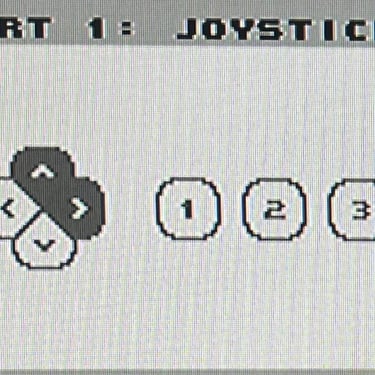
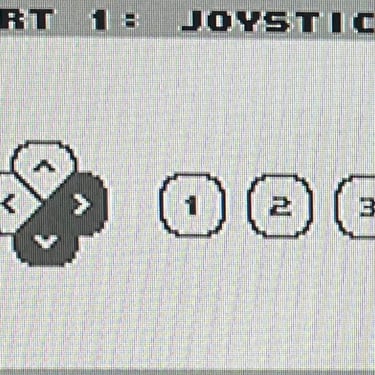
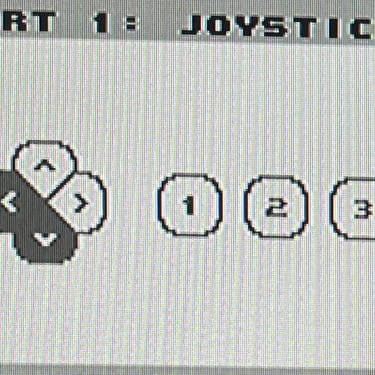
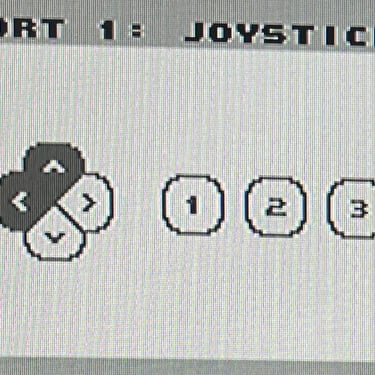
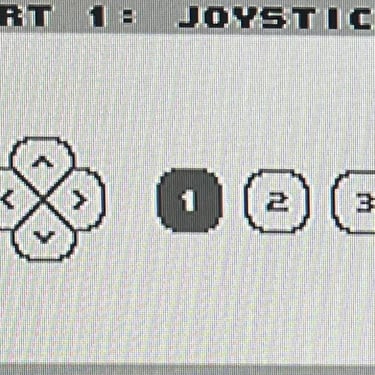
To verify that the joystick work as it should I check it with the Joyride software. Result is that all directions and fire buttons works fine works as expected. All tests pass.
Final result
"A picture worth a thousand words"
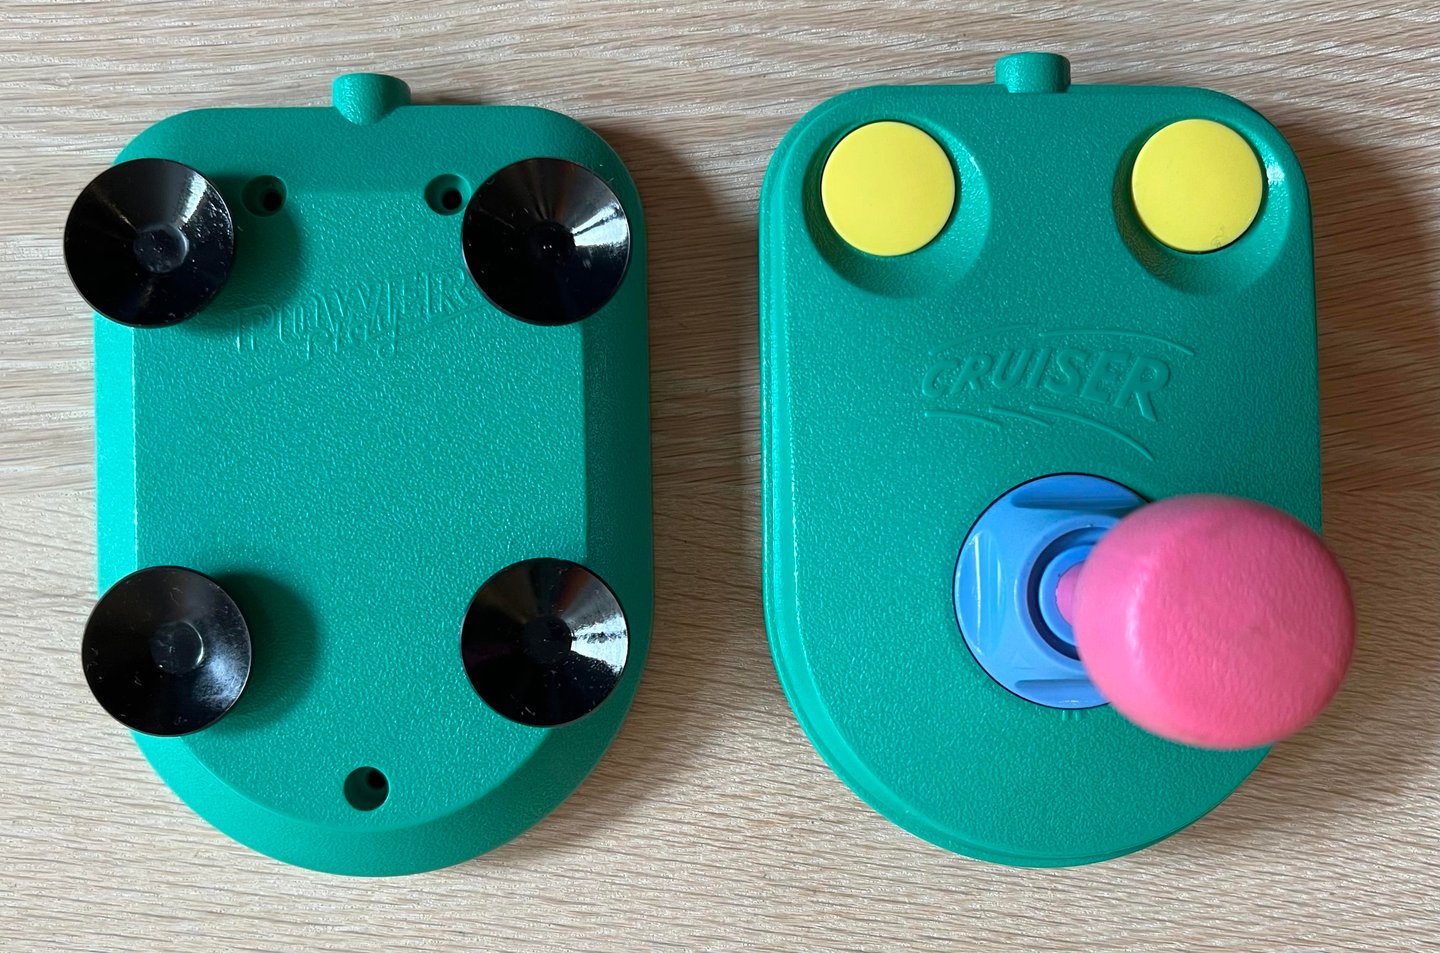
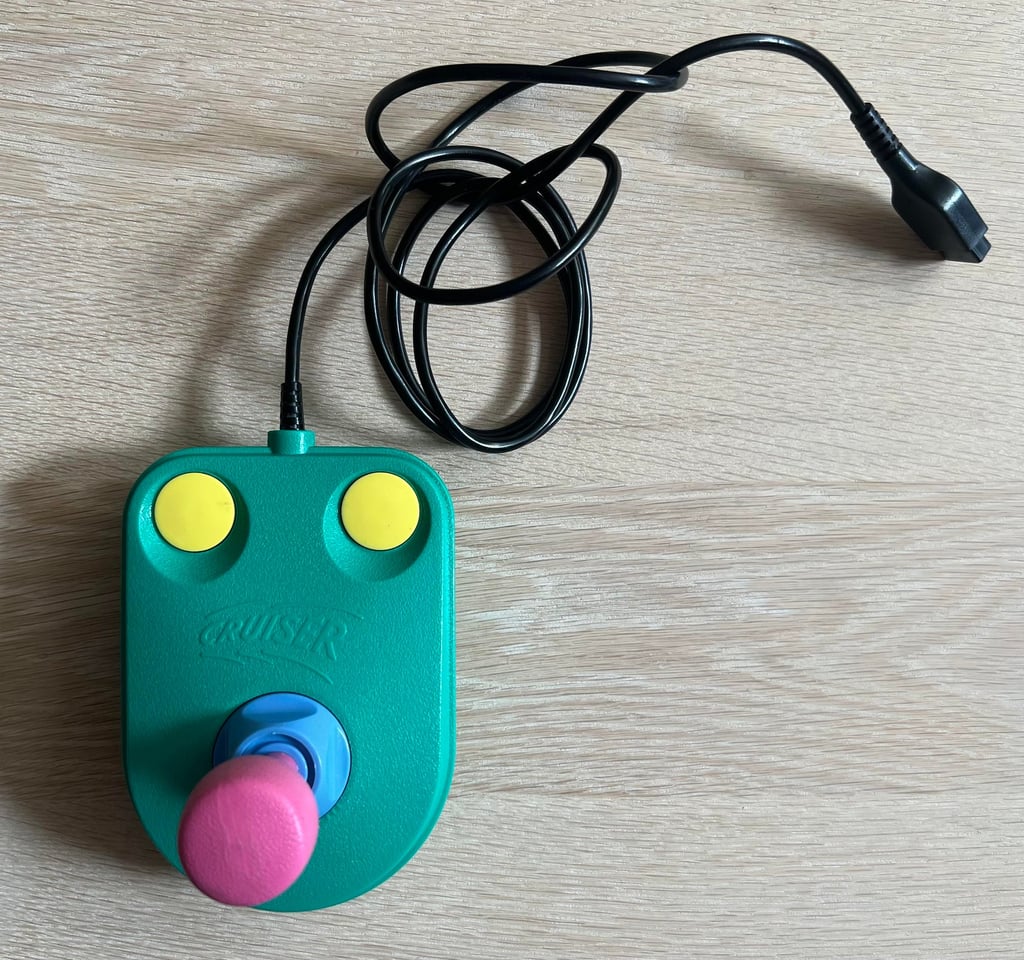
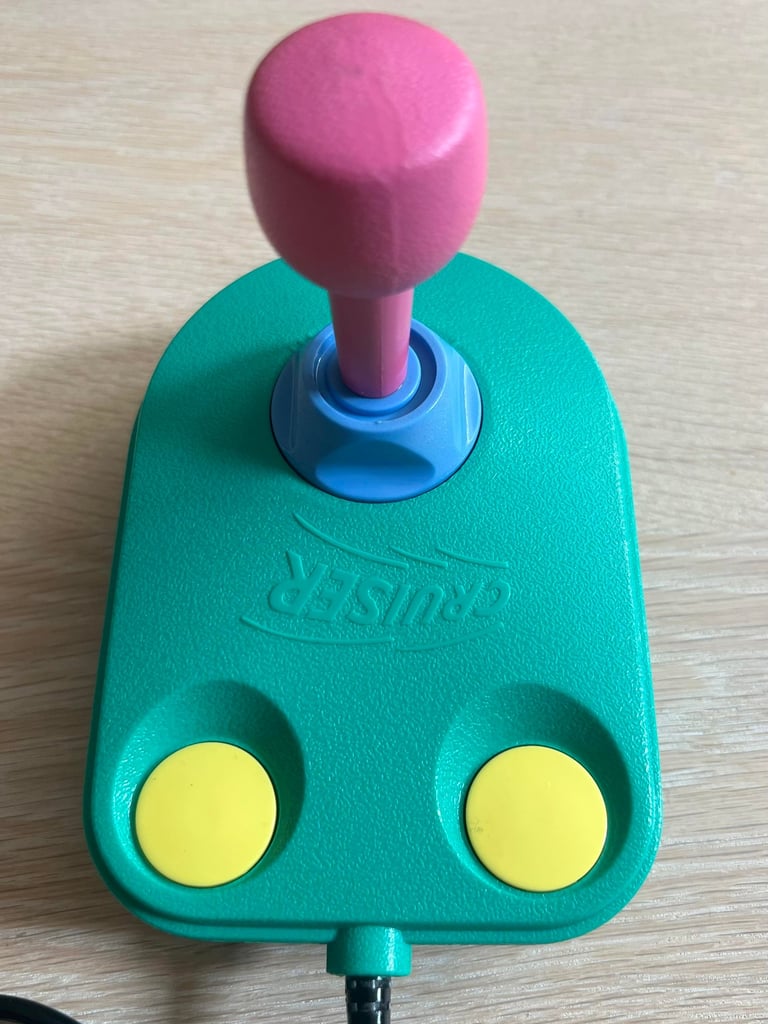
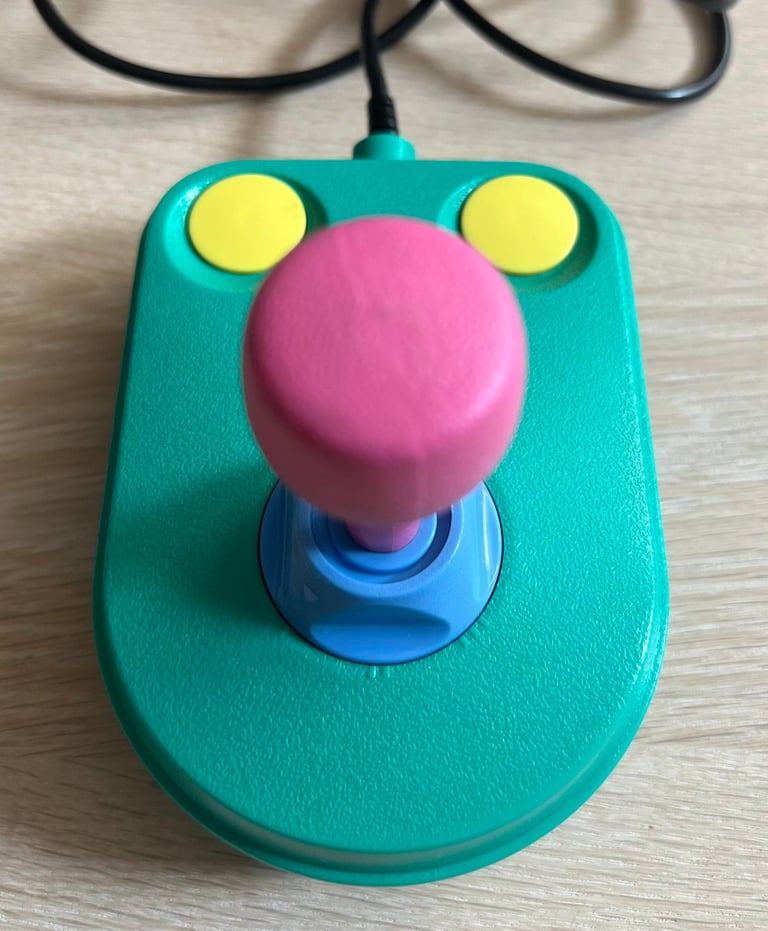
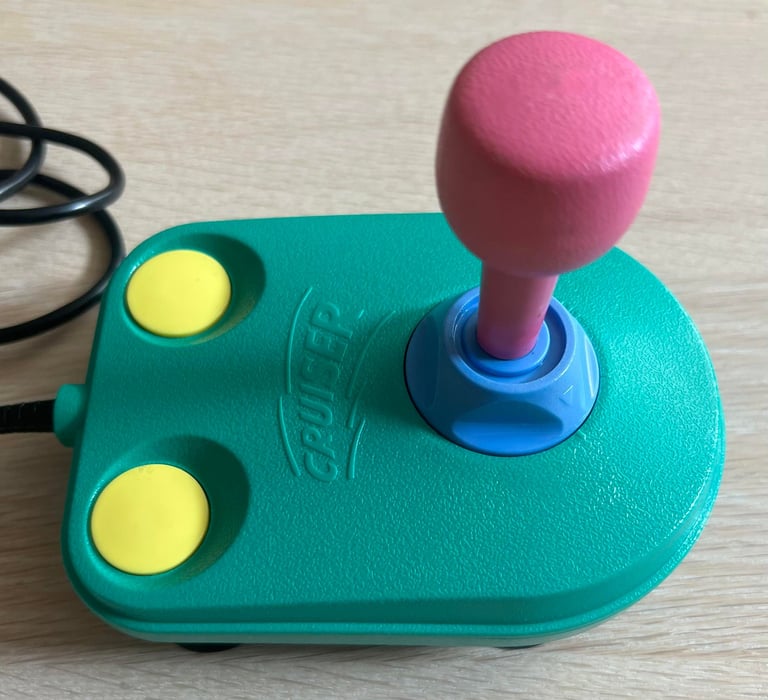
Below is a collection of the final result from the refurbishment of this Powerplay Cruiser joystick. Hope you like it! Click to enlarge!






Banner picture credits: Steveinuk99
