
Prof Competition
Starting point
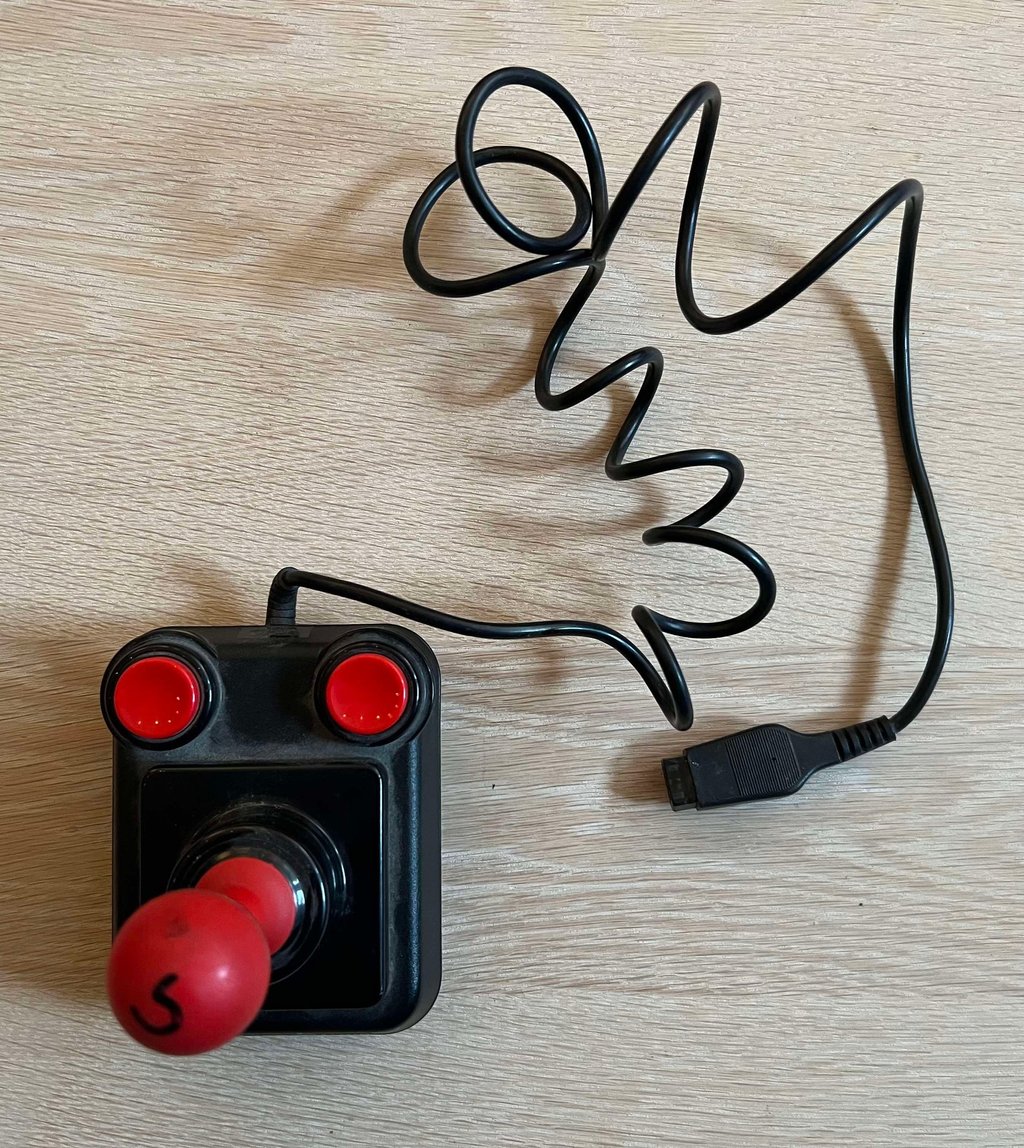
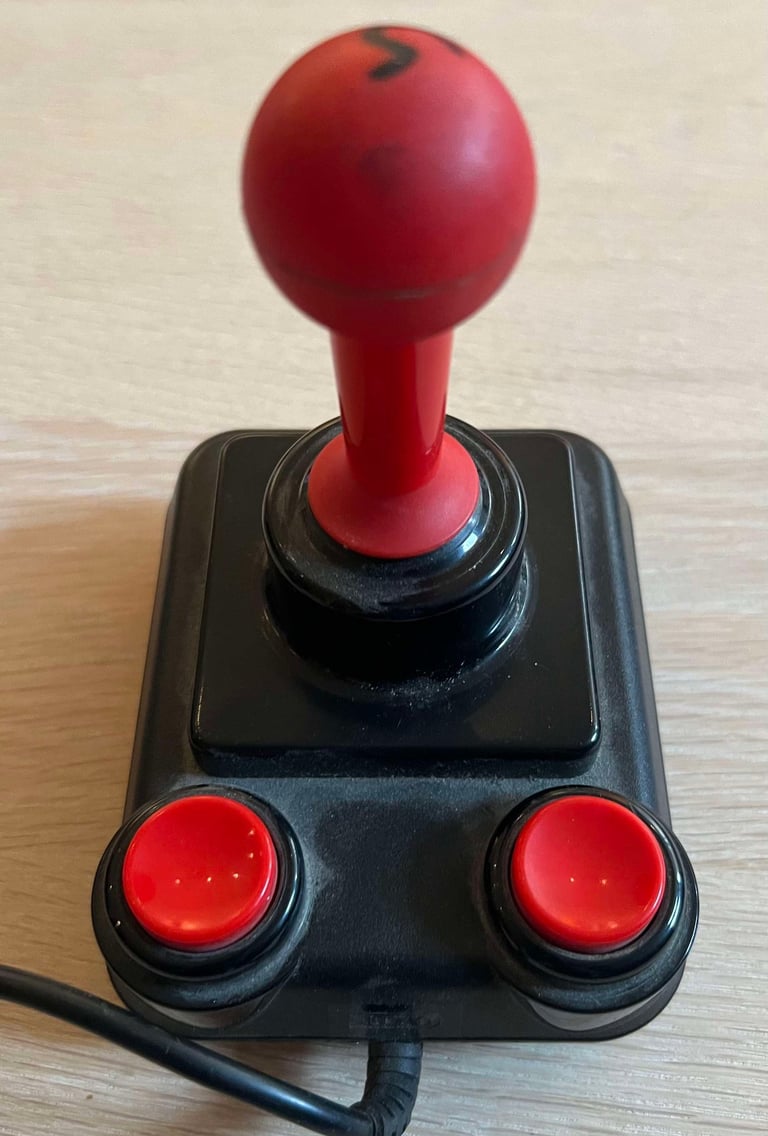
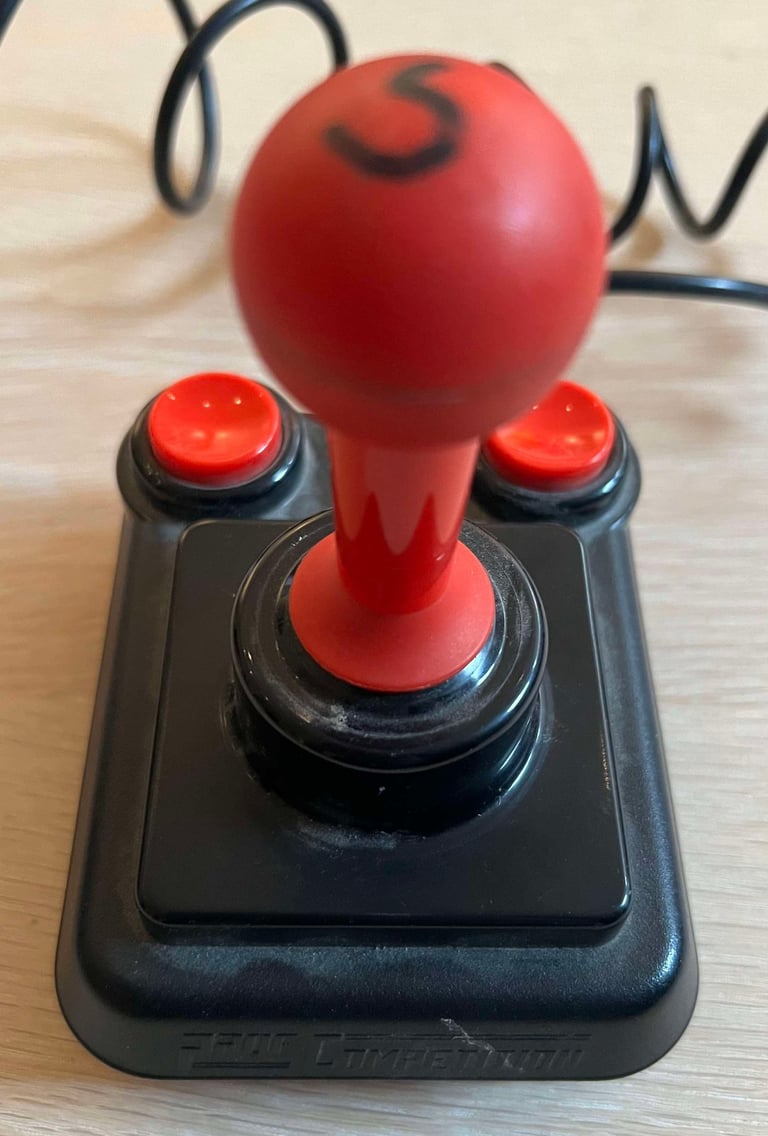
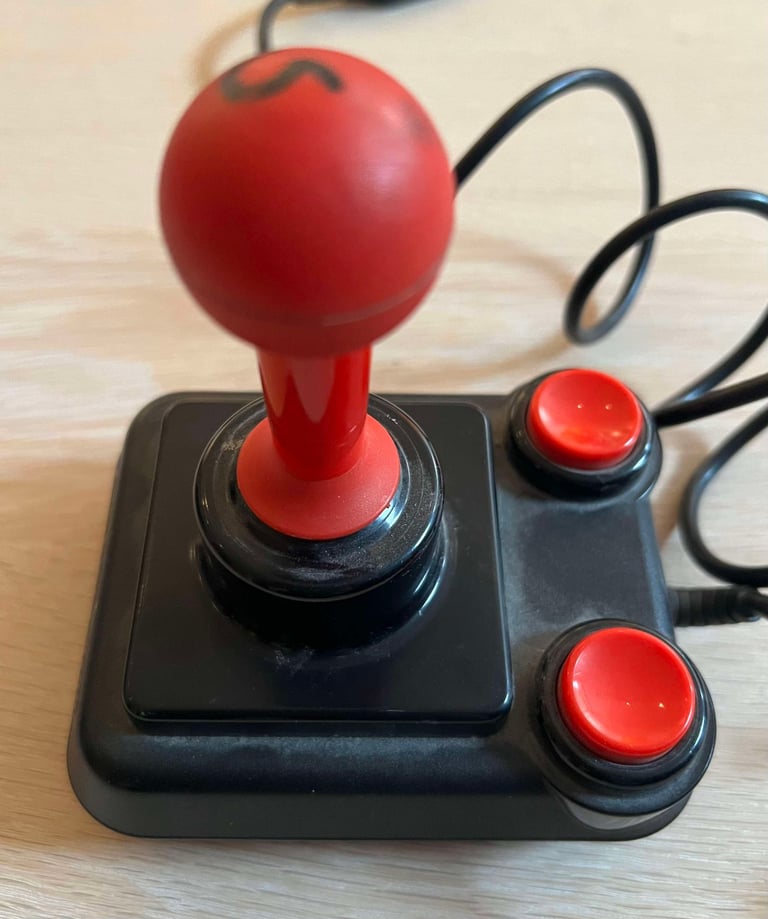
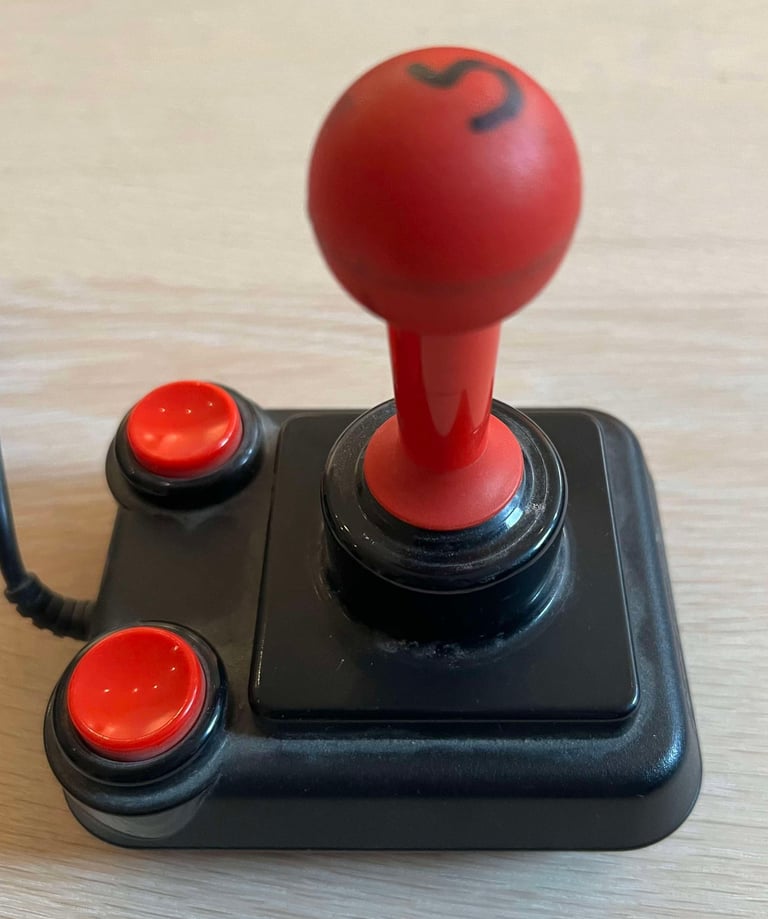
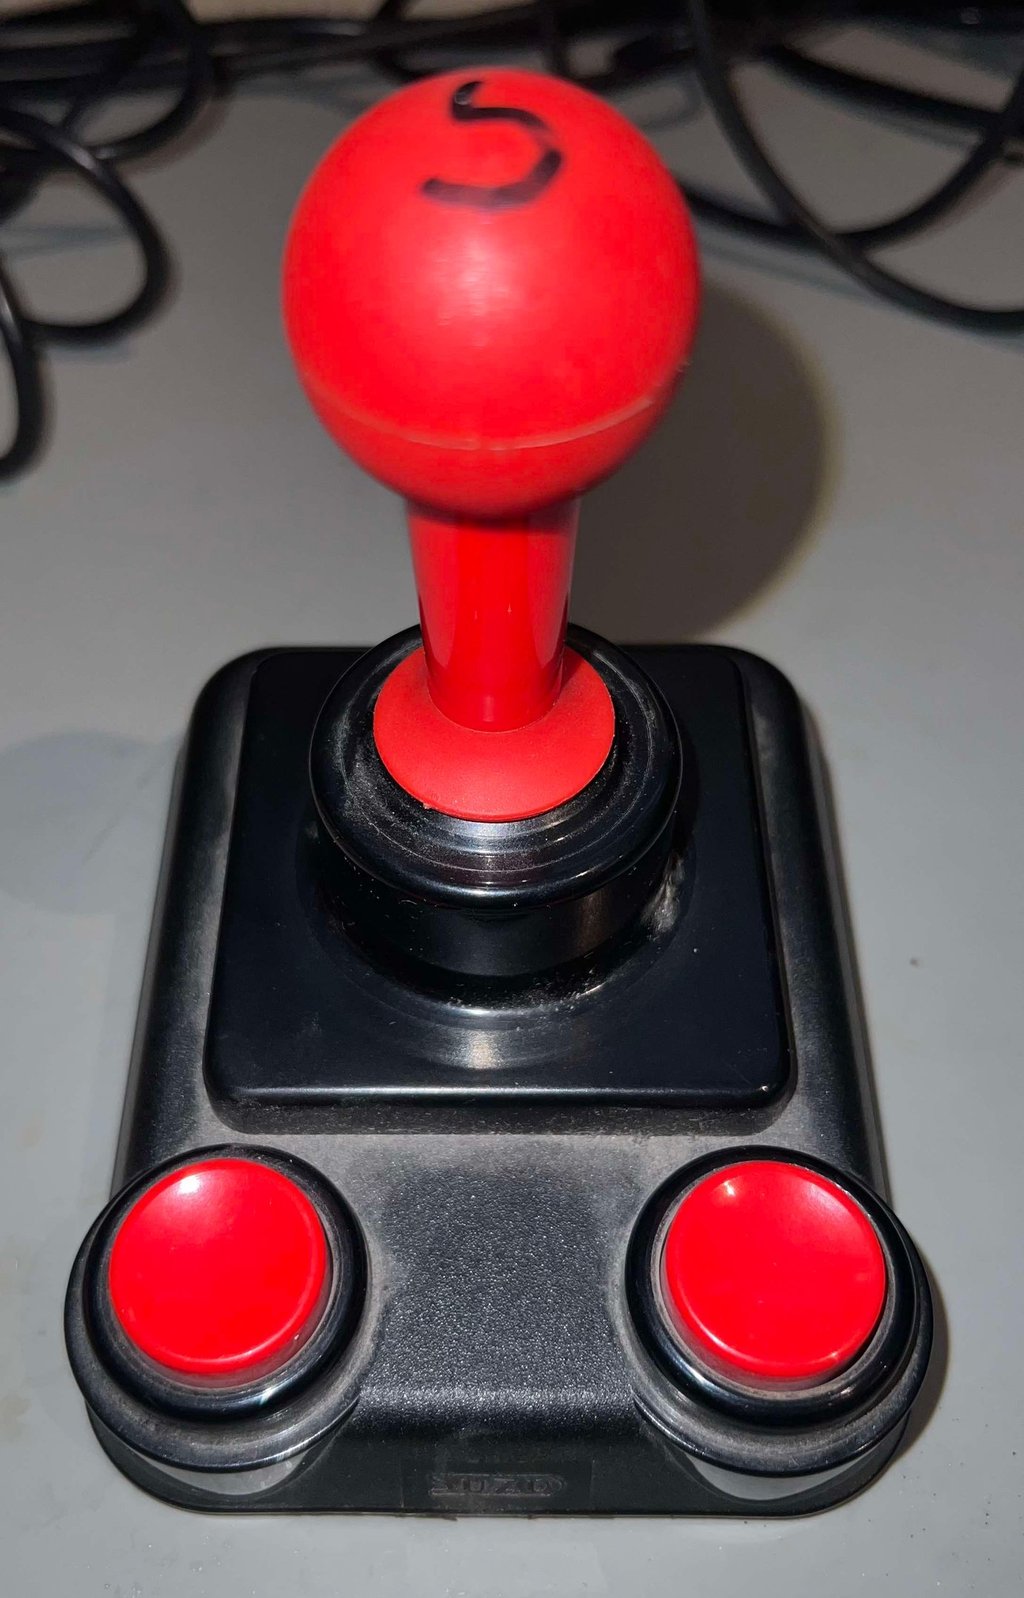
This Prof Competition joystick from Suzo International is... VERY DIRTY. It is literally covered in dust and grease. The pictures does not do it justice: it is worse than it looks.
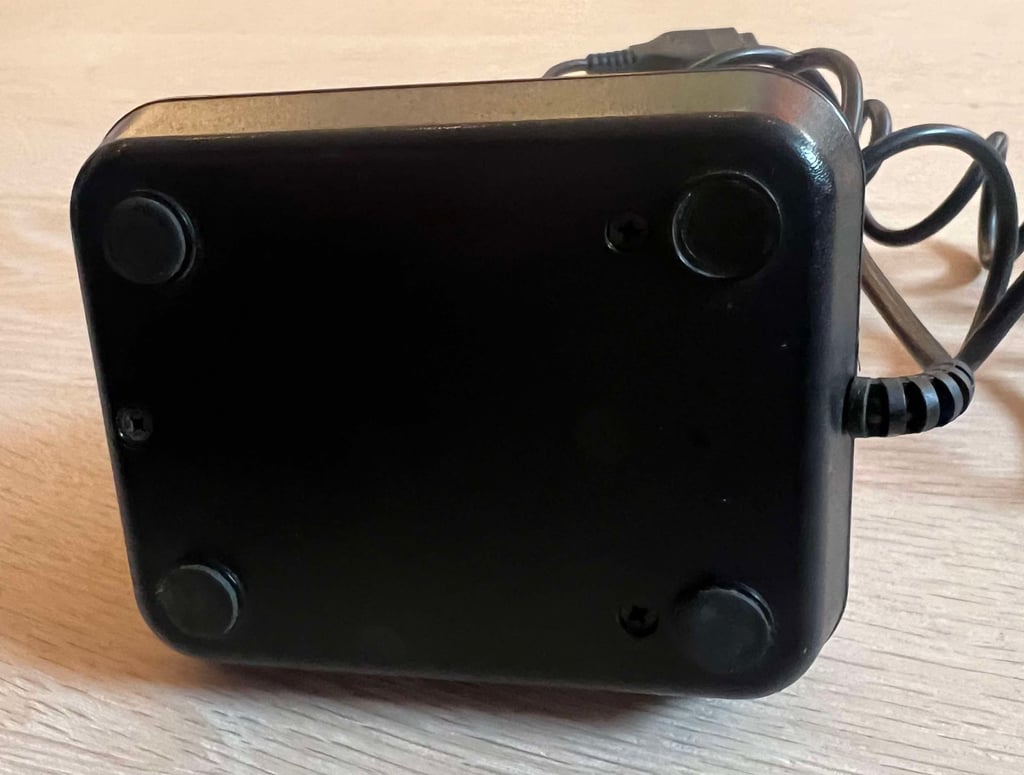
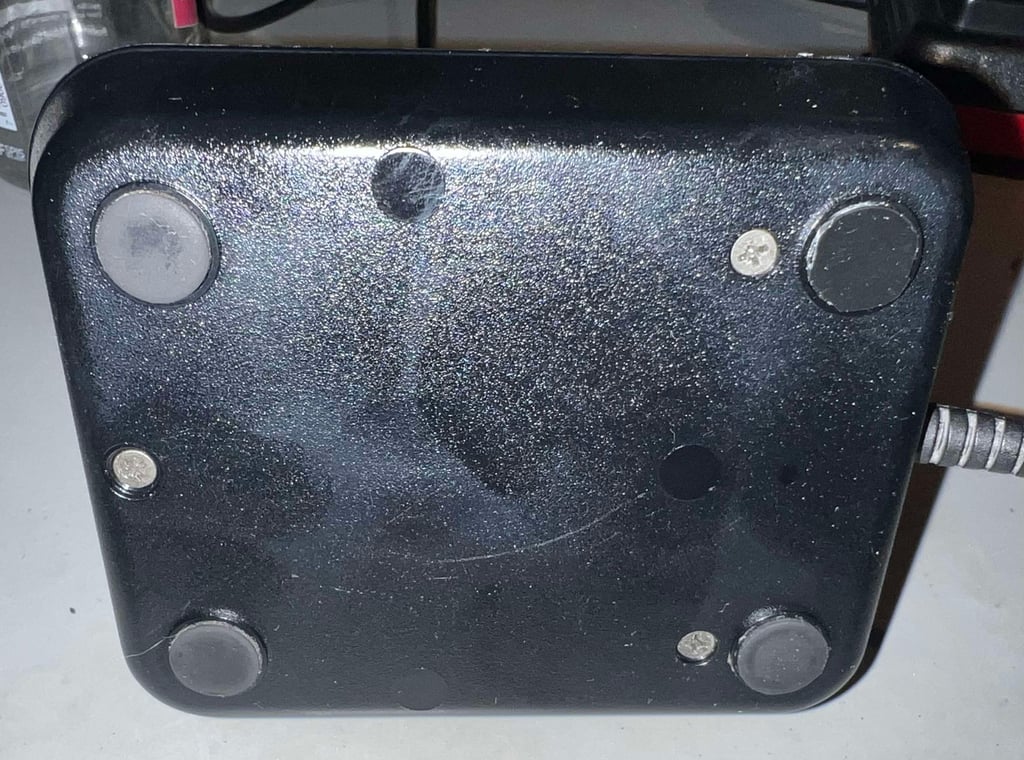
Aside of the dust and grease there are some other thing to notice also. There is a "S" (?) sign made by some permanent marker I think. On the bottom cover one of the rubber feet are missing.
On the bright side the joystick shaft can be rotated in all four directions (RIGHT/LEFT/UP/DOWN), and the sound of the microswitches is nice and "clicky". Both the fire buttons appear to be in fine mechanical condition. The cable, and DB9 connector, seems to be in fine condition.






Refurbishment plan
To refurbish this Competition Pro joystick the plan is to do this by:
Cleaning the exterior casing
Check (and potentially repair) the interior electronics, switches and mechanics
Check cable and check cable connectivity
Verify operation by testing
Disassembly
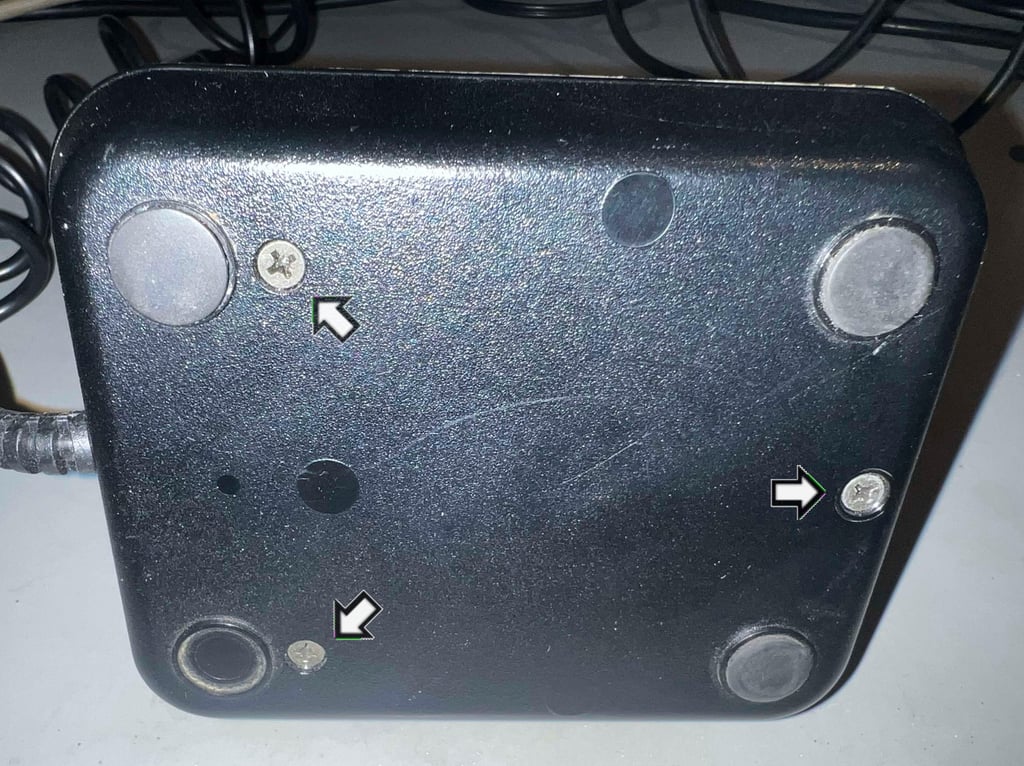
To start the disassembly the three screws at the bottom are removed. These screws have the dimension 3 mm x 20 mm (the screws are conical and size measured from tip to top of screw head).

The top cover is lifted away from the bottom, and the interior is revealed. The smell that can be scented is very special; its like opening a very VERY old box. It actually smells old. But the interior looks to be in very fine condition. Only some dust, but it appears to be in fine condition otherwise.
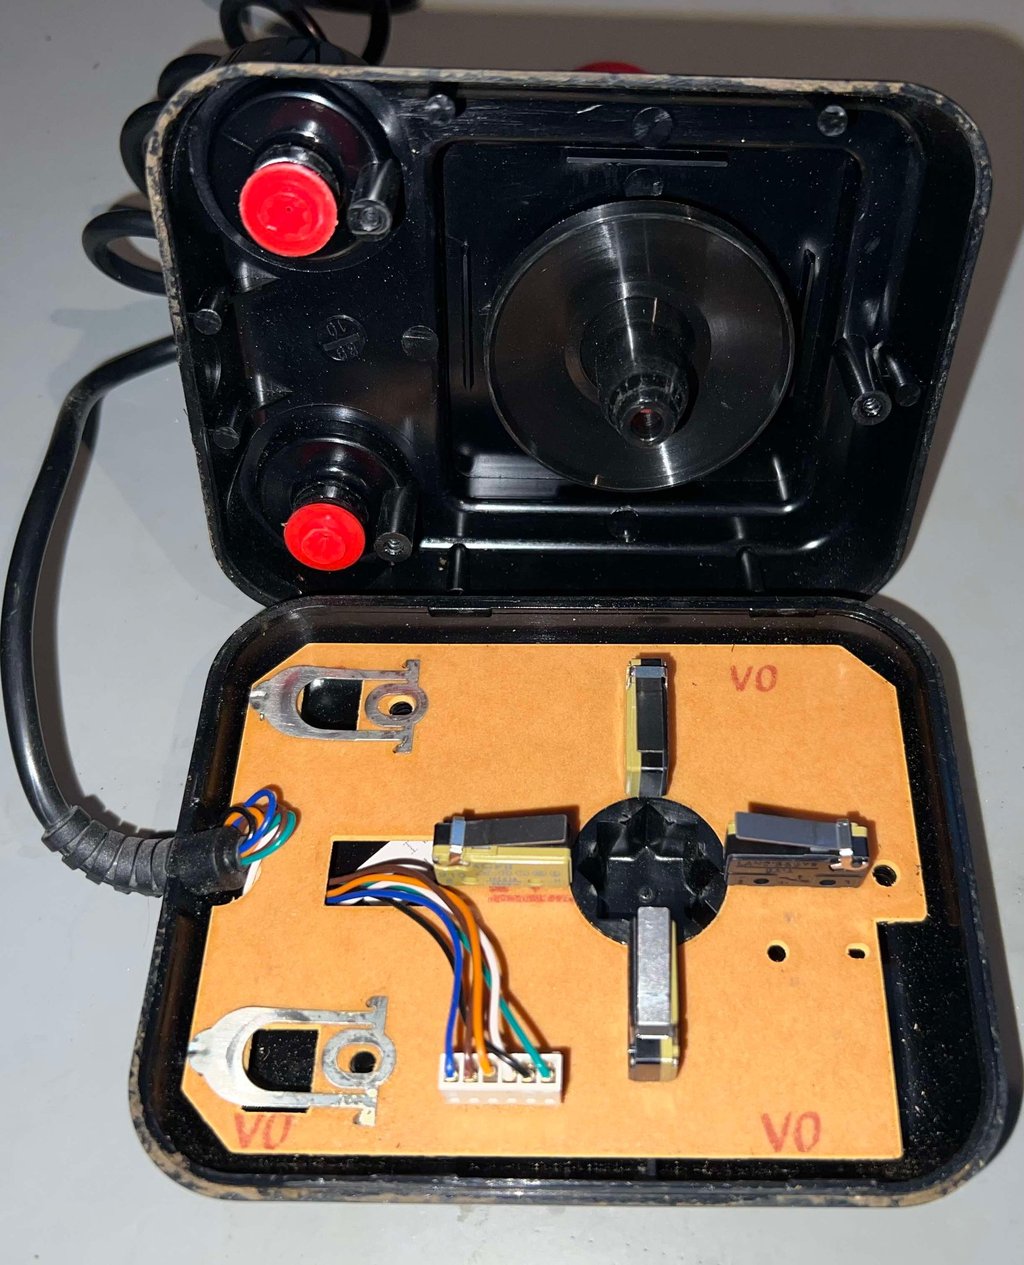

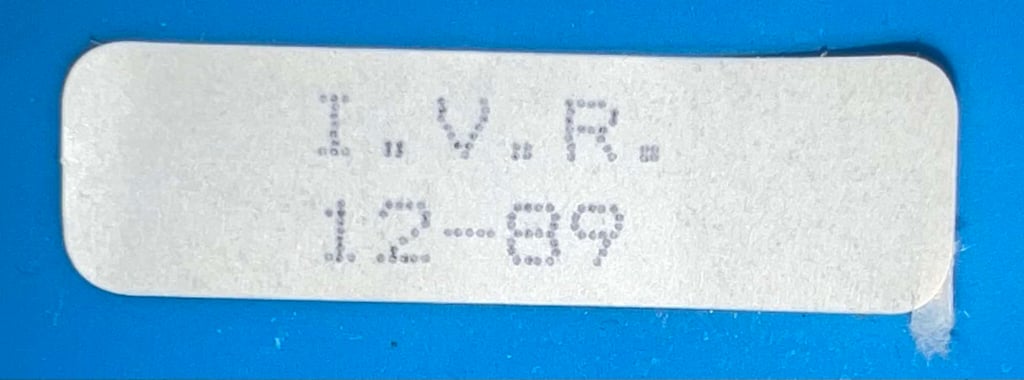
Removing the PCBA is trivial since it is just floating inside the bottom cover. It is simply lifted straight out. Now the bottom cover is revealed and now a very nice sticker appear saying "I.V.R. 12-89". What this means I can not say for sure, but I think it is likely to assume that 12-89 is referring to December 1989. And could "I.V.R." be the initials of the person assembling it? Or the name of the team/department/factory? Perhaps Santa Clause picked up this joystick in the Netherlands just in time before Christmas Eve?
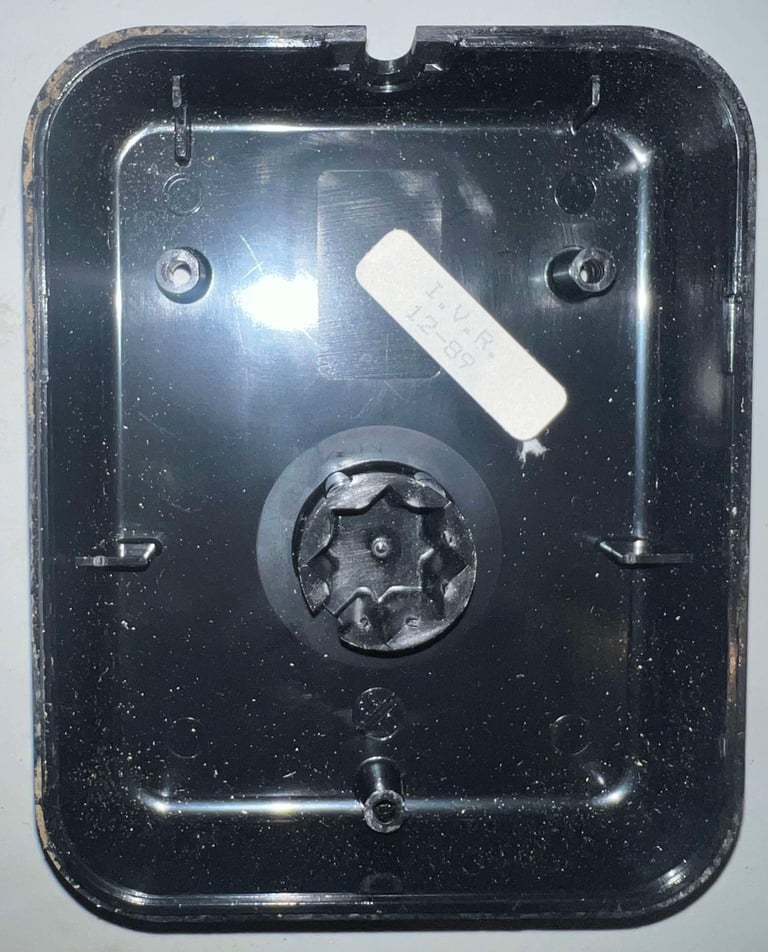

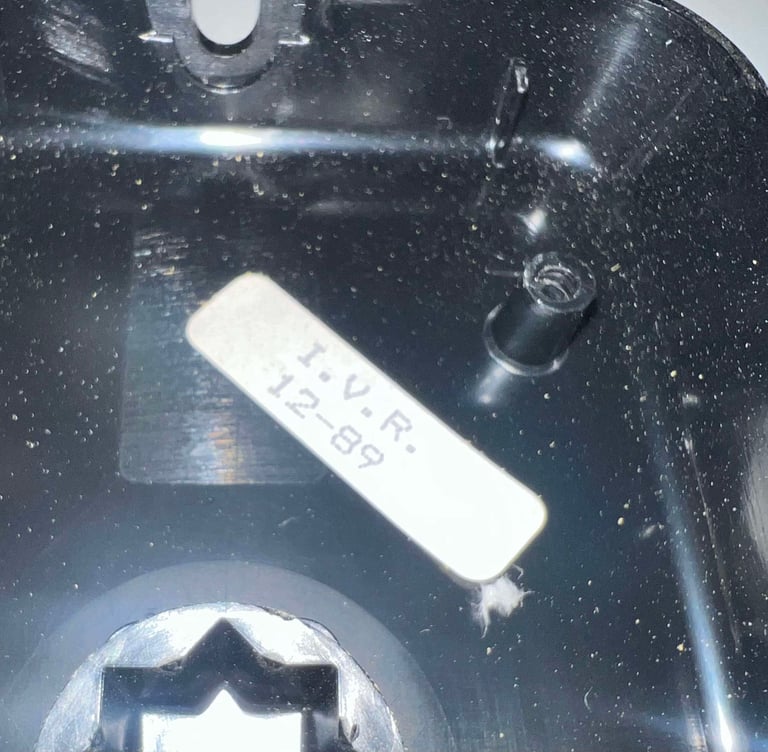

This is where the disassembly will stop for now. Unless the cleaning require it the shaft and fire buttons will not be disassembled to reduce the risk of damage.

Exterior casing and plastic parts
All the parts are placed in mild soap water for about 24 hours. This will hopefully remove the enormous amount of dust and grease.
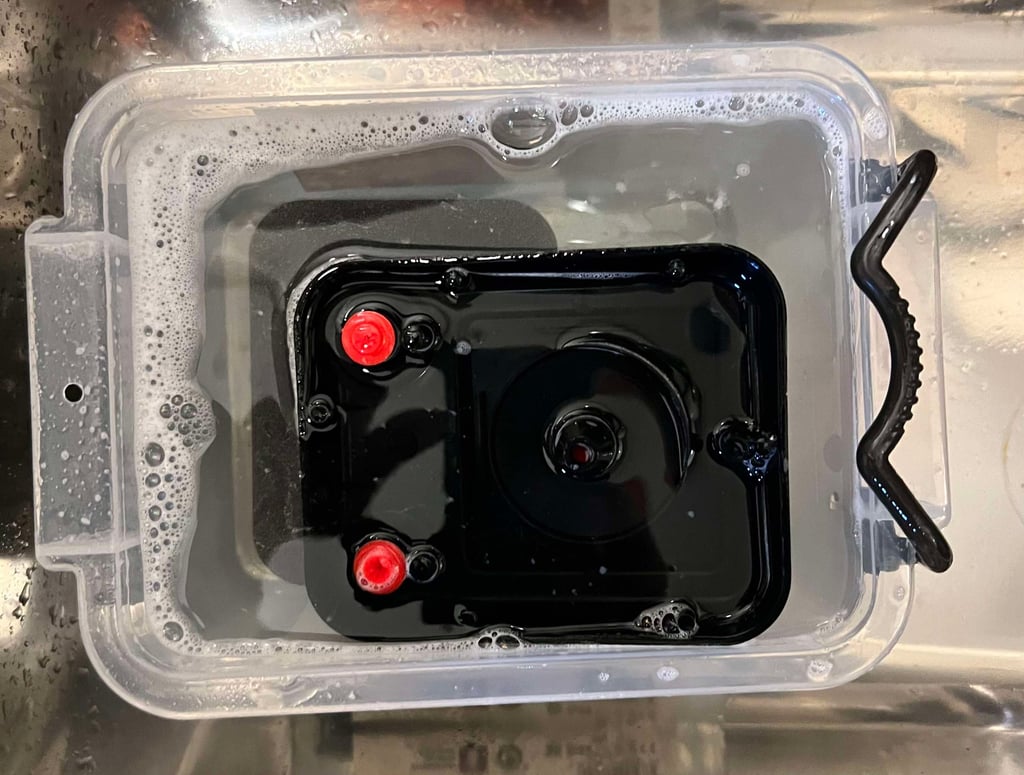

Before the parts were soaked in water the nice little quality mark was removed. To remove the sticker some hot air from a hair dryer is applied while carefully removing the sticker with a pair of precision tweezers.

About halfway through the bathing I notice that I have to disassemble the shaft further. The ball on top of the shaft consist of to halves. And the line which in the two halves are split is very dirty, but the water does not seem to be able to penetrate it. So I don´t see any other choice than to disassemble the shaft. Note that for the fire buttons they will not be disassembled any further. The water seems to penetrate just fine for these.
To disassemble the joystick shaft ball some spudgers are pried between the two halves. See picture below.
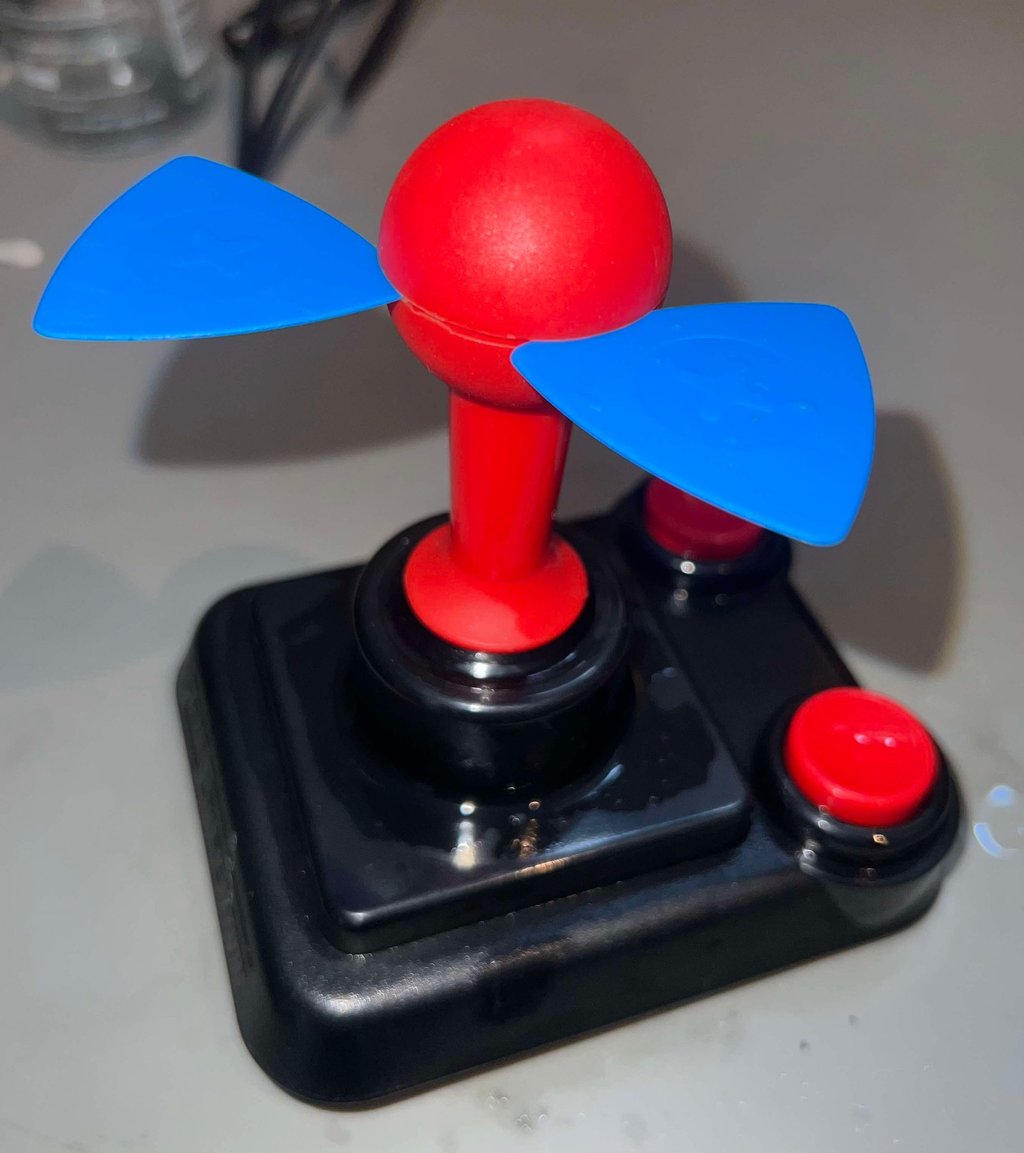

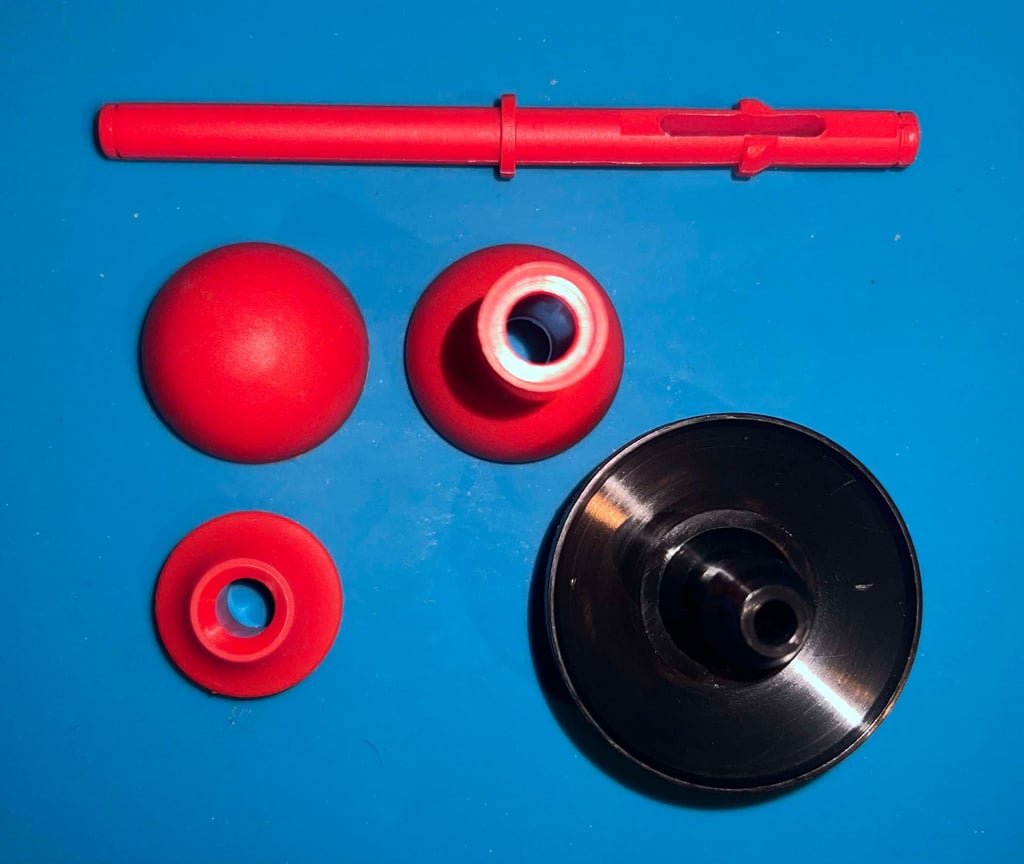
Note also that during this step in the cleaning process the permanent marker sign on the ball is removed with some isopropanol. It does seem to come off quite ok. With some careful prying and wiggling the top half of the ball come off. To disassemble the bottom half of the ball the two plastic lips are pushed together - and the ball is pulled away (this can be a bit fiddly).
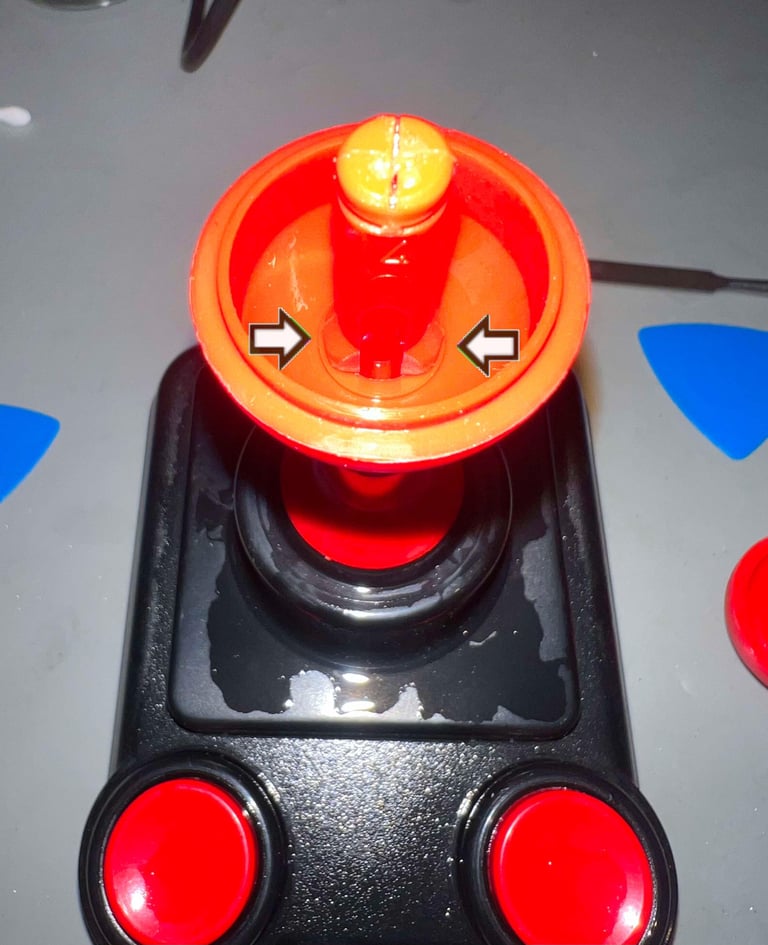

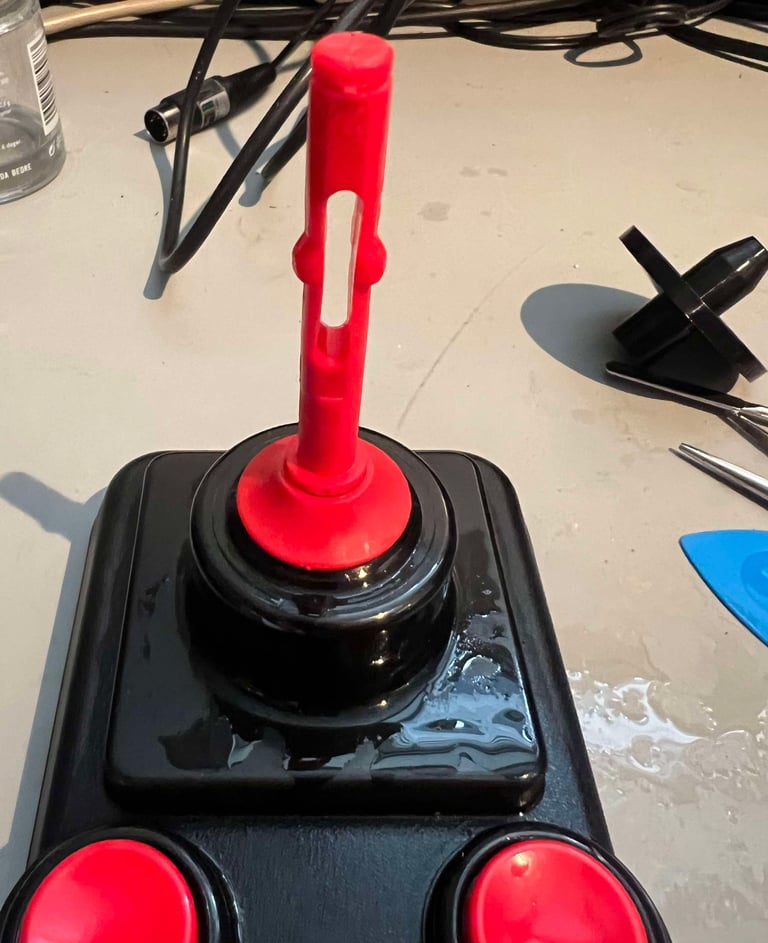

The newly disassembled parts are placed in the water bath with the rest (except for the large rubber collar - this is only cleaned with some mild soap water briefly).
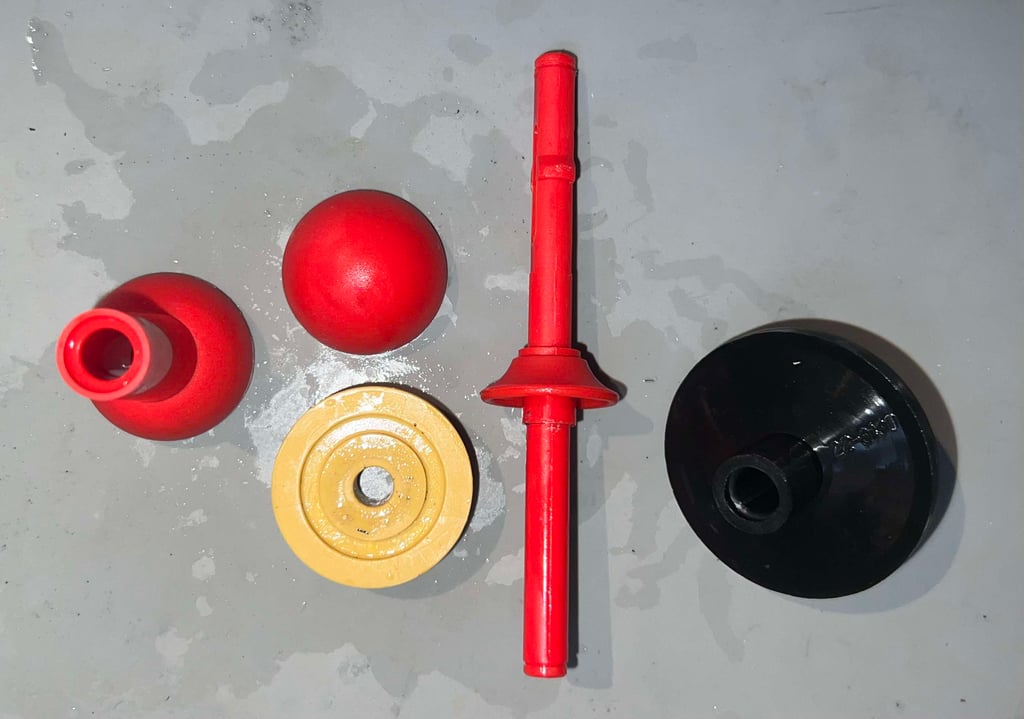

After several hours in water, and with plenty of isopropanol and time, the parts look very nice. Most of the stains are gone!
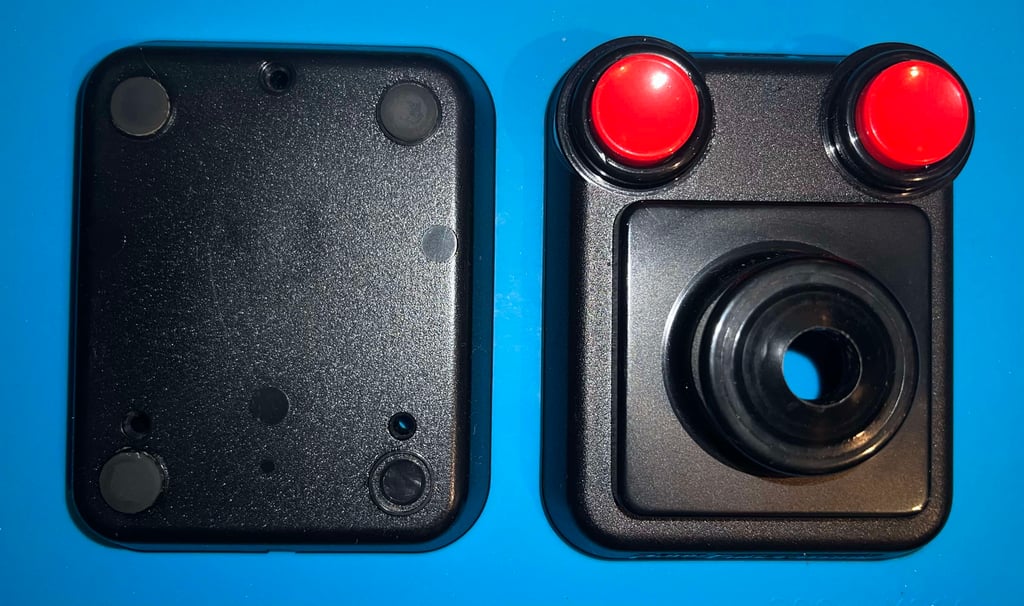


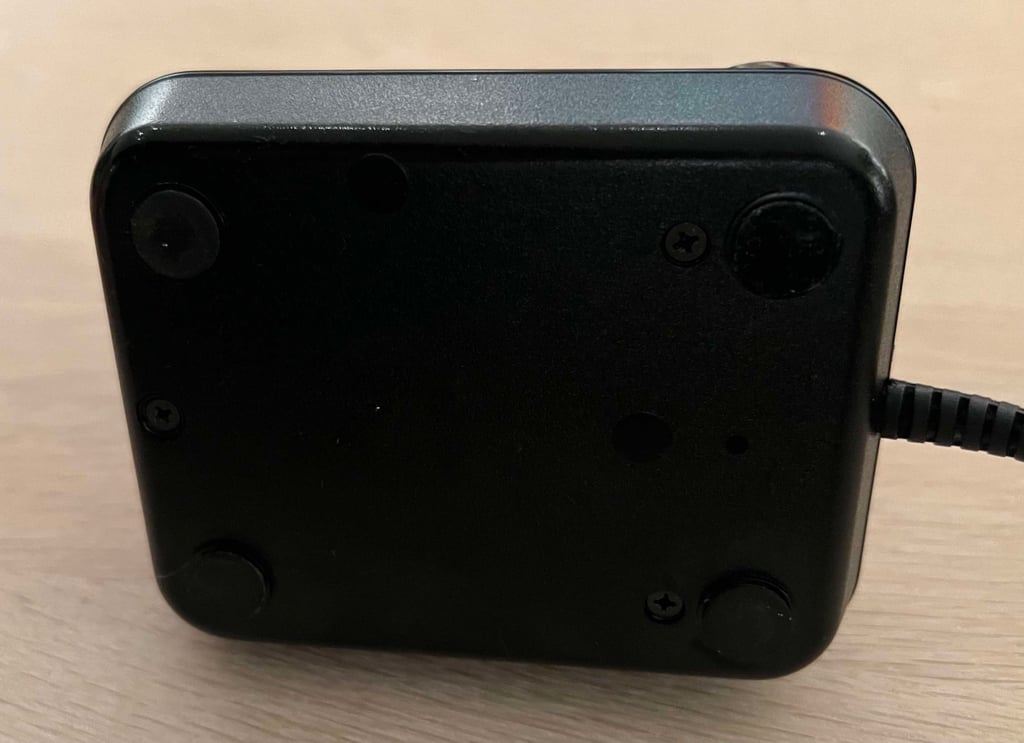
As previously mentioned there is one rubber feet missing. I do not have a spare which is identical, but I have a spare which I cut to fit. I think it looks quite ok.

Electronics and microswitches
The PCBs in the Suzo joystick are minimalistic, well designed and robust. This version is the "22-3120" S.T.C. Rotterdam, and is similar, but not identical to "22-3120A" PCB found in another Prof Competition joystick. Based on the theory that the stickers contains assembly month and year, the "22-3120" PCB is a later revision which would contain some improvements. And there are some changes, that are probably improvements: The 6-pin connector is moved away from the edge of the PCB (a bit more to the centre) and the ground traces are routed differently. The PCBA contains two leaf switches for the FIRE function, and four microswitches for the directions RIGHT/LEFT/UP/DOWN.
In stark contrast to the exterior which is extremely filthy, the PCBA is very clean. Of course, there are some dust and grease but it is not significant. The backside of PCBA is covered with some sticky material. I would assume that this is flux residue. Nothing to worry about, but should be removed. Below are some pictures of the PCBA before refurbish.
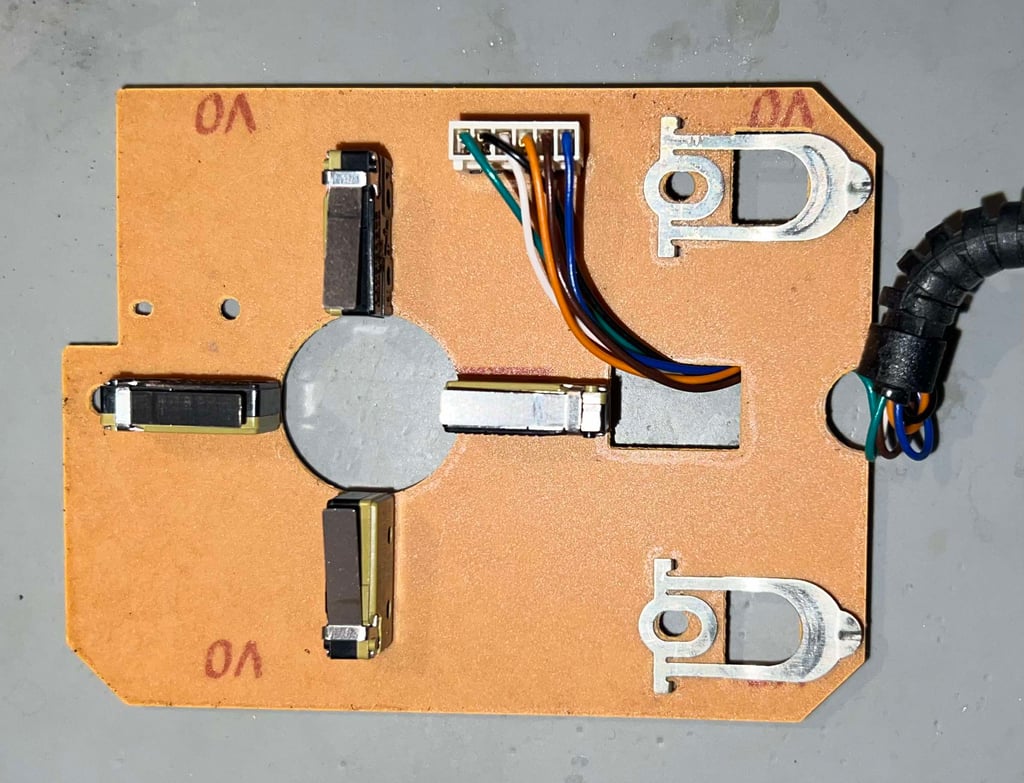

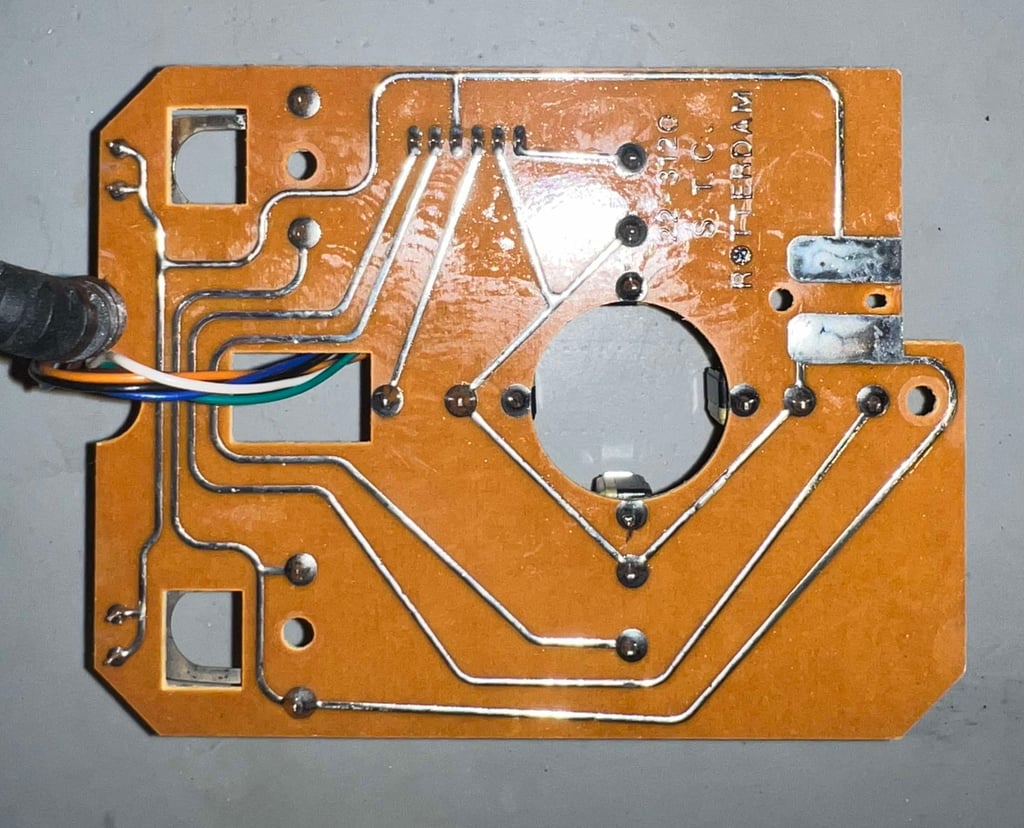

Before the PCBA is cleaned the 6-pin connector is removed. Cleaning the PCBA is done by using isopropanol and a tooth brush - and eventually dried with a clean microfibre cloth. The leaf switches are first rubbed carefully with some fine sandpaper and rinsed with contact cleaner. The microswitches are sprayed with contact cleaner ant then "massaged" by pressing the lever repeatedly on each microswitch.
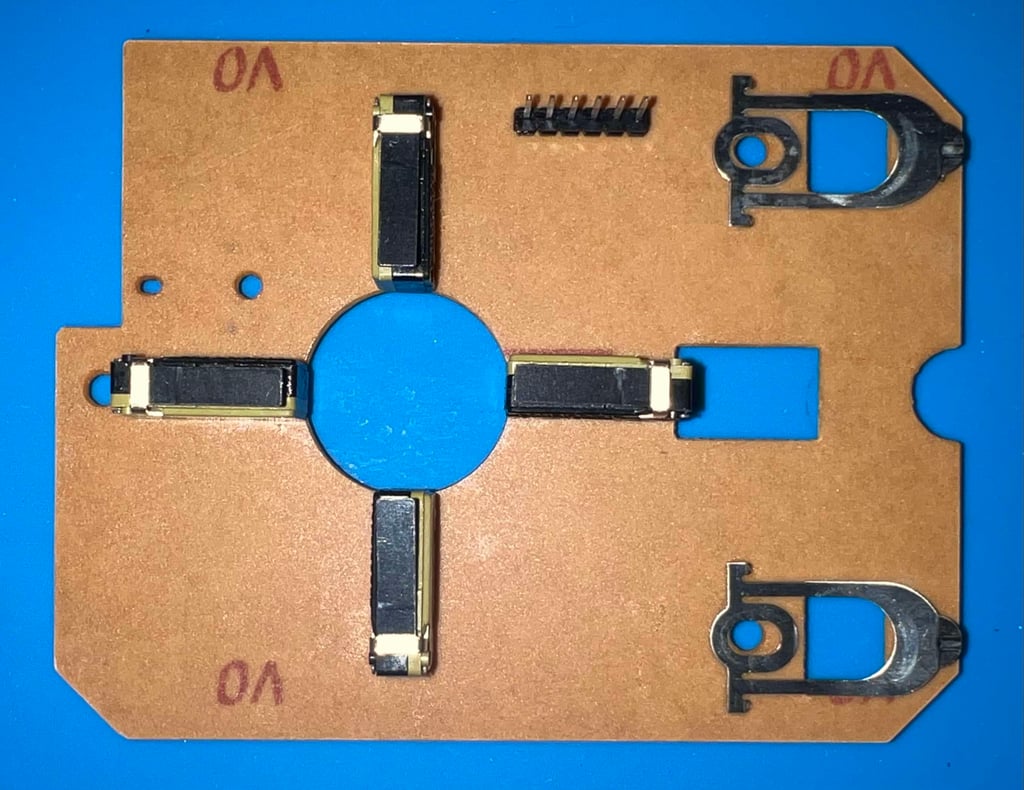

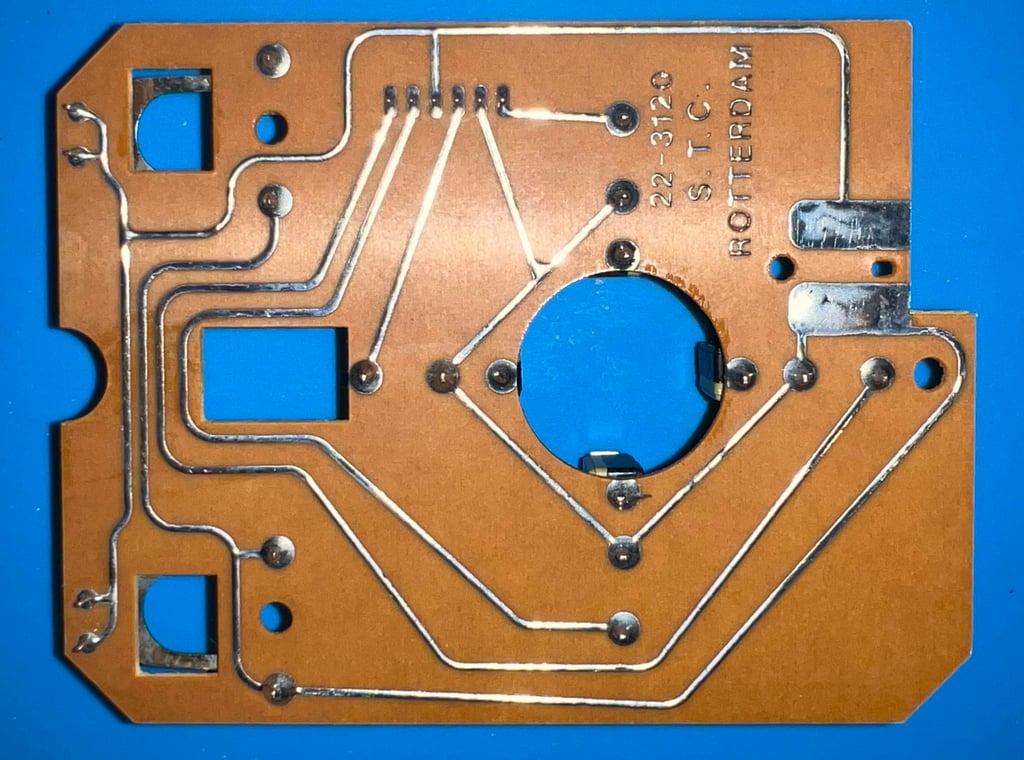

The microswitches are from Landis & Gyr / SAIA and marked "XCF8". Notice that these microswitches are "micro" in the right sense. Compared to other microswitches found in joysticks such as Zipstik and Competition Pro the microswitches in these Suzo joystick measures only 20 x 6.5 x 10 mm (casing size).
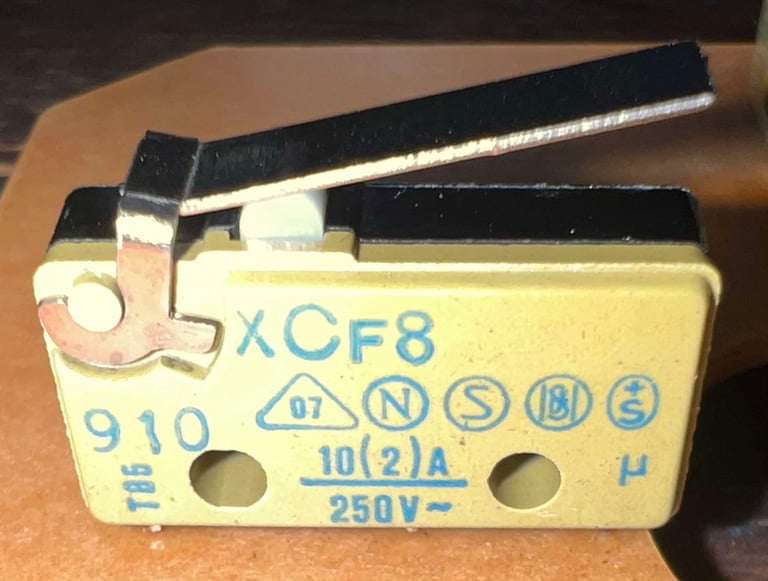

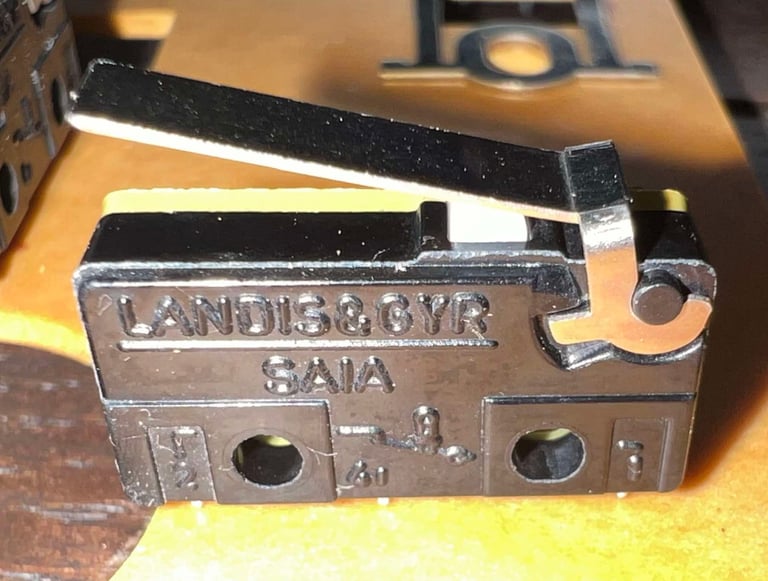

The cable and connector is fine condition. Nevertheless, the connectors are cleaned properly with contact cleaner and some isopropanol.
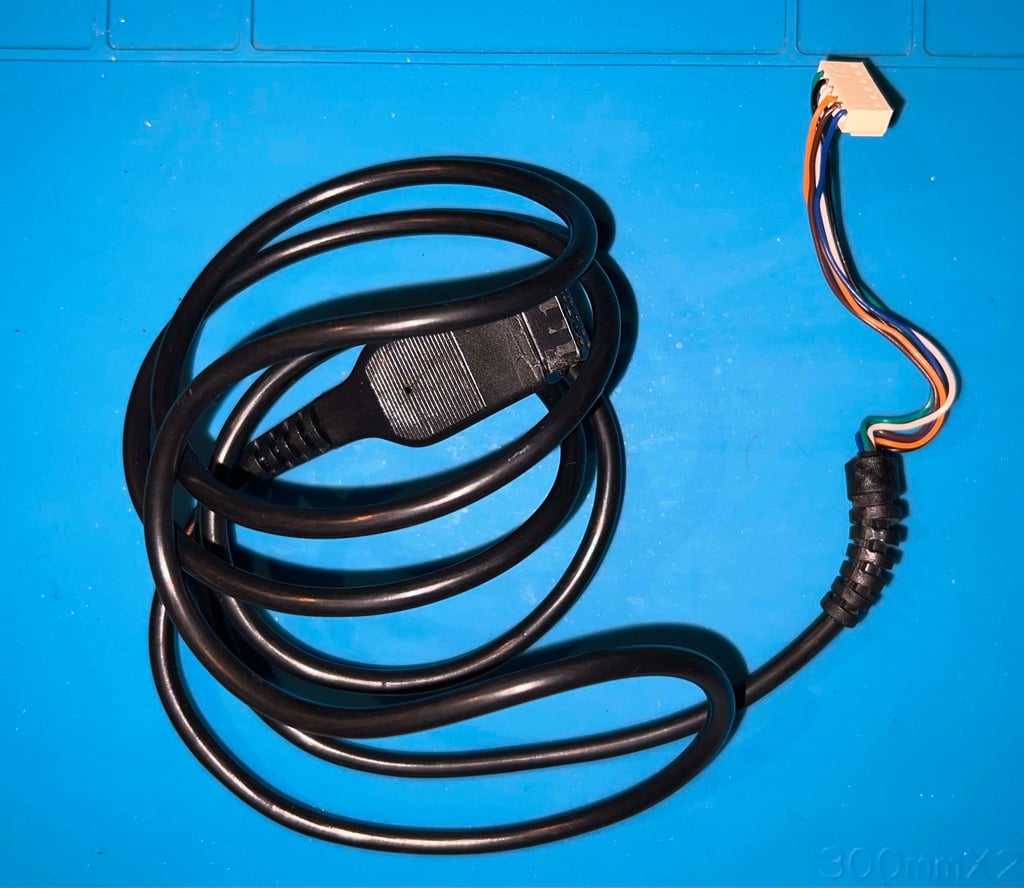

When everything is cleaned the PCB and cable is reconnected. With a multimeter in diode continuity mode all connections are tested ok.
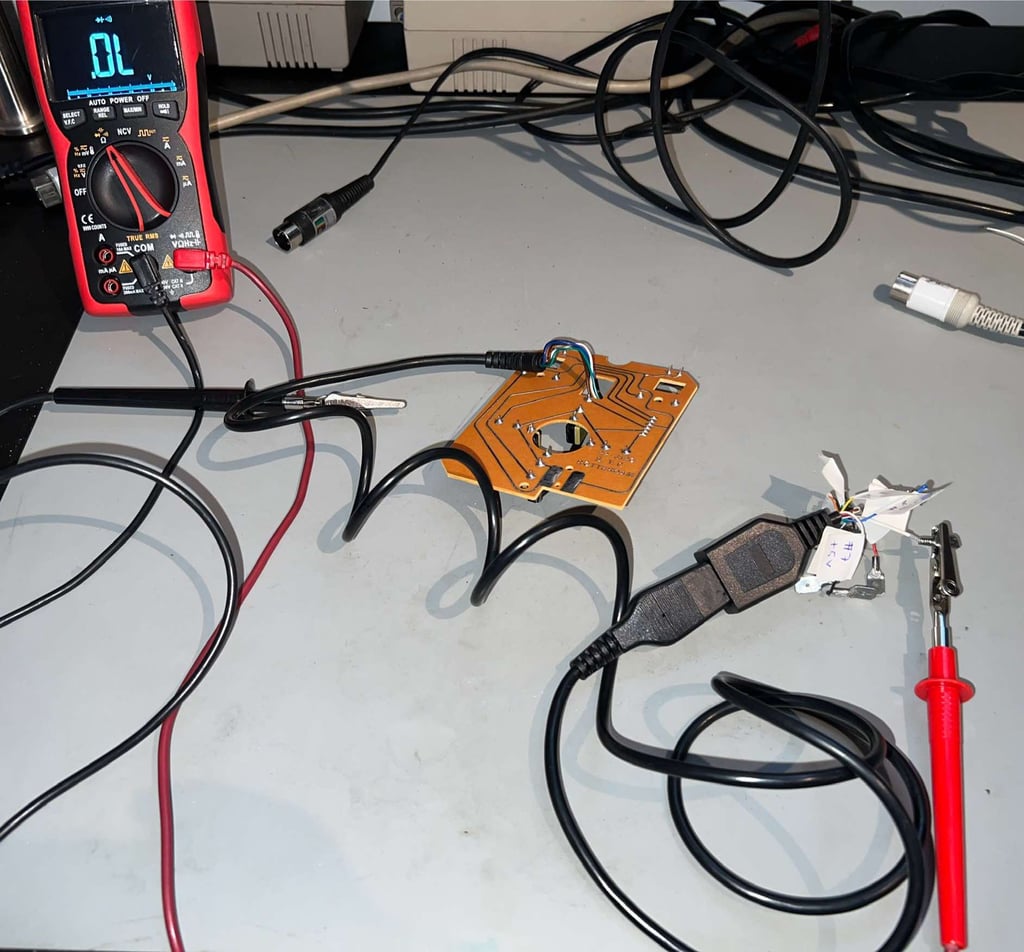

Testing
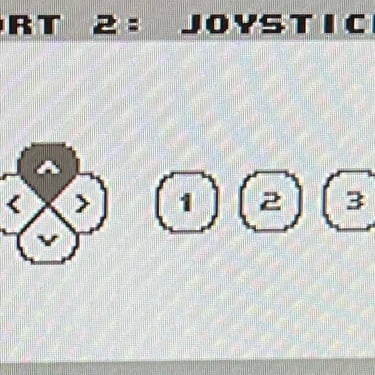
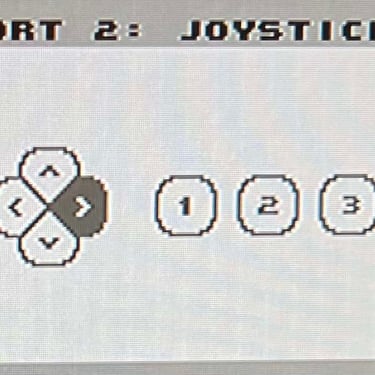
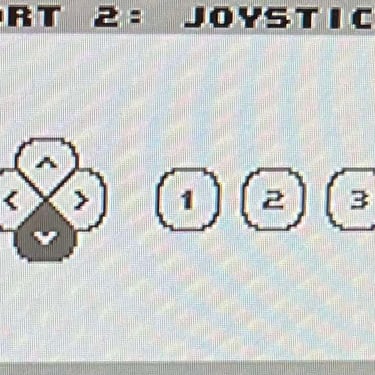
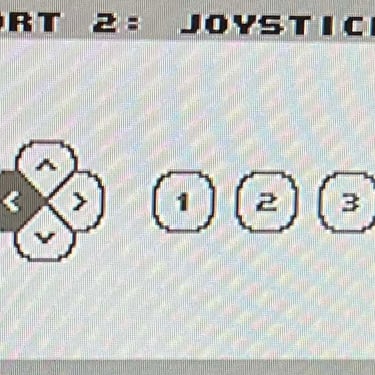
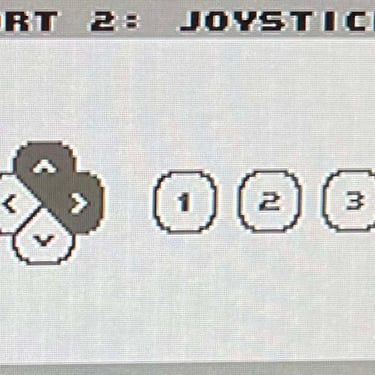
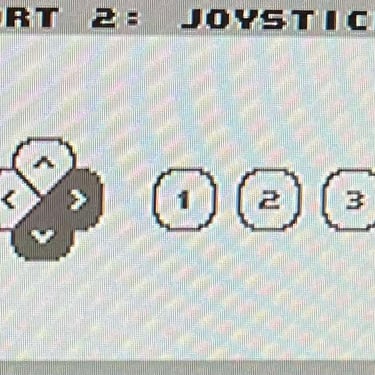
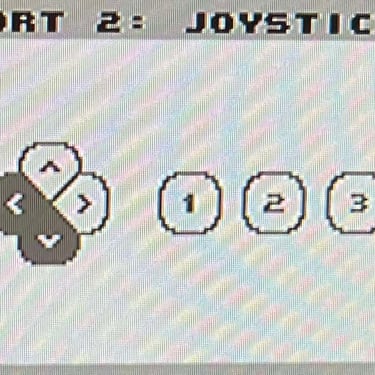
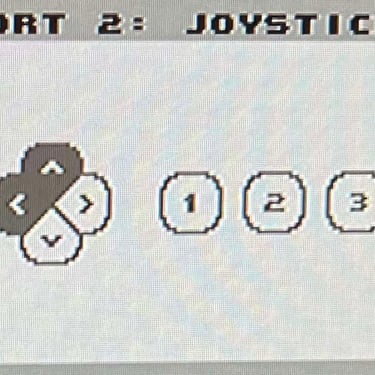
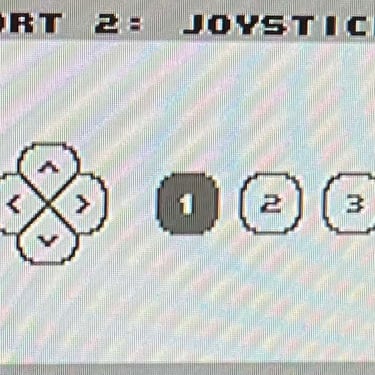
To verify that the joystick work as it should I check it with the Joyride software. Result is that all directions and fire buttons works fine works as expected (click to enlarge). All tests pass.
Final result
"A picture worth a thousand words"
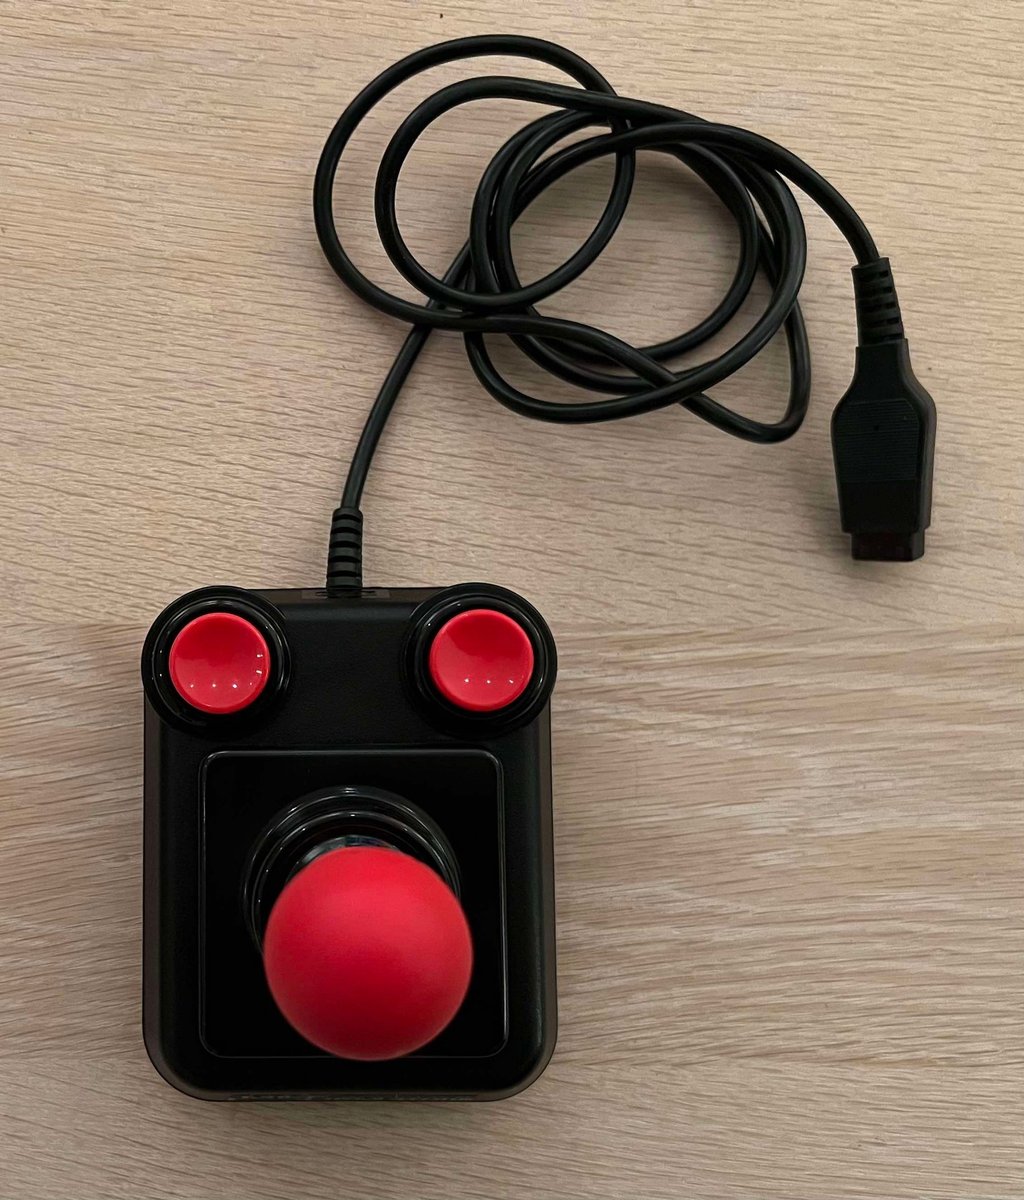
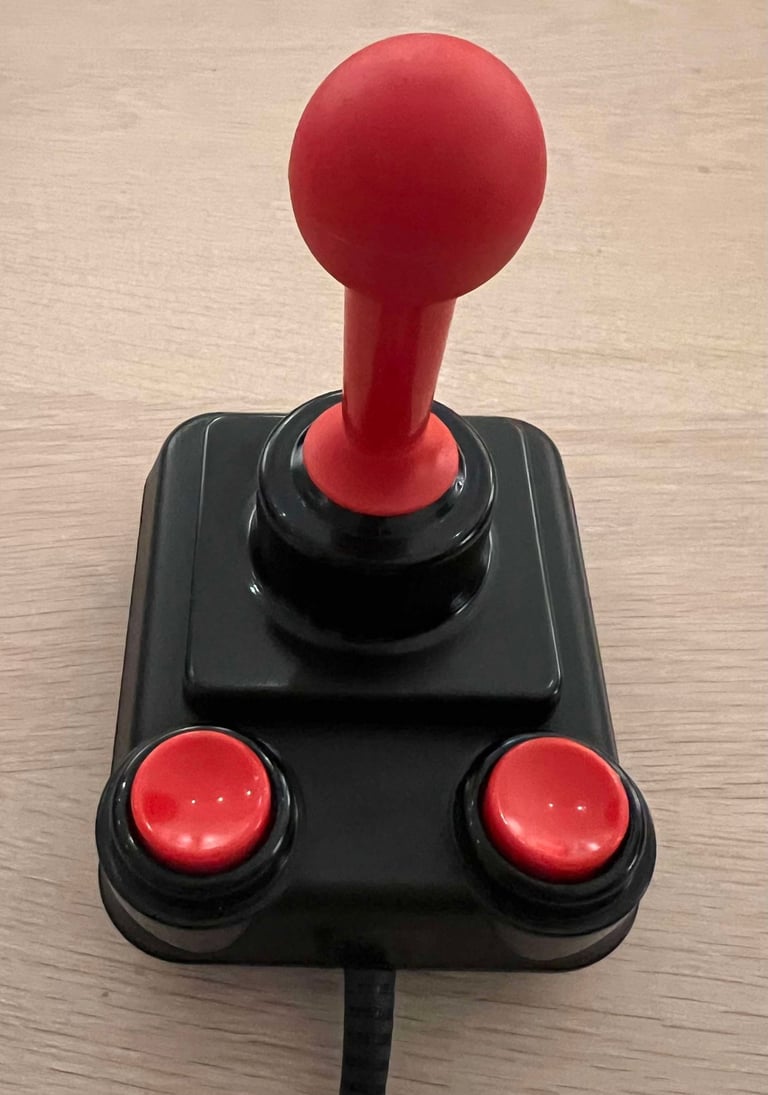
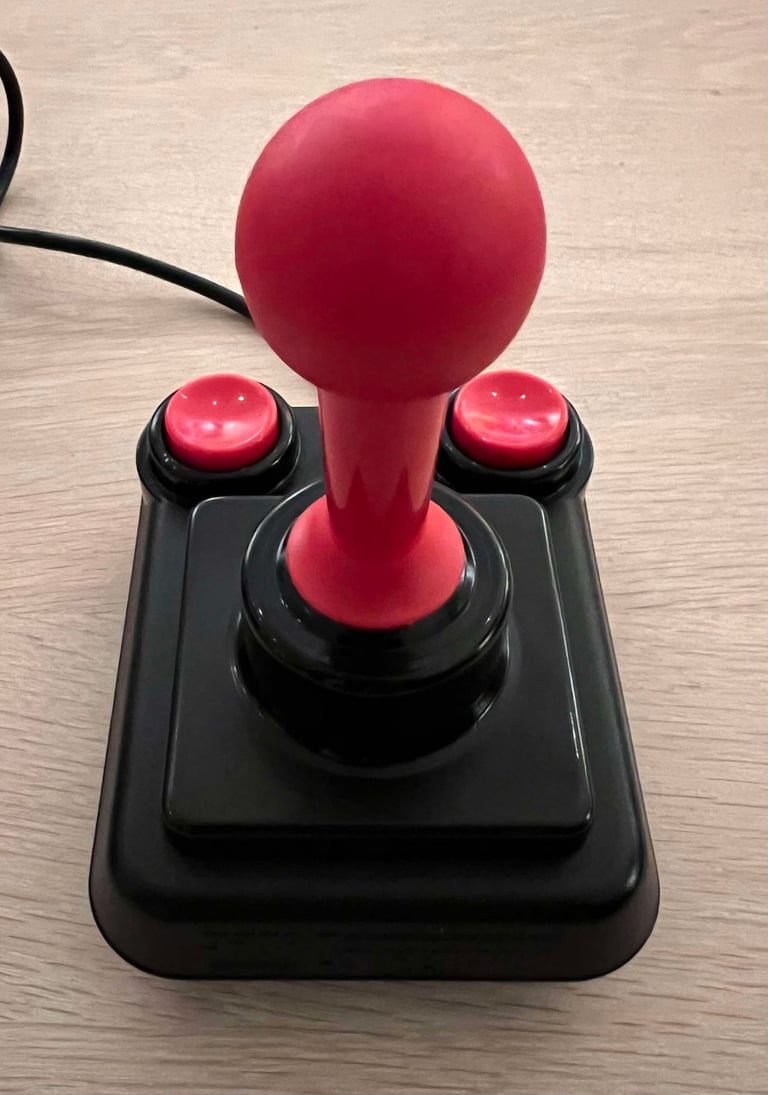
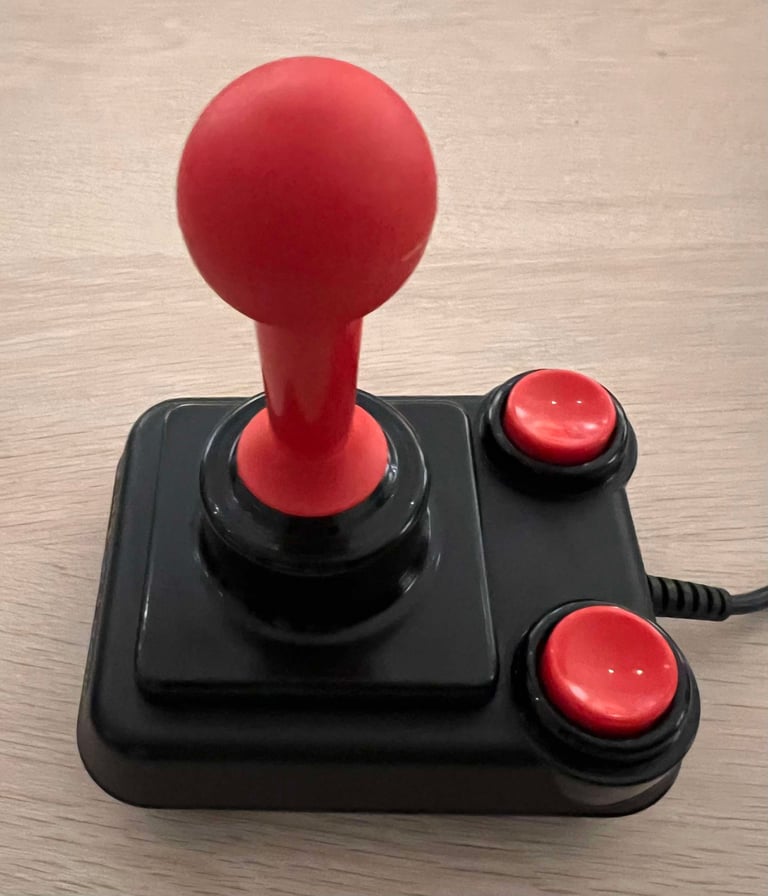
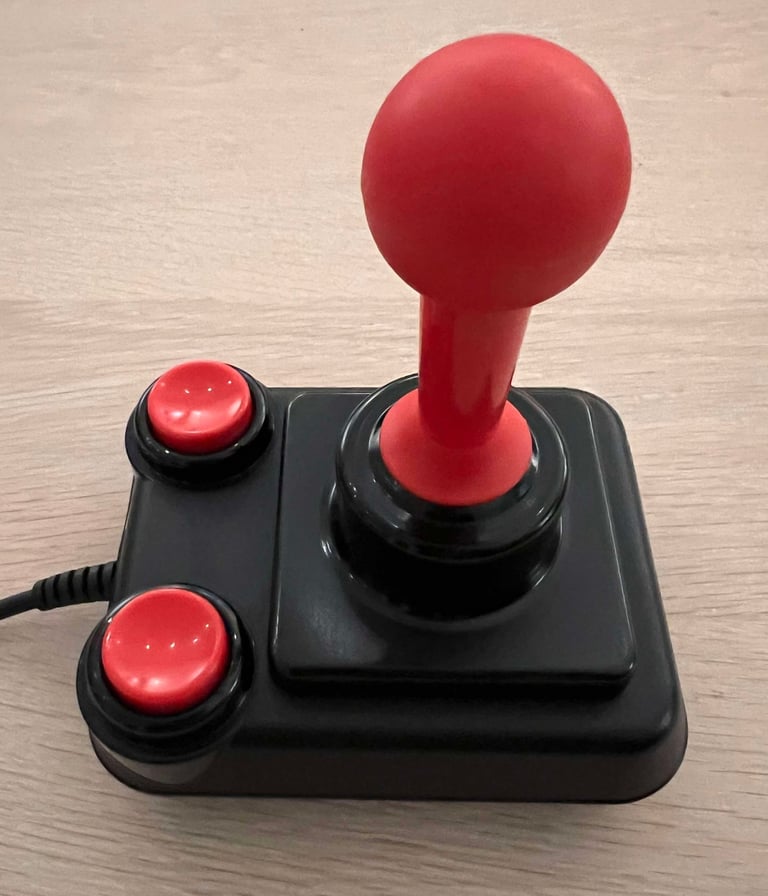
Below is a collection of the final result from the refurbishment of this Prof Competition joystick. Hope you like it! Click to enlarge!






Banner picture credits: Kshade
