
Zipstik
Starting point
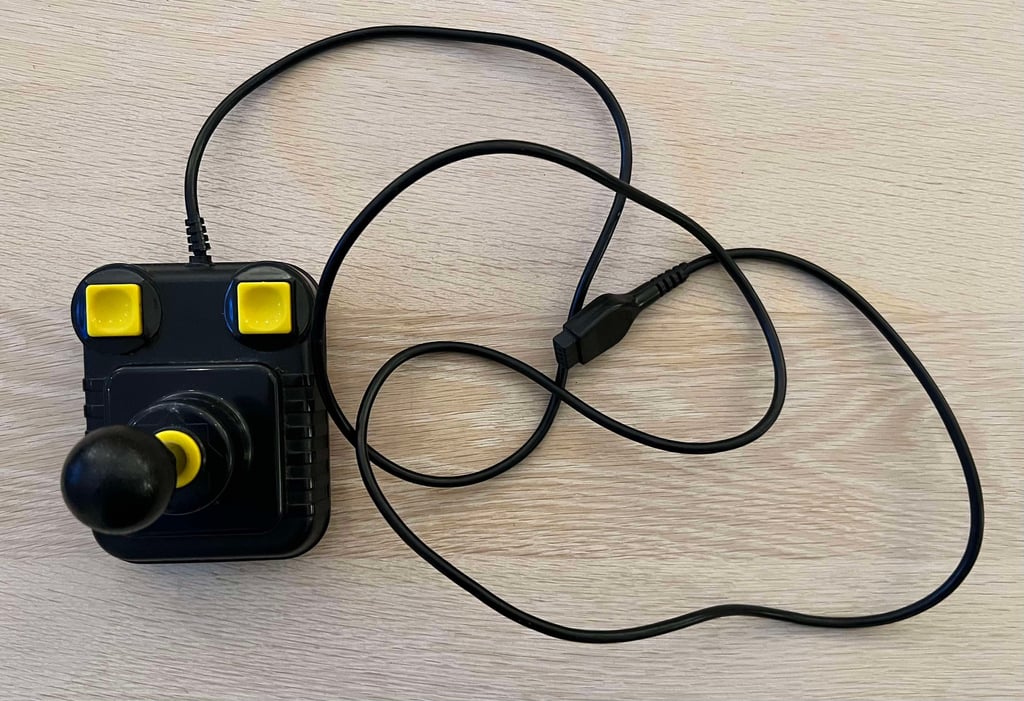
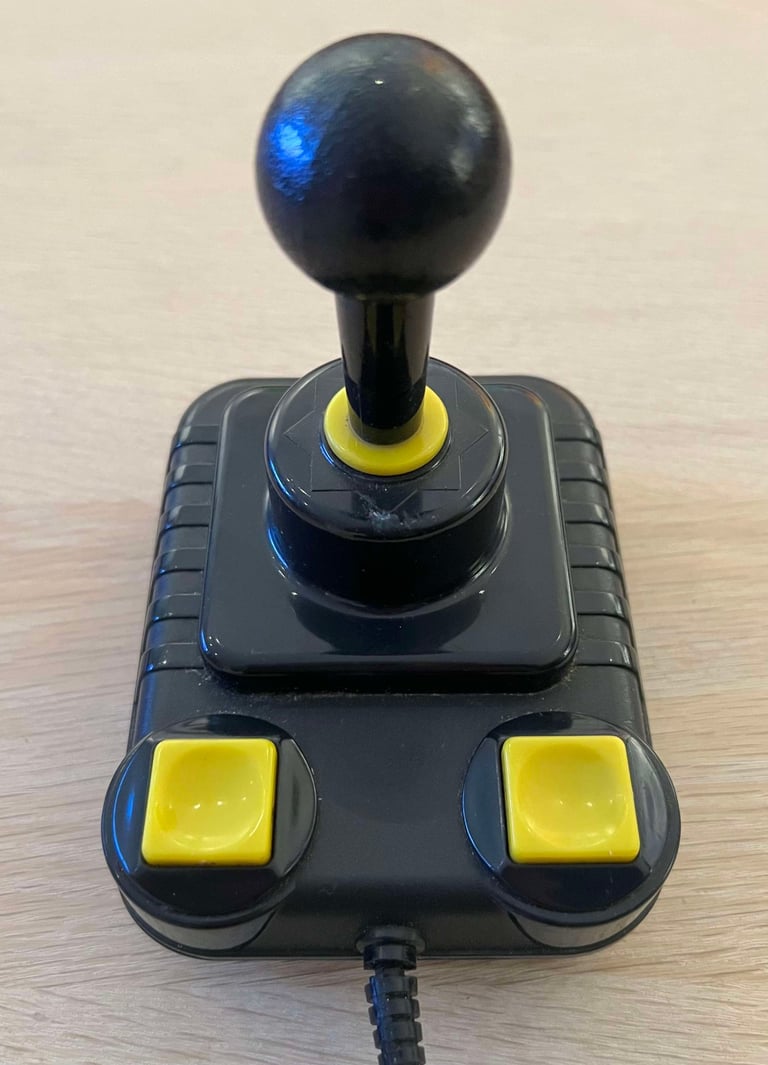
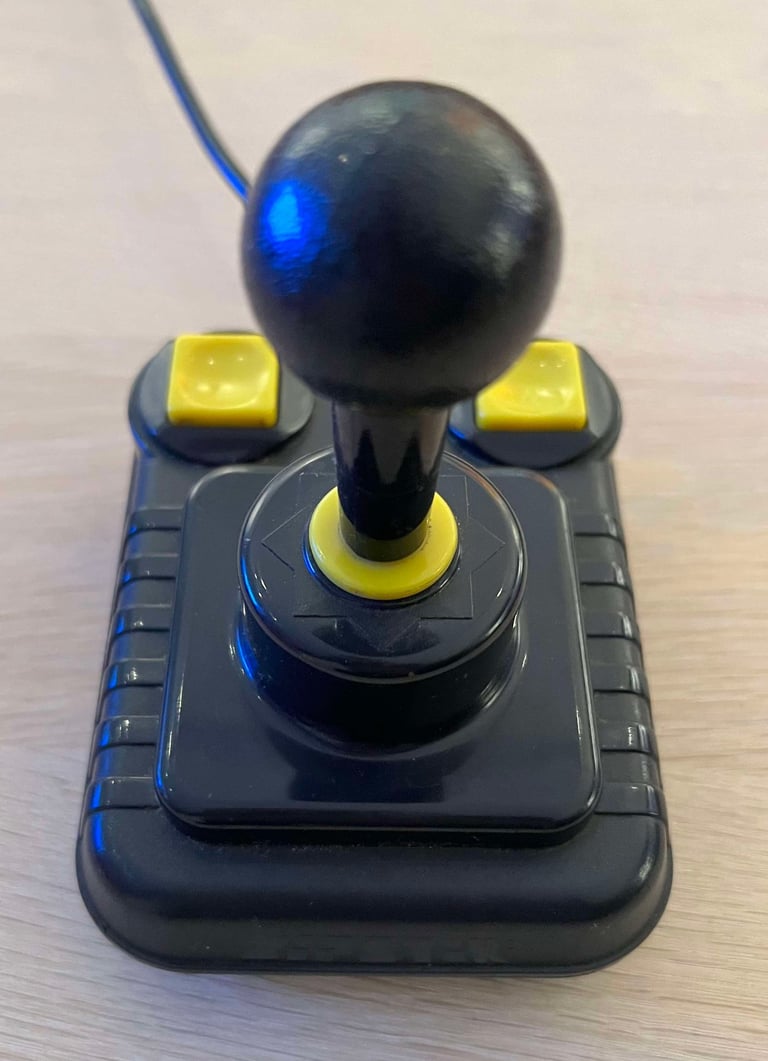
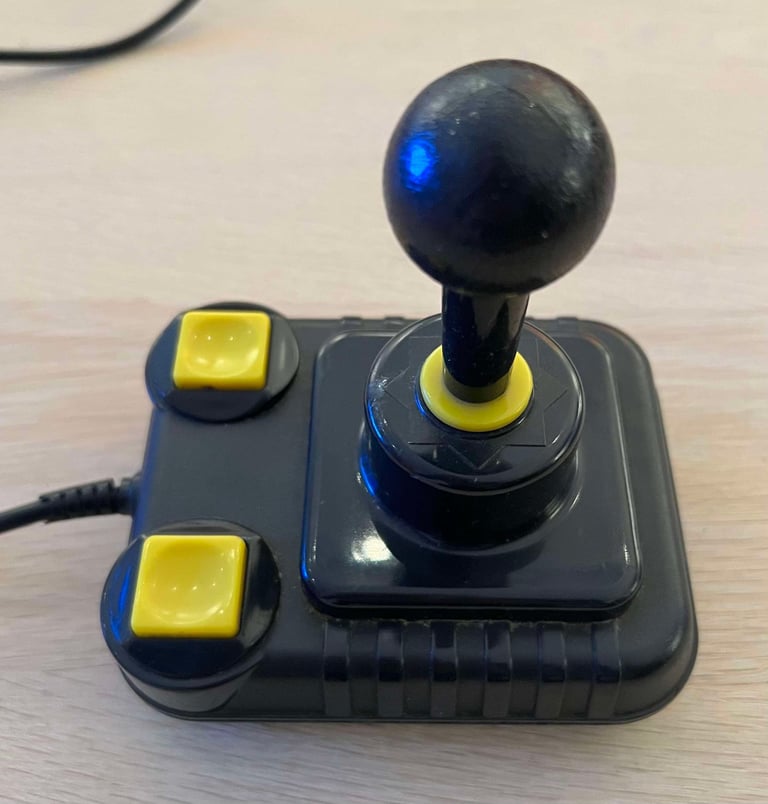
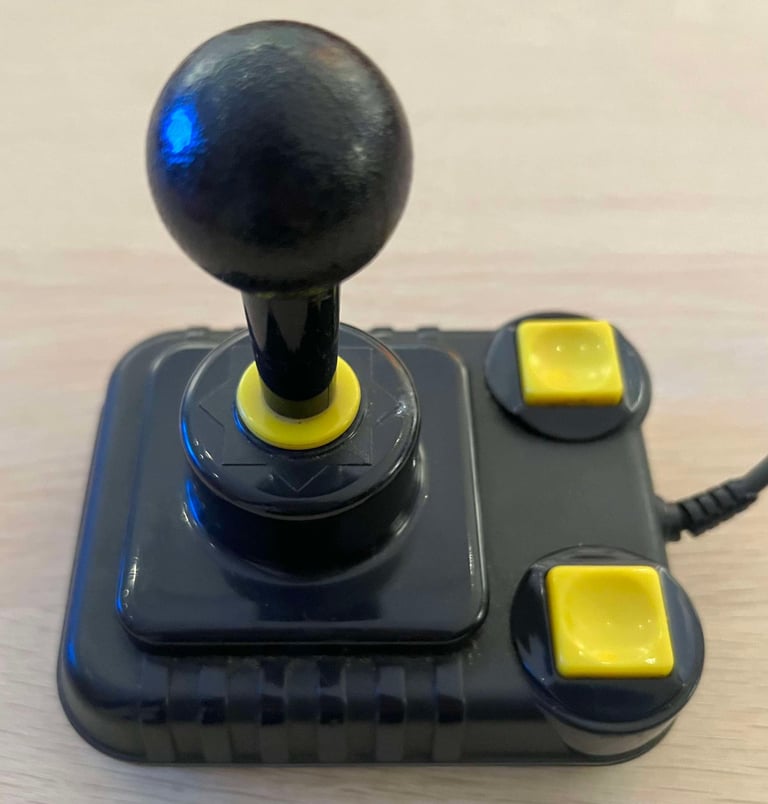
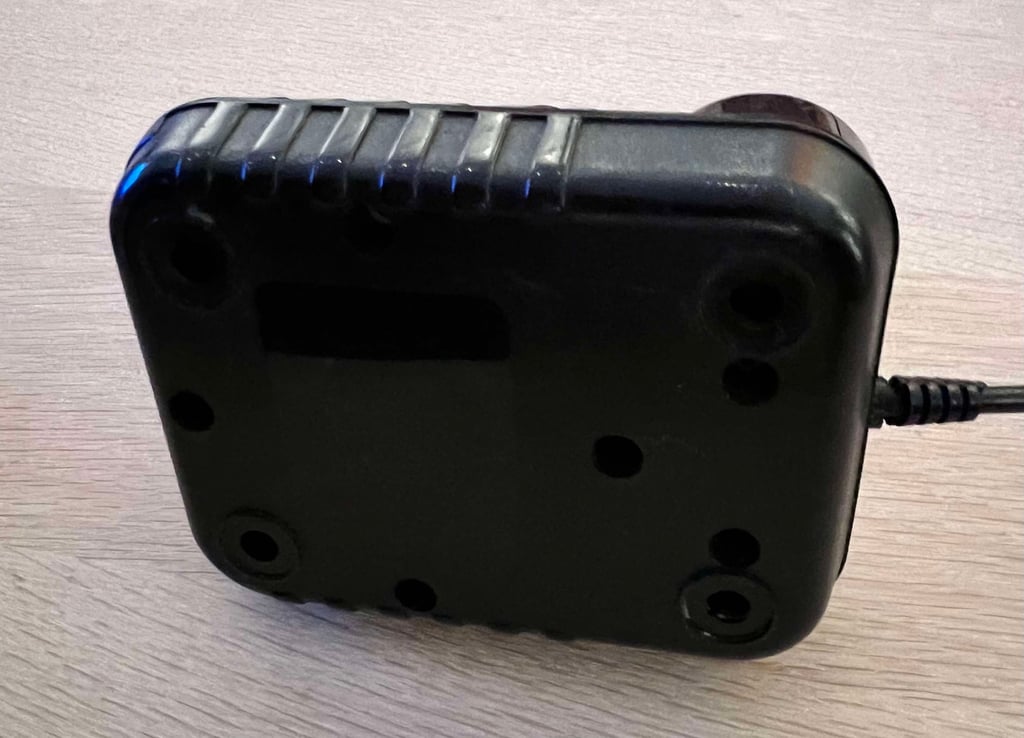
This joystick is quite dirty on the outside, but other than that it appear to be in quite good condition! The shaft can be moved in all directions, and the fire buttons can be pushed down, while the sound from all the microswitches seems nice. Apart from the dirt and grease, the only negative thing is that all of the four suction cups are missing and the strain relief is partly broken.
Both the cable and connector seems to be in good condition. Below are some pictures before refurbishment.






Refurbishment plan
To refurbish this joystick the plan is to do this trough the following steps:
- Clean, and remove stains from, chassis and all parts (and repair if required)
- Lubricate moving parts
- Clean and check the microswitches (and repair if required)
- Check connectivity (and repair if required)
- Verify joystick operation by testing
Disassembly
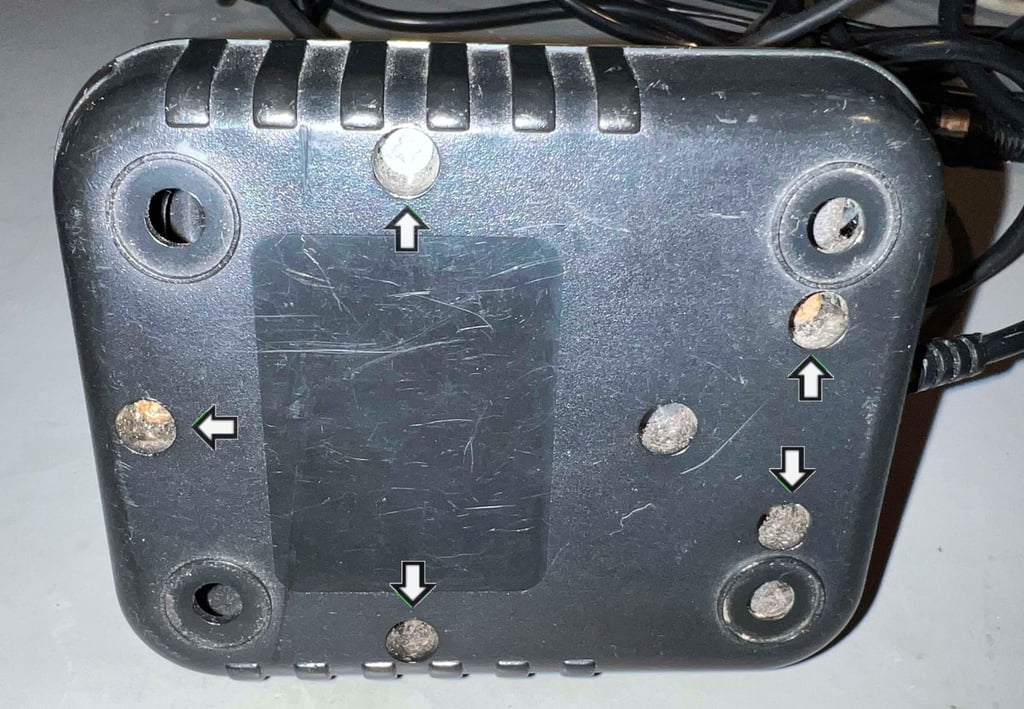
To start disassembling the four screws (pozidrive, 3.5 x 13.5 mm) at the bottom are removed.

Holy moly! There is quite some dust and grease inside this joystick! I am struggling to understand how all this dirt got into here (it is actually worse than it looks in the picture).
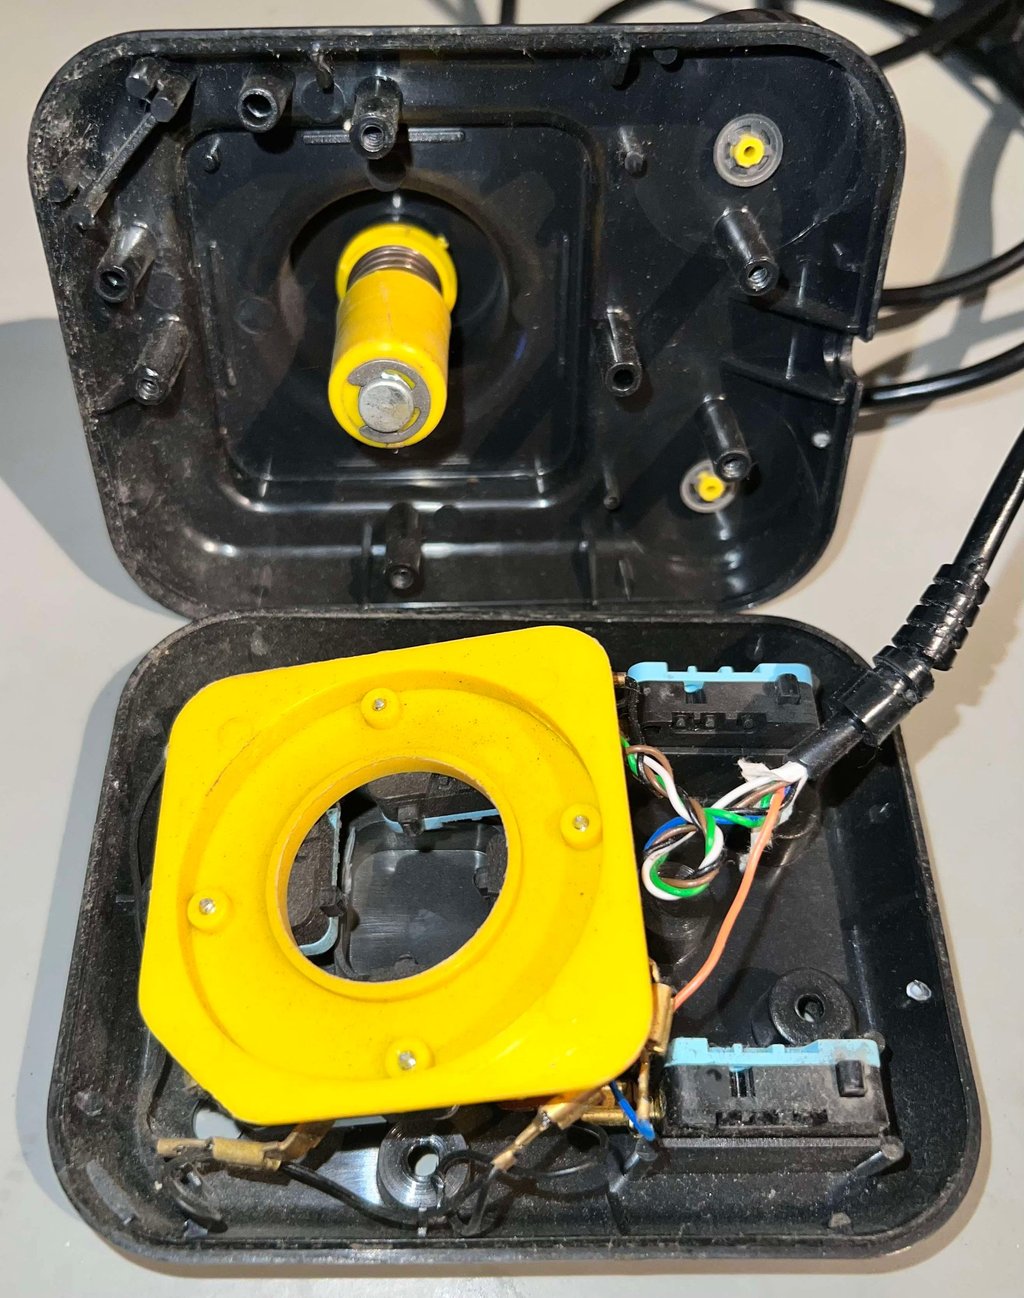

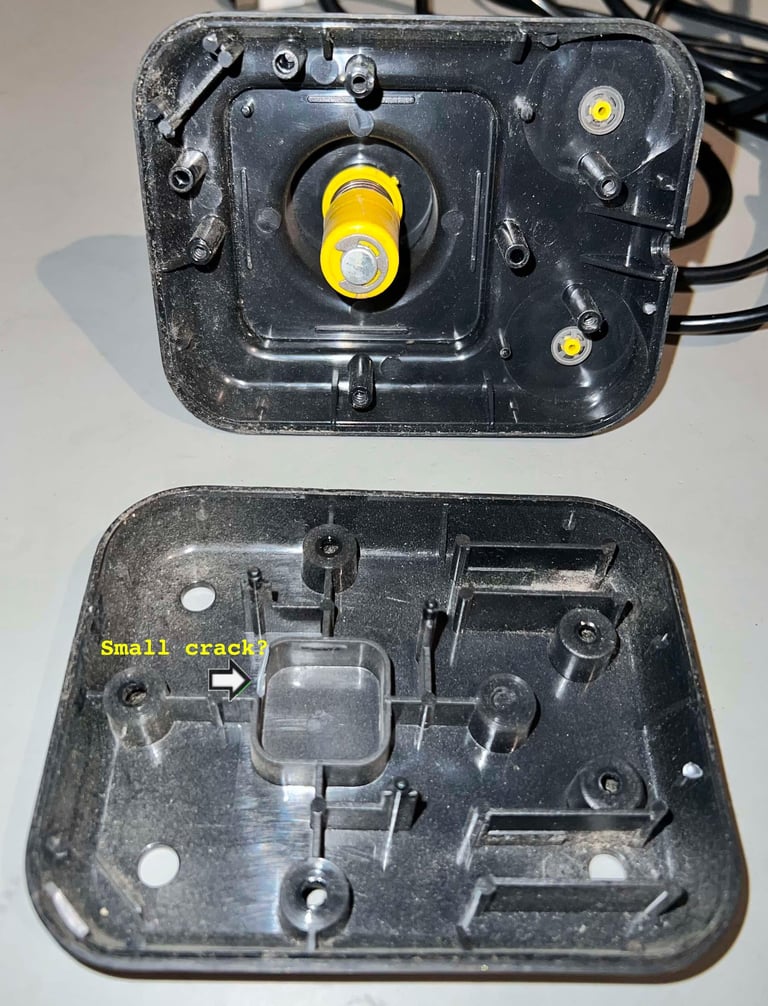
The bracket holding the microswitches is simply lifted from the bottom cover. Notice that it seems like there is a small plastic piece missing from the bottom cover. That might be the case, but I have seen this kind of "damage" many times before on Zipstik joysticks. Is it a real damage - or something happening during production?

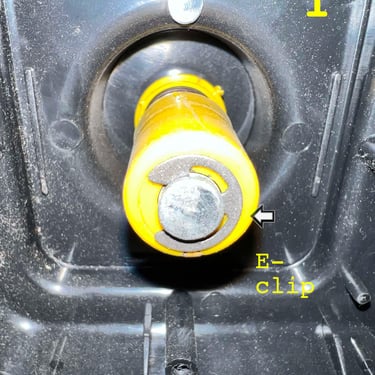
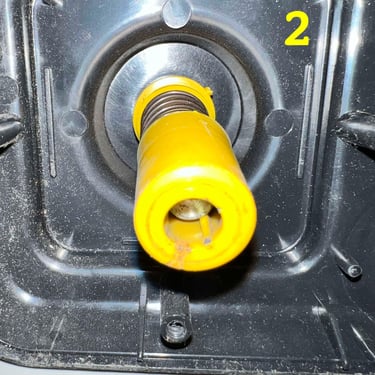
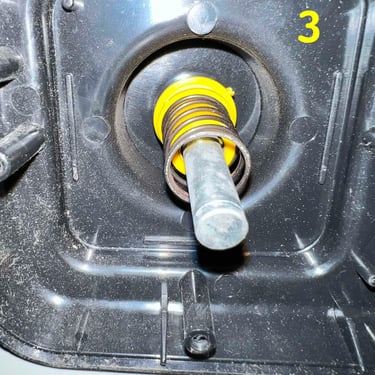
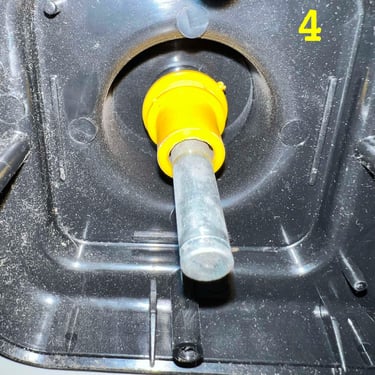
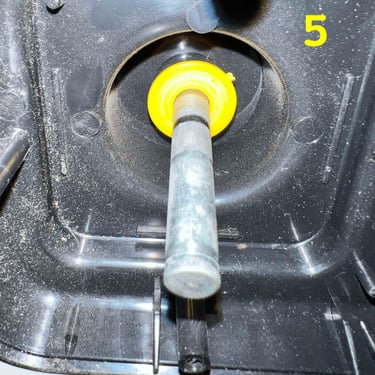
Removing the joystick shaft is not complicated, but you need to remove the E-clip first and disassemble (and later re-assemble) the plastic parts in the correct order. Below is a small picture gallery of the sequence of disassembly.
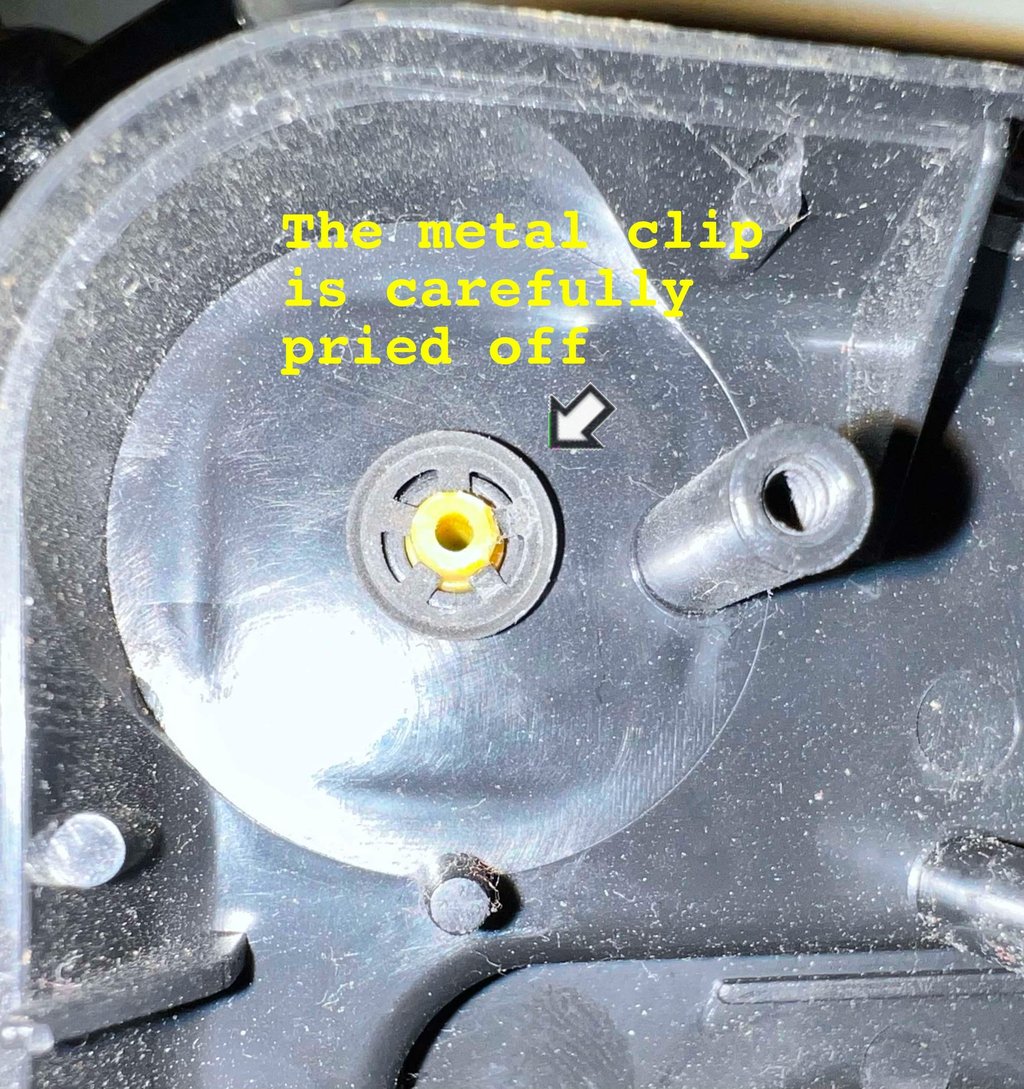
Disassembling the fire button is a bit more fiddly. By using a thin pick tool the metal clip is carefully removed from the plastic shaft of the fire button.

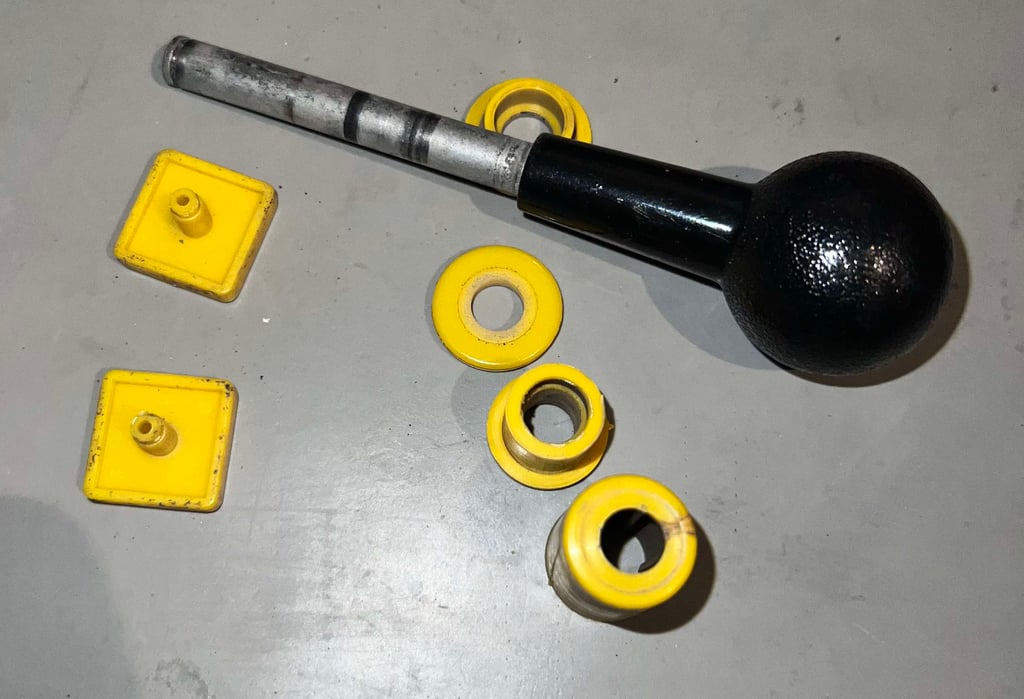
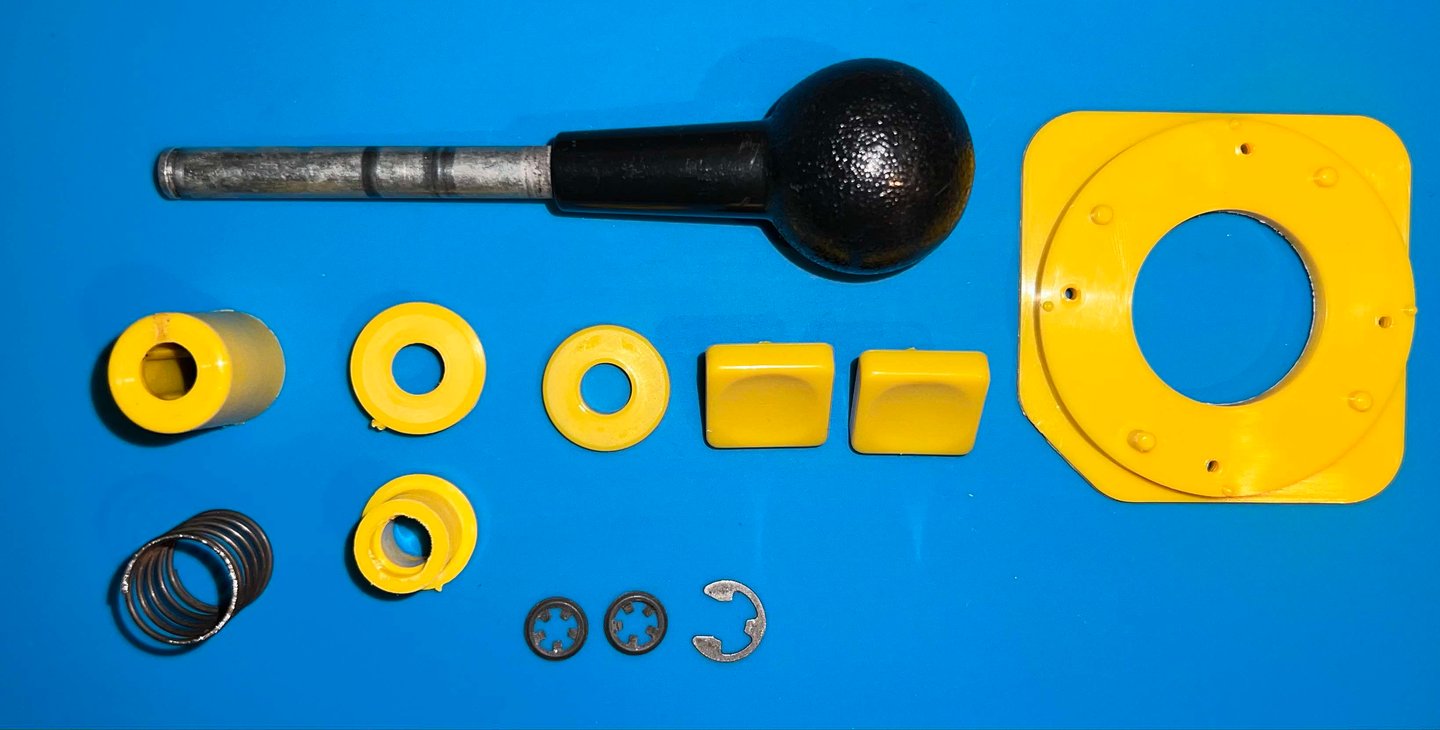
Below is a picture of the plastic parts (none of the metal clips or spring) after disassembly, and before cleaning. All parts appear to be in good condition.

Exterior casing and plastic parts
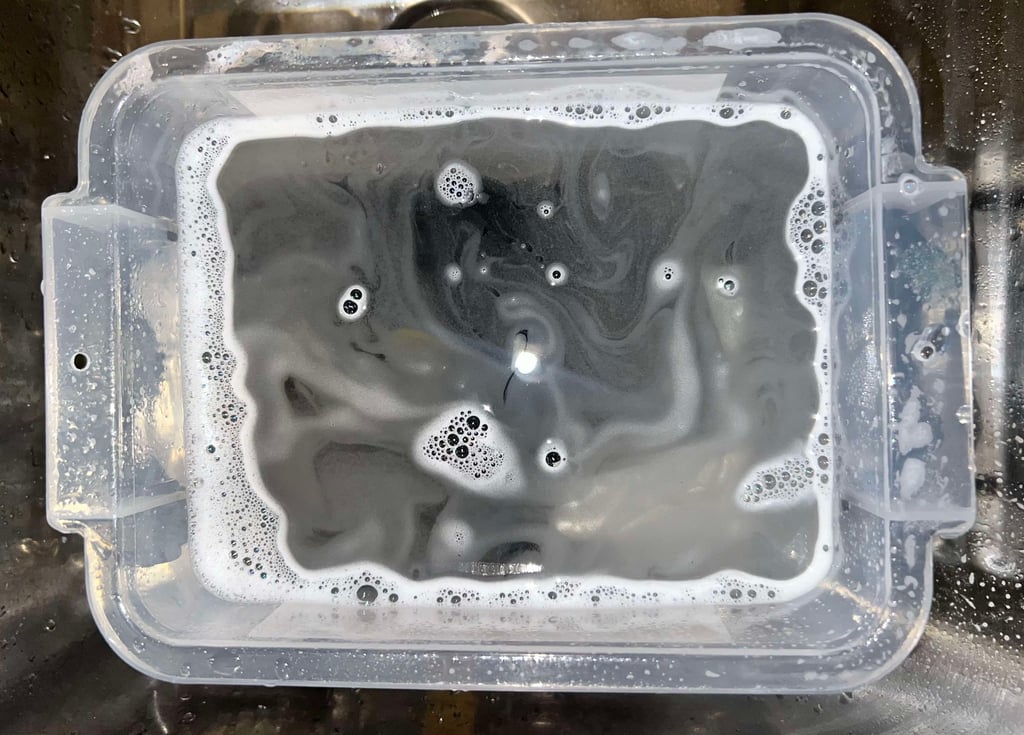
All the plastic parts (including the joystick shaft) are soaked in mild soap water for about 24 hours. This dissolves most of the dust and grease from the parts.

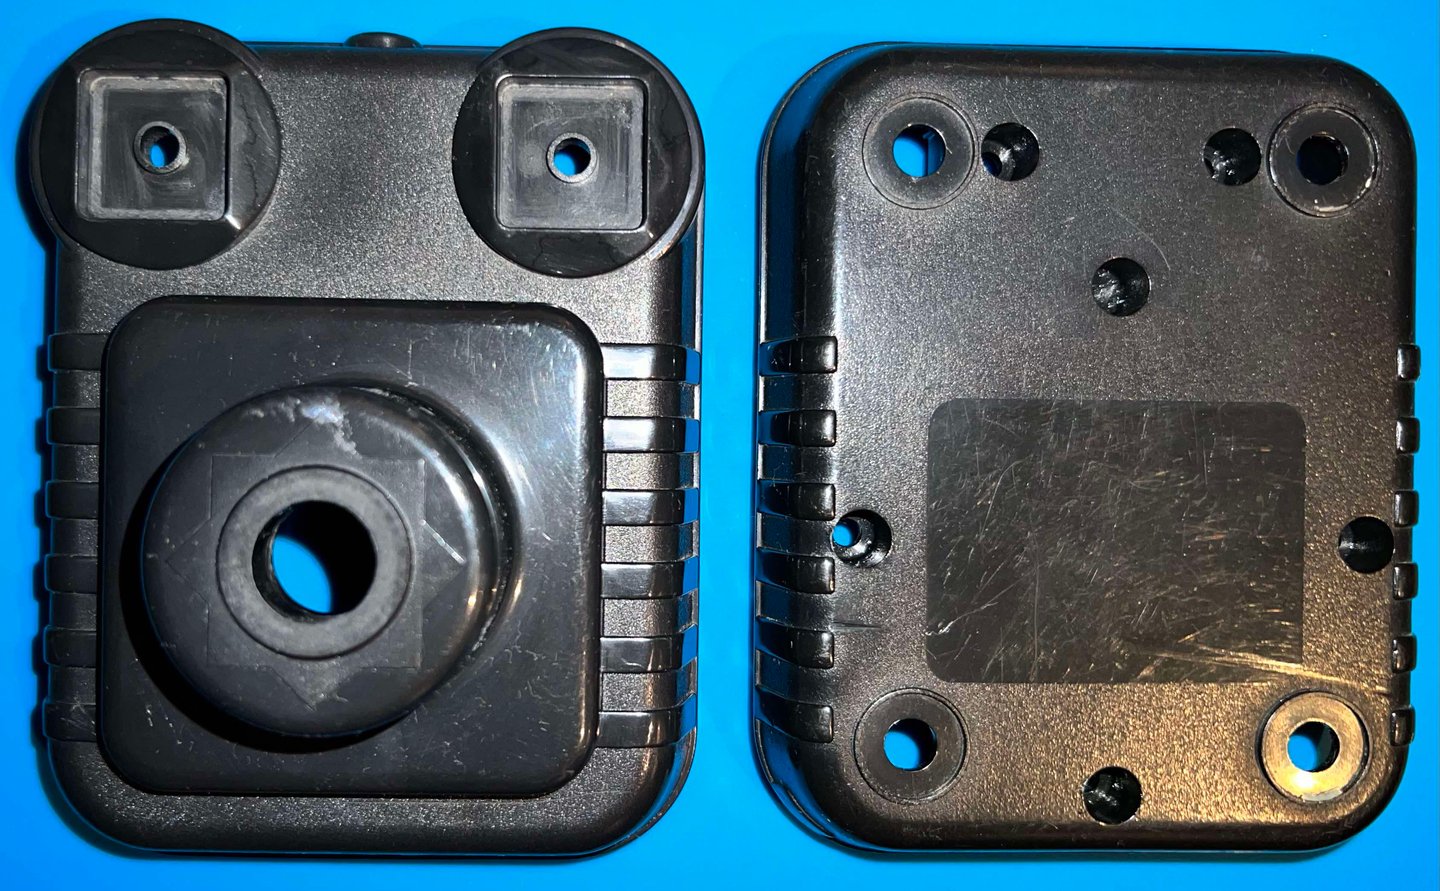
After cleaning the parts look way better. But now the signs of use are more apparent - which is ok. It is good to know that this joystick has been battling many great Commodore 64 or Amiga games in the past.


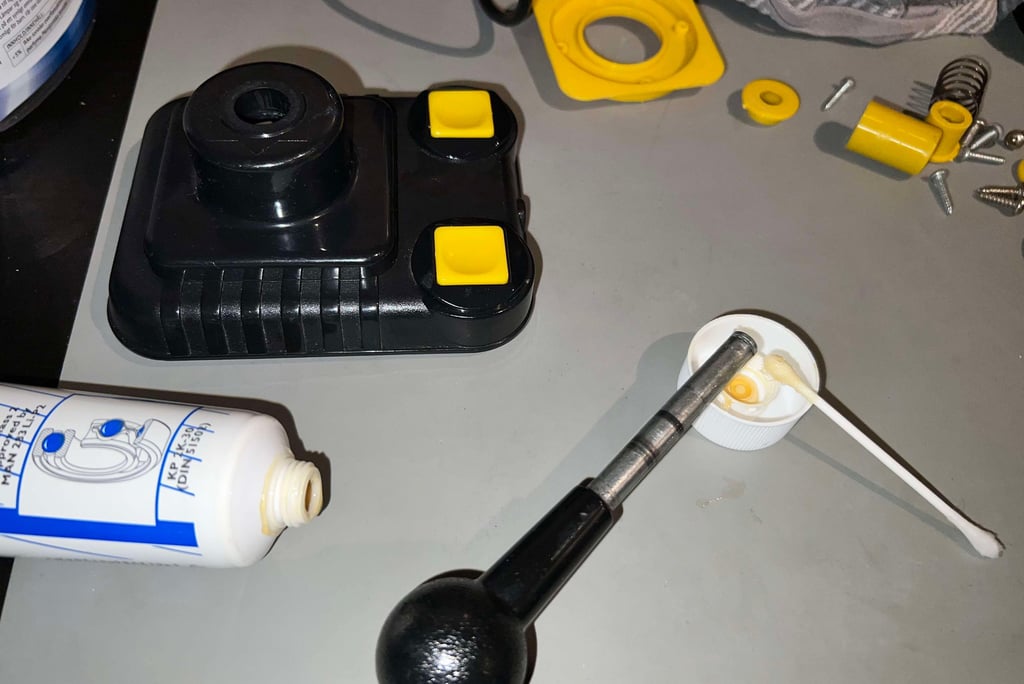
The joystick shaft, and the interior plastic parts, are lubricated with some multi purpose grease. Even if this is not strictly necessary I think it is good practice to do so. It will reduce the stress on the plastic parts, and any squeaky noise will be muffled. Also, the fire buttons are lubricated with some sewing machine oil.

Replacing the suction cups - or not...
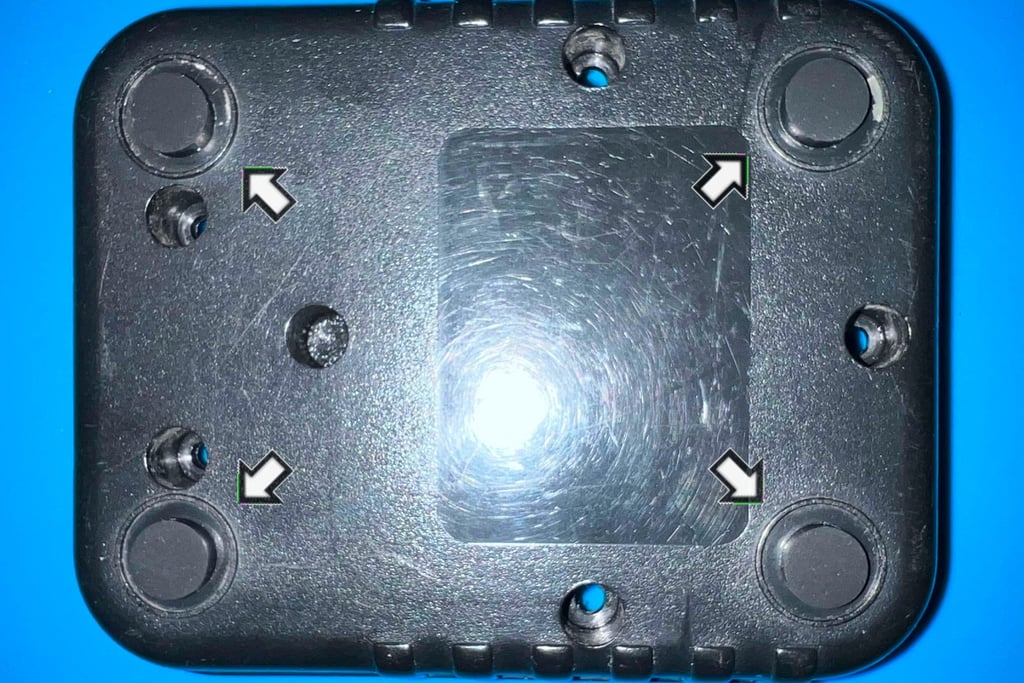
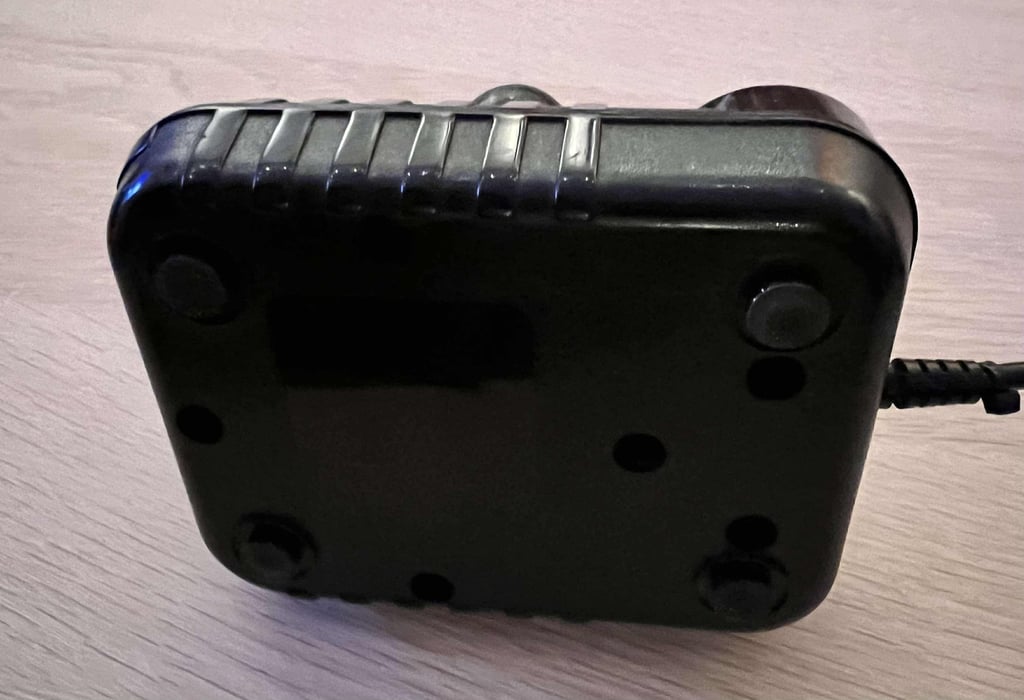
This Zipstik was probably originally equipped with four rubber suction cups. But sometime during its life these were lost... (?) I do not have these kind of spare parts, but I do have some small rubber pads which I think will be way better than leaving the holes open. This will both keep the joystick flush, and stable, at a table. And also prevent dust and grease from entering inside the joystick. Kill two birds with one stone.

Electronics and microswitches
Disassembly and cleaning
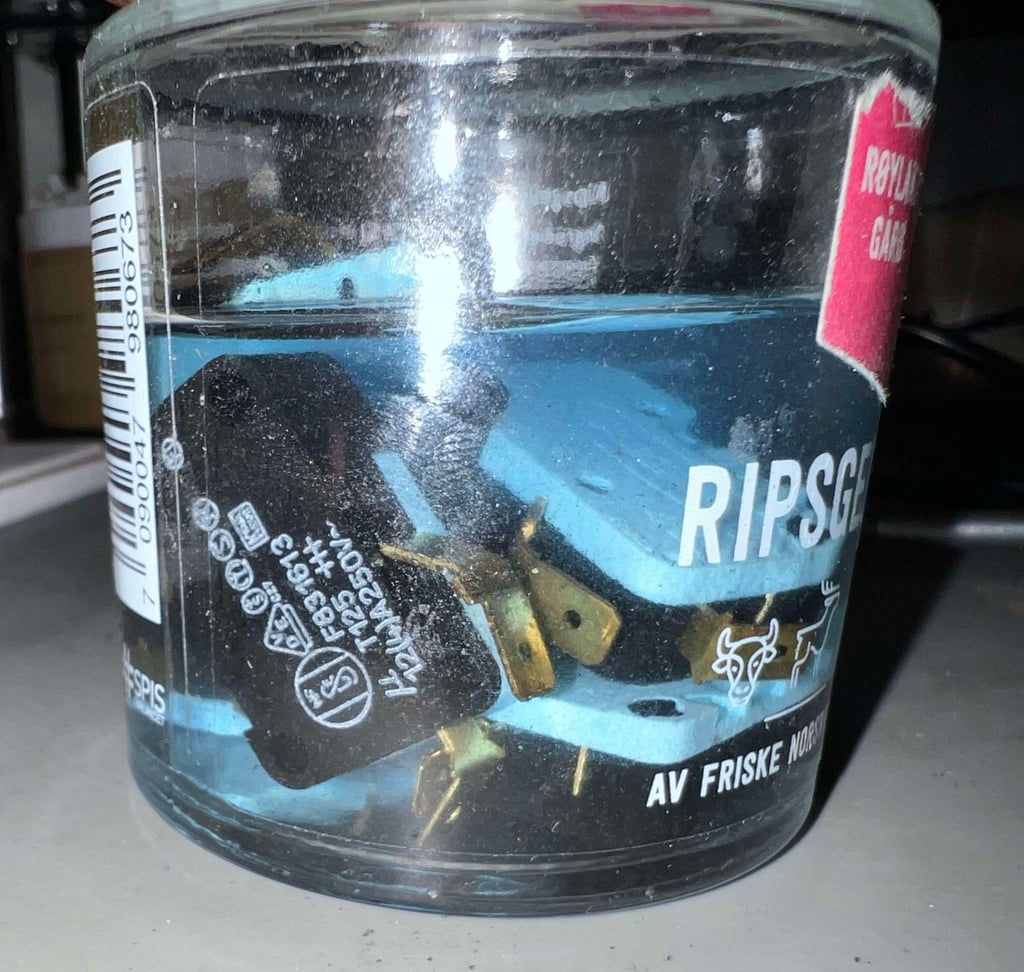
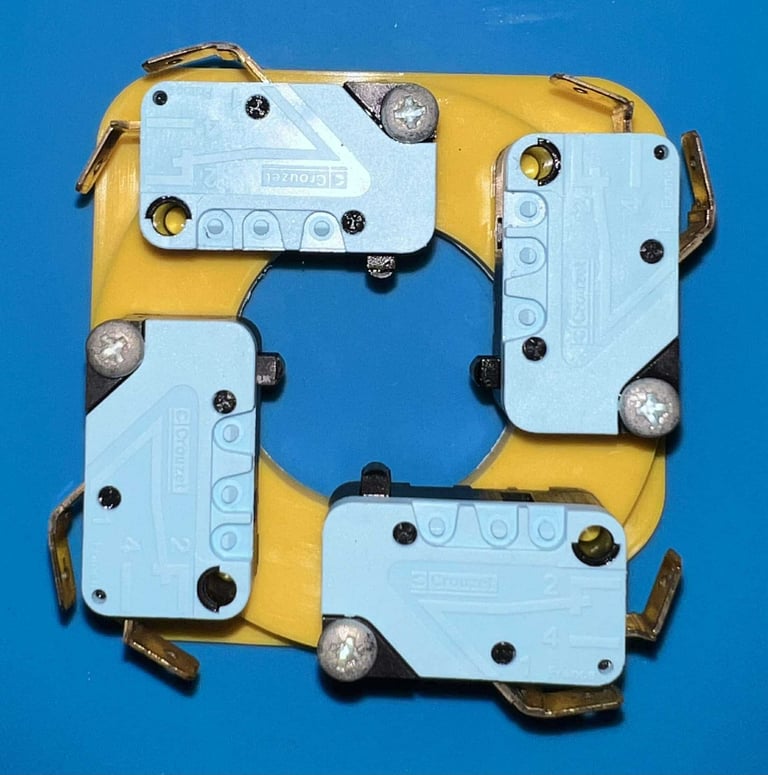
Four of the microswitches are mounted on the yellow plastic bracket with 3 x 15 mm pozidrive screws which are removed. The microswitches are incredible dirty. I have seen other microswitches in Zipstik which are covered with grease, but this is somewhat different. It is maybe not so easy to see from the pictures, but they are literally covered in dirt. How?
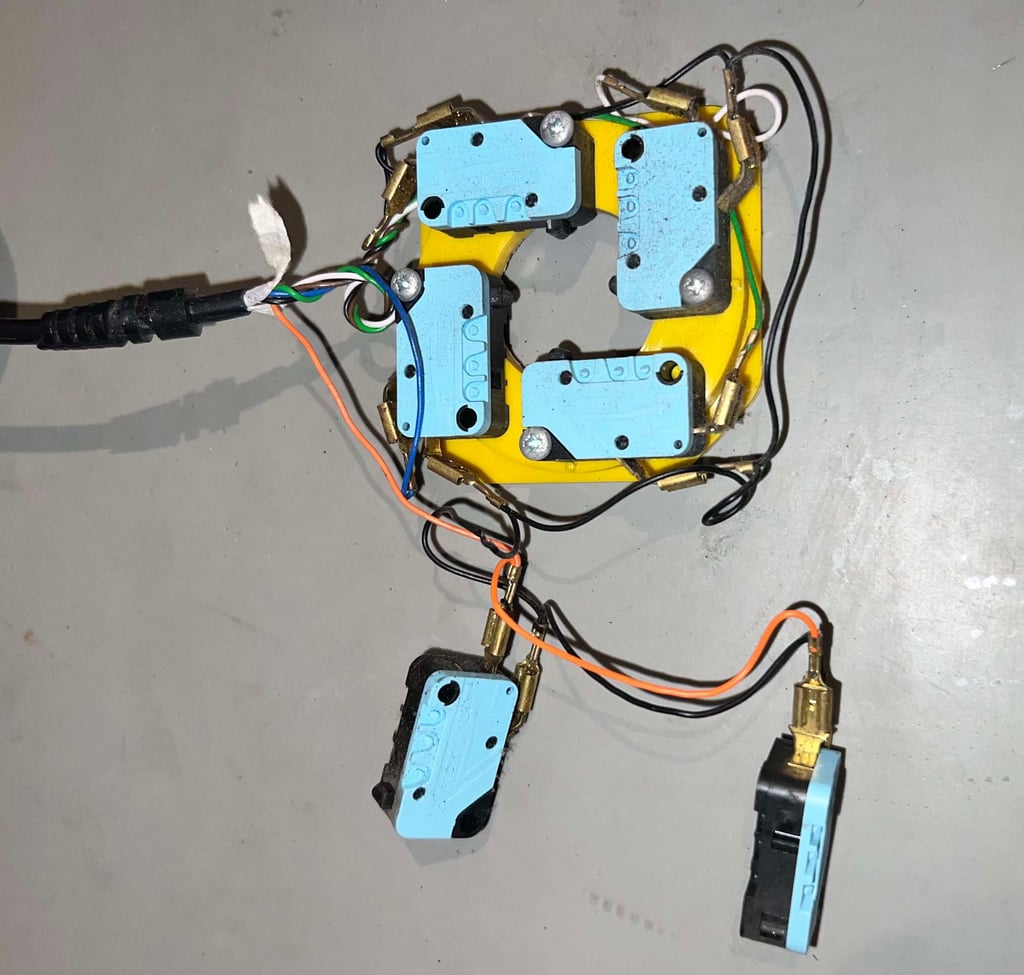

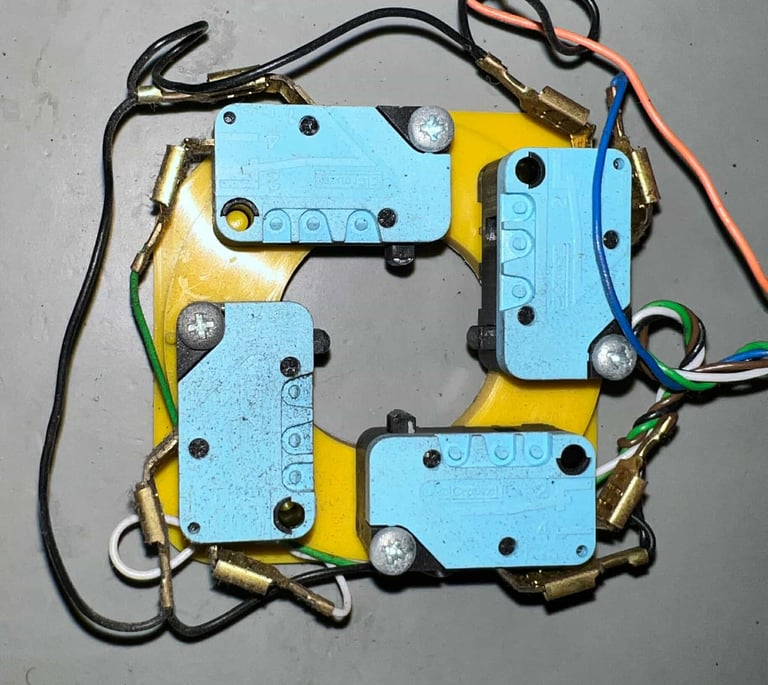

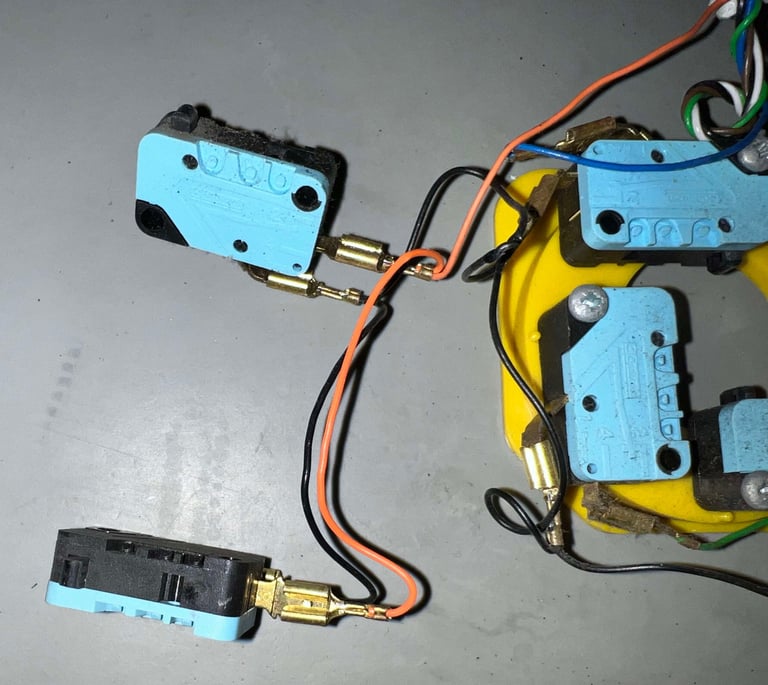

All the six microswitches are soaked in a lovely bath of isopropanol for about 24 hours. This removes most of the dirt - both on the outside and inside (hopefully).

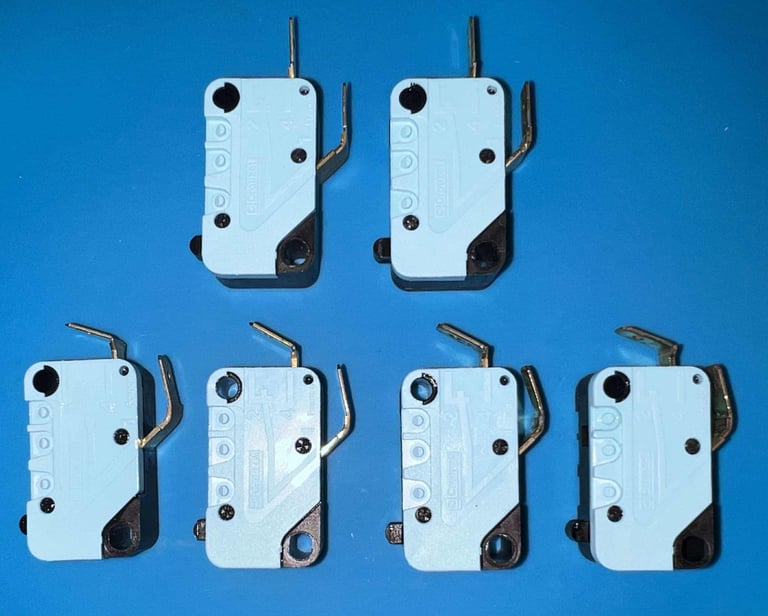
After cleaning, and some rubbing with a steel brush on the contacts, the microswitches are as good as new. These are all high quality microswitches made in France by Crouzet. I have seen other Zipstik joysticks where they use different brands (Otehall/Crouzet) of microswitches for the directional switches (UP/DOWN/LEFT/RIGHT) and FIRE. But in this version all microswitches are from Crouzet.


Electrical continuity testing
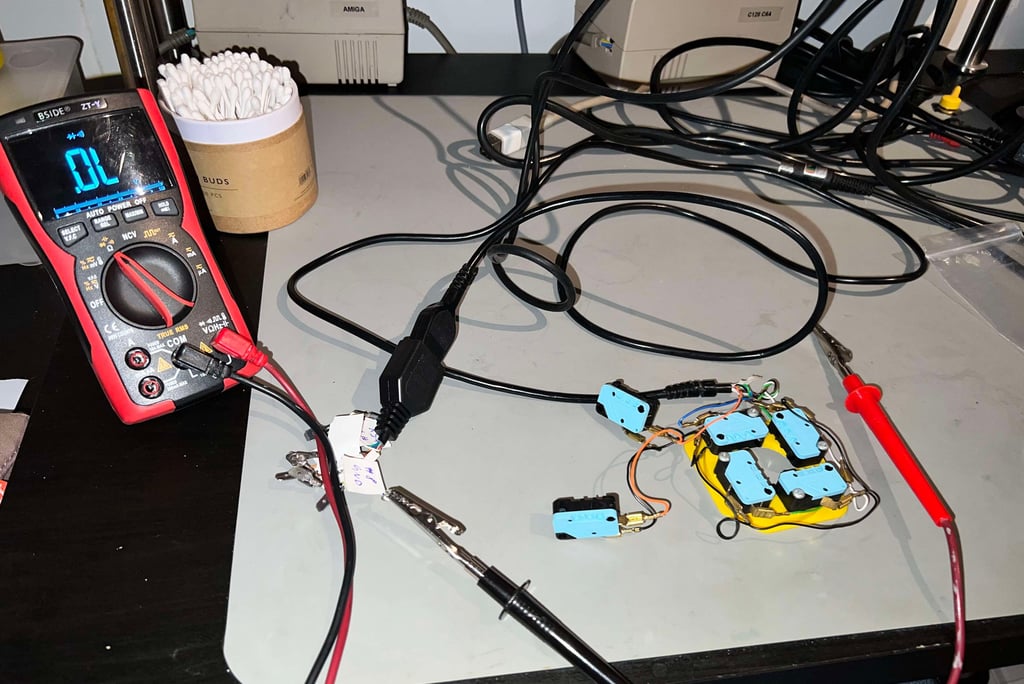
Before the joystick is re-assembled the connector, cable and all microswitches are tested for electrical continuity. I find this a good practice as I can "wobble" the cable while multimeter is in diode-mode (beep mode) - looking for any broken wire or connector.

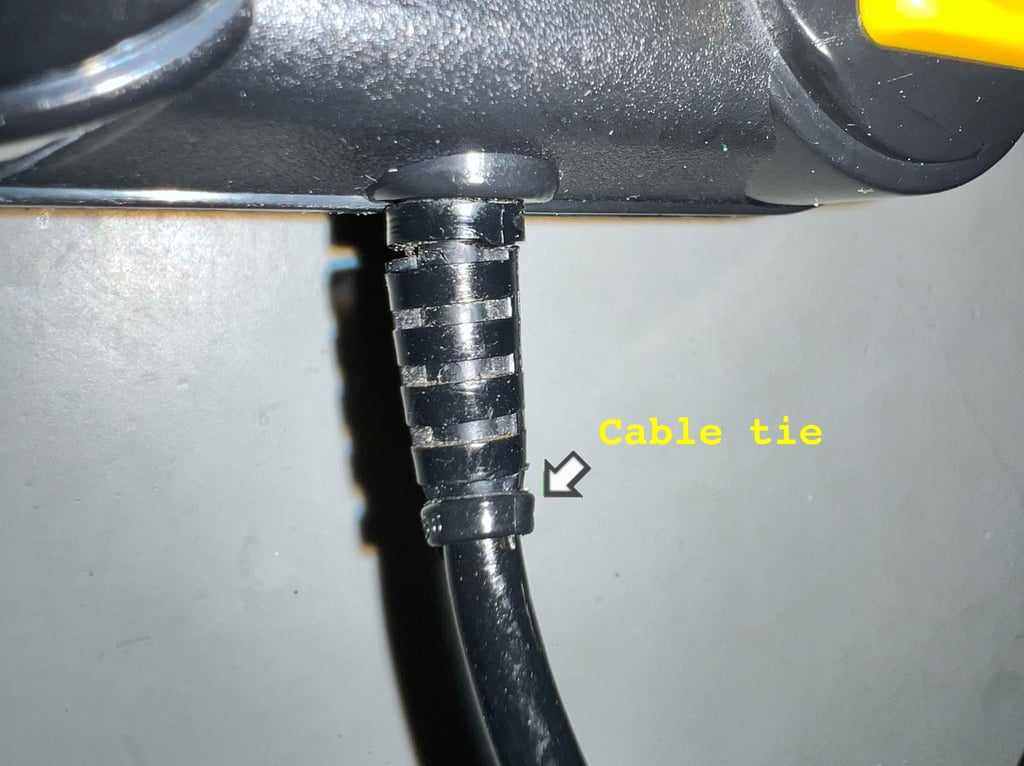
The strain relief is ripped, but it is easily fixed. By adding a thin cable tie at the end of the strain relief it should work just fine - ready for hours of hard gaming action!

Testing
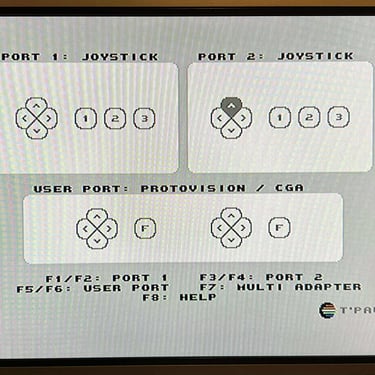
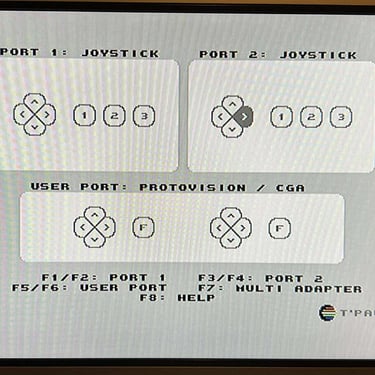
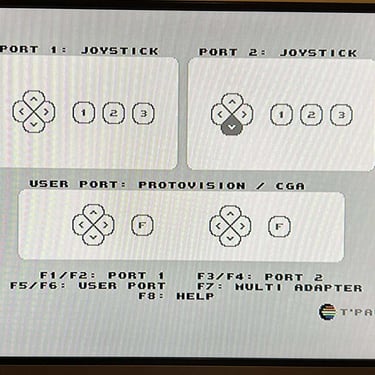
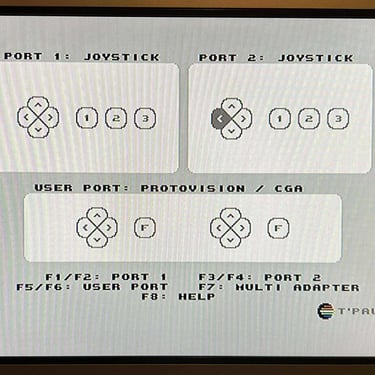
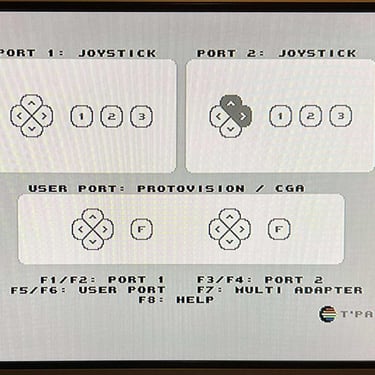
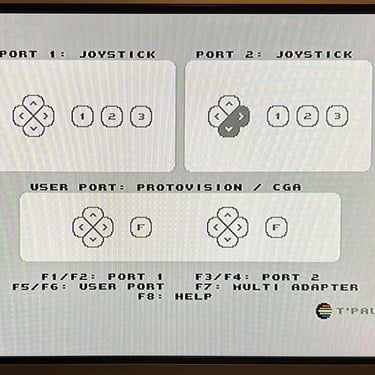
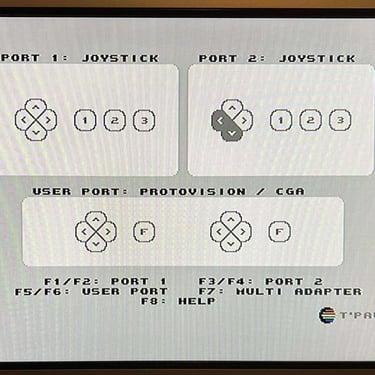
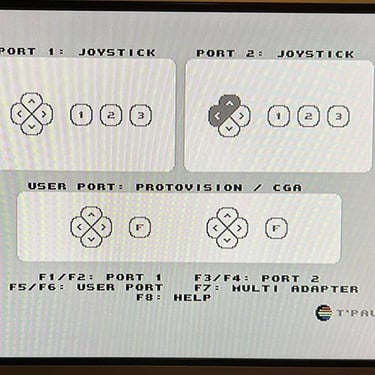
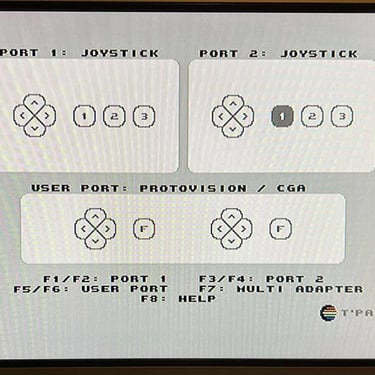
To verify that the joystick work as it should I check it with the Joyride software. Result is that all directions and fire buttons works fine works as expected. All tests pass.
Final result
"A picture worth a thousand words"
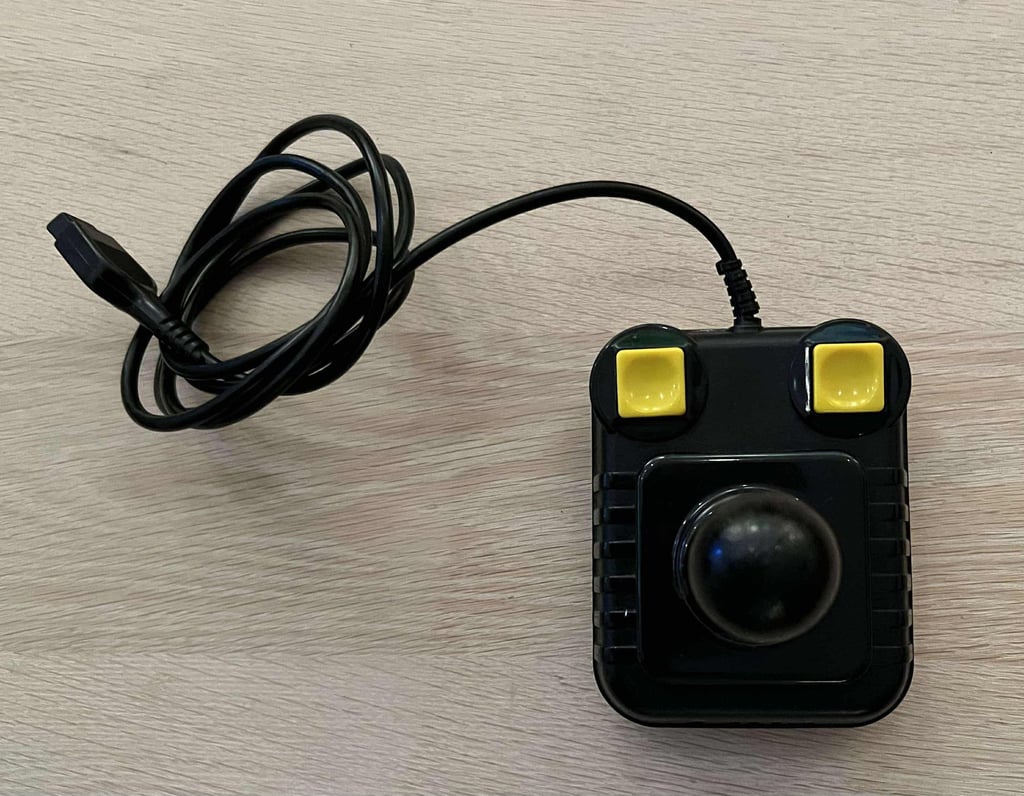
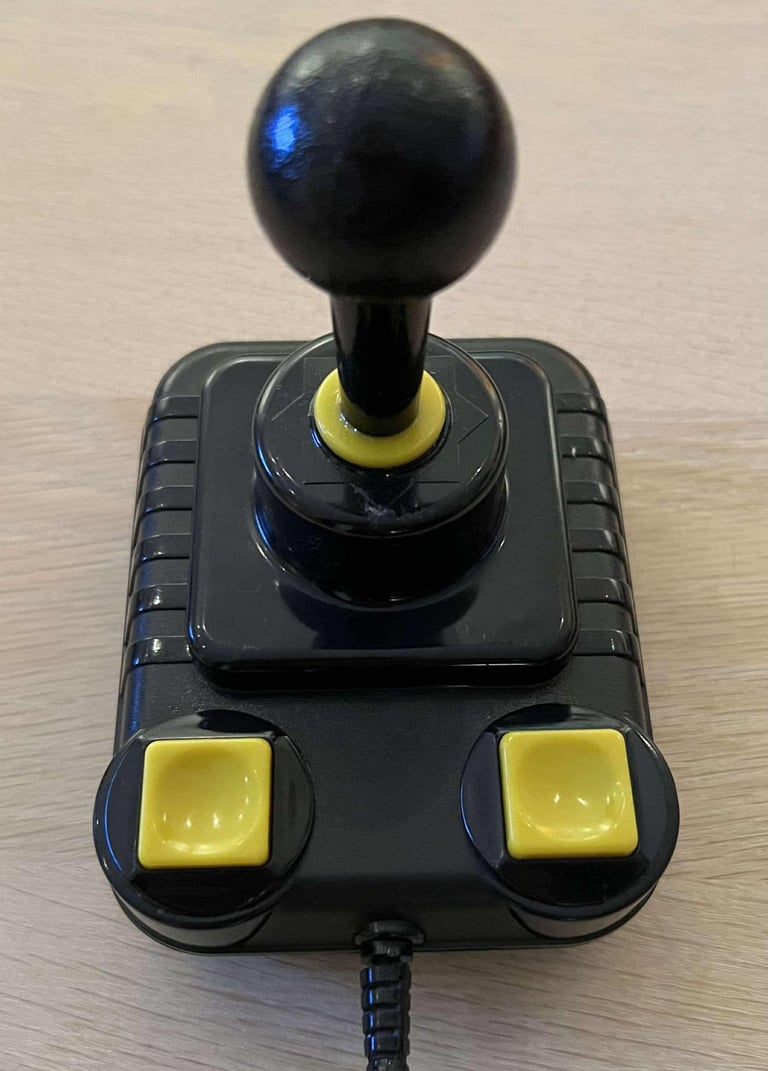
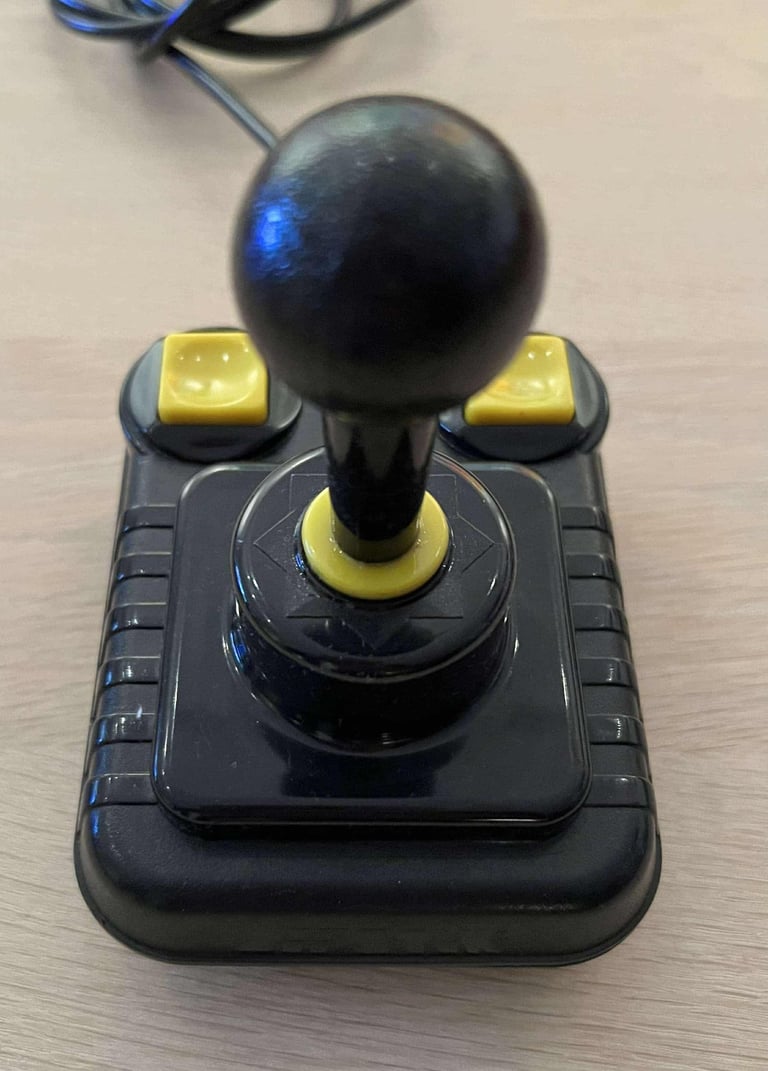
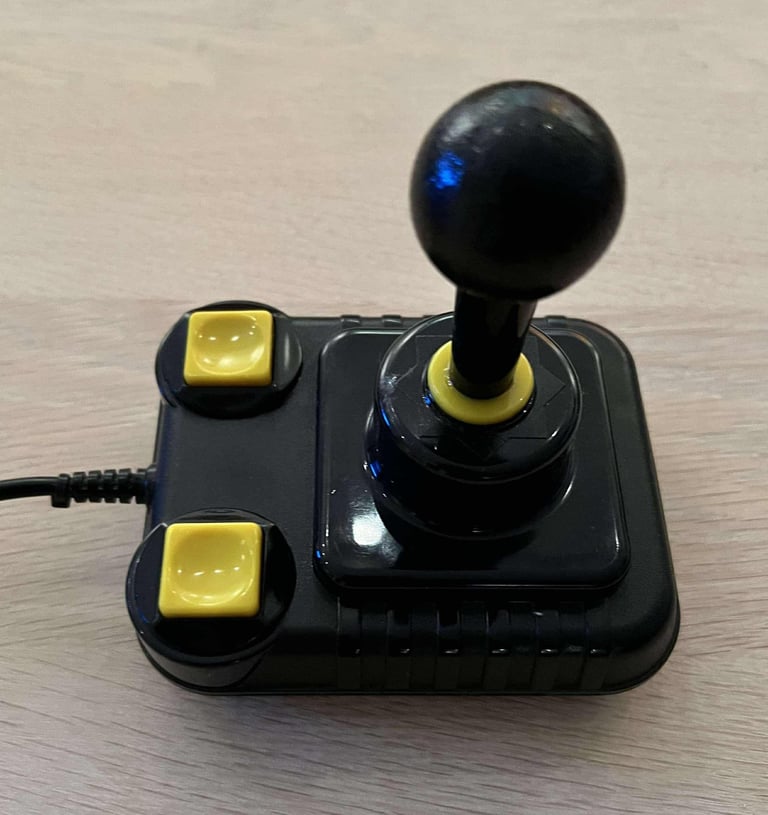
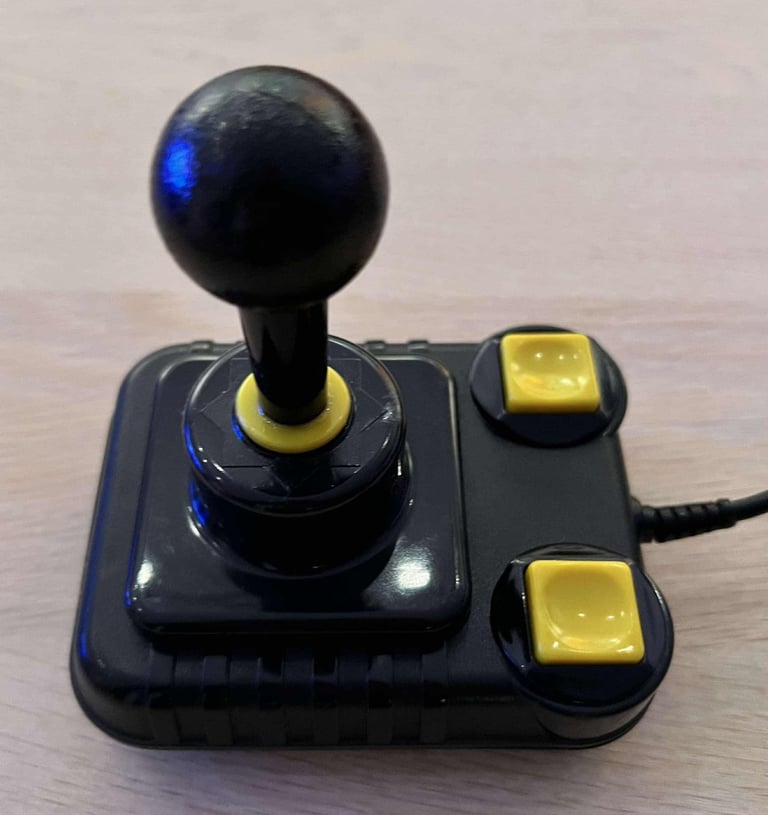
Below is a collection of the final result from the refurbishment of this Zipstik joystick. Hope you like it! Click to enlarge!






Banner picture credits: unknown
