

Zipstik
Starting point
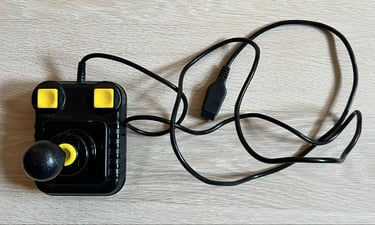
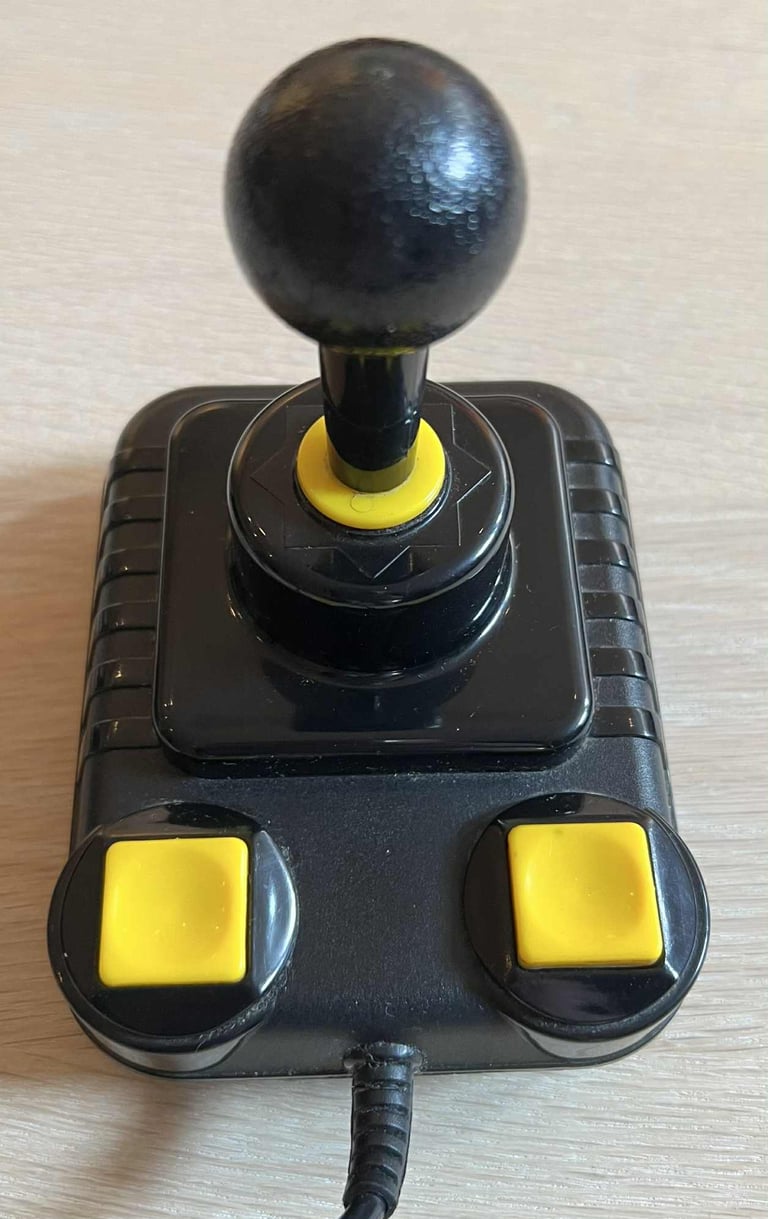
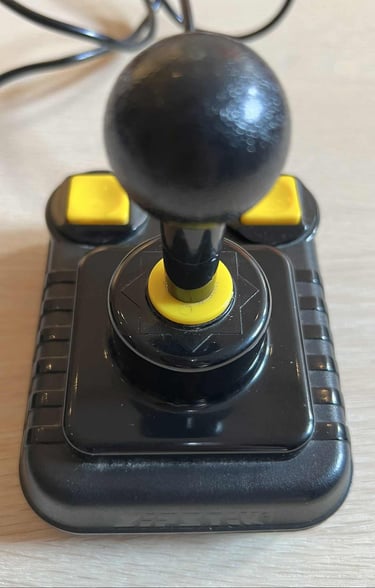
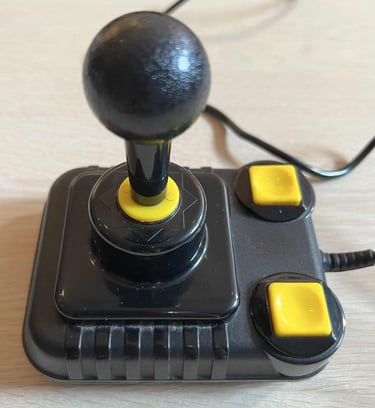
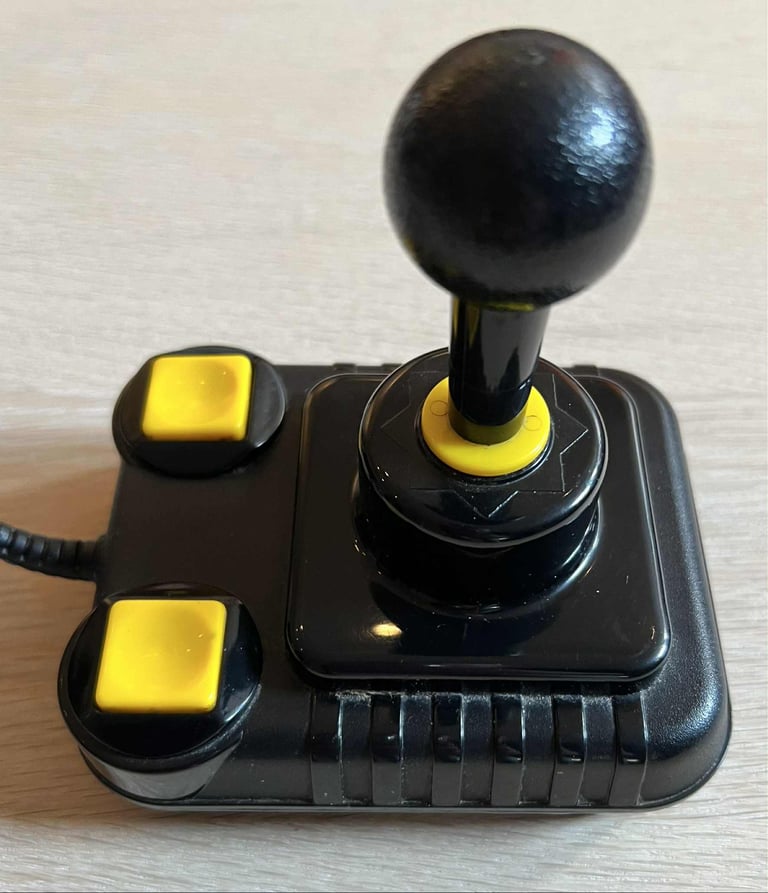
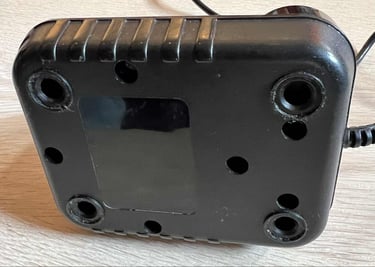
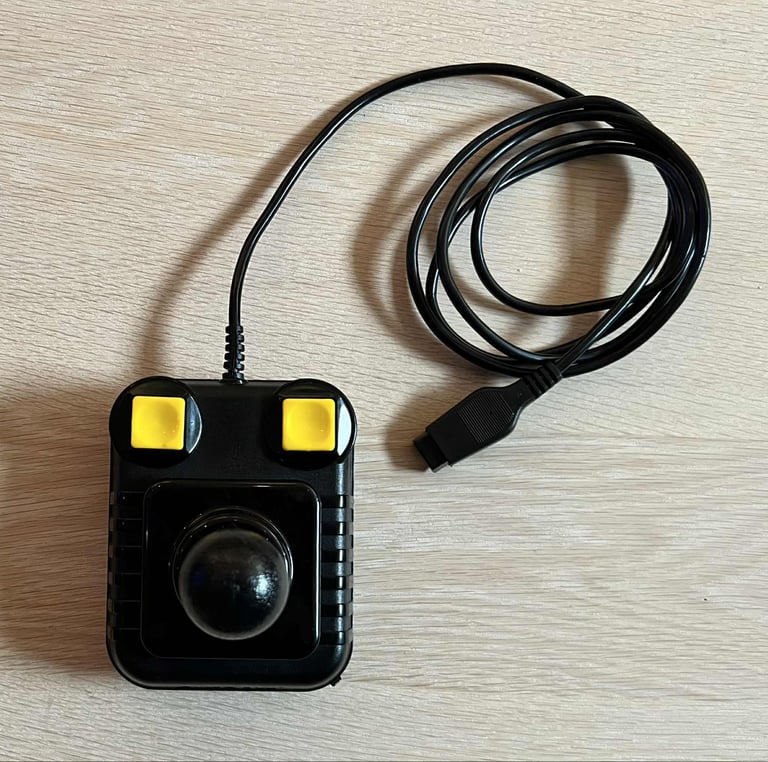
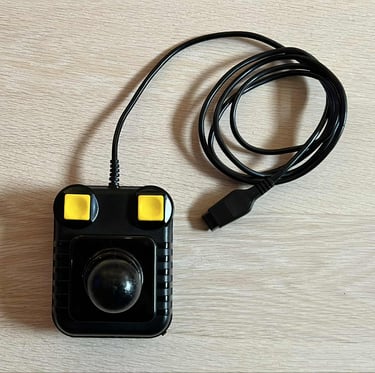
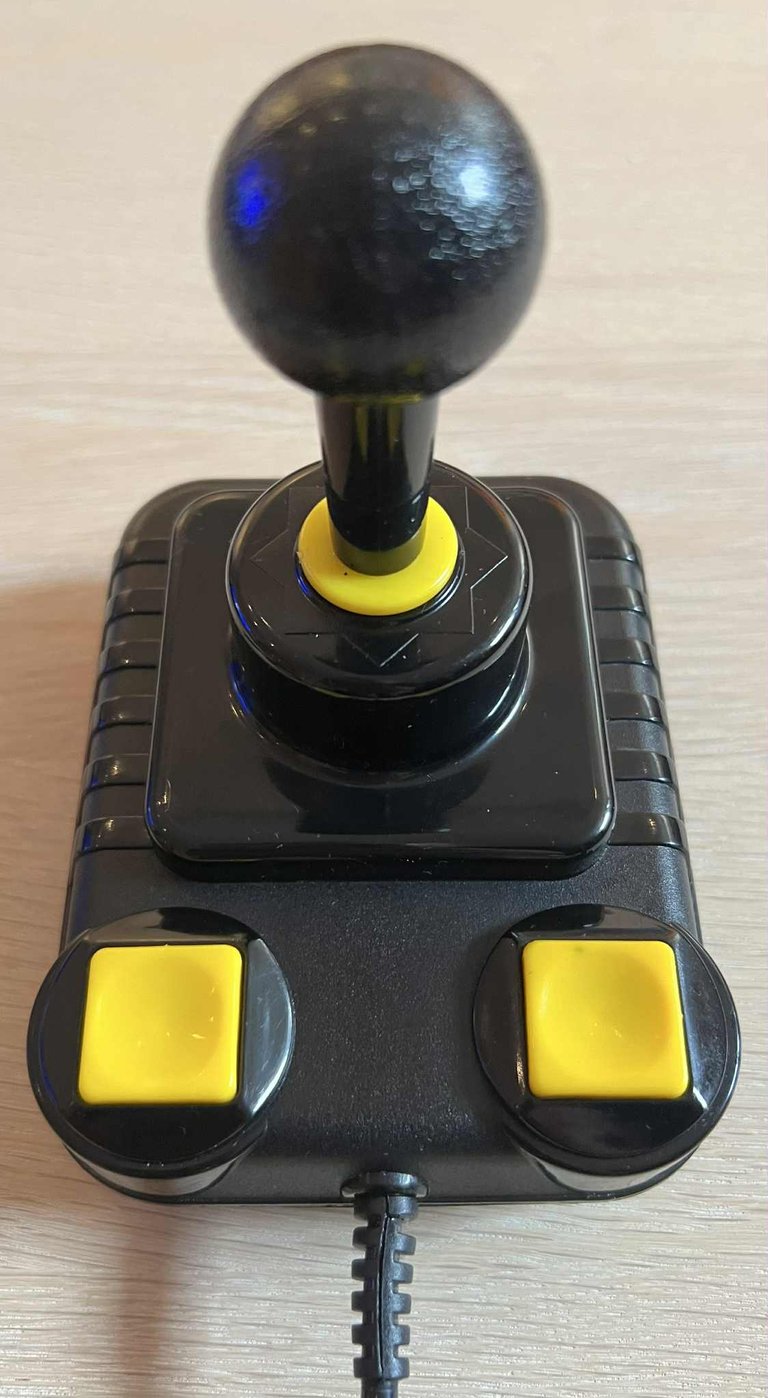
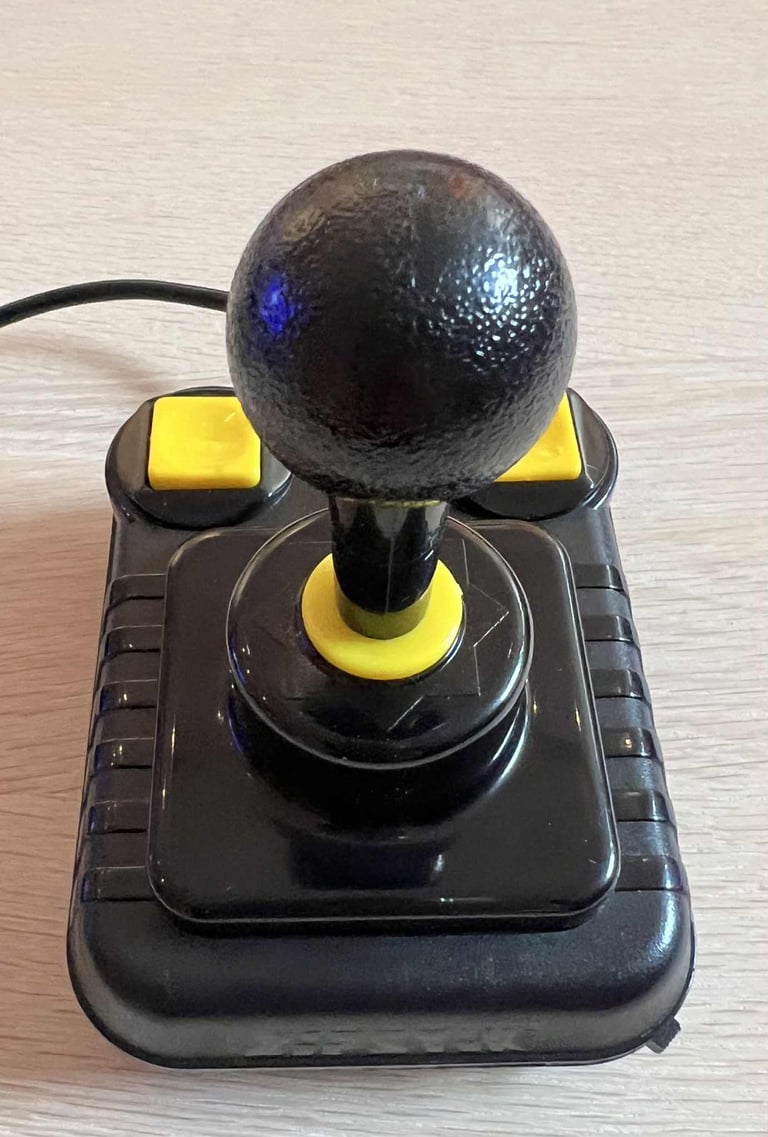
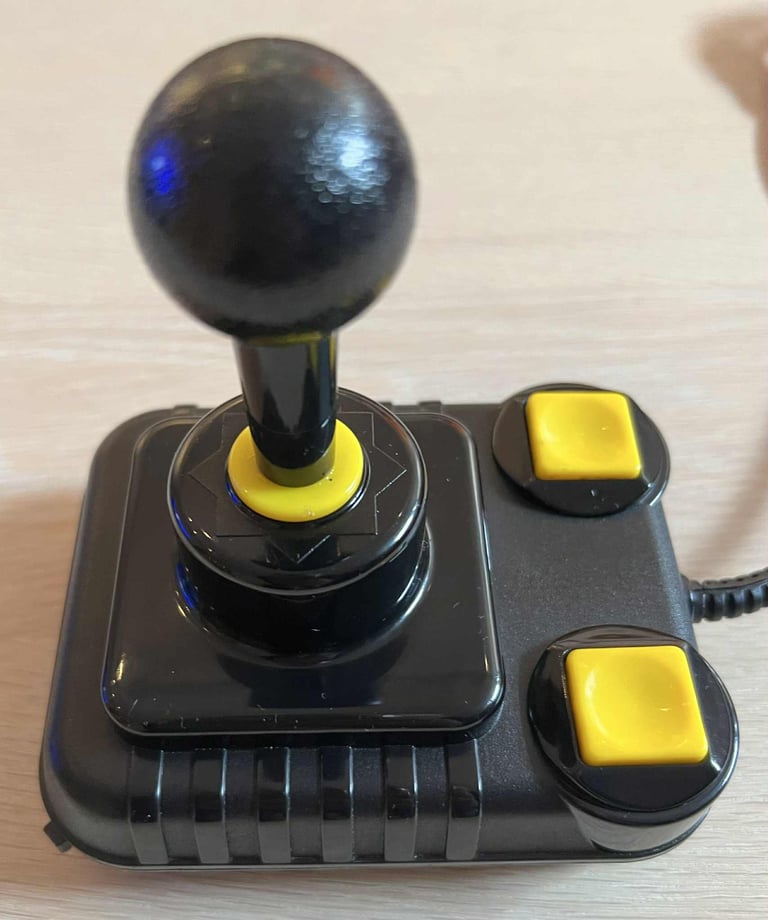
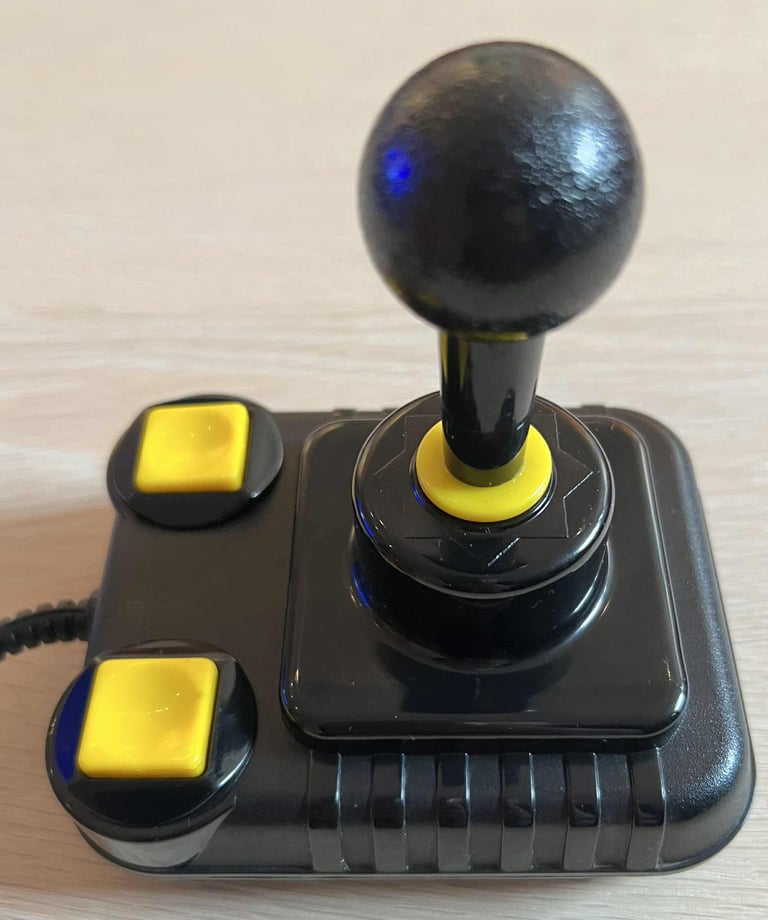
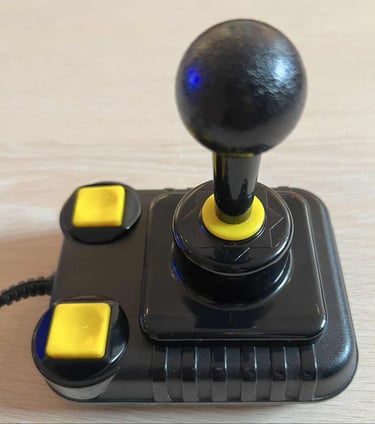
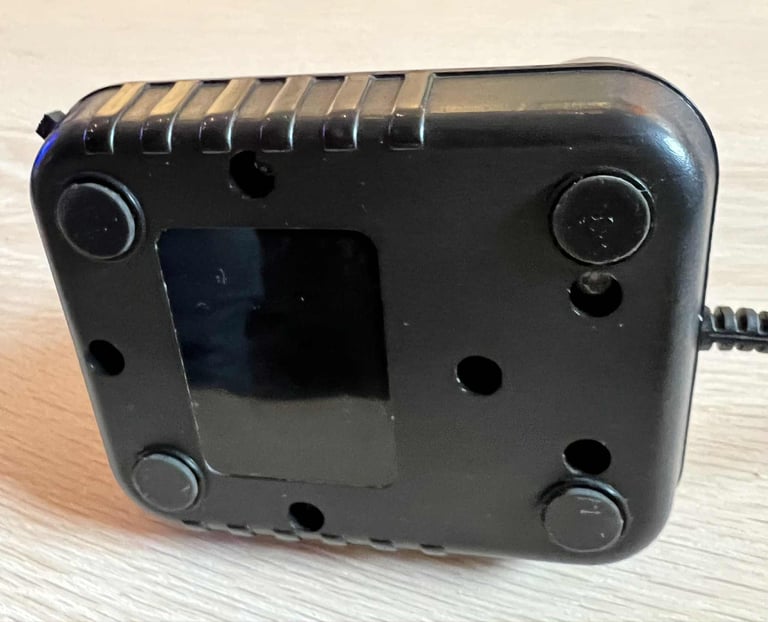
As with its twin brother, this Zipstik is also in good condition and will be equipped with an autofire. There is a bit more dirt and grease on this joystick, but it is really not a lot. All mechanical parts feel, and sounds, to be working fine. The cable, strain relief and connector all looks fine. As with the twin brother, this also lacks rubber feet.
Below are some pictures of the Zipstik before refurbish.


Refurbishment plan
To refurbish this joystick the plan is to do this trough the following steps:
- Clean, and remove stains from, chassis and all parts (and repair if required)
- Lubricate moving parts
- Clean and check the microswitches (and repair if required)
- Add autofire PCB
- Check connectivity (and repair if required)
- Verify joystick operation by testing
Initial test
Before any refurbishment start the Zipstik joystick is tested with a known working Commodore 64. And the joystick does seem to be working. All directional motion (LEFT/RIGHT/UP/DOWN) and the both FIRE buttons are registered OK. See table below.
Disassembly
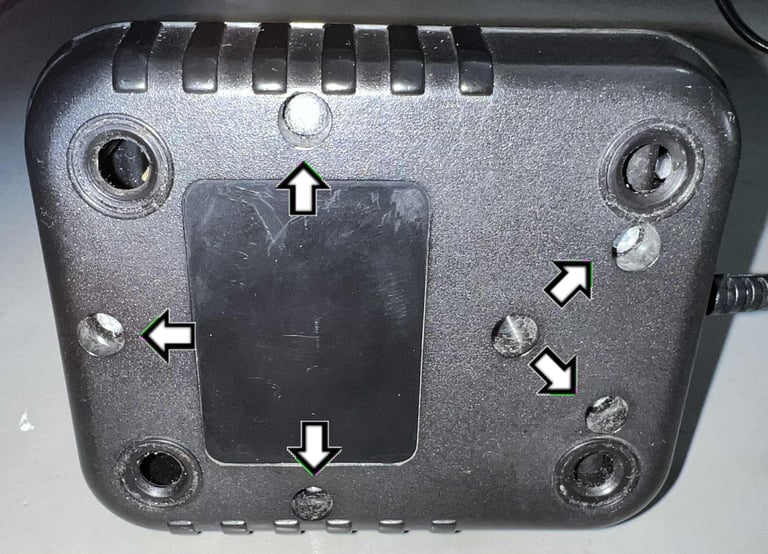
Disassembling the Zipstik is straightforward. But it is a good idea to be a bit careful nonetheless to avoid damaging the old brittle plastic. When removing the five 3.5 x 13 mm Phillips screw it is good practice to use a low torque screwdriver to make sure you don´t rip the interior threadings.

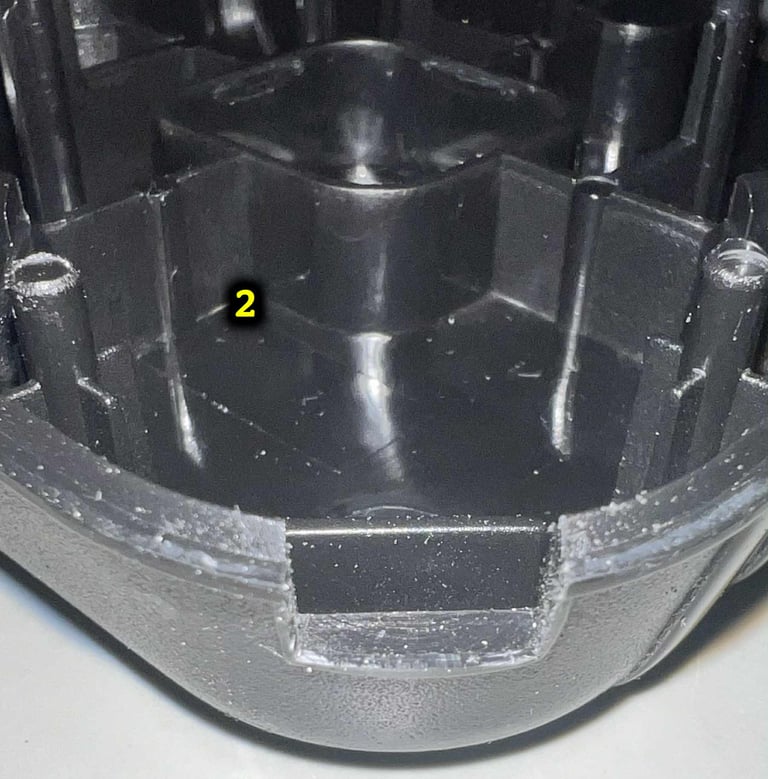
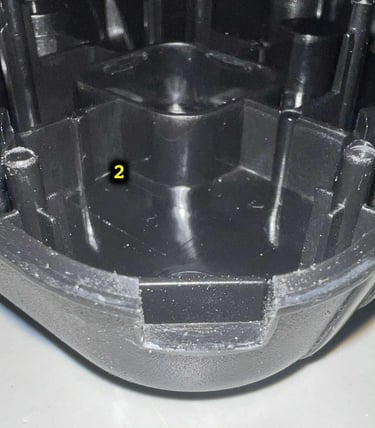
The top cover is lifted from the joystick, and now the interior is exposed. As can be seen from the picture below it appears to be in good condition. There is the usual dust (and the strange looking "particles" on the directional microswitches), but I can not see any kind of damage.
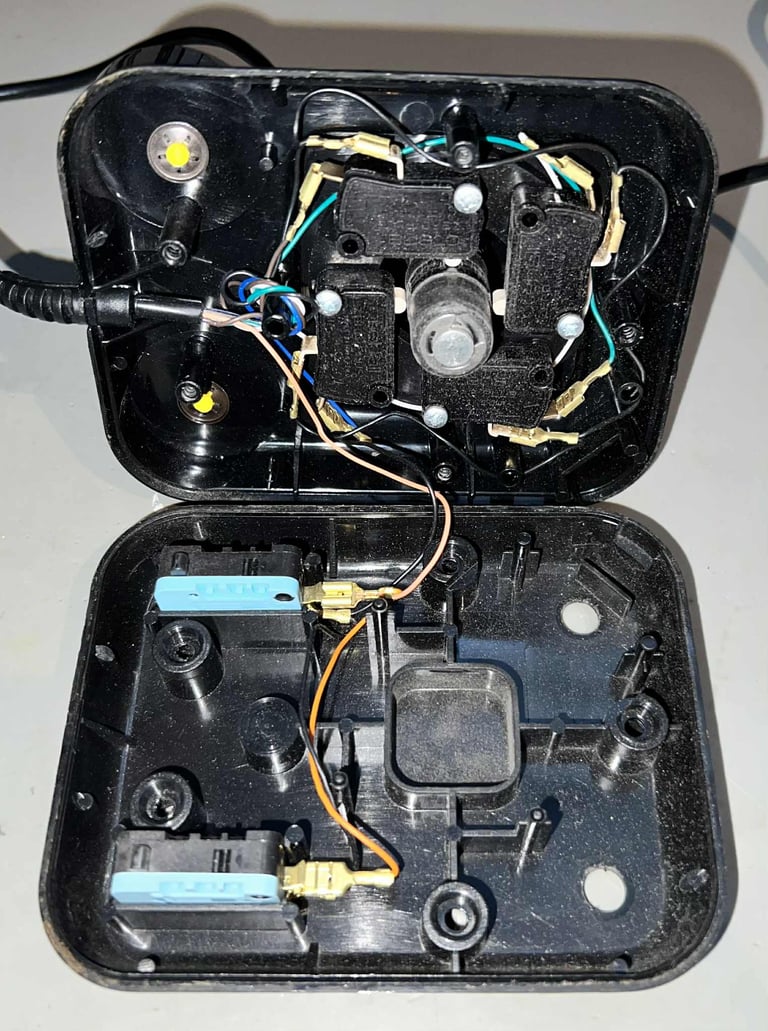
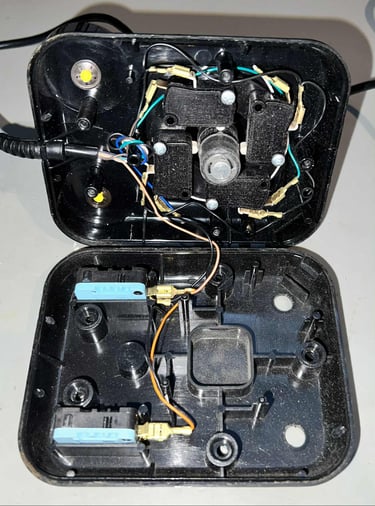
All of the microswitches are simply just lifted away from the top- and bottom cover. The four microswitches used for LEFT/RIGHT/UP/DOWN are mounted on a plastic bracket, but it is easy to remove the whole assembly.

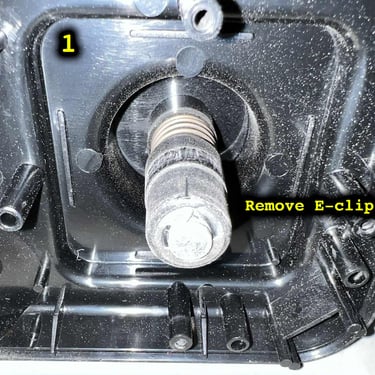
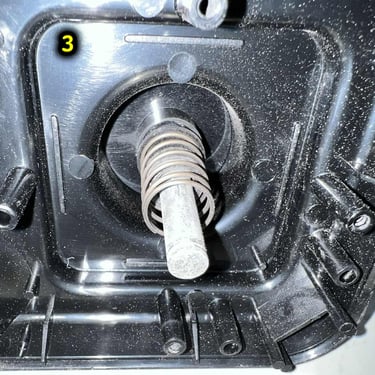
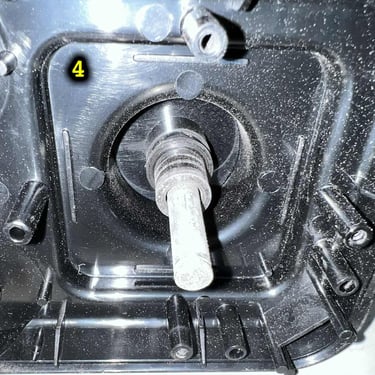
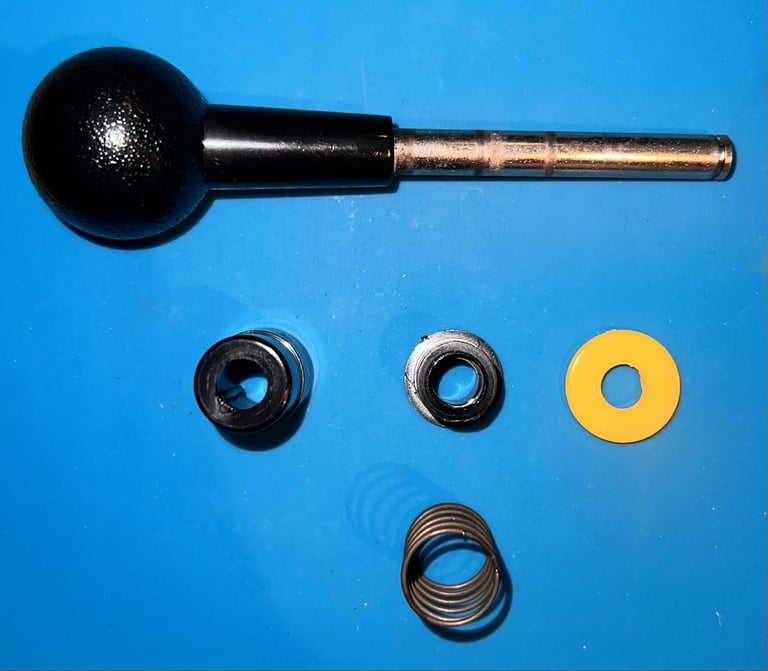
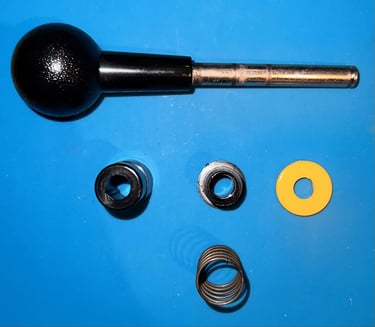
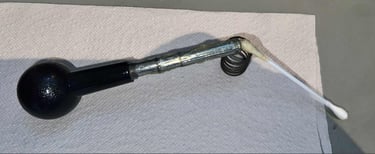
Removing the joystick shaft starts with removing the E-clip at the end of the shaft. Then the plastic parts, and the spring, are removed one-by-one. Take care to note in which order the parts are to be assembled. See pictures below.

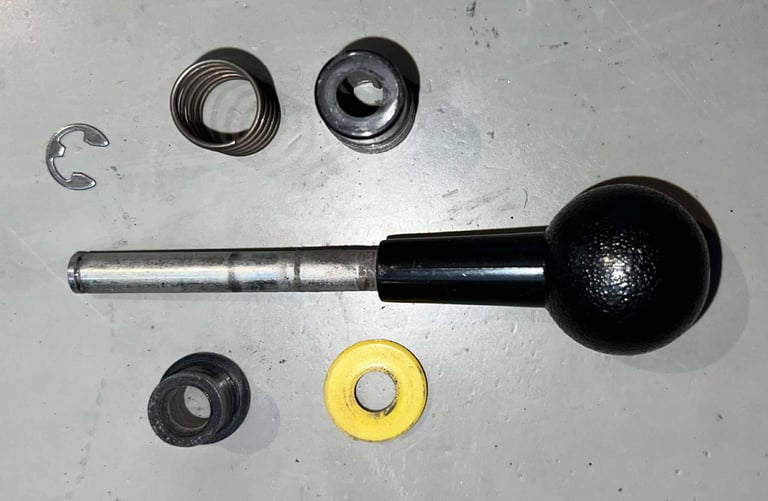
To avoid the risk of damaging the FIRE buttons these are not disassembled. It is good practice to only disassemble these if they are very dirty - otherwise these can be cleaned without complete disassembly. Below is a picture of the disassembled remaining parts.

Exterior casing and plastic parts
Cleaning the parts
Cleaning the plastic parts is straightforward. All the parts are placed in a box filled with mild soap water for about 12 hours.
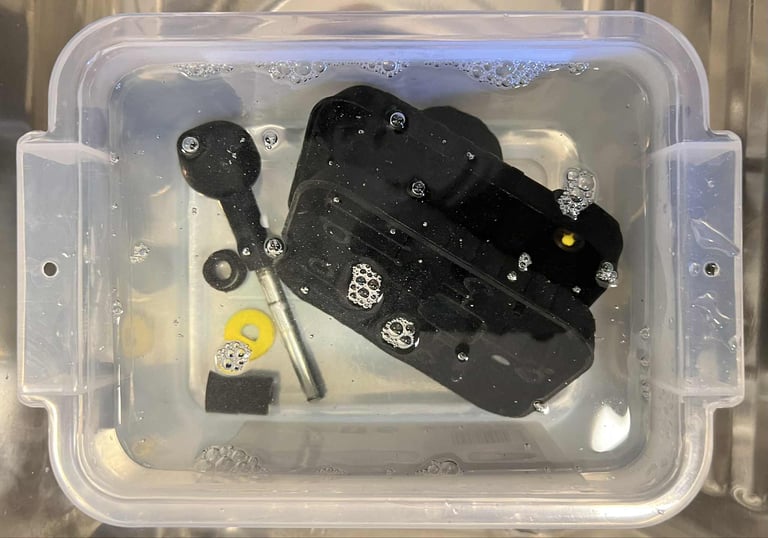

After cleaning the parts looks really nice. Like brand new (?)
Lubricating selected parts
Applying a thin layer of grease to the moving plastic/metal parts is something that was not part of the original Zipstik assembly. Nevertheless, I think it is good practice to add a small amount of grease to these parts. I will reduce friction (and noise) to the moving parts.

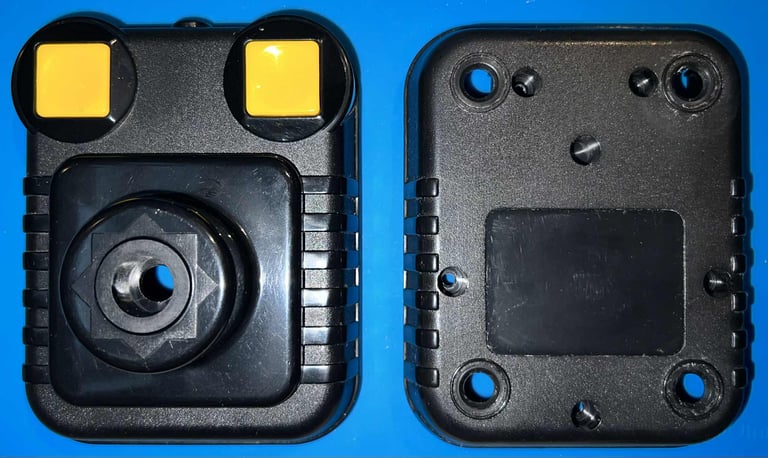
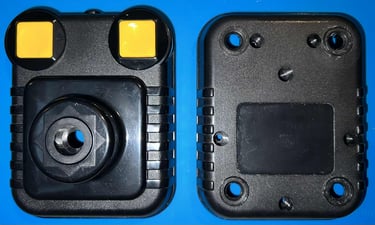
Making space for the AUTOFIRE
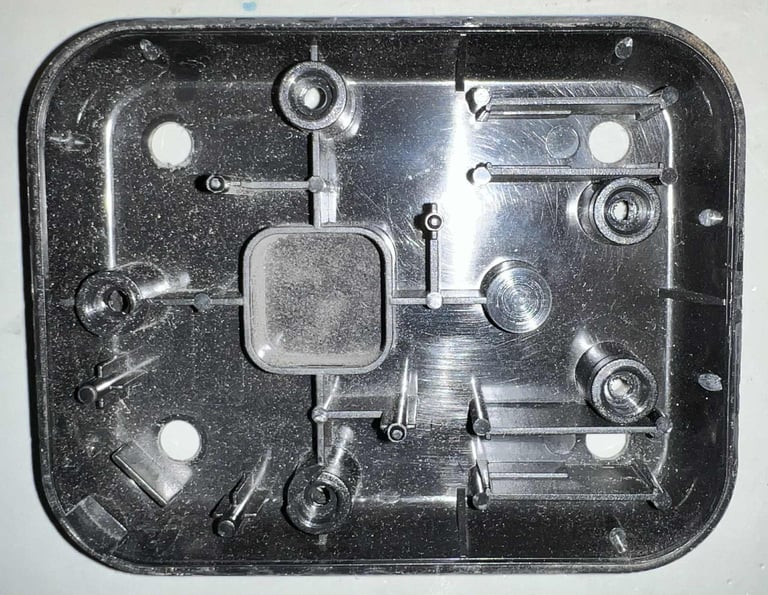
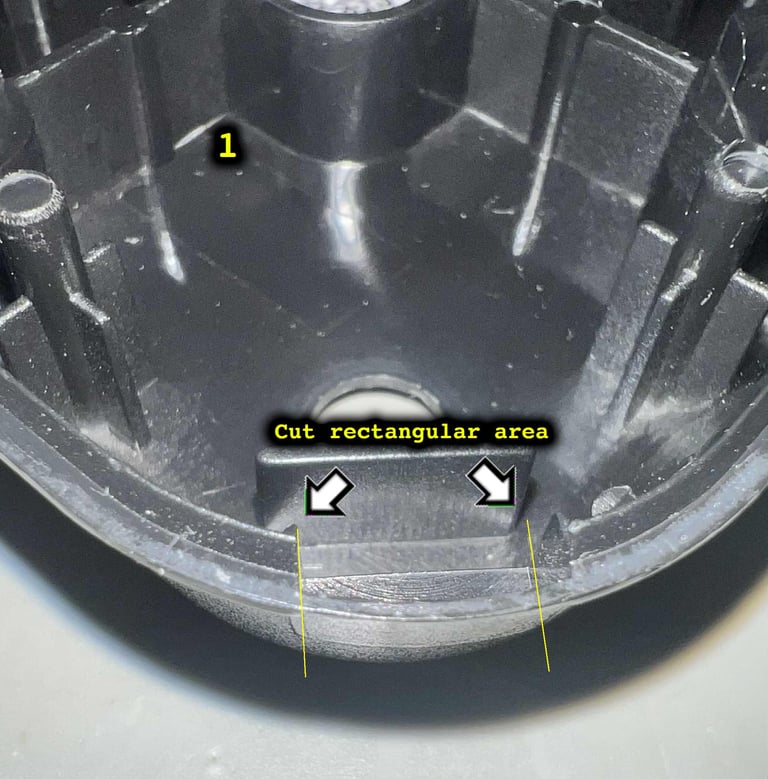
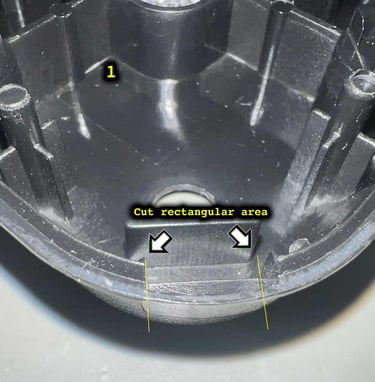
A nice feature with a non-AUTOFIRE Zipstik joystick is that the bottom cover is actually identical with the AUTOFIRE version of the same joystick. The only difference is the small hole where the AUTOFIRE button protrudes which the non-AUTOFIRE version lacks. But this is easy to fix. By carefully using a scalpel the hole is cut from the bottom case.
Adding new rubber feet
Four new rubber feet are mounted on the joystick (2 mm thick - 13 mm diameter). The rubber feet are ordered from retroleum.co.uk.


Electronics and microswitches
Visual inspection
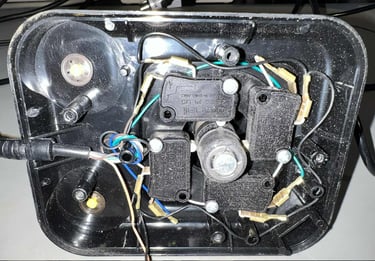
Before doing any interior refurbish of the Zipstik a visual inspection is done first. All the microswitches, wires, cable and connector appear to be in good condition. There are some signs of tear and wear (and dirt), but no major damage.
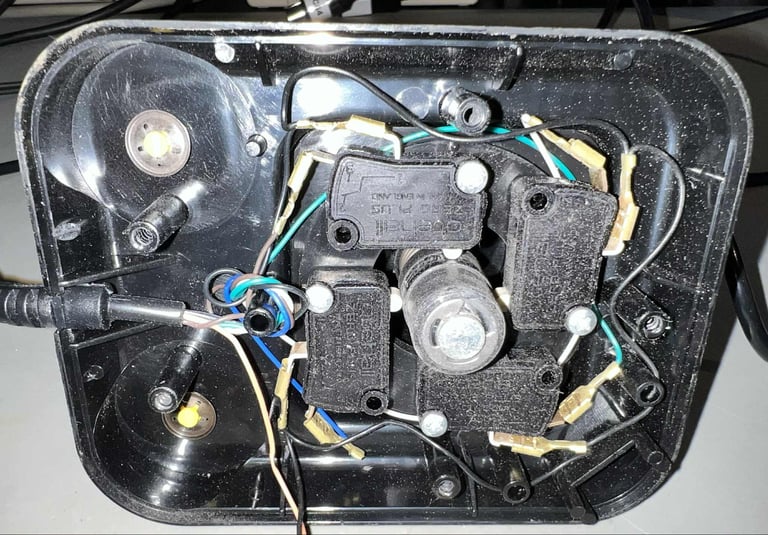
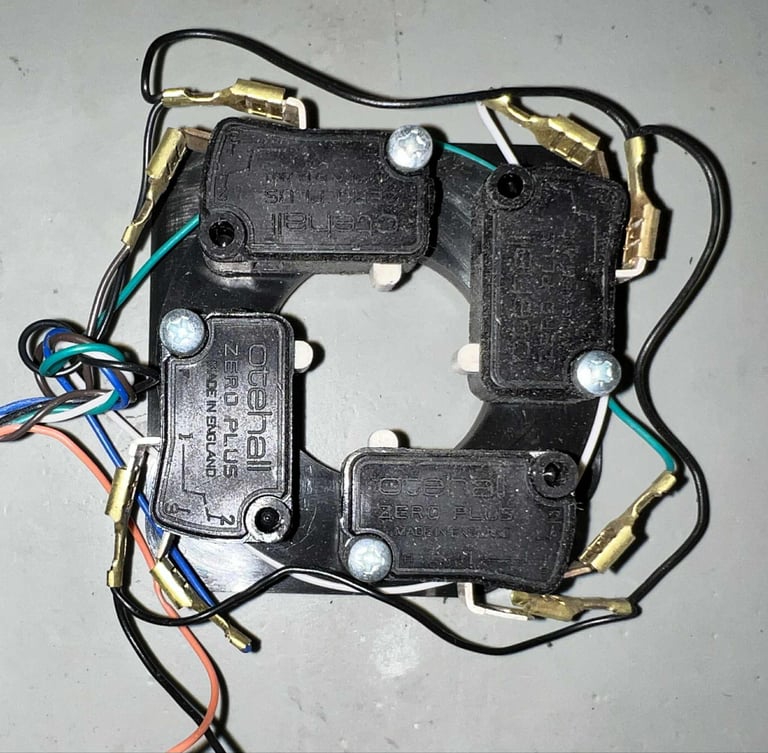
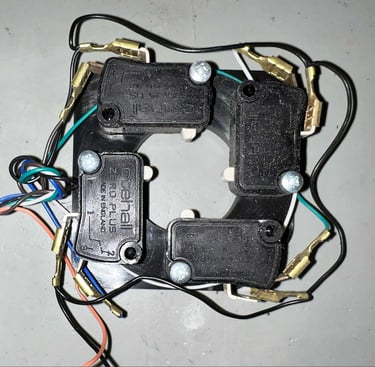
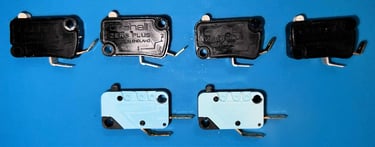
There are six microswitches arranged in a 2 + 4 combination:
4 x Otehall "Zero Plus" microswitches (Made in UK) used for the LEFT/RIGHT/UP/DOWN directions
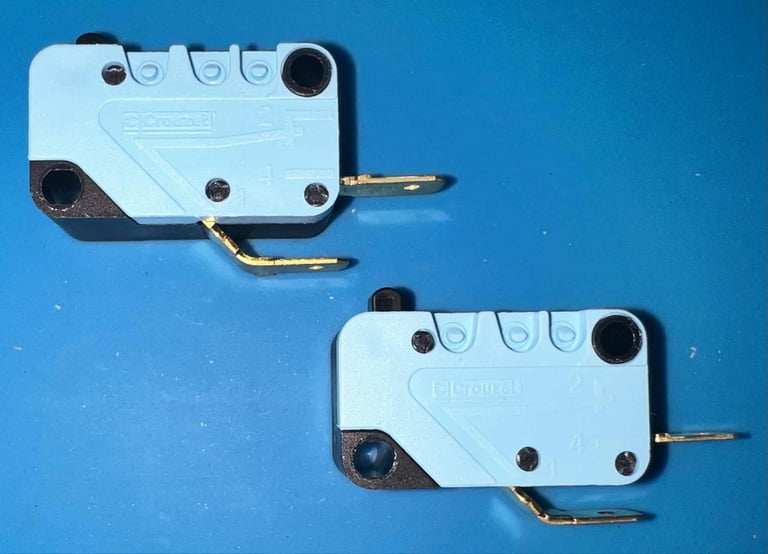
2 x Crouzet microswitches (Made in France) used the two FIRE buttons


Cleaning the microswitches
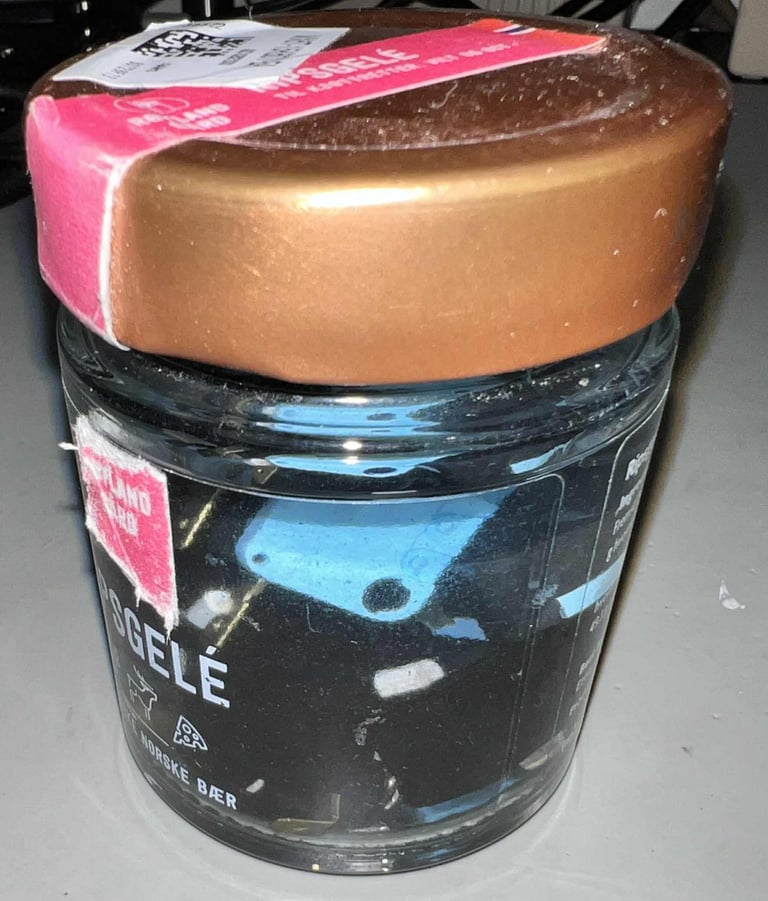
I have seen so many times that these Othehall microswitches are covered with a thin, sticky, dust layer. A fair guess is that it is caused by some kind of chemical reaction in the plastic (the Crouzet microswitches are not that dirty). All the microswitches are disconnected from the wires, unscrewed from the plastic bracket and placed in a jar filled with isopropanol for some hours. This will dissolve most of the grease and dirt - both outside and inside.

After cleaning the microswitches looks good as new (!).

Testing the wires, connector and microswitches
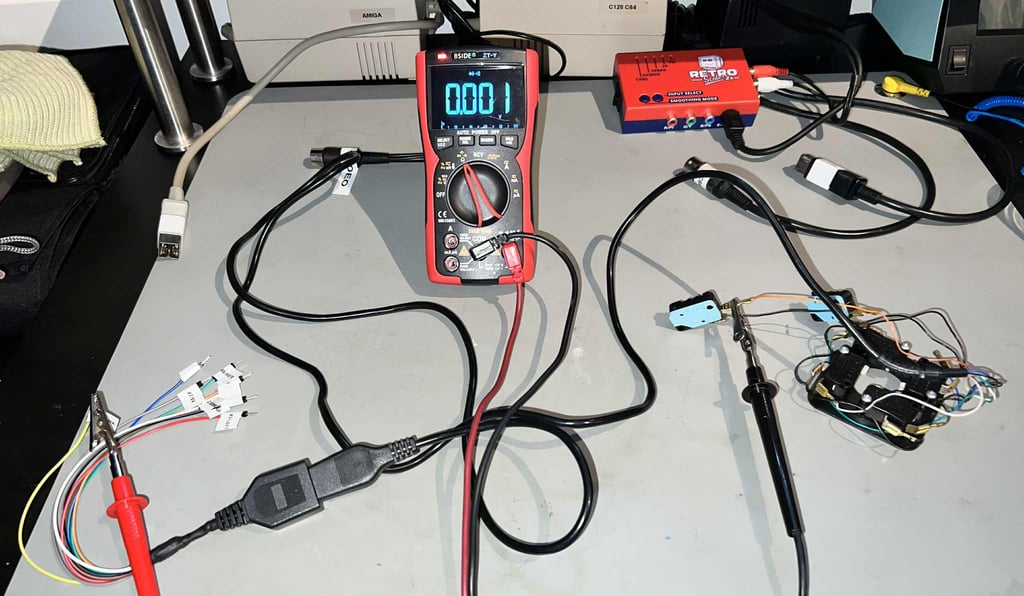
Even if the initial testing shows that the joystick is working, it is good practice to test the wires, connector and microswitches with a multimeter. The purpose of this is to detect any marginal wire or connector which is not easily tested when the joystick is assembled. During the testing I can not find any fault with the interior electronics.

Adding the AUTOFIRE circuit
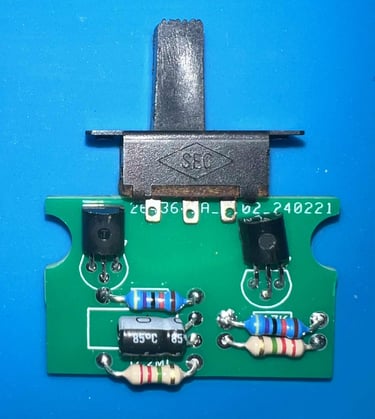
A pre-build AUTOFIRE PCB is ordered from retroleum.co.uk. This PCB mimics the "SAF-2" version of the AUTOFIRE PCB found in original Zipstik. And, as with the bottom cover, the top cover is also the same as those Zipstiks which has AUTOFIRE.
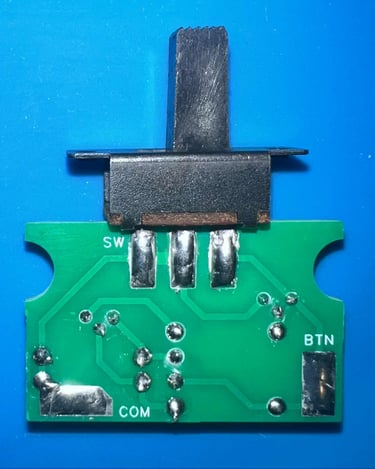
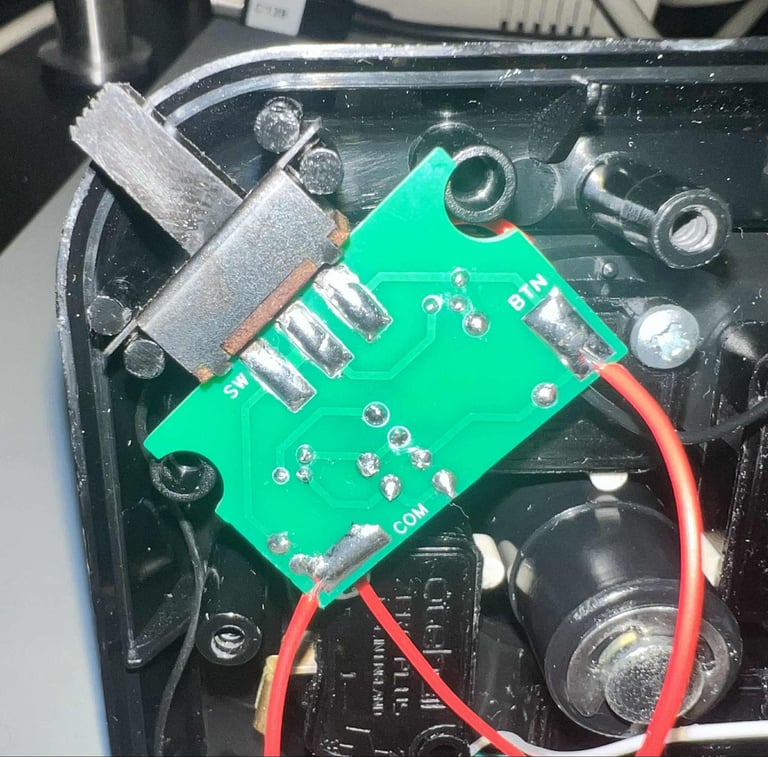
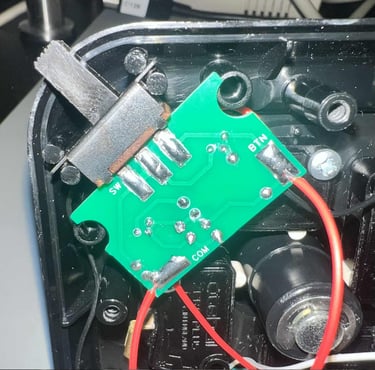
Following the AUTOFIRE PCB from retroleum is a detailed description on how to install the circuit (click to enlarge):
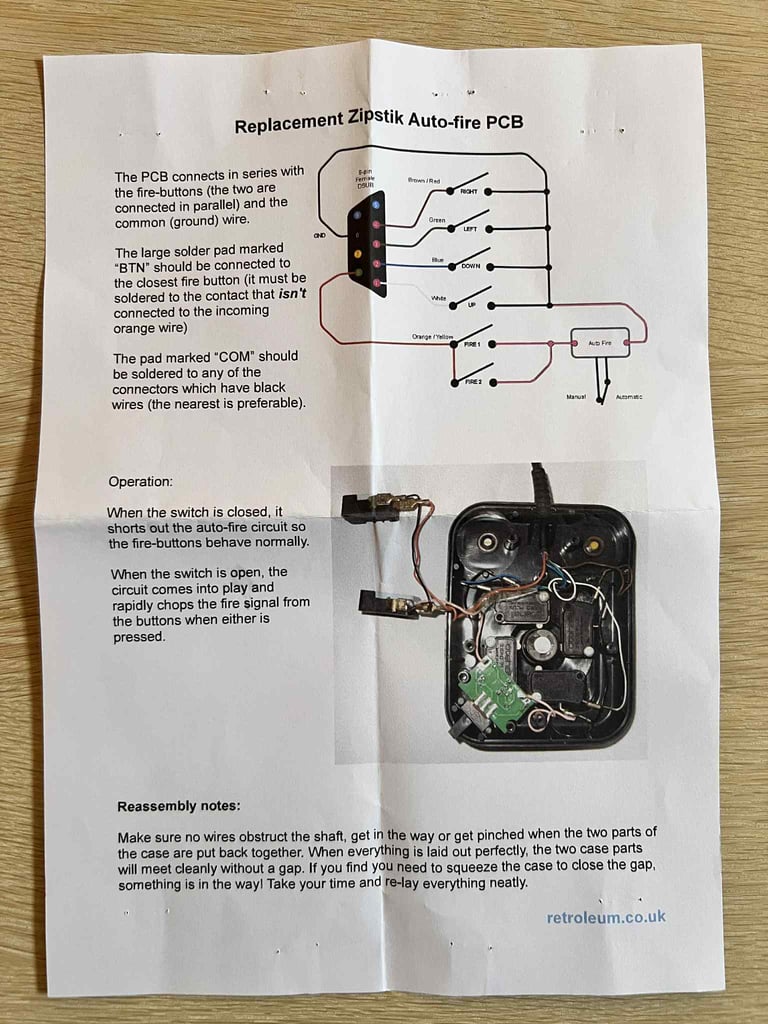
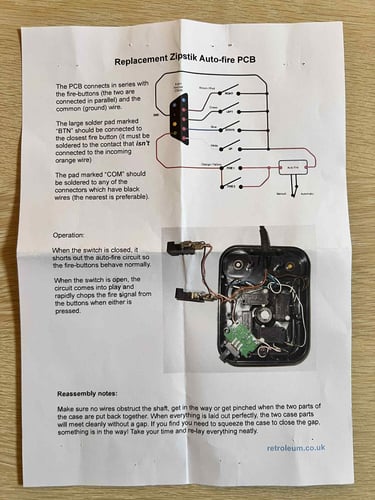
The details on how to install the PCB can be found in the description above, but in short it as simple as this:
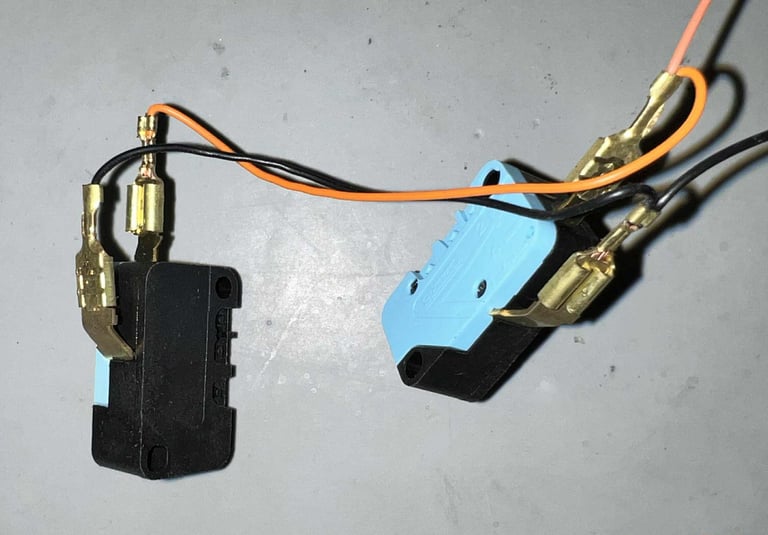
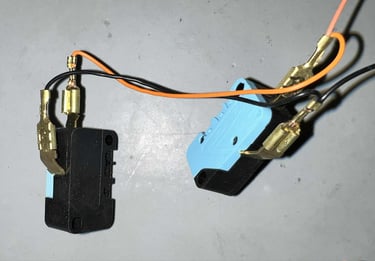
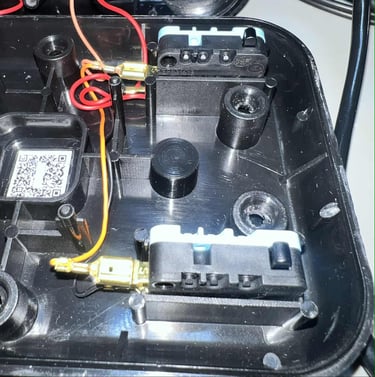
Cut the original GND wire which connects the LEFT/RIGHT/UP/DOWN microswitches to the FIRE buttons
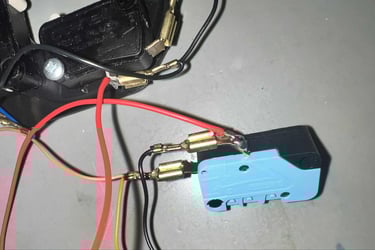
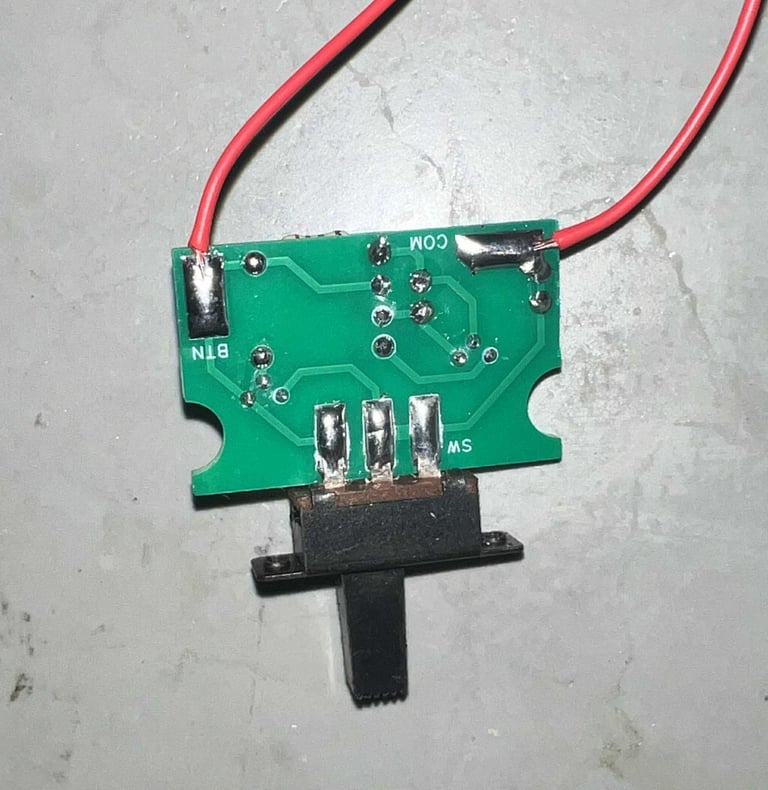
Connect the black wire (previously GND) on the first FIRE button to the BTN pad on the PCB
Solder a wire to the COM on the PCB to any of the GND connectors on the LEFT/RIGHT/UP/DOWN microswitches


UPDATE: Both the FIRE button microswitches are replaced. Why? The owner of the joystick feels that the response from the FIRE button is not quite as good as it should be in a new Zipstik. So in an attempt to fix this the two FIRE button microswitches are replaced with new Crouzet switches purchased from Mouser (Mouser ID 874-83161325).


Testing
To verify that the joystick work as it should I check it with the Joyride software. Result is that all directions, fire buttons and autofire works fine works as expected. All tests pass.
Final result
"A picture worth a thousand words"
Below is a collection of the final result from the refurbishment of this Zipstik joystick. Hope you like it! Click to enlarge!


Banner picture credits: unknown